How to Knit a Hat

KnittingEasy9:578 stepsPart of DIY Crafts for BeginnersBrowse more →
The finished result: How to Knit a Hat

By CraftingStepByStepPublished

Based on a video by B.Hooked Knitting.

A two by two rib pulls in hard and springs back, which is why a ribbed hat fits a wide range of heads off one set of numbers. Knit the tube long and you get a deep fold-up brim. Knit it short and you get a shallow cuff that sits above the ears. Same pattern, same stitch count.

This walkthrough follows a tutorial from B.Hooked Knitting. She works it in the round on 16 inch circular needles, not on straight needles, so check what is in your bag before you buy yarn. There is no seam to sew at the end and no wrong-side rows to keep track of. Every round is the same: knit two, purl two.

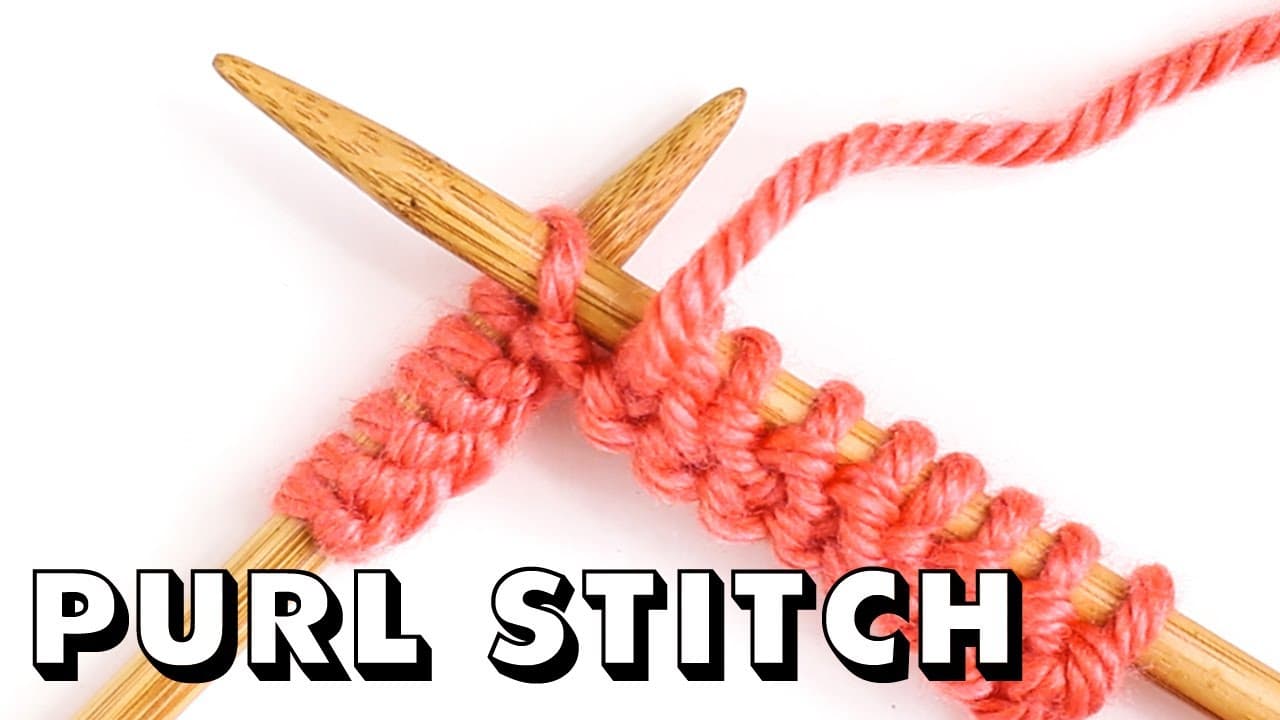
You need two skills going in. You need to cast on, and you need to be able to tell a knit from a purl on the needle. Rib punishes guessing more than garter does, because one wrong stitch shows up as a broken column running all the way to the top. The upside is that it reads easily once you know what to look for: a purl wears a little bar under the needle and a knit does not.

Worsted weight yarn on US 7 needles is the sweet spot here. If a whole hat feels like a lot for a first project, a scarf in the same rib gets you the same practice on a flat piece with no shaping.

What you'll need

Step-by-Step Guide

8 steps · about 10 minutes.Check off each step as you go and your progress saves automatically.

1

Wrap the Yarn Around the Needle to Measure Your Tail

0:34
Step 1: Wrap the Yarn Around the Needle to Measure Your Tail - How to Knit a Hat

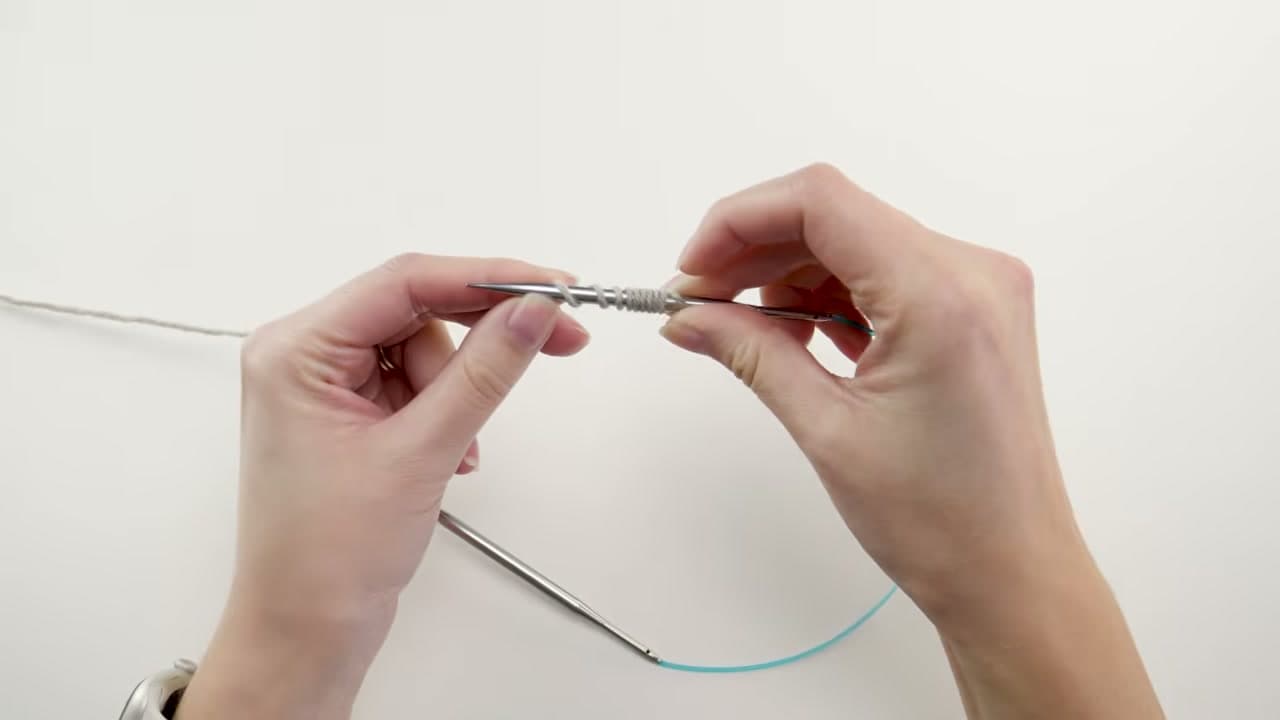
Long tail cast on eats yarn from the tail end, and running out at stitch 94 means starting over. Wrap the yarn around the needle shaft ten times and note how long that stretch of yarn is. That is roughly what ten cast-on stitches will use.

Pull off ten times that length for 100 stitches, then add another six inches so you have something to weave in later. Fold the yarn back and forth to count it out rather than trying to eyeball a long piece across the table.

Tip

Loose wraps give you a longer tail than you need, and extra tail costs you nothing. Snug wraps are what leave you three stitches short.
2

Cast On Stitches With the Long Tail Method

1:00
Step 2: Cast On Stitches With the Long Tail Method - How to Knit a Hat

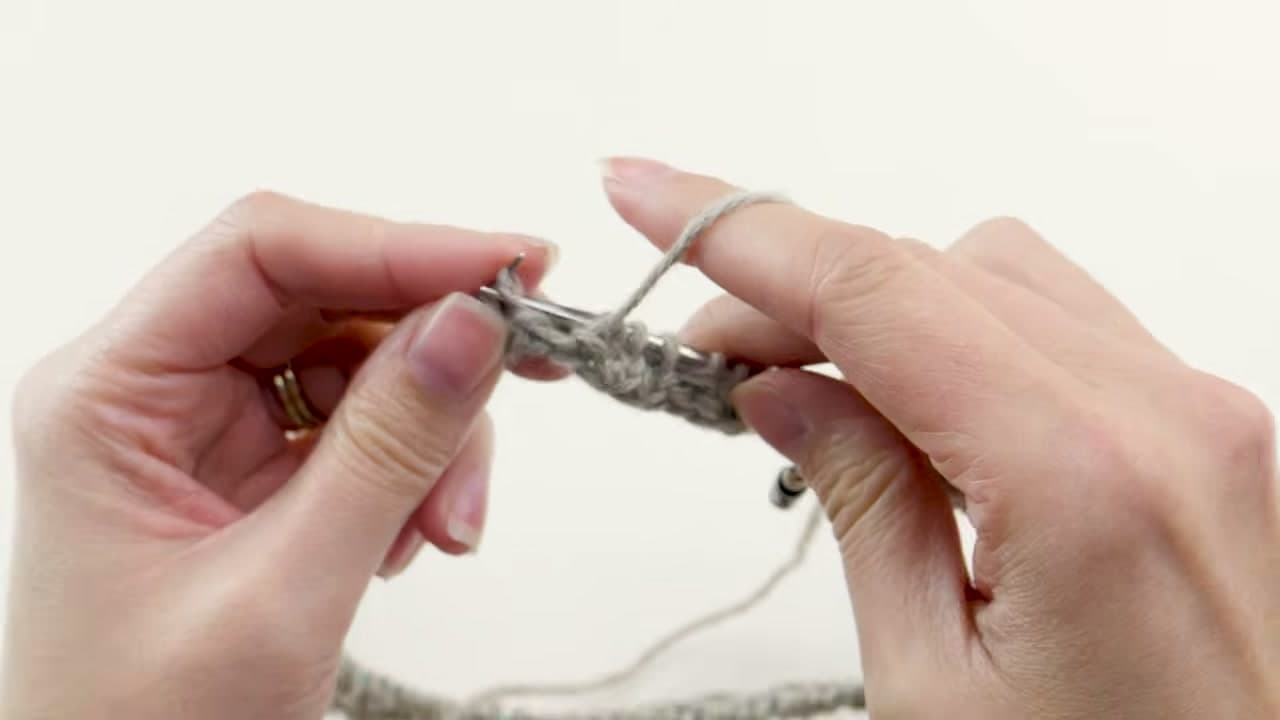
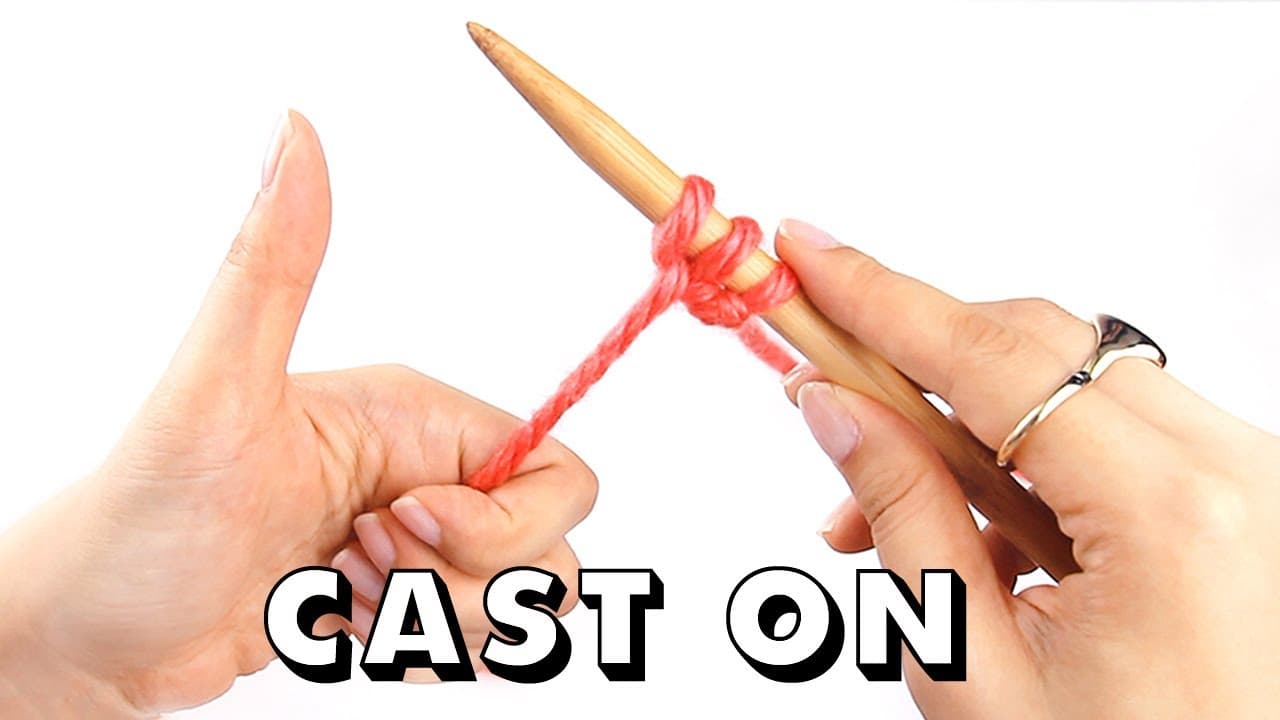
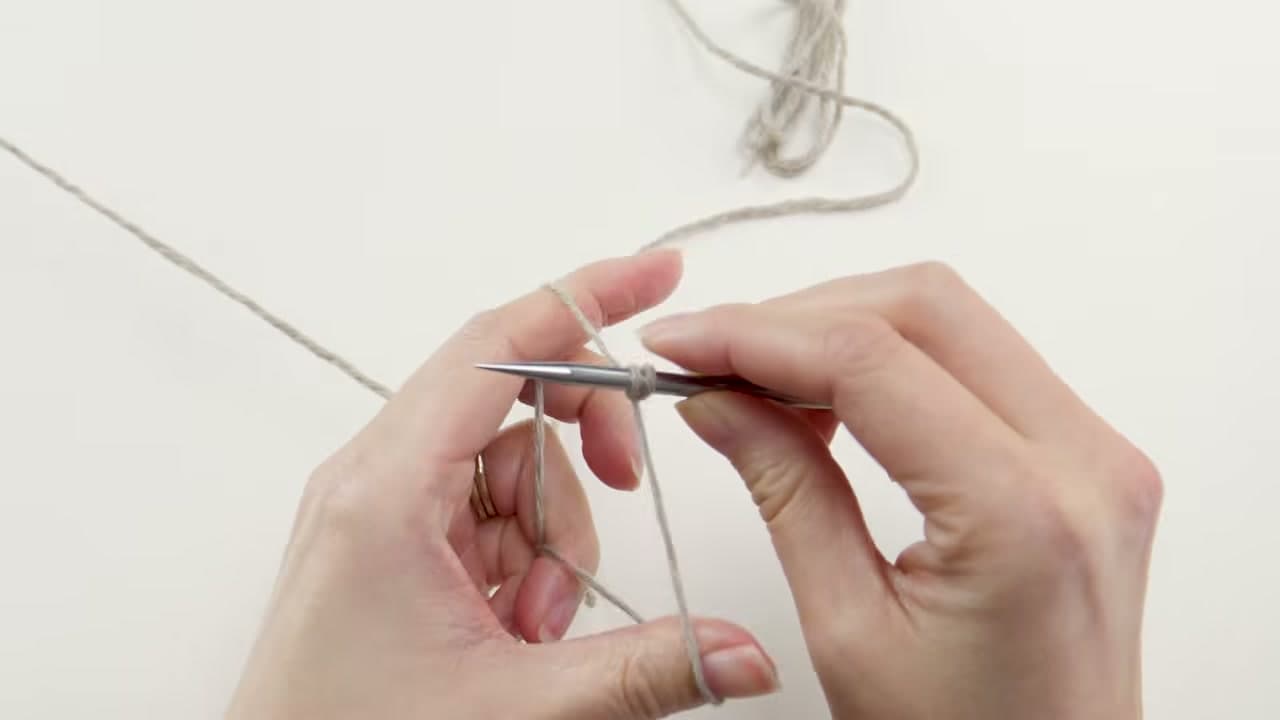
Make a slip knot where the tail measurement ended and slide it onto one needle tip. Drape the tail over your thumb and the working yarn over your index finger, holding both ends down in your palm.

Bring the needle up under the loop on your thumb, over and around the yarn on your finger, then back down through the thumb loop. Let the thumb loop drop and pull it snug. Cast on 100 stitches for the small size, or whatever count your pattern gives for the size you want.

Tip

Count in groups of 20 and clip a locking marker on every twentieth stitch. Recounting 100 loose stitches on a cord is how most people lose ten minutes here.

3

Lay the Cast-On Round Flat and Add a Stitch Marker

1:30
Step 3: Lay the Cast-On Round Flat and Add a Stitch Marker - How to Knit a Hat

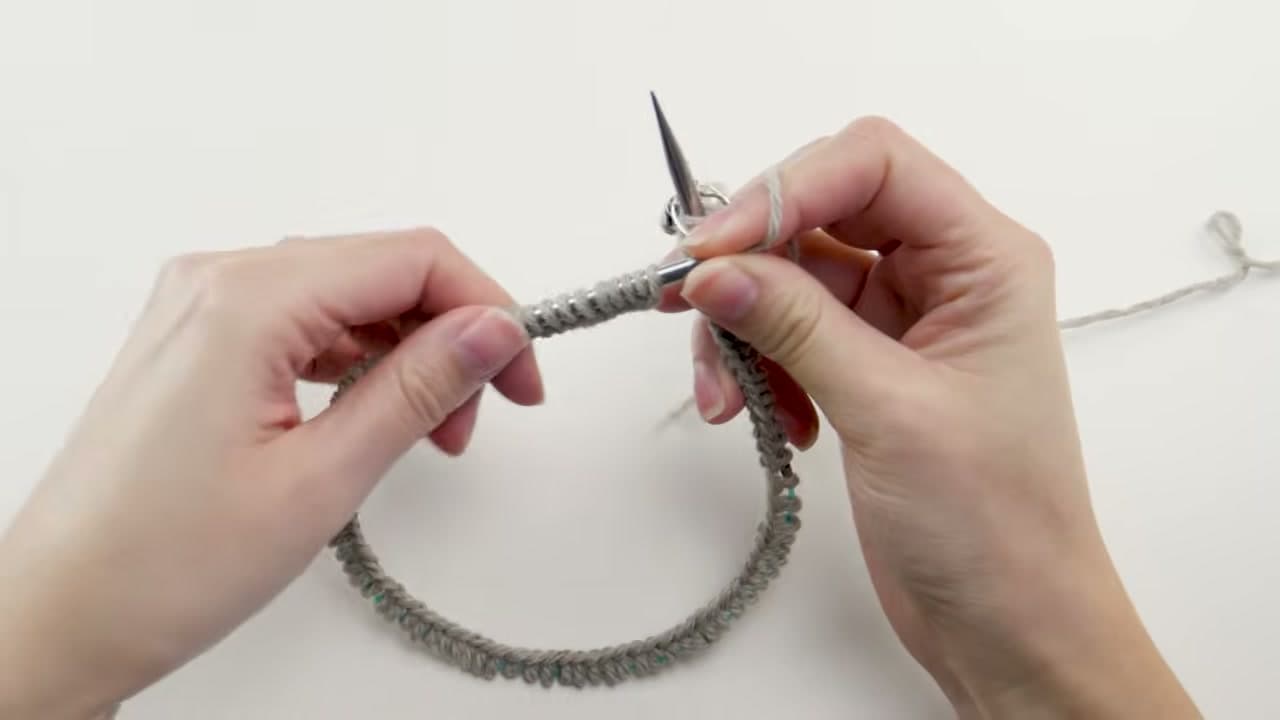
Set the whole round down on the table in a circle. Run a finger all the way around and check that the braided cast-on edge faces the inside at every point, with no stitch flipped over the cord. A twist here is permanent once you knit the round closed.

Slide a stitch marker onto the right needle. Everything after that marker is the start of a new round, which is the only way to track where you are when there is no seam and no end of row to tell you.

Tip

Working the first round flat and joining on round two is a fair trade if twists keep catching you out. The small gap at the base closes when you sew the tail across it. Watch this bit at 1:30.

Used in this stepstitch markers
4

Knit Two, Then Bring the Yarn Forward and Purl Two

3:00
Step 4: Knit Two, Then Bring the Yarn Forward and Purl Two - How to Knit a Hat

Knit the first two stitches with the working yarn behind the needles. Bring the yarn to the front between the two tips, purl the next two, then send it to the back again. That swap is the whole pattern, repeated to the end of the round.

Slip the marker across and carry on. If you put the hat down mid-round, look at the last few stitches you worked. A purl sits with a little bar below the needle and a knit sits smooth, so the fabric tells you what comes next.

Tip

Pull the yarn firm on the stitch right after each knit-to-purl switch. A loose one there shows up as a slack ladder running the length of the hat.

Used in this stepcircular knitting needles
5

Hold the Ribbed Tube Up to Check the Length

3:24
Step 5: Hold the Ribbed Tube Up to Check the Length - How to Knit a Hat

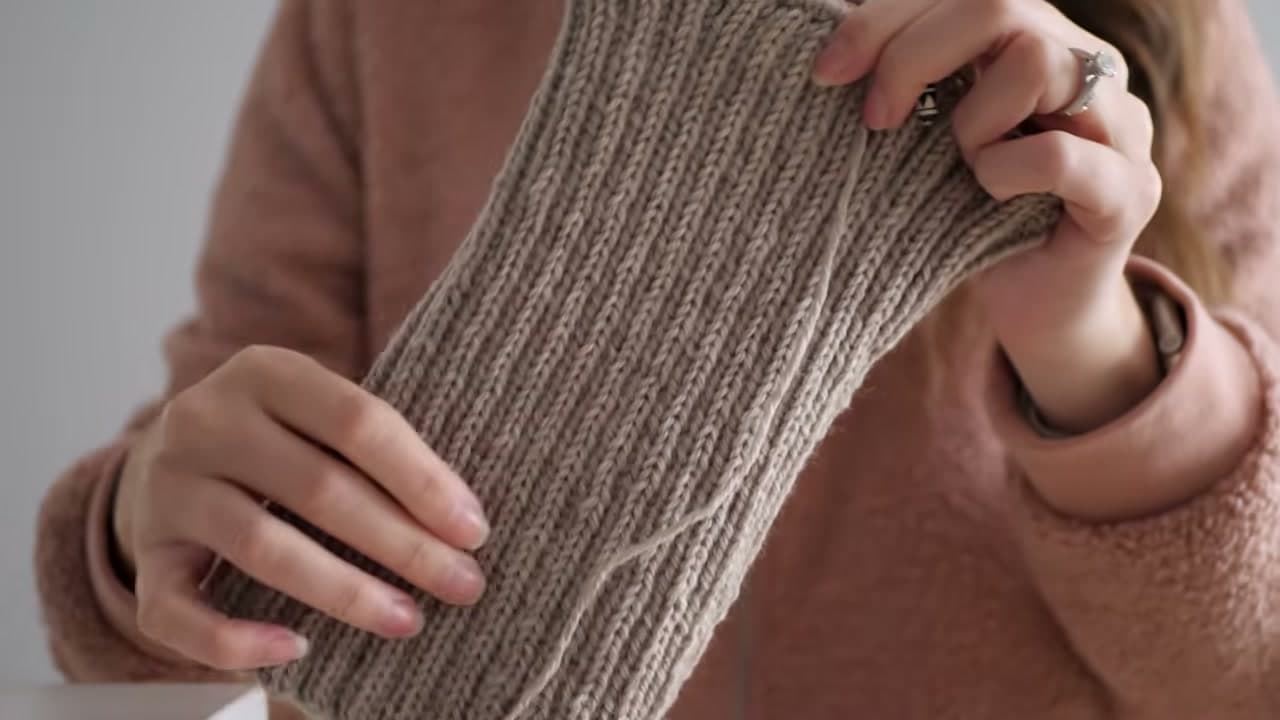
Rib squashes flat on the table and looks shorter than it is, so lift the tube and let it hang before you measure. You want enough height to fold a brim up and still cover the top of the head.

Your pattern gives a number for each size. Measure against a tape without stretching the fabric out, and stop after a complete knit two purl two round so the crown decreases start in the right place.

Tip

Try it on. A ribbed tube pulled over your head tells you more in five seconds than a tape measure does, and two more inches are always an option.

6

Knit Two Stitches Together to Start the Crown

3:56
Step 6: Knit Two Stitches Together to Start the Crown - How to Knit a Hat

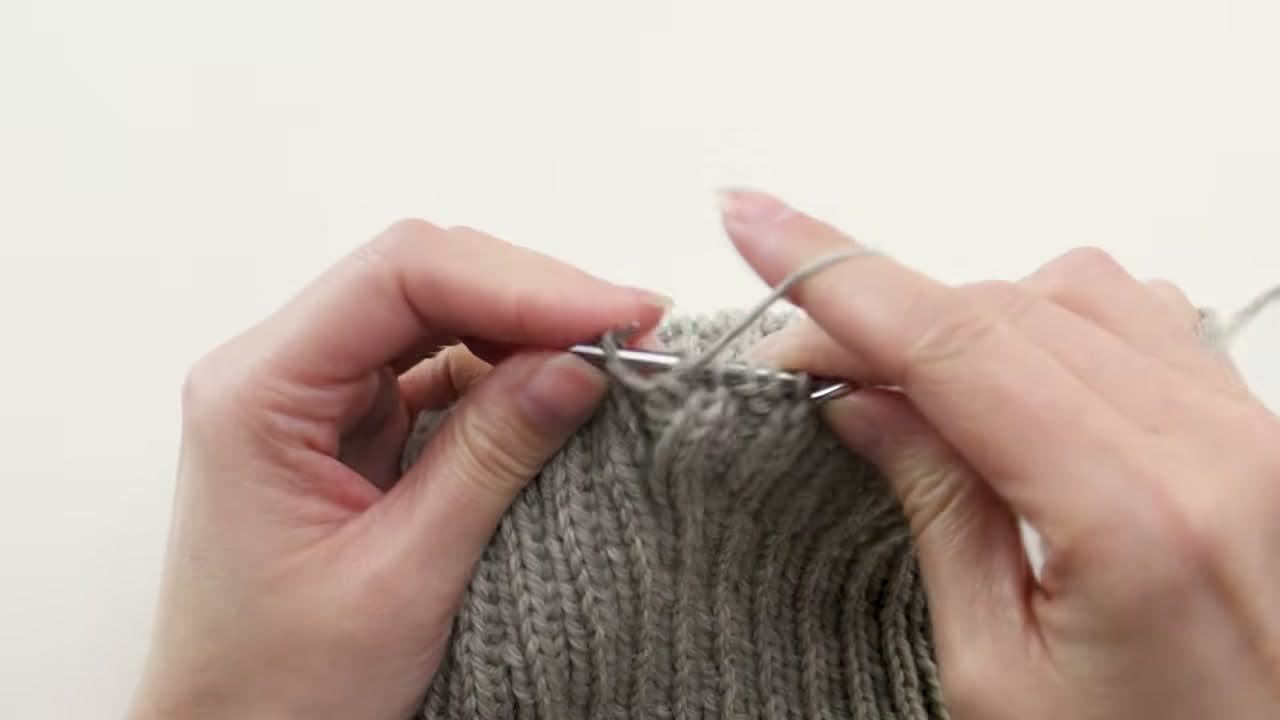
Push the right needle through the front of the first two stitches at the same time and knit them as though they were one. Purl the next two, then repeat knit two together, purl two, around. A 100 stitch round comes off the needle at 75.

The rounds after that alternate. One works knit one, purl two straight through with no shaping. The next decreases on the purls instead, with a purl two together. Follow the pattern round by round and the top starts pulling into a dome.

Tip

Click a row counter at the end of every round. The crown rounds are not interchangeable, and losing your place here is what makes a crown look lumpy.

7

Knit the Stitches Onto a Longer Circular Needle

6:00
Step 7: Knit the Stitches Onto a Longer Circular Needle - How to Knit a Hat

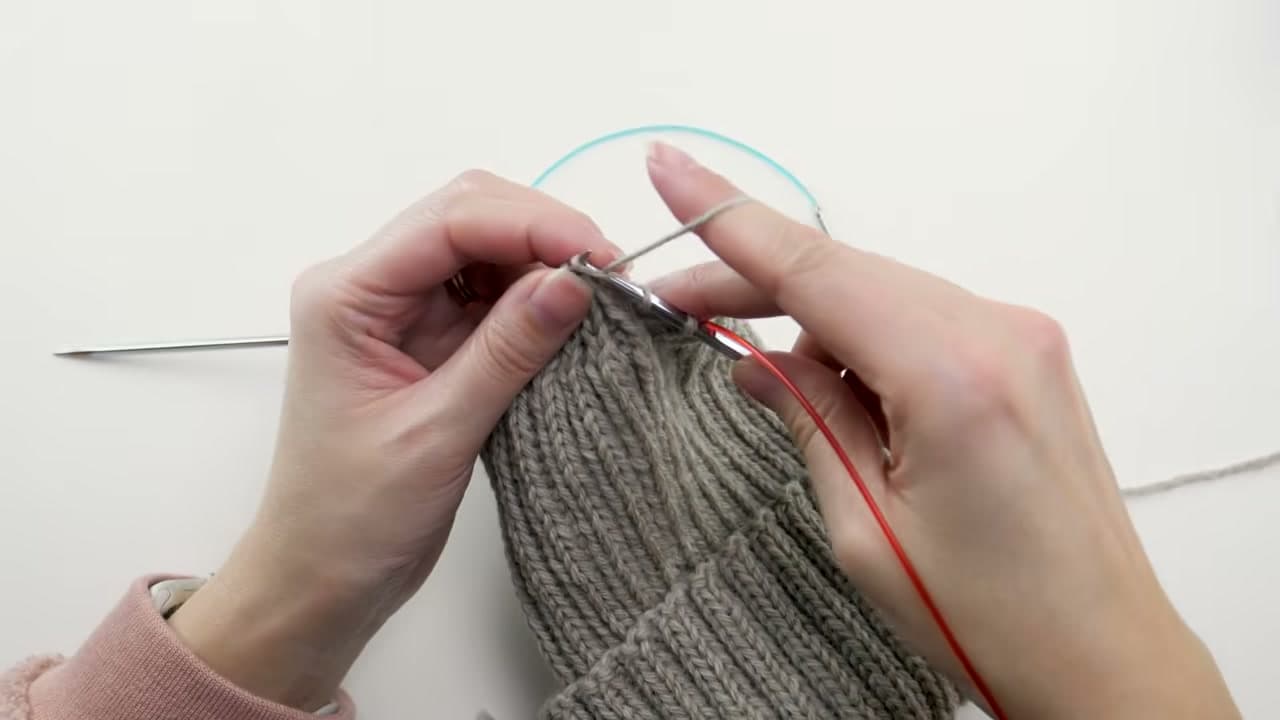
Around the fourth or fifth crown round the stitches stop reaching around a 16 inch cord, and fighting them gets old fast. Work the next round with a much longer circular in your right hand and let every finished stitch land on the new needle.

After roughly two dozen stitches, pull a loop of the long cord out between two stitches and keep going. That loop splits the round in half and gives you the magic loop. Double-pointed needles do the same job if you get on better with them.

Tip

Swap your ring marker for a locking one before this round. A ring marker slides along the bare cord and stops telling you anything. She makes the switch at 6:00.

8

Thread the Tail Through the Last Stitches and Cinch the Crown

8:30
Step 8: Thread the Tail Through the Last Stitches and Cinch the Crown - How to Knit a Hat

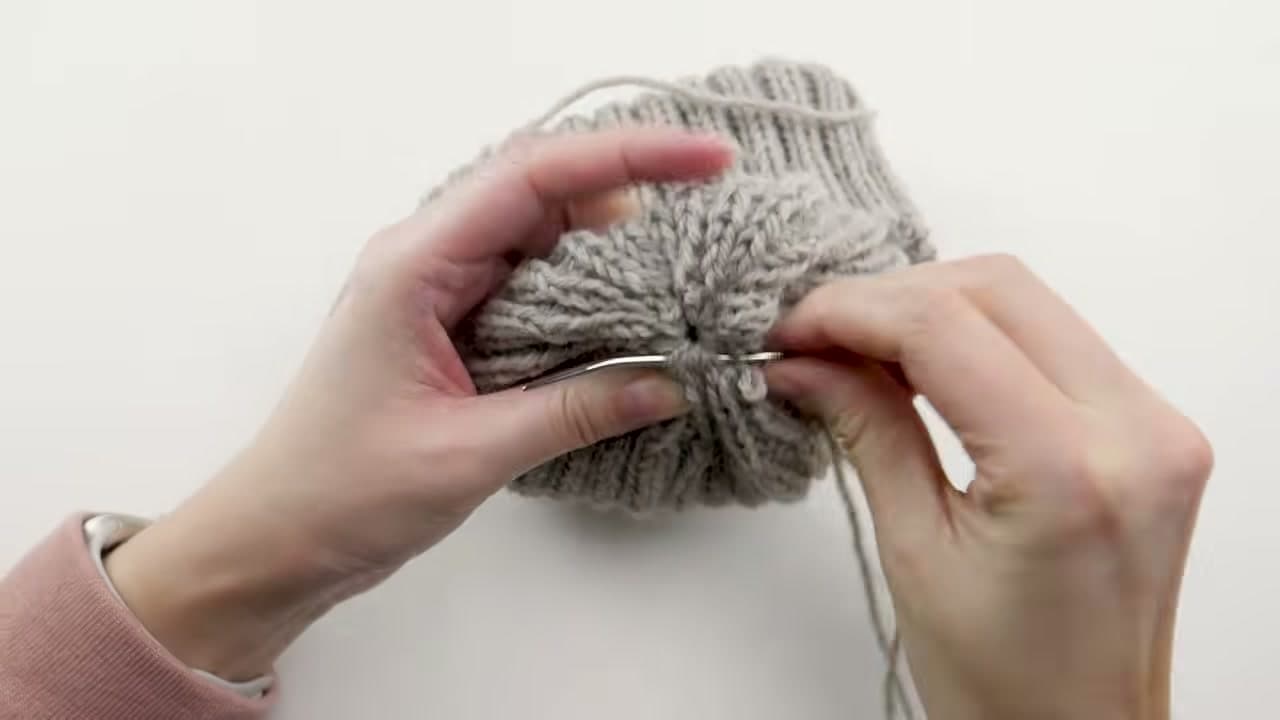
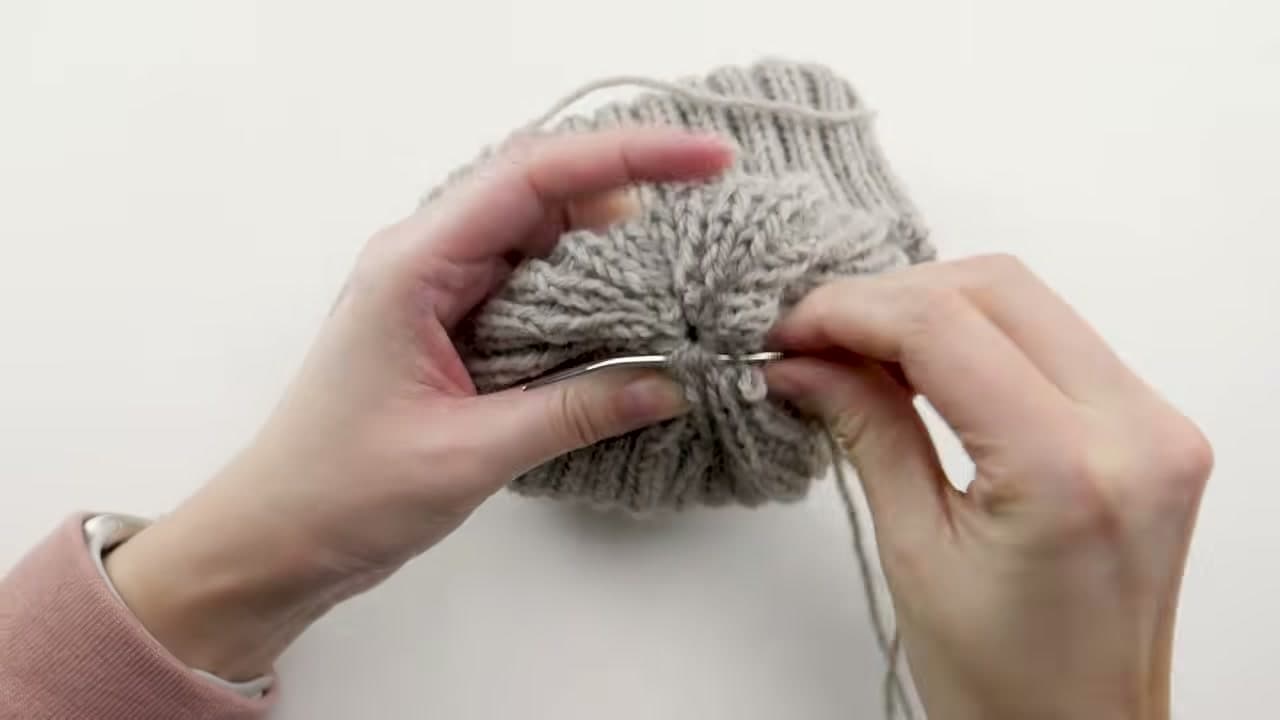
Once the final decrease round leaves a small handful of stitches, cut the yarn about 20 inches out and thread it on a yarn needle. Pass the needle knitwise through each live stitch, then slide them off the tips only when every one is caught.

Draw the tail up steadily until the opening closes. It will want to spring back open, so run the needle around the ring of stitches two or three more times, turn the hat inside out and do it once more from that side. Then weave both ends in.

Tip

Funky-looking decreases are normal on a first hat, and a pom pom covers the entire crown. Nobody has ever spotted a wobbly decrease under one.

Keep going

How to Knit a Scarf for Beginners

Products Used

The Checklist

How to Knit a Hat

Tools
8
Materials
2
Steps
8
Video
10 min

Tools we recommend

Your Guide

B.Hooked Knitting

As an Amazon Associate we earn from qualifying purchases. Links on this page may be affiliate links - clicking them and buying doesn't change your price, but helps support CraftingStepByStep.

Tags

Sunday How-To

New knitting tutorials, every Sunday

One short email with the week's best step-by-step guides. Free, no spam, unsubscribe anytime.

Did this work for you?

What's next

Related collections

Curated theme pages that include this tutorial.

Weekly Digest

Liked this knitting tutorial?

Pick the categories you want to hear about. Weekly digest of new step-by-step tutorials. No spam, easy unsubscribe.

Send me tutorials about

We only email about new tutorials. Easy unsubscribe anytime.