How to Knit a Scarf for Beginners

KnittingEasy23:488 stepsPart of DIY Crafts for BeginnersBrowse more →
The finished result: How to Knit a Scarf for Beginners
Also in:Crafts

By CraftingStepByStepPublished

Based on a video by NimbleNeedles.

A garter stitch scarf is the project most knitters finish first, and there is a good reason for that. You cast on, you knit every row, you bind off. No purling, no shaping, no pattern to read. On size 15 needles with super bulky yarn the fabric grows fast enough that you see real progress in one evening.

This walkthrough follows Norman of NimbleNeedles, who knits a scarf about 1.5 yards long from the very first loop through to the fringe. He casts on 16 stitches with a long tail cast on, works roughly five hours of garter rows, binds off, weaves the tails in with a tapestry needle and finishes both ends with cut fringe.

Two things make his version forgiving. The chunky yarn makes every stitch big enough to see what the needle is doing, and garter stitch hides uneven tension, so the wobbly rows you knit on day one settle into the fabric and disappear.

If one move gives you trouble, the technique pages go slower: casting on, binding off and weaving in ends. Once the scarf is off the needles, a knitted blanket is the same stitch on a wider cast on.

What you'll need

Step-by-Step Guide

8 steps · about 24 minutes.Check off each step as you go and your progress saves automatically.

1

Gather Super Bulky Yarn and Size 15 Knitting Needles

0:51
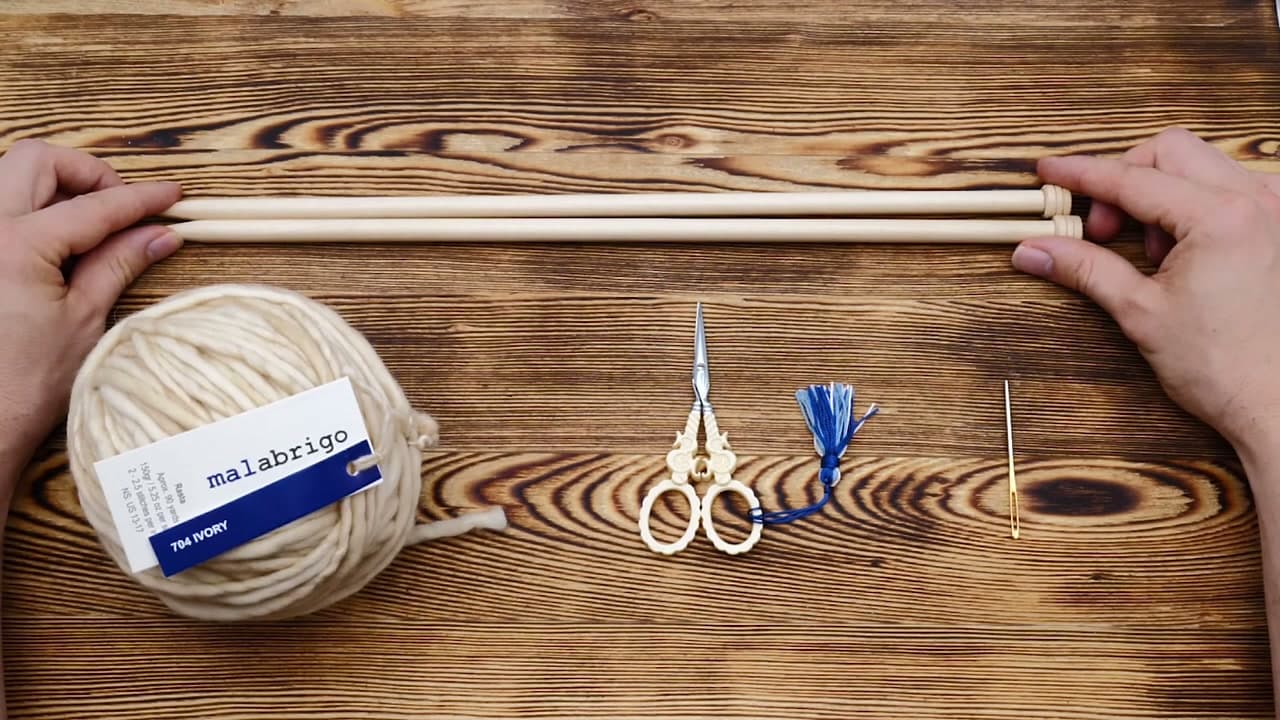
Step 1: Gather Super Bulky Yarn and Size 15 Knitting Needles - How to Knit a Scarf for Beginners

Two needles, one ball of yarn, a small pair of scissors and a blunt tapestry needle. That is the whole kit. Norman works with US 15 single point bamboo needles, which measure 10 mm across, and Malabrigo Rasta in Ivory for the yarn.

Any super bulky yarn rated for size 15 needles will do. Plan on about 150 yards for a scarf 1.5 yards long, so pick up two skeins if you want a longer wrap. Go for pure wool if you can, for a reason that shows up later.

Tip

Size 15 needles are heavy and a little clumsy in the hand. If your wrists complain after an hour, drop to size 8 or 9 with a lighter yarn. The scarf takes longer to knit but the knitting itself is kinder.
2

Wrap the Yarn Around Your Hand for the Long Tail Cast On

3:18
Step 2: Wrap the Yarn Around Your Hand for the Long Tail Cast On - How to Knit a Scarf for Beginners

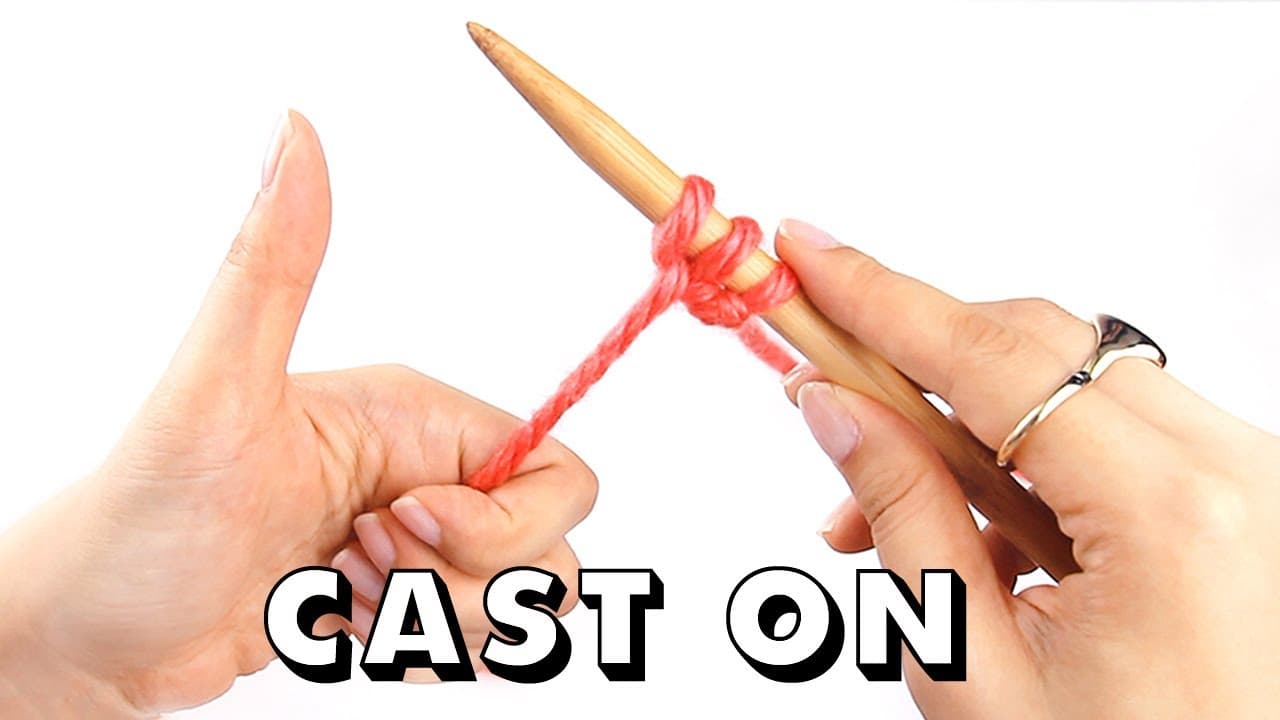
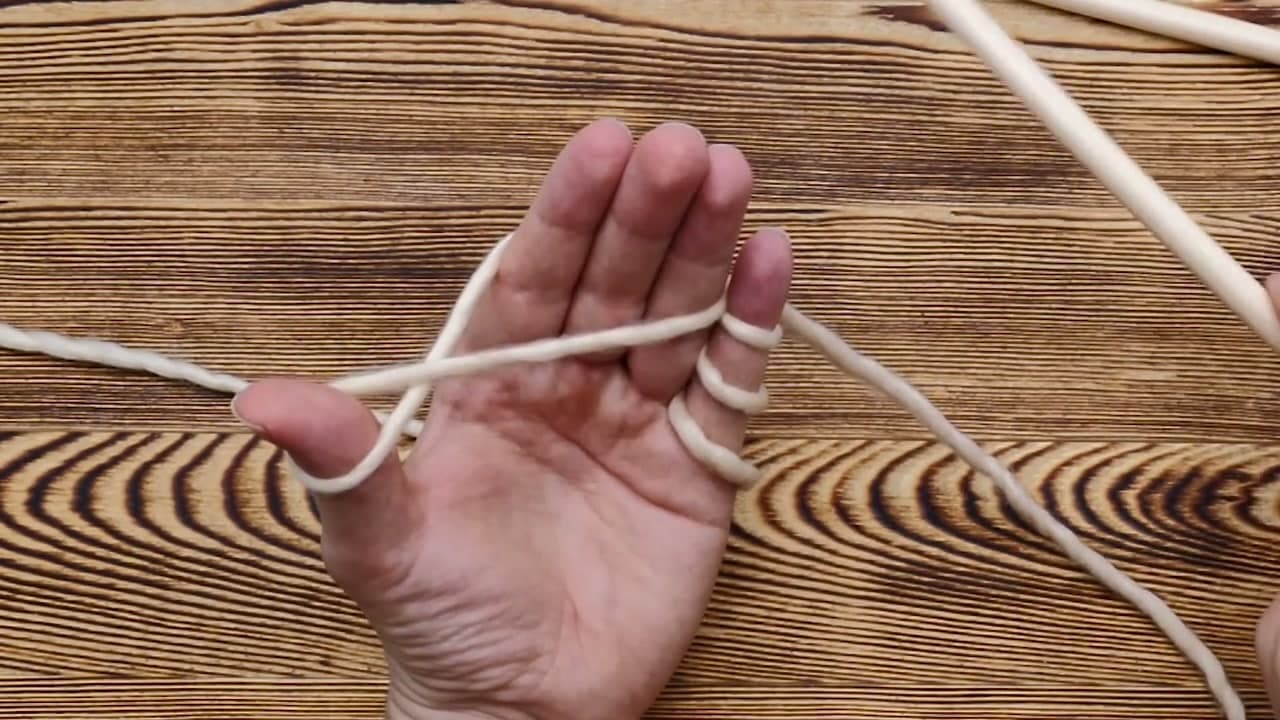
Measure off a tail about 30 inches long and keep the ball on your left. Wrap the working yarn twice around your pinky, carry it across the back of your hand, then take it once around your thumb going clockwise. Trap the tail between your ring and pinky fingers so it cannot slip.

You want an open loop sitting around the thumb with the yarn running up to your index finger. Every cast on stitch comes out of that loop, so get the hand position comfortable before you pick up a needle.

Tip

One wrap around the pinky instead of two gives you less tension and looser stitches. If your cast on row turns out too tight to knit into, that is the first thing to change.

Used in this stepsuper bulky merino yarn
3

Cast On 16 Stitches

5:44
Step 3: Cast On 16 Stitches - How to Knit a Scarf for Beginners

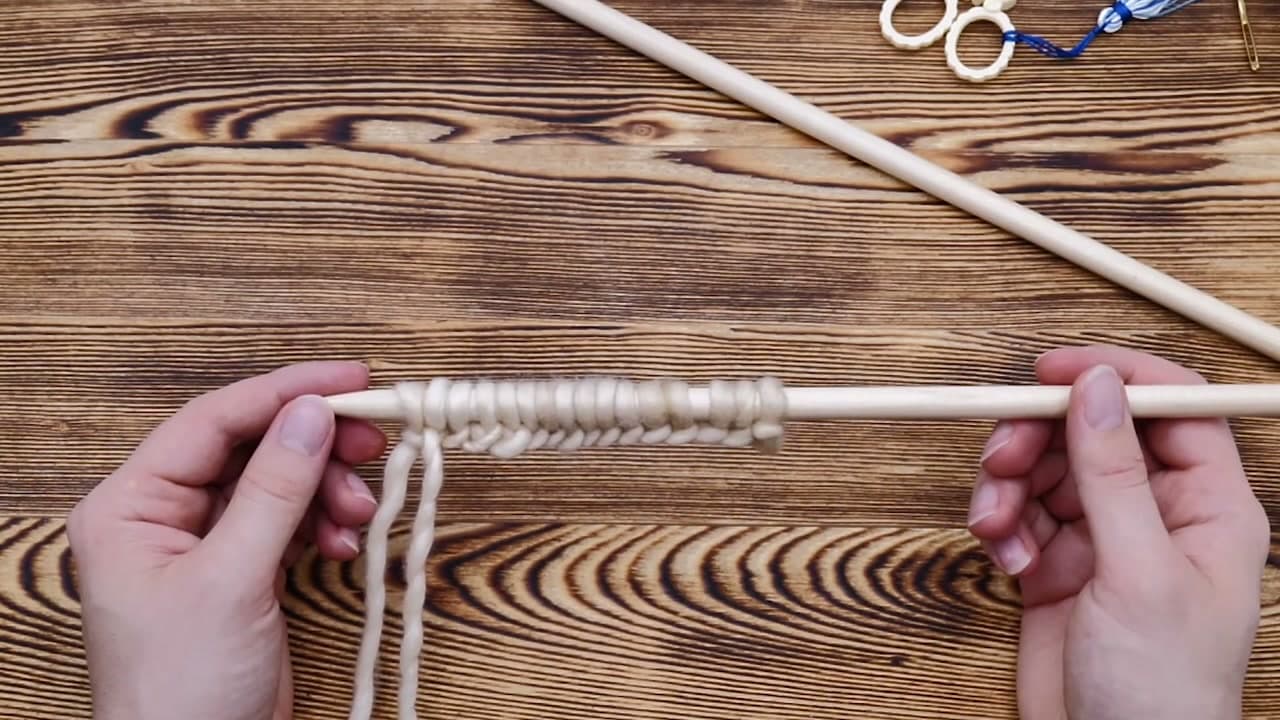
Hold one needle in your right hand. Slide the tip up into the thumb loop from underneath, reach over the yarn at your index finger, catch it from above and draw it back down through the loop. Slip your thumb free and pull gently to snug the new stitch against the needle.

Pull the needle toward you to open a fresh thumb loop and do it again. Insert, catch, pull through, tighten. Keep going until 16 stitches sit on the needle.

Tip

Count twice before you move on. Norman counts his row, finds 17 and drops one. Miscounting is normal at this size, and finding the extra stitch now beats finding it twenty rows in.

4

Knit the First Row

8:33
Step 4: Knit the First Row - How to Knit a Scarf for Beginners

Turn the needle so the stitches point left and the working yarn hangs behind the work. Wrap the yarn over your pinky and across the back of your hand again, then pick up the empty needle in your right hand.

Push the right needle into the first stitch from left to right, wrap the working yarn counterclockwise around the needle tip, pull that wrap through the stitch and slide the old stitch off the left needle. That is one knit stitch. Work all 16 the same way to finish the row.

Tip

Keep the working yarn behind the needles for the whole row. Let it drift to the front and you get a purl instead, which reads as a gap in the fabric. The knit and purl page shows the two side by side.

5

Knit Every Row in Garter Stitch

9:56
Step 5: Knit Every Row in Garter Stitch - How to Knit a Scarf for Beginners

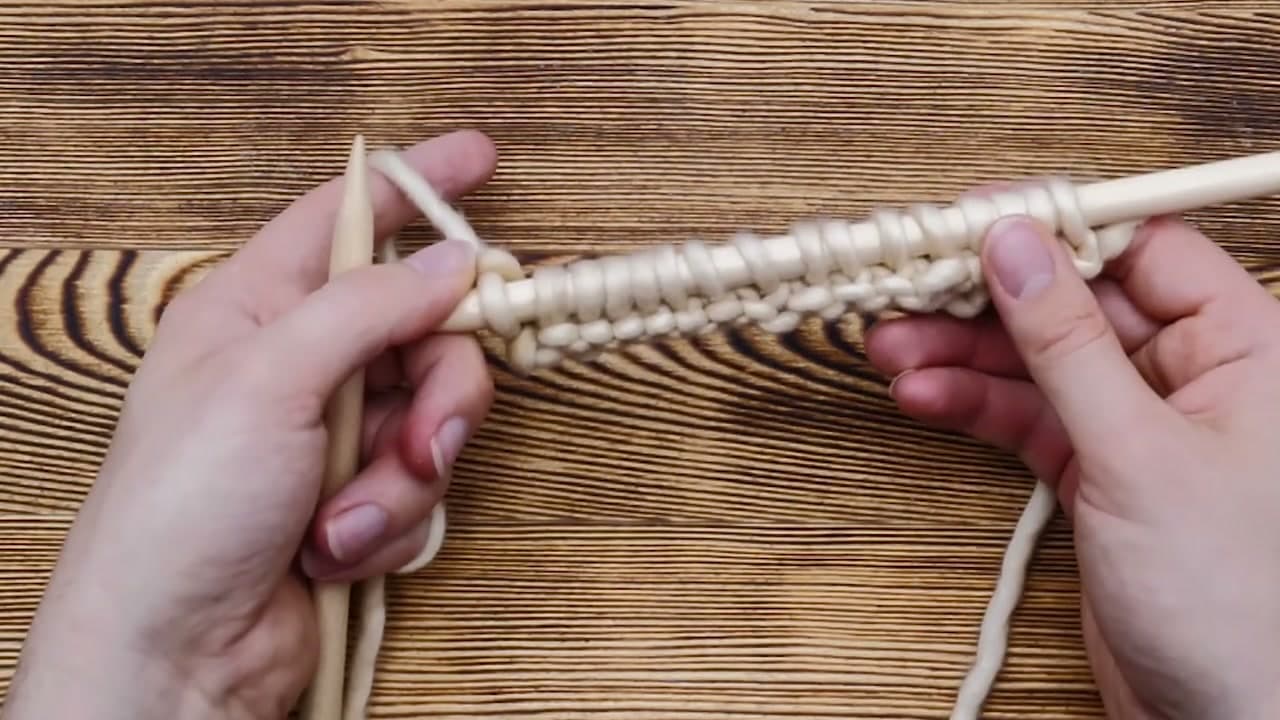
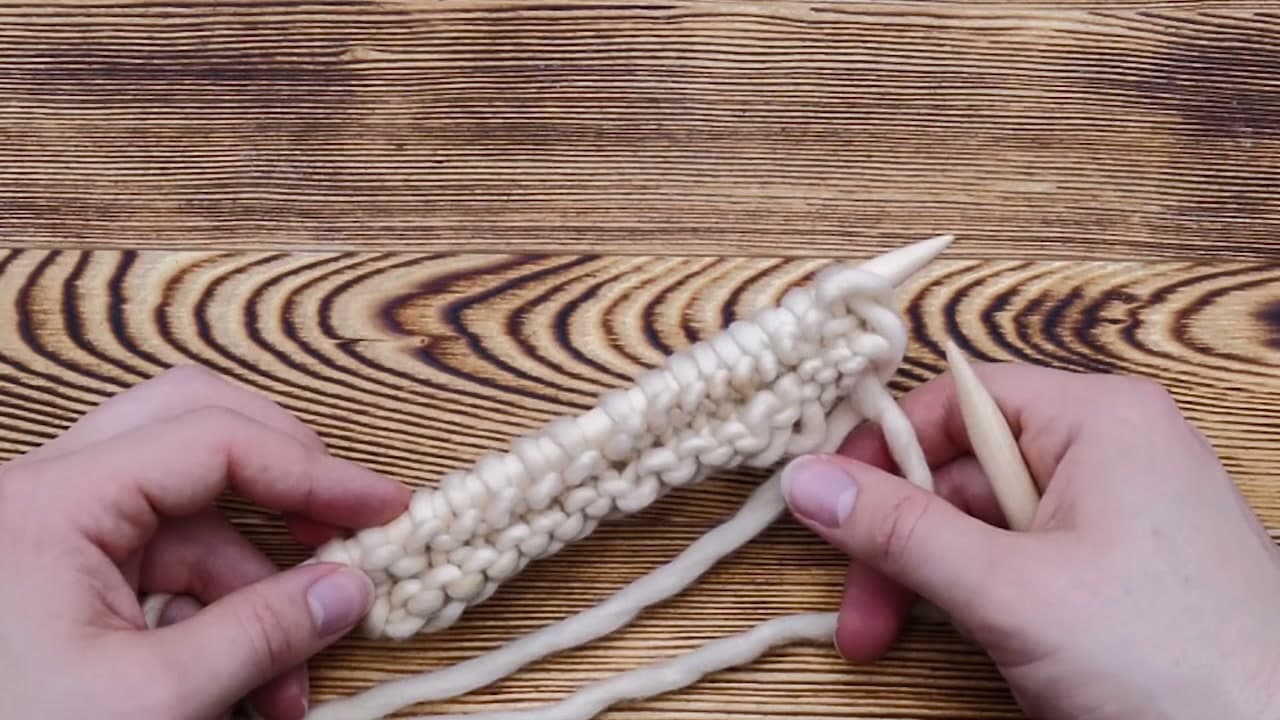
At the end of a row, swap the needles between your hands so the full one is back on the left. The working yarn will be sitting in front of the work. Move it to the back, then knit across again.

Every row is a knit row. No purling, no counting, no pattern. That is garter stitch, and it gives you those soft horizontal ridges on both faces of the fabric. Keep going until the scarf measures about 1.5 yards, which took Norman close to three hours.

Tip

Run out of yarn partway and you can felt the two ends together instead of knotting them. Tease each tail into a fan, wet both, stack them and roll hard between your palms. Wool only. Joining yarn covers the methods that work on other fibers.

Used in this stepsuper bulky merino yarn
6

Bind Off the Last Row

15:42
Step 6: Bind Off the Last Row - How to Knit a Scarf for Beginners

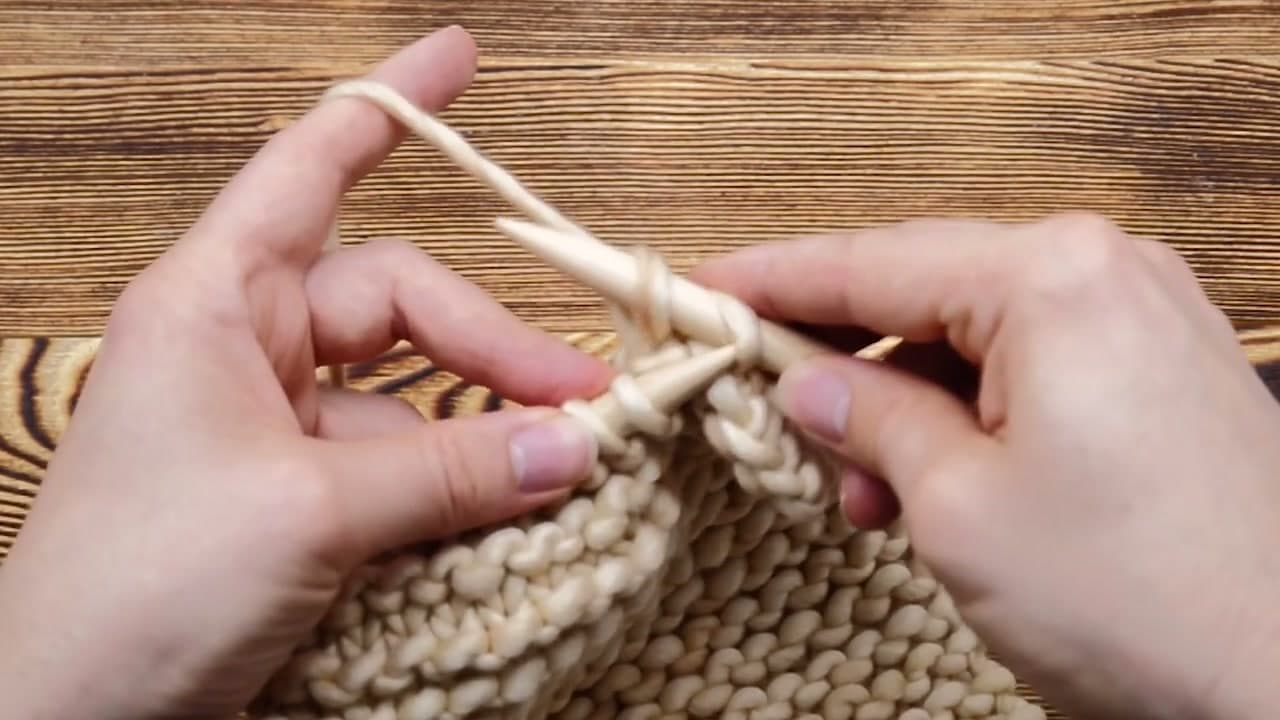
Knit two stitches the usual way so both sit on the right needle. Slide the left needle into the second of those two from left to right, lift it up and over the first stitch, and let it drop off the end. One stitch is left on the right needle.

Knit one more, lift the second over the first again, and repeat all the way across. The top edge closes into a neat chain as you work. Bind off and cast off mean the same move, so either word in a pattern points here.

Tip

Work the bind off at the same tension as the rest of your knitting. Pull it tight and the end of the scarf puckers inward, which is obvious once the scarf hangs.

7

Weave In the Tails With a Tapestry Needle

17:54
Step 7: Weave In the Tails With a Tapestry Needle - How to Knit a Scarf for Beginners

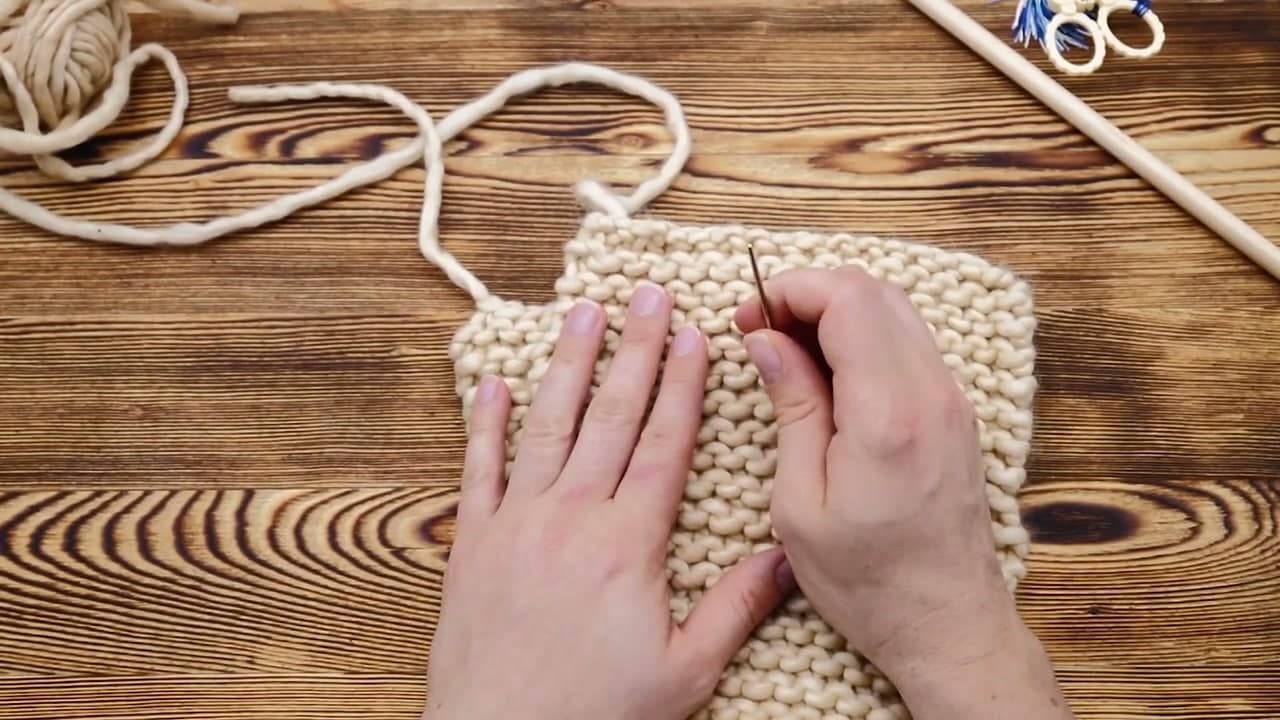
One stitch is left. Stretch it into a big loop, cut the yarn about six inches down and pull the cut end through the loop to lock it. Nothing unravels now, but a tail hangs off each end of the scarf.

Thread a tail onto the tapestry needle and run it through four or five stitches along the edge, pushing the needle through the yarn strands rather than between them. That split grip is what stops it working loose. Trim the excess close to the fabric.

Tip

Wool tails felt into place the first time the scarf is washed, so one pass is enough. On a smooth or synthetic yarn, go back a second time in a different direction before you trim.

8

Add Fringe to Both Ends of the Scarf

22:10
Step 8: Add Fringe to Both Ends of the Scarf - How to Knit a Scarf for Beginners

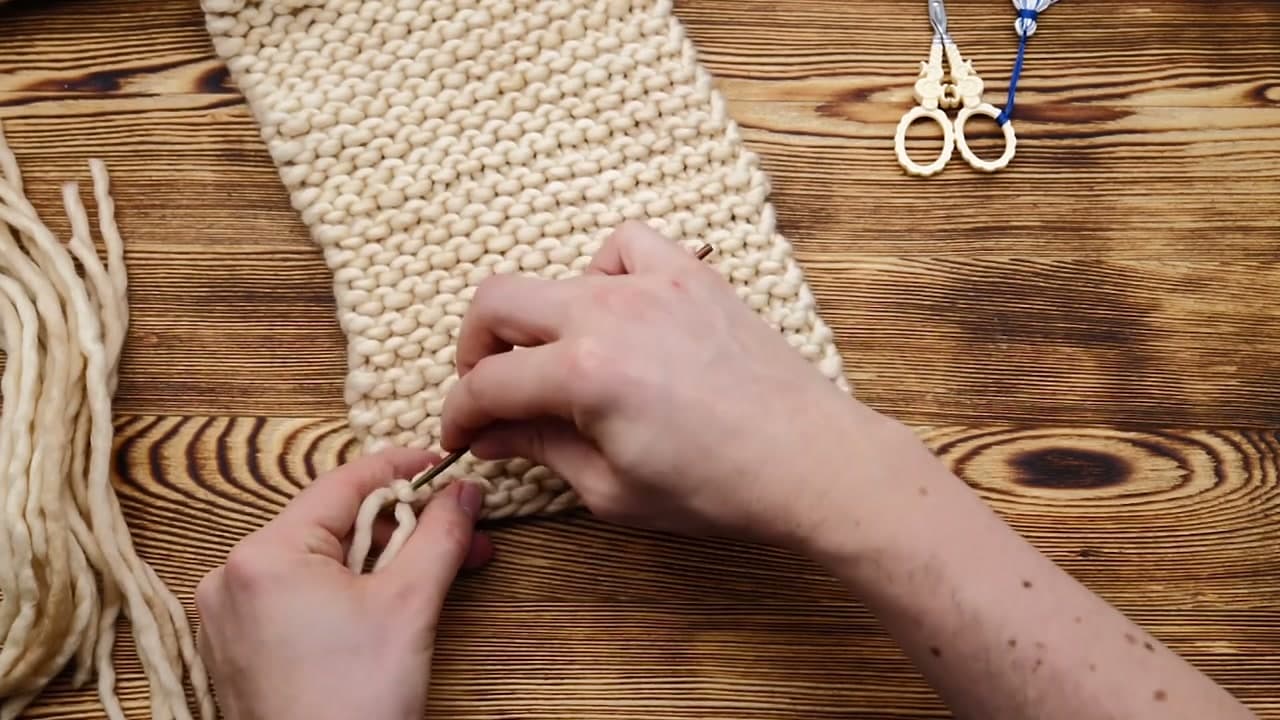
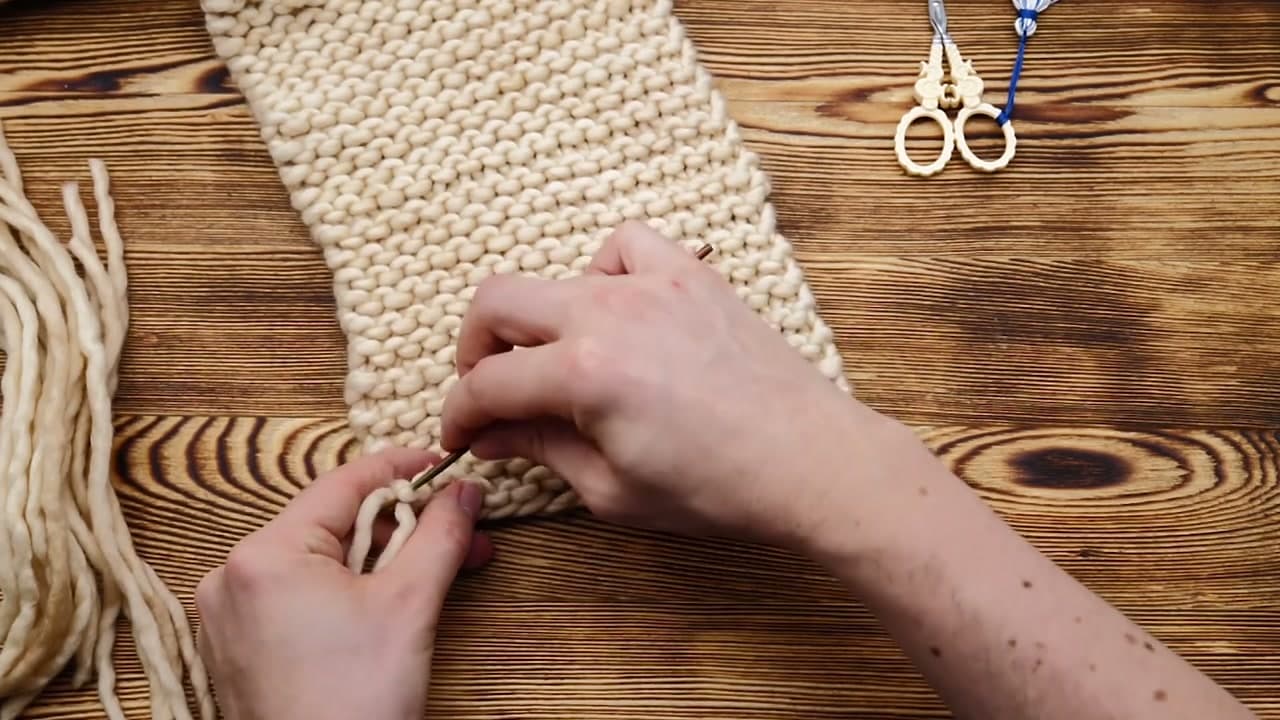
Cut a pile of yarn lengths about 10 inches long, one or two strands per fringe. Fold a strand in half. Push a small hook through a stitch along the cast on edge, catch the folded end and pull that loop out to the front of the scarf.

Feed the two loose tails through the loop and pull them tight against the edge. Work across the end, spacing the fringes evenly, then match them on the other end. Trim everything level once both ends are done.

Tip

A tapestry needle does the same job if you do not own a hook. The knot looks flimsy while you are tying it and holds anyway, so pull each one firm and move on.

Used in this stepcrochet hookyarn scissors

Keep going

How to Knit in the Round (Beginner Step-by-Step)

7 steps · about 12 minutes

Products Used

The Checklist

How to Knit a Scarf for Beginners

Tools
4
Materials
2
Steps
8
Video
24 min

Tools we recommend

Your Guide

NimbleNeedles

As an Amazon Associate we earn from qualifying purchases. Links on this page may be affiliate links - clicking them and buying doesn't change your price, but helps support CraftingStepByStep.

Tags

Sunday How-To

New knitting tutorials, every Sunday

One short email with the week's best step-by-step guides. Free, no spam, unsubscribe anytime.

Did this work for you?

What's next

Related collections

Curated theme pages that include this tutorial.

Weekly Digest

Liked this knitting tutorial?

Pick the categories you want to hear about. Weekly digest of new step-by-step tutorials. No spam, easy unsubscribe.

Send me tutorials about

We only email about new tutorials. Easy unsubscribe anytime.