How to Pick Up Stitches Knitting a Neckband

KnittingMedium6:358 stepsPart of DIY Crafts for BeginnersBrowse more →
The finished result: How to Pick Up Stitches Knitting a Neckband

By CraftingStepByStepPublished

Based on a video by West Yorkshire Spinners.

Picking up stitches is the job that turns two shoulder seams and a hole into a finished neckline. It is also where a lot of first sweaters go wrong. Pick up too many and the band ruffles. Pick up too few and it drags the neck in like a drawstring.

The number is the whole trick. Along a curved or vertical edge you are working into the ends of rows, and a row is shorter than a stitch is wide. So you want roughly 3 stitches for every 4 rows, skipping a hole every fourth row to keep the count honest. Along a horizontal bound-off edge, like the back neck, it goes back to one for one. Your pattern gives a stitch count for each section, and reading the pattern closely here saves a lot of ripping back.

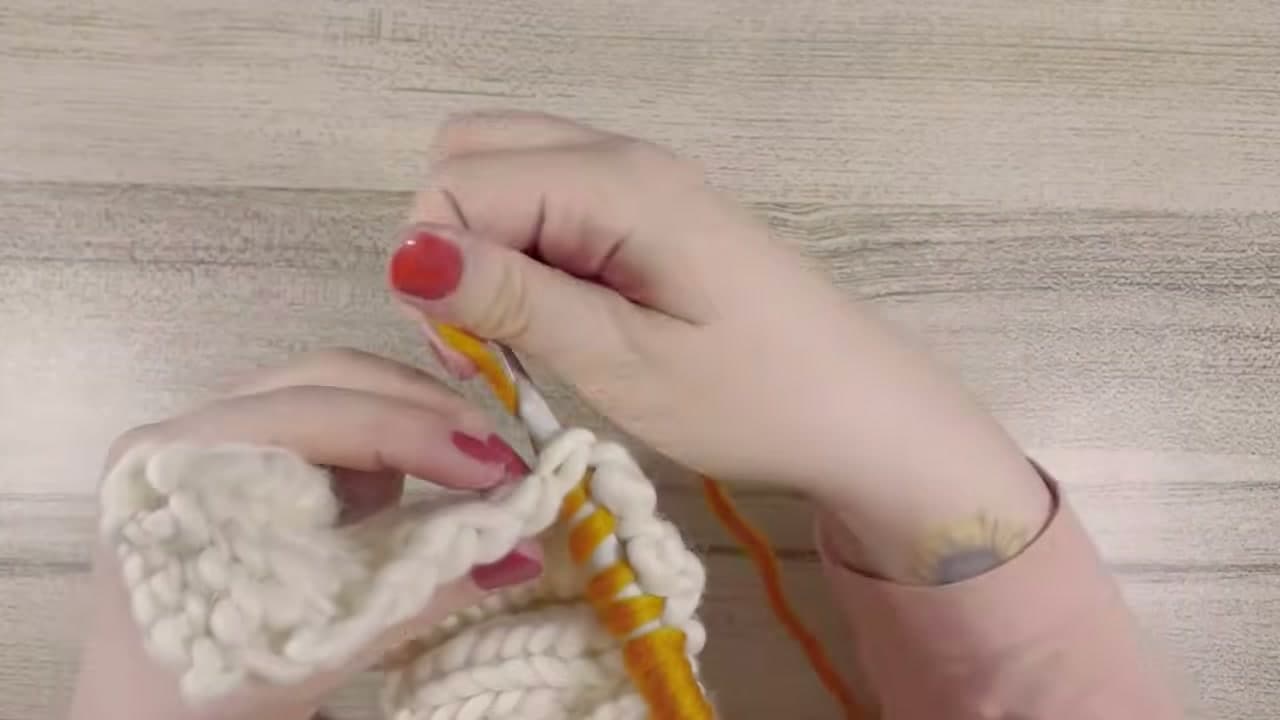
This walkthrough follows a West Yorkshire Spinners lesson taught by Chloe Elizabeth Birch. She works a small sample neckline in super chunky cream yarn with a mustard contrast, so every new loop is easy to see: down the left curve, across the held center stitches, then back up the right.

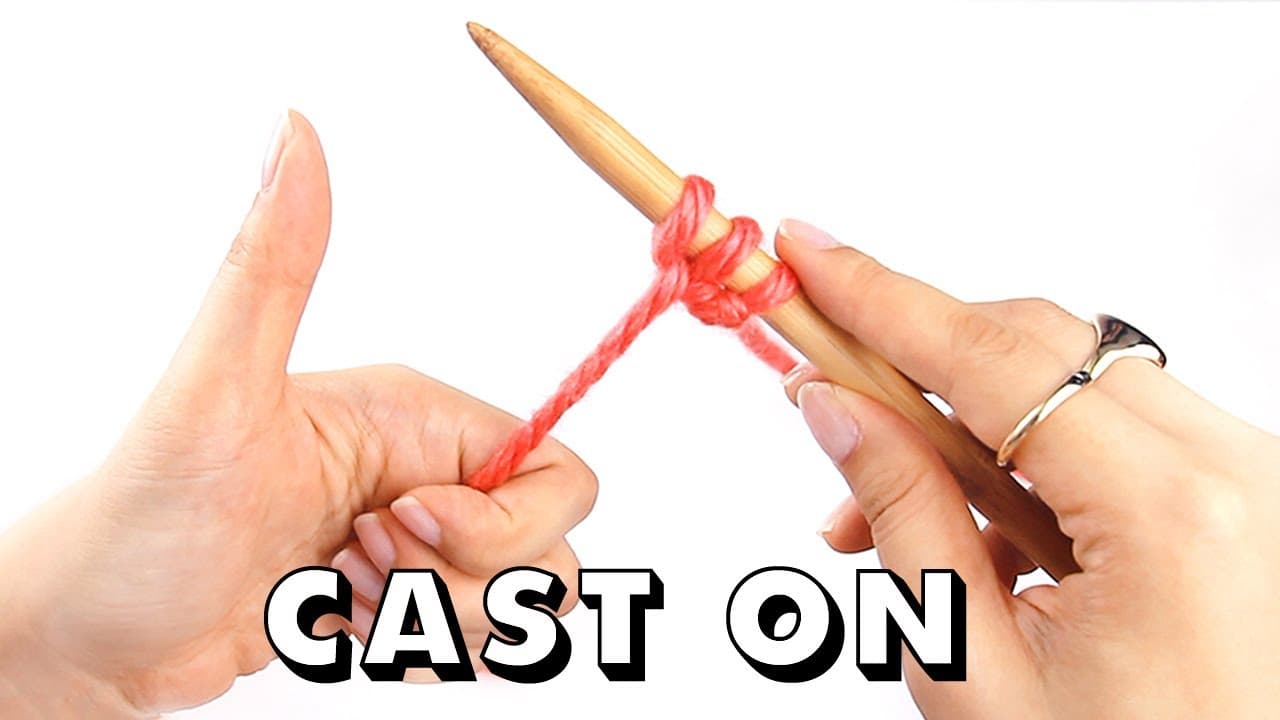
Know your cast on and your purl stitch before you start, since the band itself is usually rib. Once it is the depth you want, bind off loosely and weave in the tail you left hanging at the shoulder.

What you'll need

Step-by-Step Guide

8 steps · about 7 minutes.Check off each step as you go and your progress saves automatically.

1

Lay the Neckline Flat with the Center Stitches on a Holder

0:20
Step 1: Lay the Neckline Flat with the Center Stitches on a Holder - How to Pick Up Stitches Knitting a Neckband

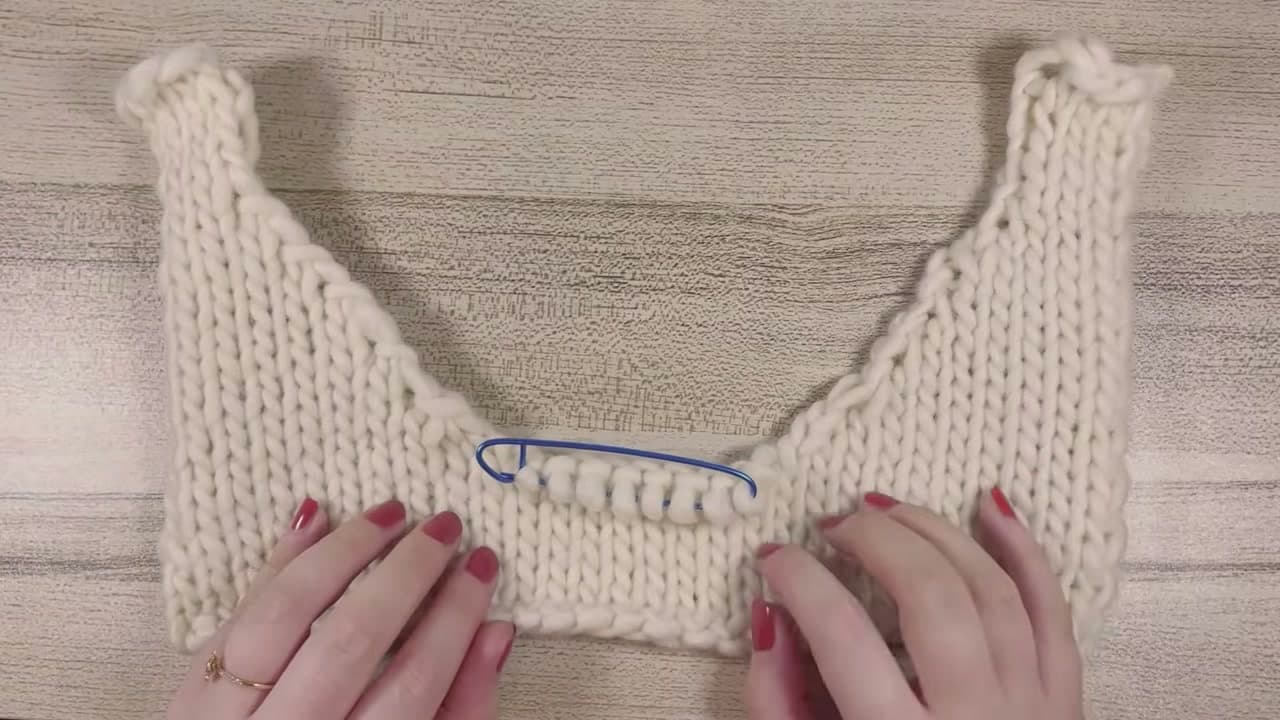
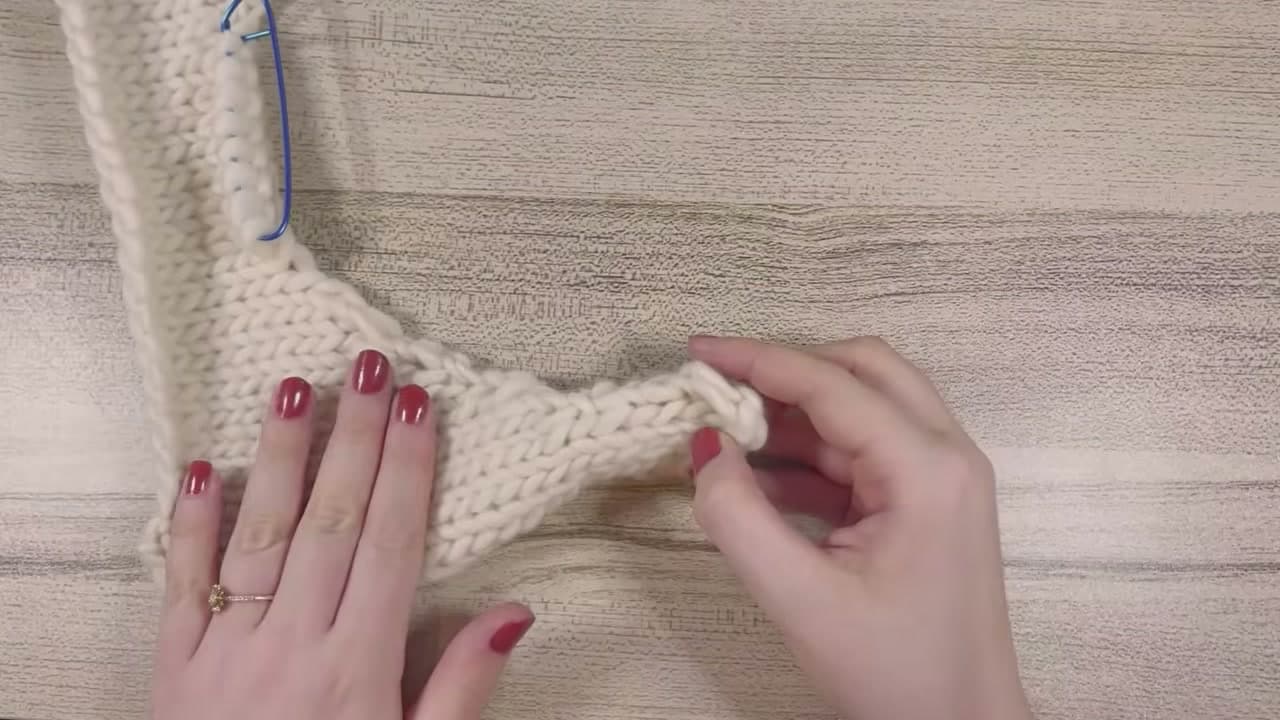
Lay the piece flat with the right side facing you. A neckline is three sections: a curved edge running down from the left shoulder, a straight run of center stitches parked on a holder, and a second curve back up to the right shoulder.

You work them in that order. The two curves get picked up. The center stitches are already live, so they get knitted straight off the holder when you reach them.

Tip

Keep the right side facing you the whole way round. The little ridge you create sits on the wrong side, where nobody sees it.
2

Find the Left Shoulder Seam at the Top of the Curved Edge

0:58
Step 2: Find the Left Shoulder Seam at the Top of the Curved Edge - How to Pick Up Stitches Knitting a Neckband

Start at the left shoulder seam. Put a finger on the edge one whole stitch in from the very end, not on the edge stitch itself. That one stitch of fabric is what hides the join.

Working right at the edge leaves a loose, gappy line that shows from the front. One stitch in gives the new loops something solid to sit in, and the edge stitch rolls under on its own.

Tip

If the pattern says 'pick up and knit', this is the move it means. 'Pick up and purl' is the same thing worked with the wrong side facing you, and it turns up on button bands more than necklines.

Used in this stepknitting needles
3

Wrap the Contrast Yarn Around the Needle Tip

1:44
Step 3: Wrap the Contrast Yarn Around the Needle Tip - How to Pick Up Stitches Knitting a Neckband

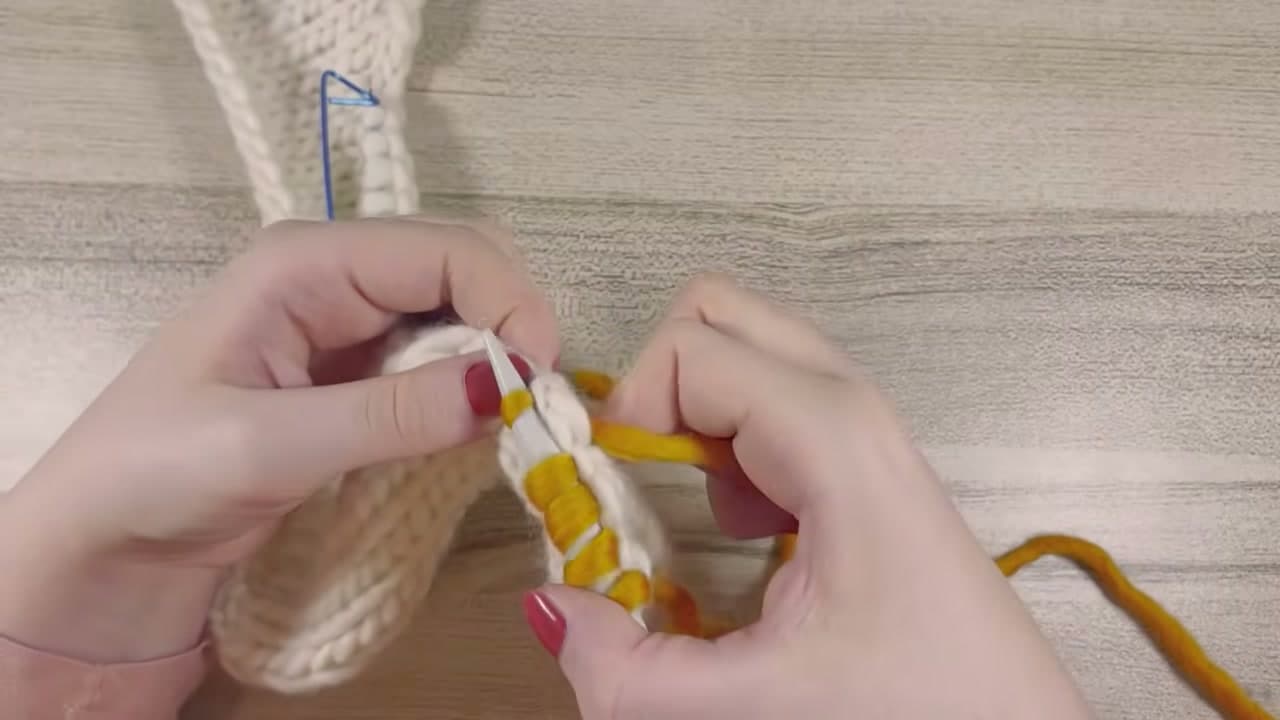
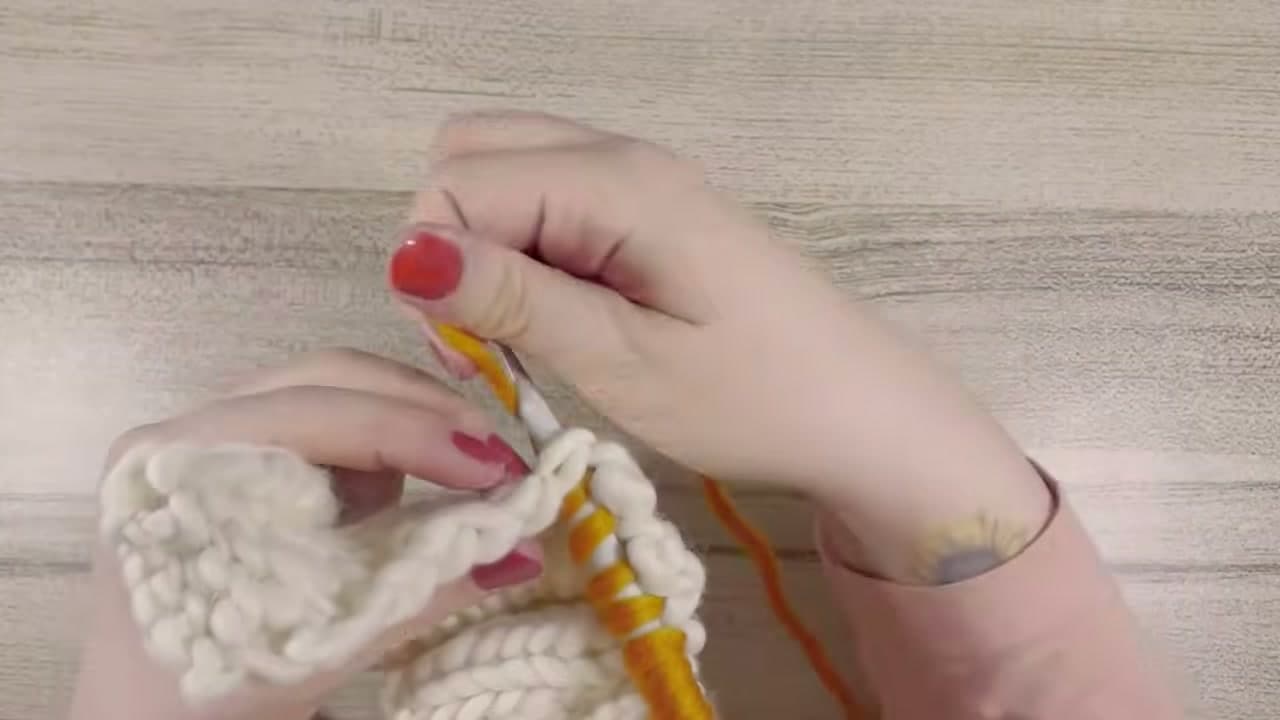
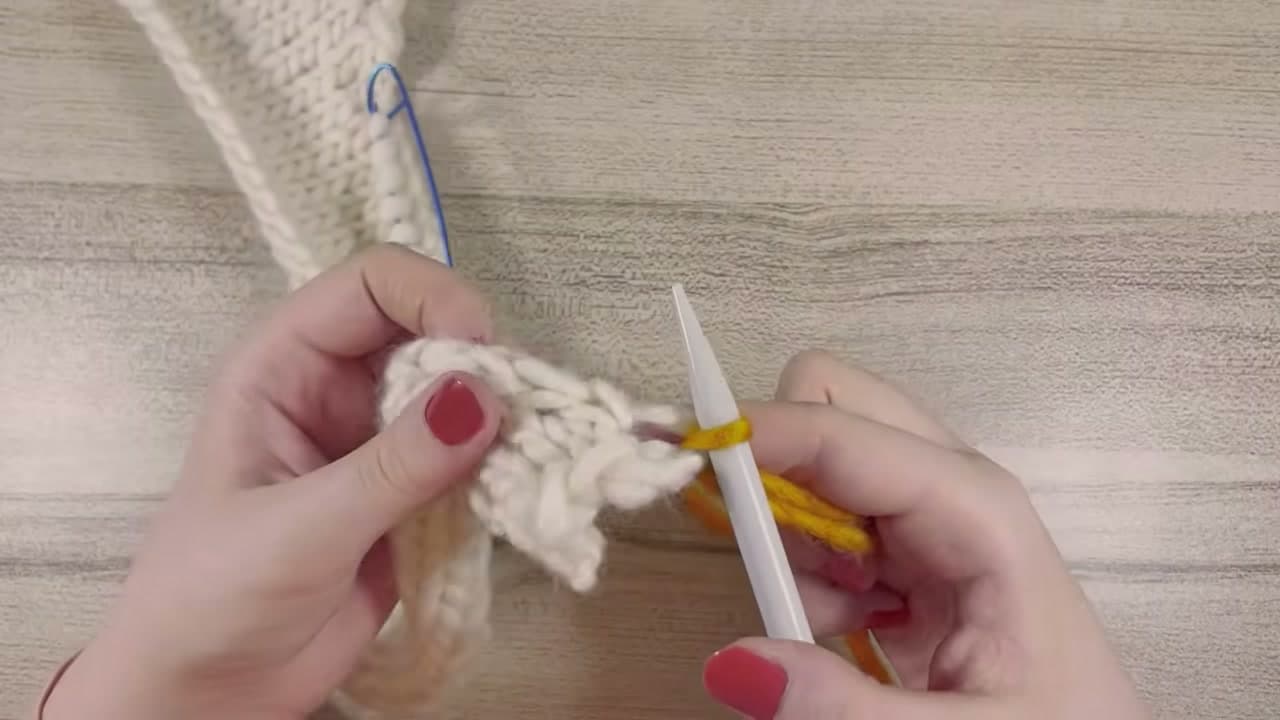
Push the needle tip through the fabric one stitch in from the edge, front to back. Take your working yarn and lay it over the needle, leaving about 8 inches of tail loose so you have something to sew in later.

Hold that yarn taut with your other hand and draw the loop back through to the front. That is one stitch on the needle. Keep the tension firm as you pull or the loop comes out baggy.

Tip

Use a contrast color for your first practice run the way the video does. Cream loops on cream fabric are hard to count, and counting is the part that matters.

4

Pull a New Loop Through at Each Hole Down the Edge

2:42
Step 4: Pull a New Loop Through at Each Hole Down the Edge - How to Pick Up Stitches Knitting a Neckband

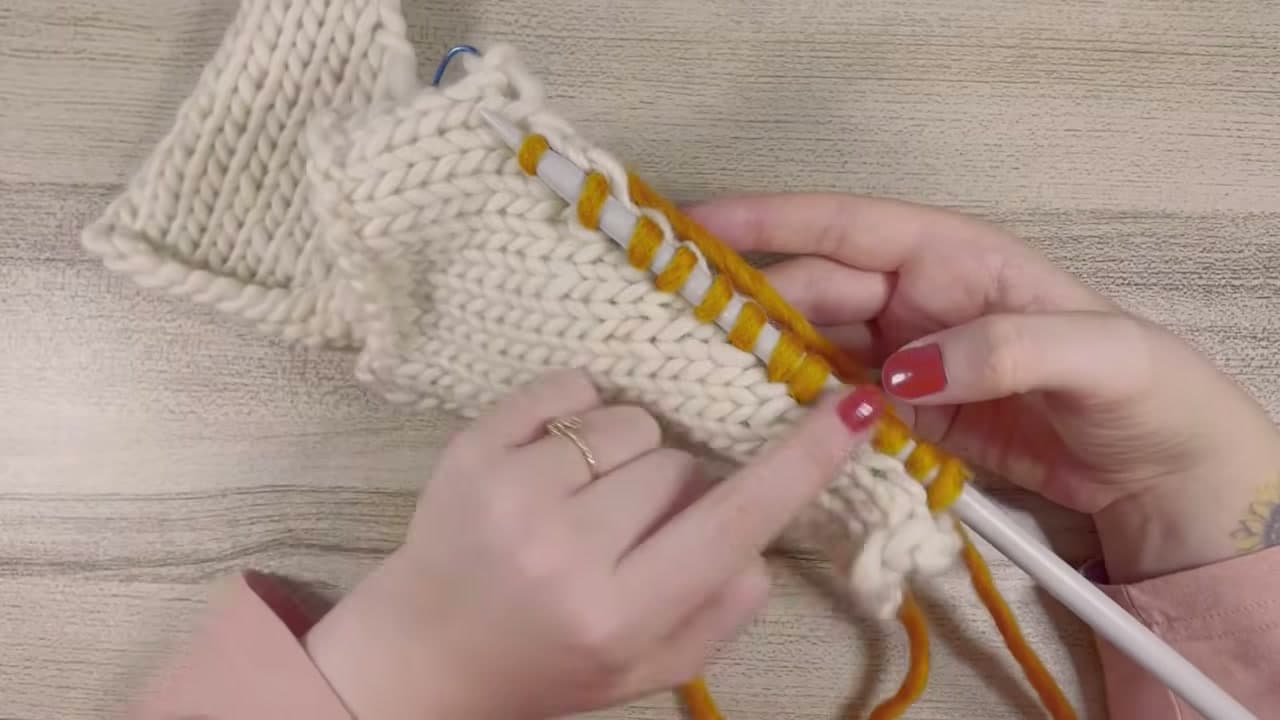
Move down one hole and repeat: needle through, yarn over the needle, pull the loop out. Same distance in from the edge every time, so the line of new stitches runs dead straight down the fabric.

Do not rush the spacing. A wandering pick-up line is the thing you notice from across the room, more than any single wonky stitch.

Tip

Work a few, then flip the piece over. The back should show a tidy little seam of yarn. If that seam is on the front instead, you have the wrong side facing you.

Used in this stepcircular knitting needles
5

Count the Picked Up Stitches: 3 Stitches for Every 4 Rows

3:38
Step 5: Count the Picked Up Stitches: 3 Stitches for Every 4 Rows - How to Pick Up Stitches Knitting a Neckband

Stop and count. Your pattern asks for a set number of stitches down this curve, and it will be fewer than the number of rows you are working along. That is on purpose.

A knit row is shorter than a stitch is wide, so matching one stitch to one row crams too much fabric into the band and it ruffles. Pick up 3 stitches for every 4 rows: work three holes, skip the fourth, repeat. Spread the skips out rather than bunching them.

Tip

Different rule on a bound-off edge. Across the back neck, or any horizontal edge, pick up one stitch for every stitch, straight across.

Used in this steprow counterstitch markers
6

Slide the Held Center Stitches Off the Holder Onto a Needle

4:18
Step 6: Slide the Held Center Stitches Off the Holder Onto a Needle - How to Pick Up Stitches Knitting a Neckband

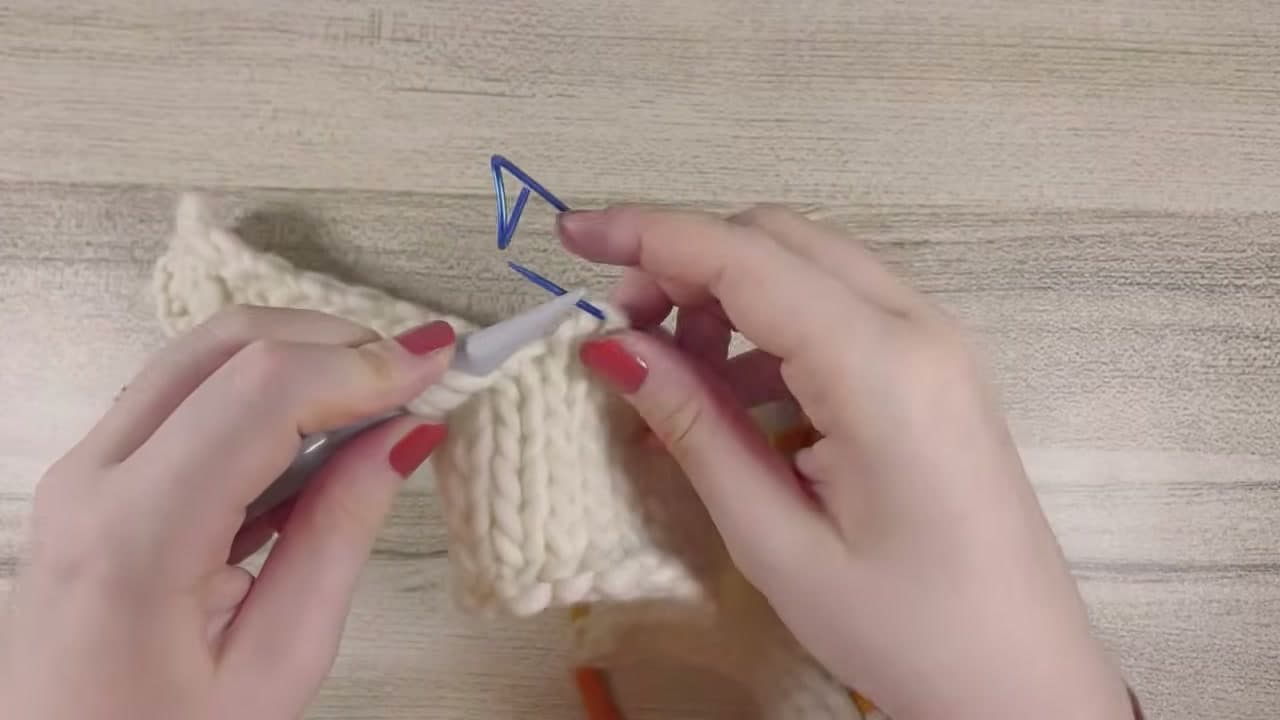
You have reached the center. Open the stitch holder and slide those live stitches onto a spare needle, one at a time, in the order they come off it.

Watch which way round they sit. A stitch that flips as it leaves the holder ends up twisted, and one twisted stitch in the middle of a neckband is obvious the moment the garment goes on.

Tip

No spare needle? A double-pointed needle or a smooth circular does the job. Go a size smaller if you have one, since a thinner tip slides into live stitches without stretching them.

7

Knit Across the Center Stitches with a Needle in Each Hand

4:40
Step 7: Knit Across the Center Stitches with a Needle in Each Hand - How to Pick Up Stitches Knitting a Neckband

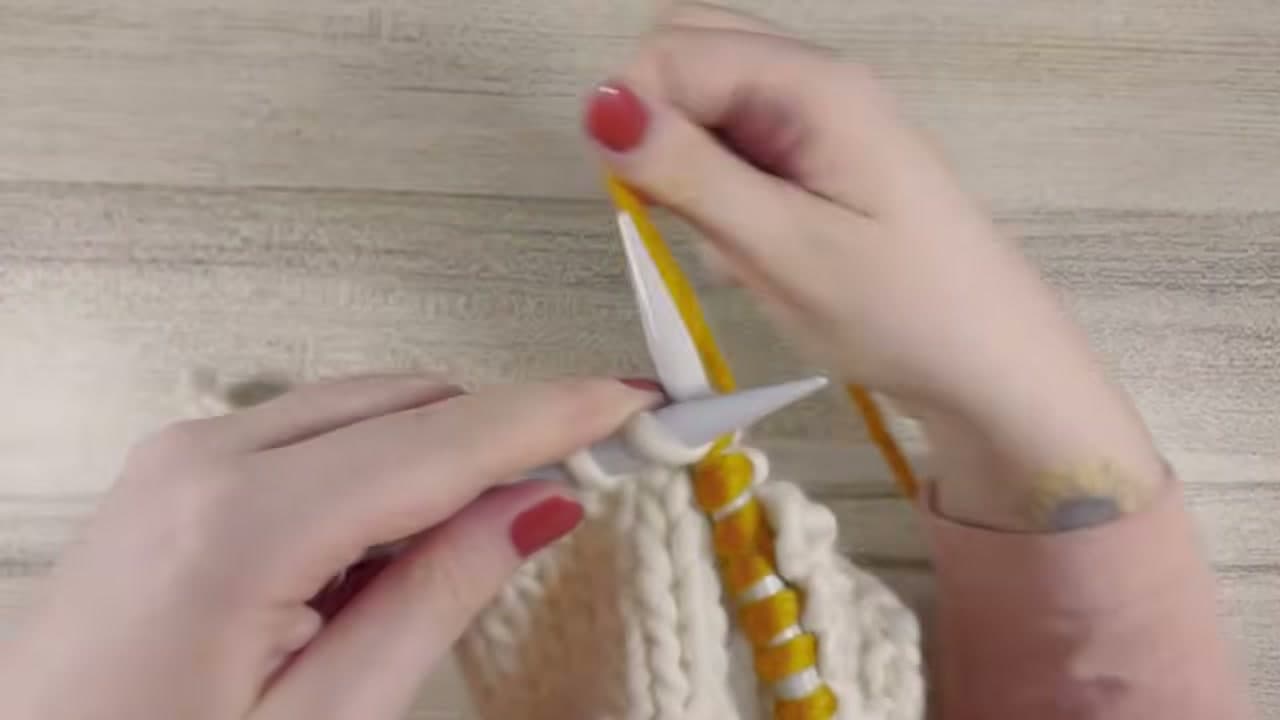
With a needle in each hand, knit across the center stitches using the same working yarn you have been picking up with. These stitches are already live, so they are knitted, not picked up.

When the last one has come off the spare needle, set that needle down. Everything sits on one needle now, and you carry on with a single needle for the second curve.

Tip

Snug the first center stitch up tight. The join between picked-up stitches and held stitches is where a loose gap likes to open up.

Used in this stepknitting needles
8

Work Back Up the Second Curve to the Right Shoulder

5:26
Step 8: Work Back Up the Second Curve to the Right Shoulder - How to Pick Up Stitches Knitting a Neckband

Turn to the second curve and work up it rather than down, going into the row above the one you used last each time. Stay one stitch in from the edge, right through the shaped decreases at the top.

Skip a row now and then on this side too, the same 3 in 4 rhythm, so both curves finish with the same count. You end at the right shoulder seam where you started.

Tip

The neckline looks bunched and odd with everything crowded onto one needle. That is normal. It flattens out as soon as you have worked a couple of rows of the band.

Used in this stepcircular knitting needles

Keep going

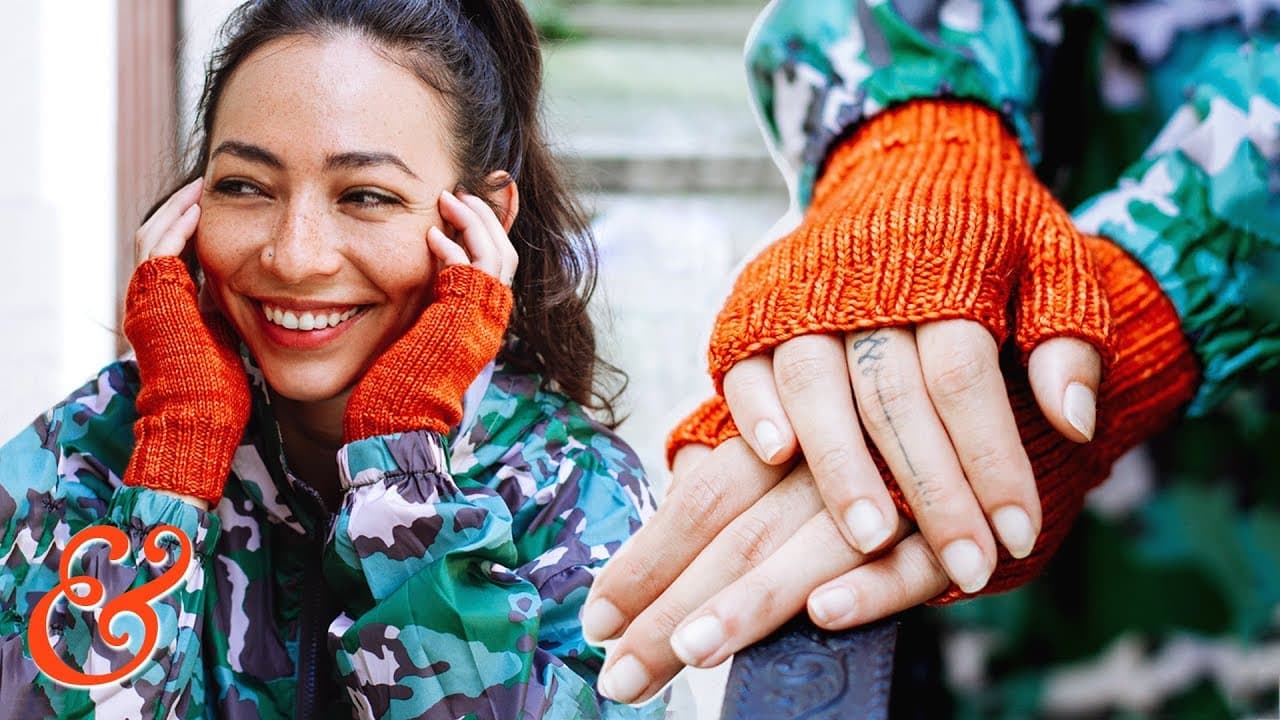
How to Knit Fingerless Gloves: Beginner Pattern in 7 Steps

Products Used

The Checklist

How to Pick Up Stitches Knitting a Neckband

Tools
8
Materials
2
Steps
8
Video
7 min

Tools we recommend

Your Guide

West Yorkshire Spinners

As an Amazon Associate we earn from qualifying purchases. Links on this page may be affiliate links - clicking them and buying doesn't change your price, but helps support CraftingStepByStep.

Tags

Sunday How-To

New knitting tutorials, every Sunday

One short email with the week's best step-by-step guides. Free, no spam, unsubscribe anytime.

Did this work for you?

What's next

Related collections

Curated theme pages that include this tutorial.

Weekly Digest

Liked this knitting tutorial?

Pick the categories you want to hear about. Weekly digest of new step-by-step tutorials. No spam, easy unsubscribe.

Send me tutorials about

We only email about new tutorials. Easy unsubscribe anytime.