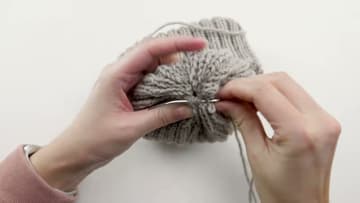
How to Knit a Hat
Source: B.Hooked Knitting • Full tutorial: www.craftingstepbystep.com/knitting/how-to-knit-a-hat
- Difficulty
- Easy
- Hands-on time
- About 4 hours
- Cost
- About $8 to $15
- Makes
- 1 knitted hat

Tools
- US 7 circular knitting needles, 16 inch
- Longer circular needles for magic loop, 32 to 40 inch
- Double-pointed needles as an alternative to magic loop
- Stitch marker
- Locking stitch marker
- Yarn needle
- Scissors
- Measuring tape
Materials
- Worsted weight yarn, about 200 to 250 yards
- Faux fur pom pom, optional
Steps
1. Wrap the Yarn Around the Needle to Measure Your Tail
Long tail cast on eats yarn from the tail end, and running out at stitch 94 means starting over. Wrap the yarn around the needle shaft ten times and note how long that stretch of yarn is.
Tip: Loose wraps give you a longer tail than you need, and extra tail costs you nothing. Snug wraps are what leave you three stitches short.
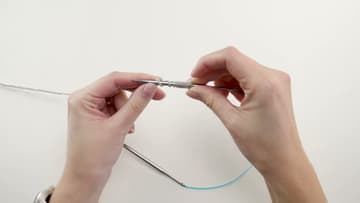
2. Cast On Stitches With the Long Tail Method
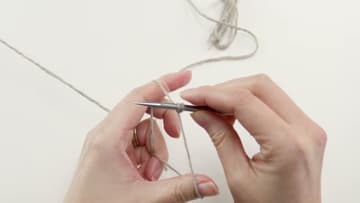
Make a slip knot where the tail measurement ended and slide it onto one needle tip. Drape the tail over your thumb and the working yarn over your index finger, holding both ends down in your palm.
Tip: Count in groups of 20 and clip a locking marker on every twentieth stitch. Recounting 100 loose stitches on a cord is how most people lose ten minutes here.
3. Lay the Cast-On Round Flat and Add a Stitch Marker
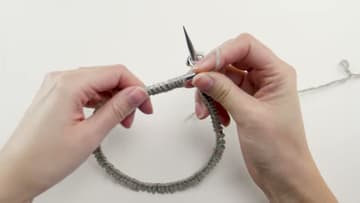
Set the whole round down on the table in a circle. Run a finger all the way around and check that the braided cast-on edge faces the inside at every point, with no stitch flipped over the cord.
Tip: Working the first round flat and joining on round two is a fair trade if twists keep catching you out. The small gap at the base closes when you sew the tail across it.
4. Knit Two, Then Bring the Yarn Forward and Purl Two
Knit the first two stitches with the working yarn behind the needles. Bring the yarn to the front between the two tips, purl the next two, then send it to the back again.
Tip: Pull the yarn firm on the stitch right after each knit-to-purl switch. A loose one there shows up as a slack ladder running the length of the hat.
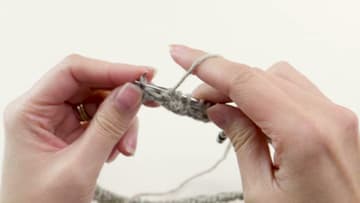
5. Hold the Ribbed Tube Up to Check the Length
Rib squashes flat on the table and looks shorter than it is, so lift the tube and let it hang before you measure. You want enough height to fold a brim up and still cover the top of the head.
Tip: Try it on. A ribbed tube pulled over your head tells you more in five seconds than a tape measure does, and two more inches are always an option.

6. Knit Two Stitches Together to Start the Crown
Push the right needle through the front of the first two stitches at the same time and knit them as though they were one. Purl the next two, then repeat knit two together, purl two, around.
Tip: Click a row counter at the end of every round. The crown rounds are not interchangeable, and losing your place here is what makes a crown look lumpy.
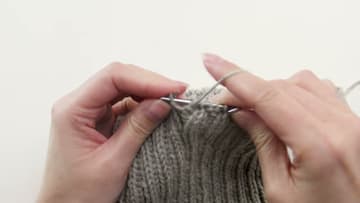
7. Knit the Stitches Onto a Longer Circular Needle
Around the fourth or fifth crown round the stitches stop reaching around a 16 inch cord, and fighting them gets old fast. Work the next round with a much longer circular in your right hand and let every finished stitch land on the new needle.
Tip: Swap your ring marker for a locking one before this round. A ring marker slides along the bare cord and stops telling you anything. She makes the switch at 6:00.
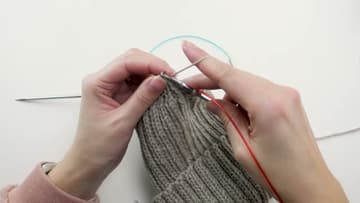
8. Thread the Tail Through the Last Stitches and Cinch the Crown
Once the final decrease round leaves a small handful of stitches, cut the yarn about 20 inches out and thread it on a yarn needle. Pass the needle knitwise through each live stitch, then slide them off the tips only when every one is caught.
Tip: Funky-looking decreases are normal on a first hat, and a pom pom covers the entire crown. Nobody has ever spotted a wobbly decrease under one.