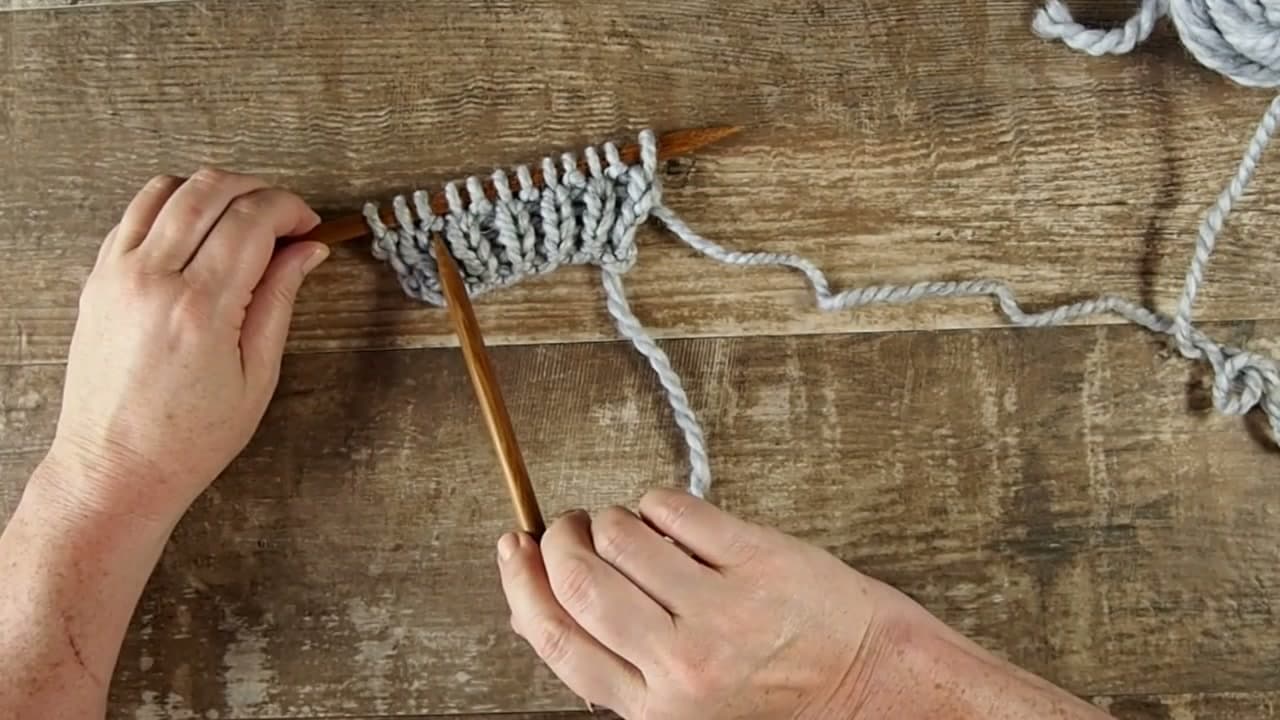
How to Knit Ribbing: 1x1 and 2x2 Rib Stitch

KnittingEasy7:448 stepsPart of DIY Crafts for BeginnersBrowse more →
The finished result: How to Knit Ribbing: 1x1 and 2x2 Rib Stitch

By CraftingStepByStepPublished

Based on a video by Pattymac Makes.

Ribbing is the stretchy fabric on a cuff, a hat brim or a sweater hem. It is nothing more than knit stitches and purl stitches alternating in the same row, and the columns it forms pull the fabric in sideways. That is the whole reason it works on a brim. It hugs.

The mistake almost everyone makes on a first rib is leaving the yarn where it was. The yarn has to move between the two needle tips every time you change stitch. Forward before a purl, back before a knit. Leave it sitting over the top of the needle and you get an accidental yarn over, which shows up two rows later as a hole and an extra stitch you cannot account for.

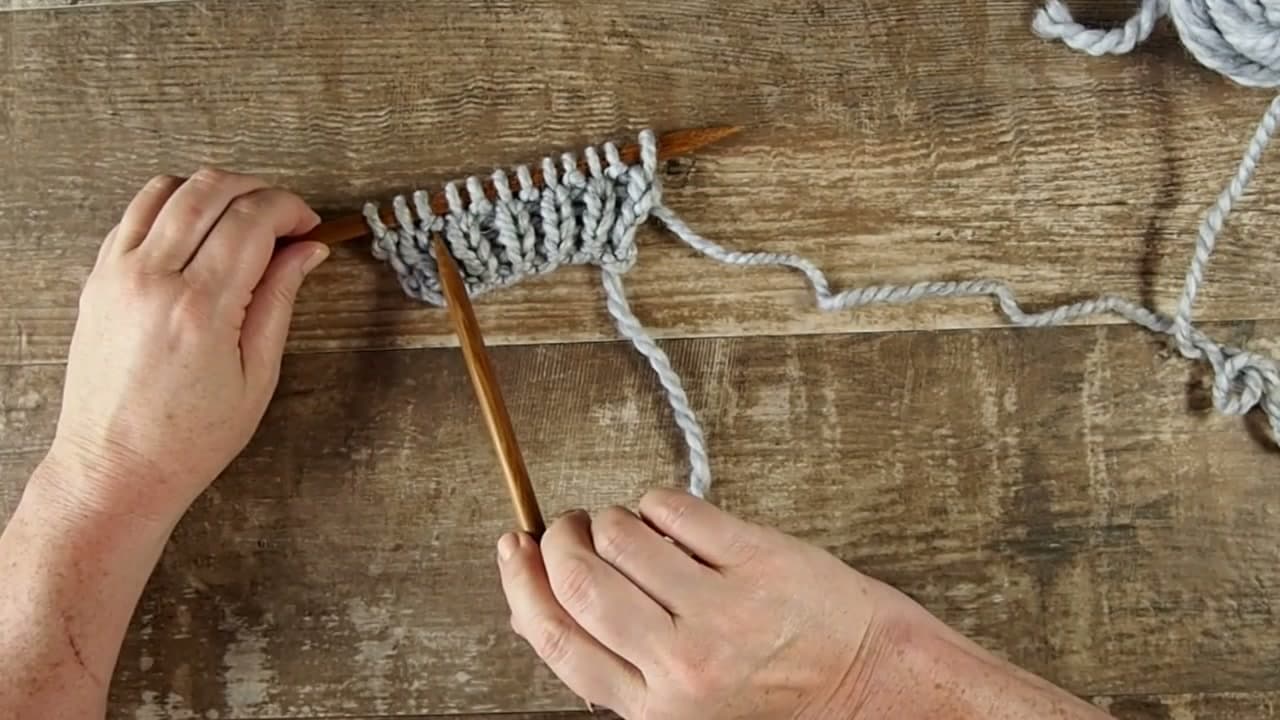
Pattymac Makes works this one as a slow overhead demo on 12 stitches, so you can watch the yarn cross between the needles on every stitch. The video covers 1x1 rib. The same rule runs 2x2 rib, where you knit two and purl two, and that is the version you will meet on most hat brims because the columns read wider.

You need the two base stitches before this makes sense. If either one is shaky, work through the knit and purl stitches first, then come back. Start the swatch with a cast on, and when the rib is deep enough finish with a bind off. The obvious place to spend it is a knitted hat.

What you'll need

Step-by-Step Guide

8 steps · about 8 minutes.Check off each step as you go and your progress saves automatically.

1

Cast On an Even Number of Stitches

0:22
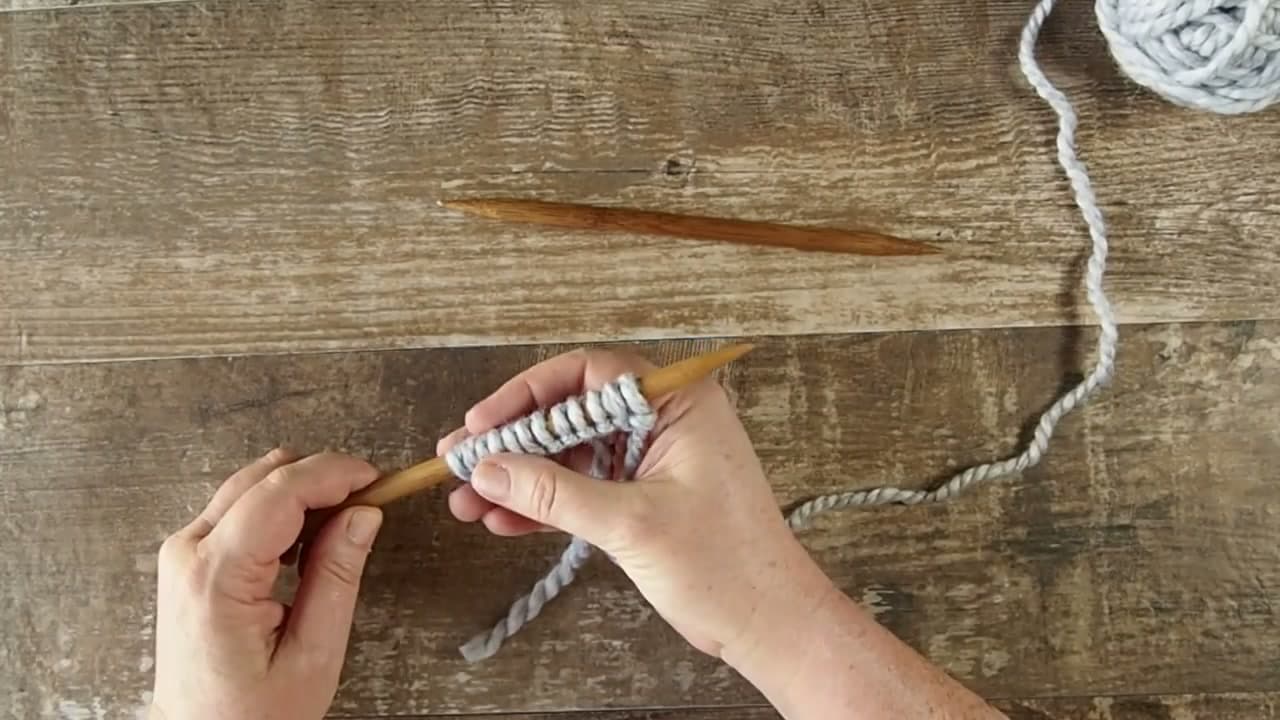
Step 1: Cast On an Even Number of Stitches - How to Knit Ribbing: 1x1 and 2x2 Rib Stitch

Ribbing repeats over two stitches, so an even number lets the row start and end the same way. Pattymac casts on 12 for the swatch, which is enough to see the columns form. Any cast on will do the job here.

For 2x2 rib, cast on a multiple of four instead. Size the needles to whatever the yarn band recommends. A light solid color is kinder on the eyes while you are learning, because you have to read the stitches and a variegated yarn hides them.

Tip

A long tail or knitted cast on leaves an edge with some give in it. A tight cast on fights the stretch of the rib above it and the cuff will not go over a hand.
2

Knit the First Stitch With the Yarn at the Back

0:34
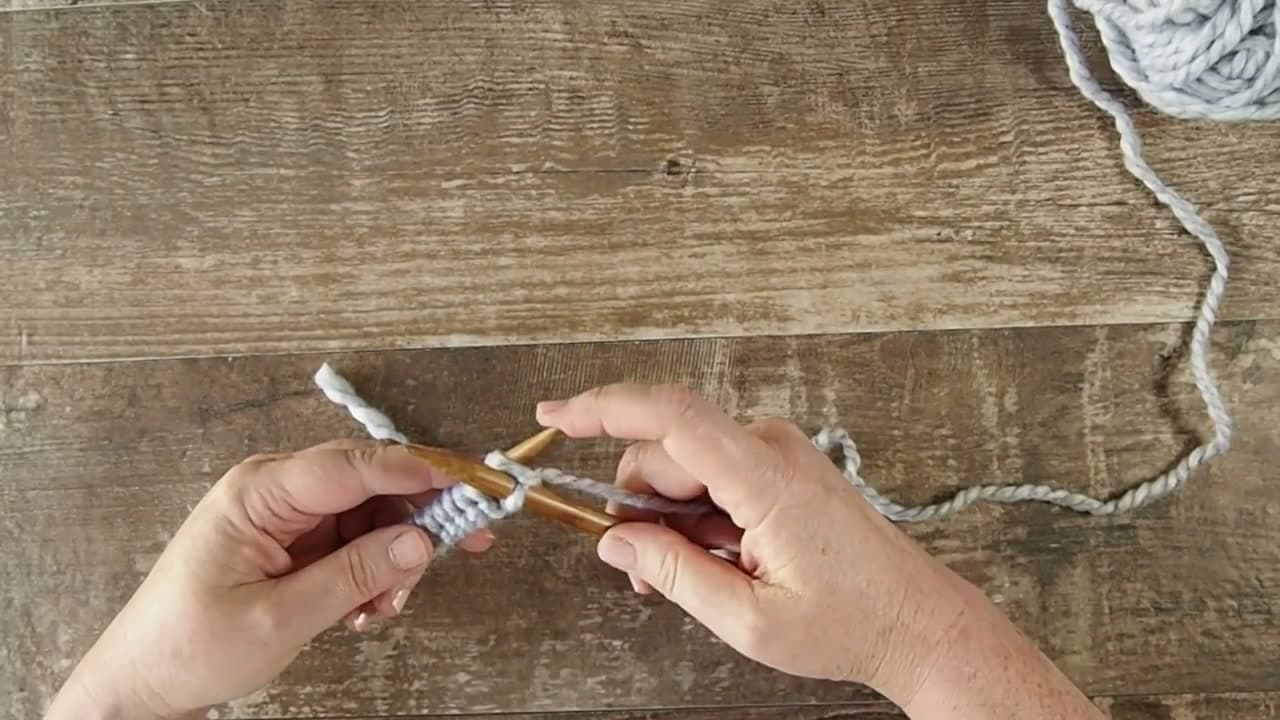
Step 2: Knit the First Stitch With the Yarn at the Back - How to Knit Ribbing: 1x1 and 2x2 Rib Stitch

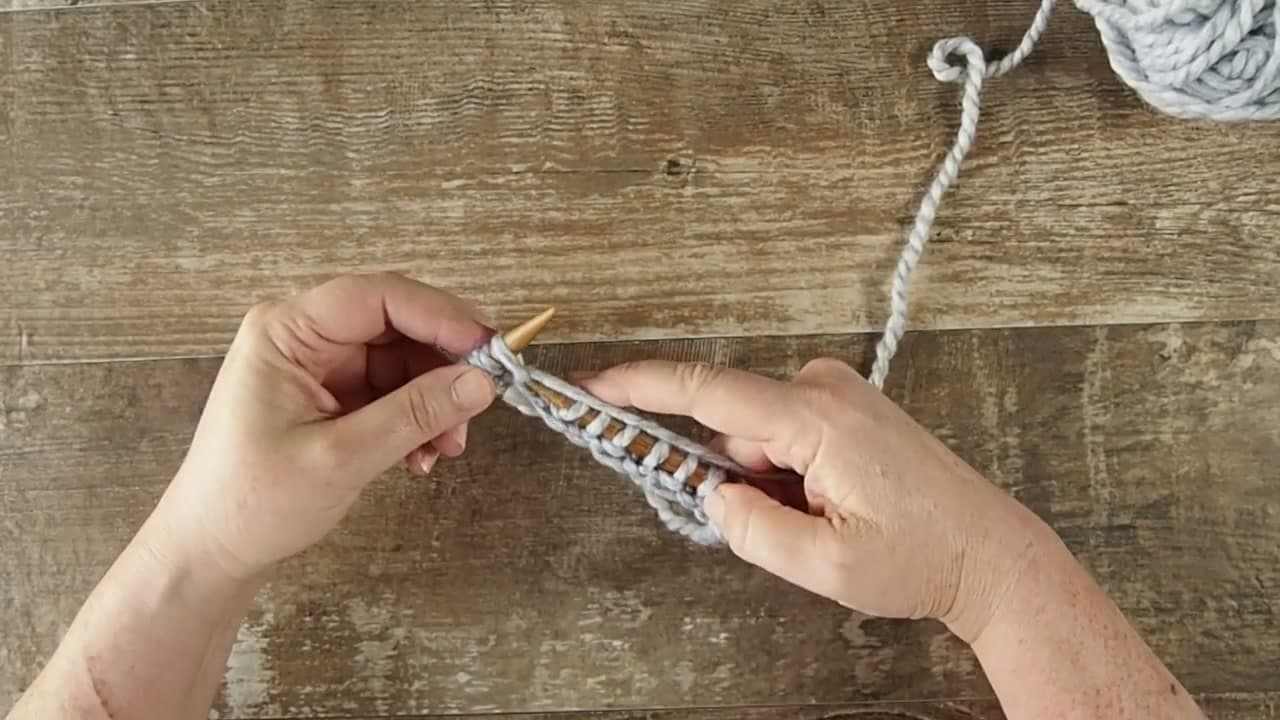
Check where the working yarn is before you do anything else. For a knit stitch it belongs behind the needles, away from you. Slide the right needle into the front of the first stitch on the left needle, wrap the yarn around the right needle, draw the new loop through and let the old stitch drop off.

That is one knit stitch and the bottom of your first knit column. Every knit stitch you work from here stacks directly above it.

Tip

If the yarn is already behind the work from the cast on, leave it there. You only move it when the stitch type changes.

Used in this stepknitting needles
3

Bring the Yarn to the Front Between the Needle Tips

0:43
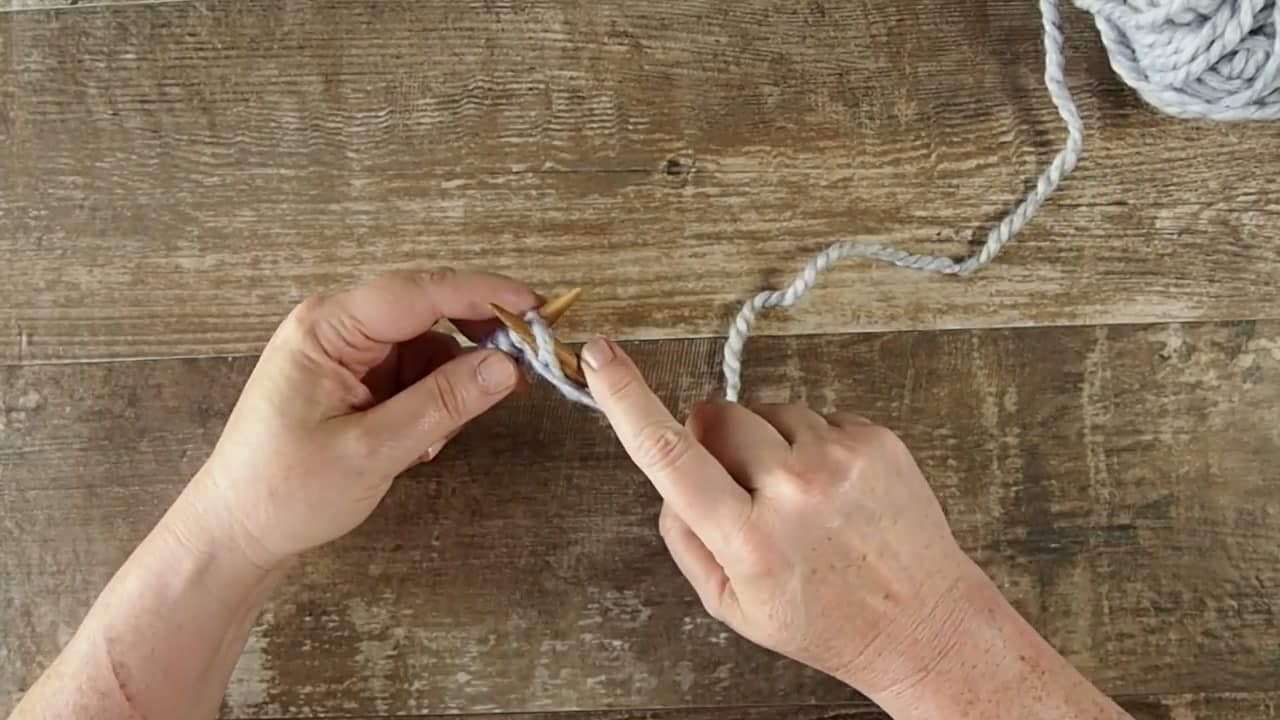
Step 3: Bring the Yarn to the Front Between the Needle Tips - How to Knit Ribbing: 1x1 and 2x2 Rib Stitch

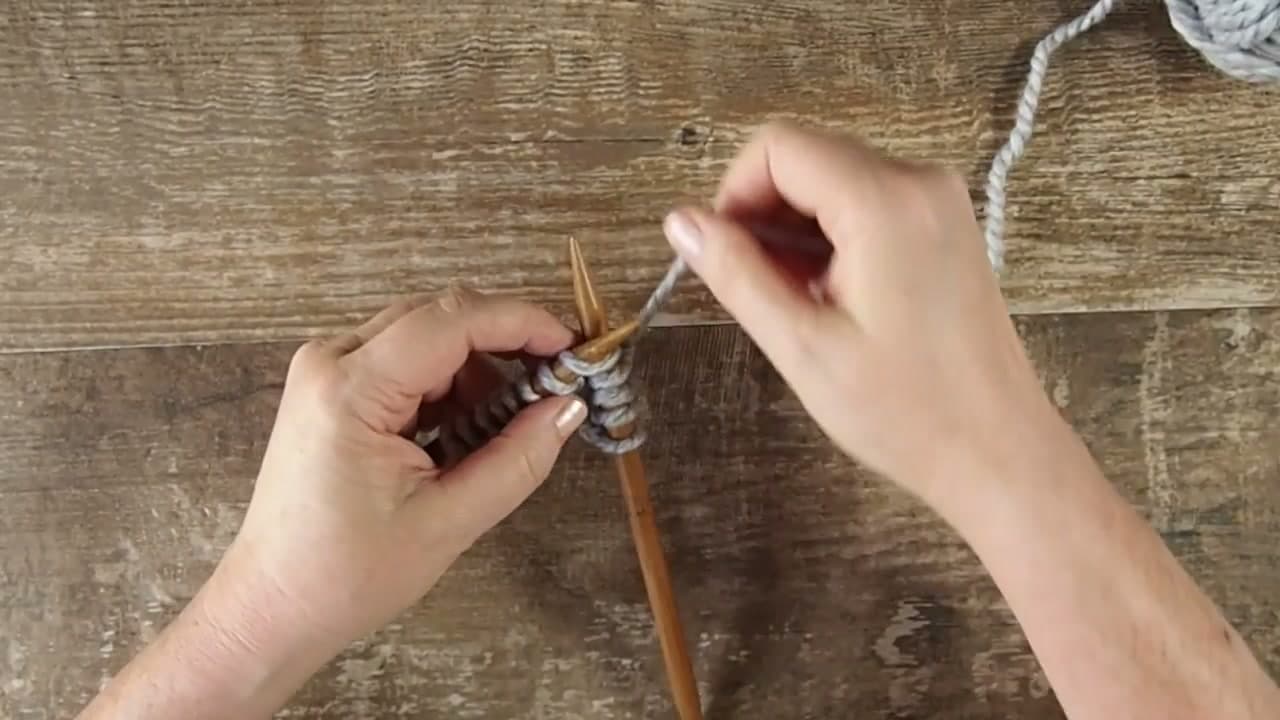
Here is the move this whole page is about. Take the working yarn between the two needle tips and let it sit at the front of the work, toward you. Then purl. Right needle into the stitch back to front, wrap, pull through, drop the old stitch off.

Between the tips, not over the top of the needle. Carrying it over the needle wraps an extra loop that becomes a yarn over, and a yarn over is a hole plus a stitch you did not plan on.

Tip

Say it out loud for the first few rows. Yarn forward to purl, yarn back to knit. Once your hands know it you stop thinking about it.

Used in this stepworsted weight yarn
4

Work Knit One, Purl One Across the Row

1:44
Step 4: Work Knit One, Purl One Across the Row - How to Knit Ribbing: 1x1 and 2x2 Rib Stitch

Carry on alternating for the rest of the row, moving the yarn between the tips at every change. Knit, yarn forward, purl, yarn back, knit. On an even stitch count the last stitch of the row lands as a purl.

For 2x2 rib the rhythm is knit two, purl two. The yarn still only moves when the stitch type changes, so it travels half as often and the row goes quicker.

Tip

Drop a ring stitch marker between each pair of columns on a wide piece. It saves you recounting when the phone rings mid row.

Used in this stepring stitch markers
5

Turn the Work and Find the Purl Bumps

2:22
Step 5: Turn the Work and Find the Purl Bumps - How to Knit Ribbing: 1x1 and 2x2 Rib Stitch

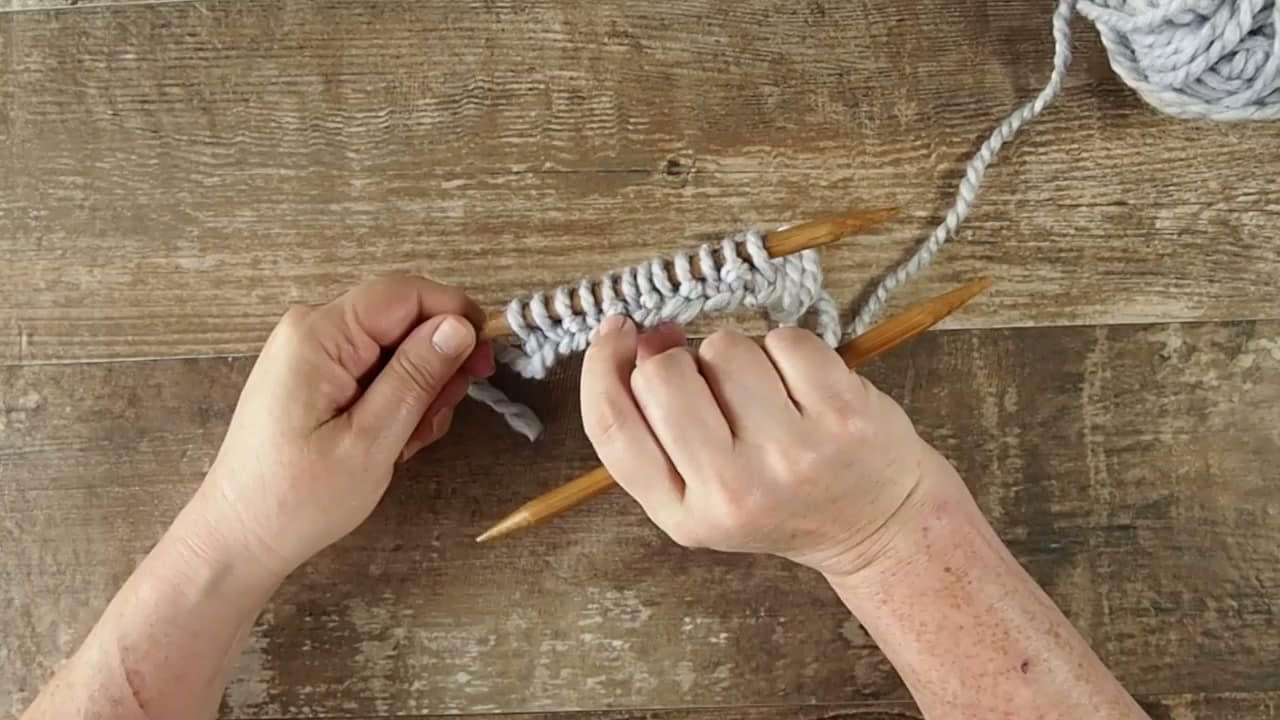
Turn the needle around and look at the row facing you. A knit stitch reads as a flat V lying against the fabric. A purl stitch reads as a raised bump sitting on top of it. They alternate all the way across.

Run a finger along and name each one before you pick the needles back up. Reading the fabric is the skill that keeps you in pattern, and it beats counting rows every time.

Tip

What was a knit on the row you just worked shows as a purl bump from this side. Trust the stitch in front of you, not what you did last row.

Used in this stepring stitch markers
6

Knit the Knit Stitches and Purl the Purl Stitches

3:10
Step 6: Knit the Knit Stitches and Purl the Purl Stitches - How to Knit Ribbing: 1x1 and 2x2 Rib Stitch

Work the row by matching what you see. A flat V gets knitted with the yarn behind. A bump gets purled with the yarn in front. Do that the whole way across and the columns stack straight up the fabric.

This is why ribbing gets written as knit the knits and purl the purls. It also means the pattern survives an odd stitch count or a row you put down halfway through, as long as you read before you knit.

Tip

Miss one and the column jogs sideways. You will spot it within two rows, and it is a small fix if you catch it early.

Used in this steprow counter
7

Snug Each Stitch So the Rib Columns Line Up

4:10
Step 7: Snug Each Stitch So the Rib Columns Line Up - How to Knit Ribbing: 1x1 and 2x2 Rib Stitch

Give the yarn a light tug after each change of stitch. The strand that crossed between the needles wants to sit close against the fabric. Left loose it leaves a slack ladder running between the knit and purl columns, and that gap is the other thing that makes a first rib look untidy.

Spread the piece flat on the table every few rows. The columns should already be visible and running straight.

Tip

Tug, do not yank. Overtightening the crossing strand puckers the fabric and takes the stretch out of the rib, which defeats the point of knitting it.

Used in this stepworsted weight yarn
8

Repeat Until the Rib Is as Deep as You Need

7:05
Step 8: Repeat Until the Rib Is as Deep as You Need - How to Knit Ribbing: 1x1 and 2x2 Rib Stitch

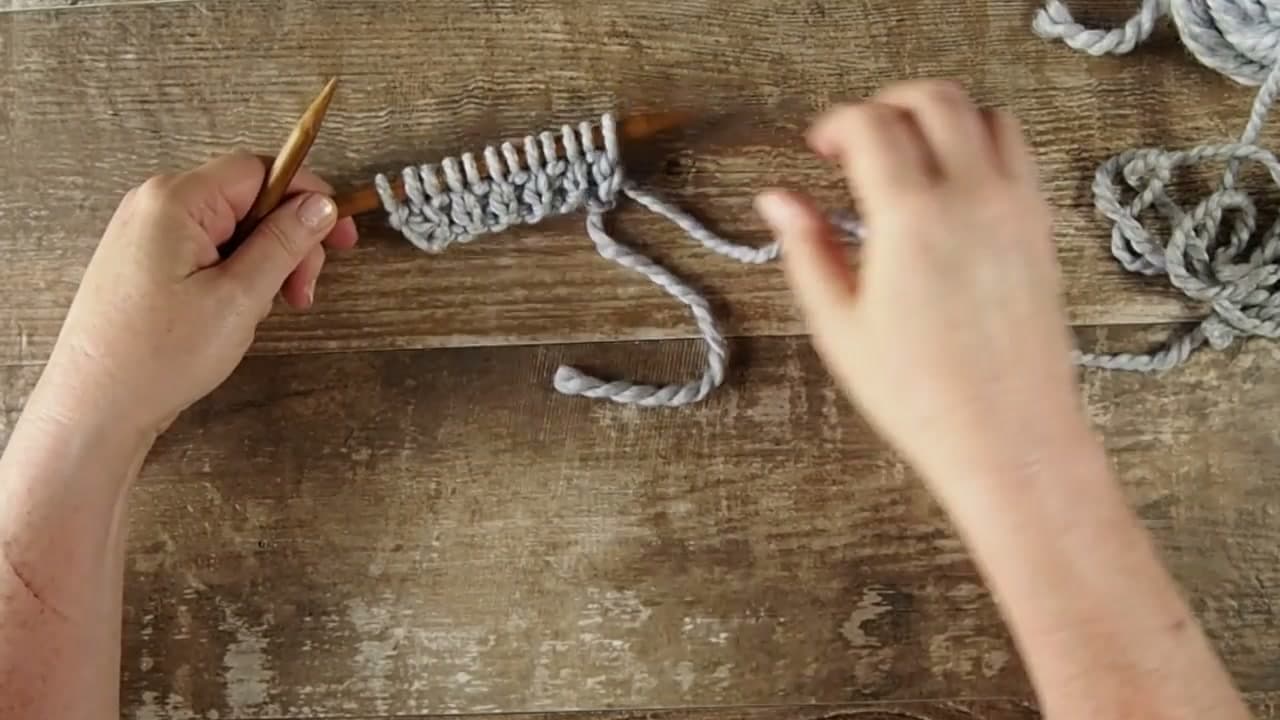
Keep repeating that same row. Ribbing has no second row to learn. A hat brim or a sock cuff is usually 1 to 2 inches, a sweater hem 2 to 3, and a scarf worked entirely in rib lies flat instead of curling at the edges the way stockinette does.

Let the fabric relax on the needle rather than stretching it out to measure. Rib pulls in by design, so the relaxed measurement is the honest one and it is the one your pattern means.

Tip

Measure the rib unstretched against a tape. Held open it reads a third wider than it really is, and you end up with a brim that does not grip.

Used in this steptape measurerow counter

Keep going

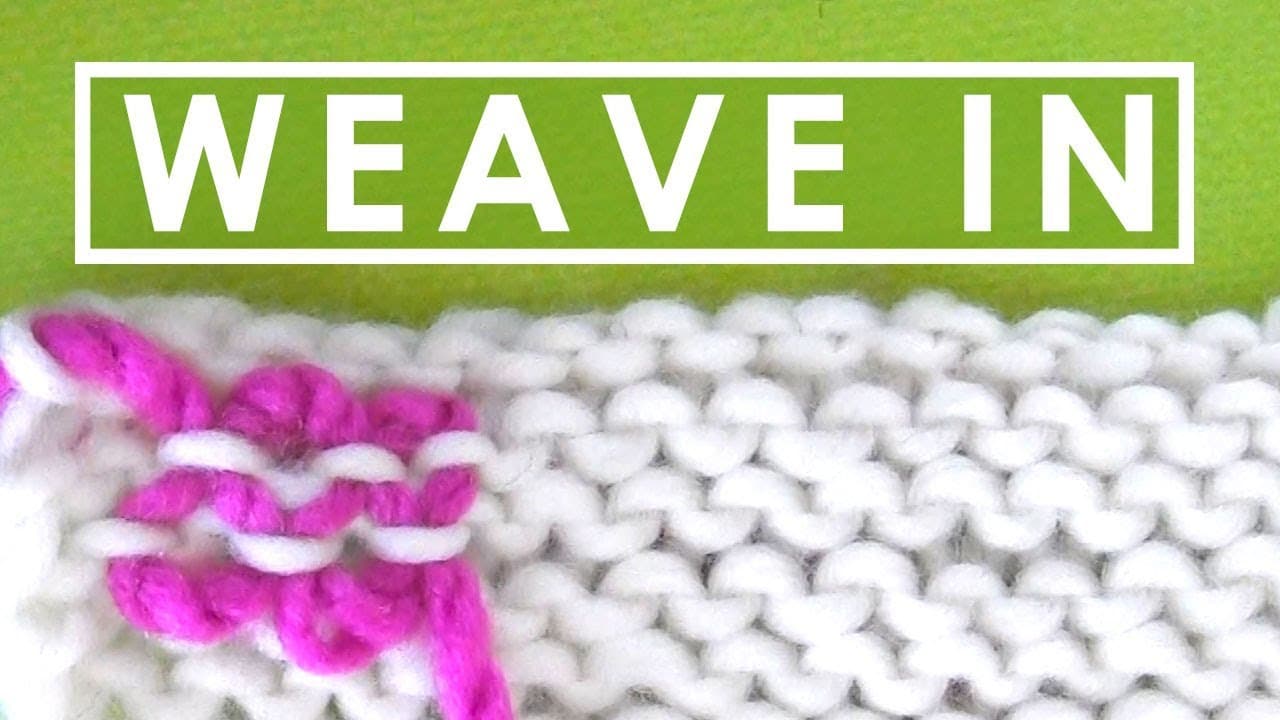
How to Weave In Ends Knitting (2 Methods for a Clean Finish)

Products Used

The Checklist

How to Knit Ribbing: 1x1 and 2x2 Rib Stitch

Tools
5
Materials
1
Steps
8
Video
8 min

Tools we recommend

Your Guide

Pattymac Makes

As an Amazon Associate we earn from qualifying purchases. Links on this page may be affiliate links - clicking them and buying doesn't change your price, but helps support CraftingStepByStep.

Tags

Sunday How-To

New knitting tutorials, every Sunday

One short email with the week's best step-by-step guides. Free, no spam, unsubscribe anytime.

Did this work for you?

What's next

Related collections

Curated theme pages that include this tutorial.

Weekly Digest

Liked this knitting tutorial?

Pick the categories you want to hear about. Weekly digest of new step-by-step tutorials. No spam, easy unsubscribe.

Send me tutorials about

We only email about new tutorials. Easy unsubscribe anytime.