How to Knit and Purl (Stockinette Stitch for Beginners)

KnittingEasy6:127 steps
Also in:Fiber Arts

By CraftingStepByStepPublished Updated

Based on a video by The Blue Mouse Knits.

If you've been wanting to learn how to knit, this is the place to start. Stockinette stitch is the most recognizable fabric in knitting (those tidy columns of little V's you see on every store-bought sweater), and it teaches you the two foundational stitches at the same time: the knit and the purl. One row of knits, one row of purls, repeat. That's it.

This walkthrough follows along with The Blue Mouse Knits, whose beginner series is the clearest one we've found on YouTube. By the end of this tutorial you'll have a small practice swatch, you'll be able to tell the right side from the wrong side at a glance, and you'll know what to do when your tension feels off or a stitch looks twisted.

Step-by-Step Guide

1

Step 1: Cast On About 17 Stitches

0:18
Step 1: Step 1: Cast On About 17 Stitches

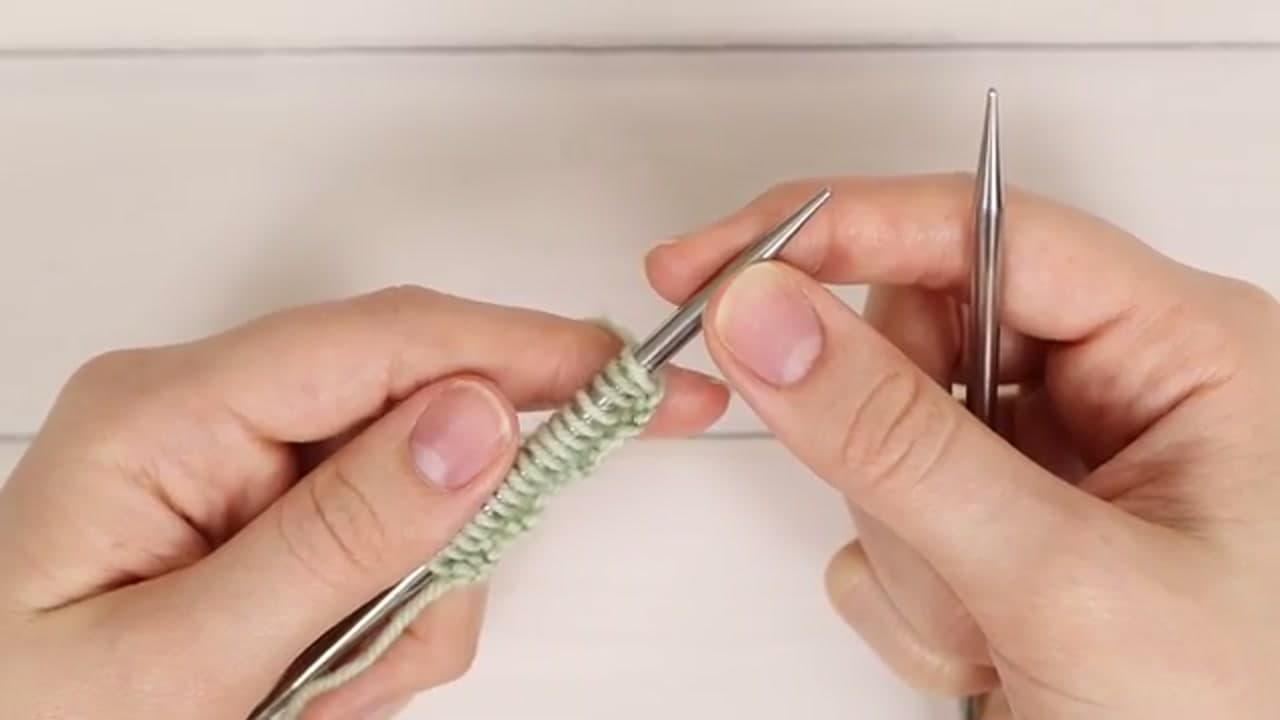
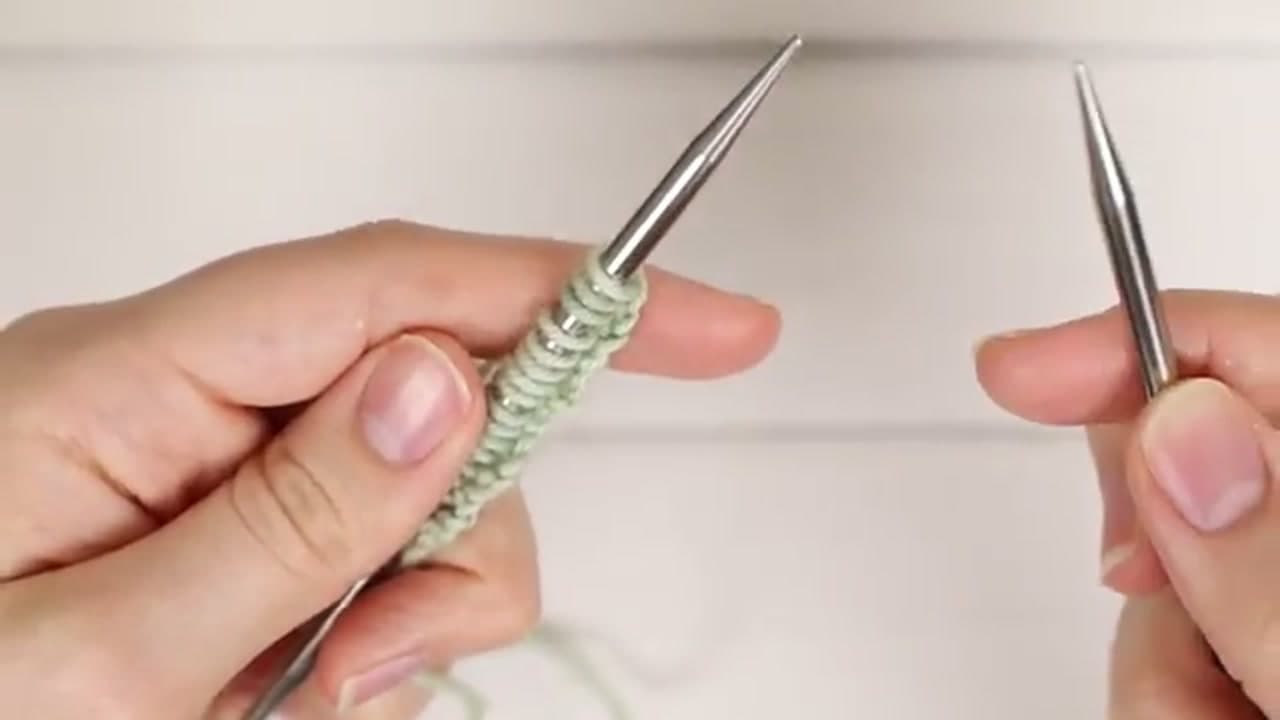
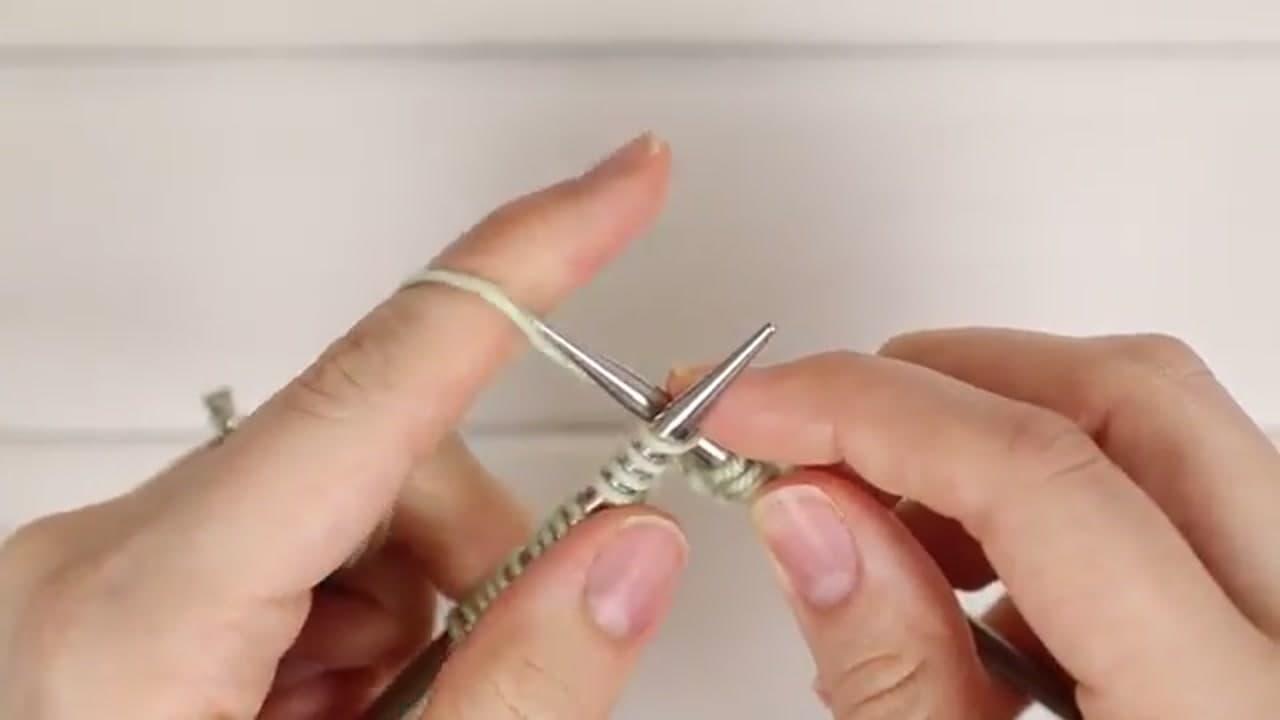
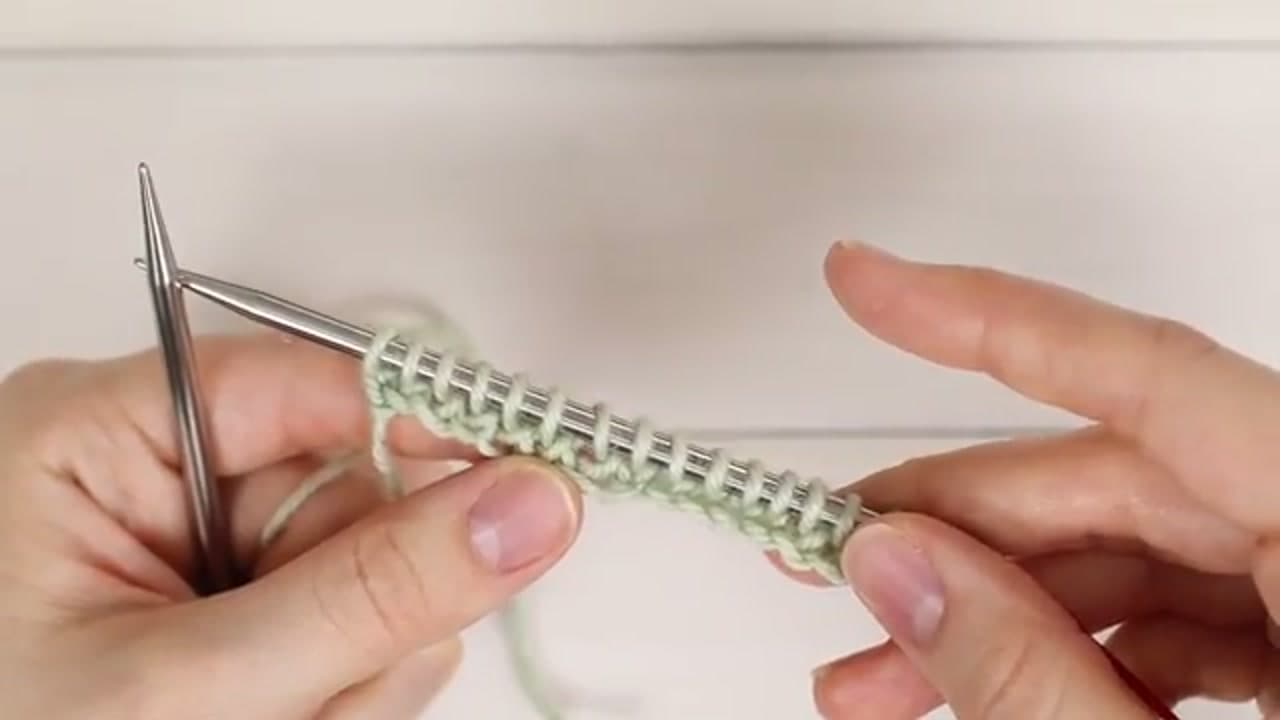
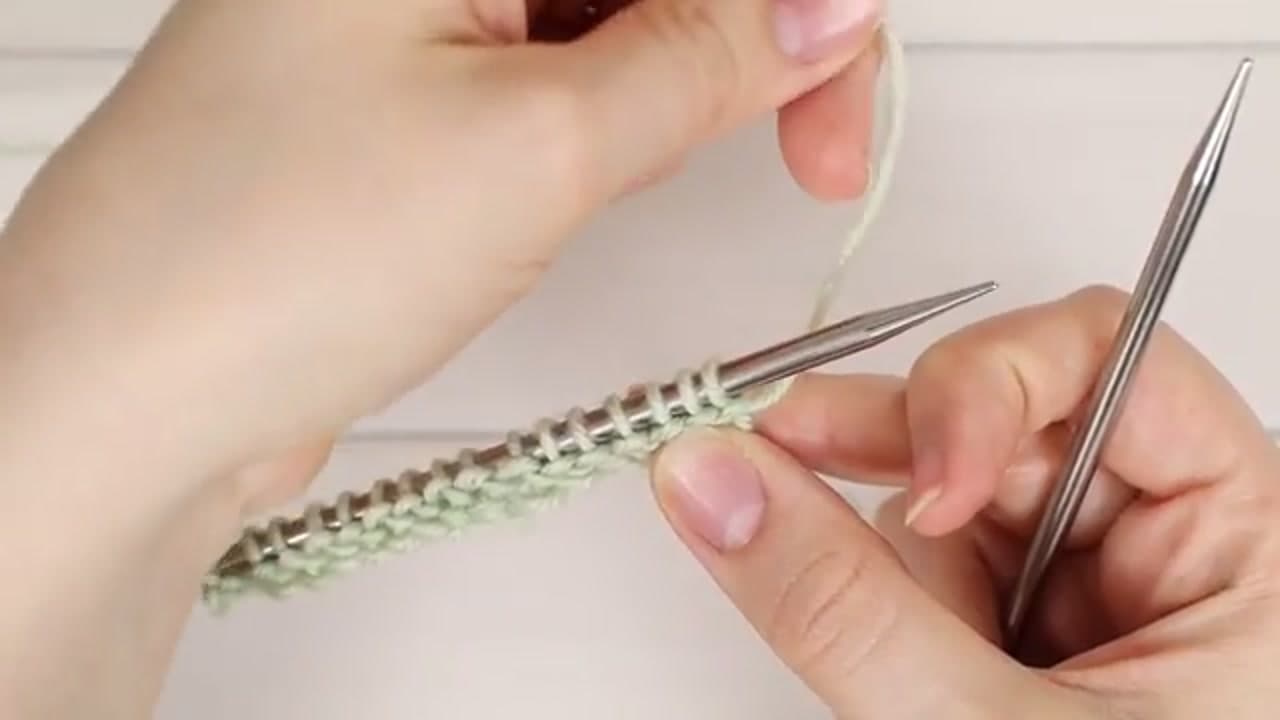
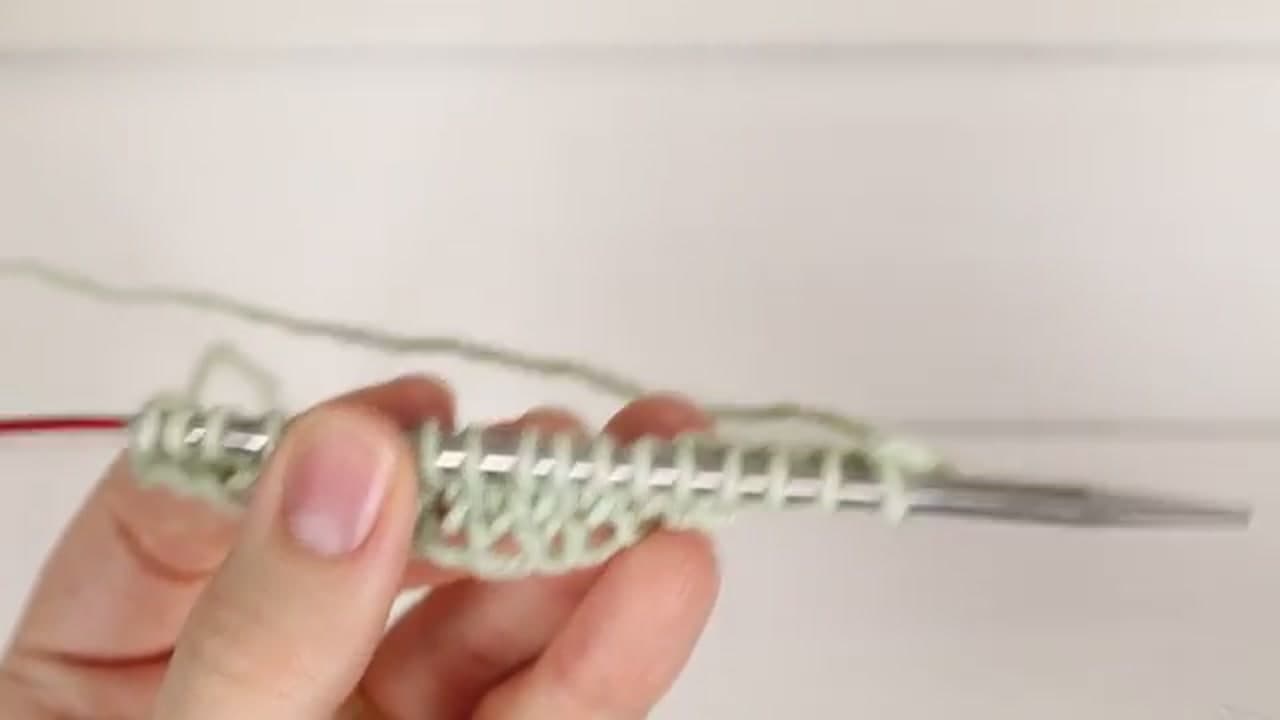
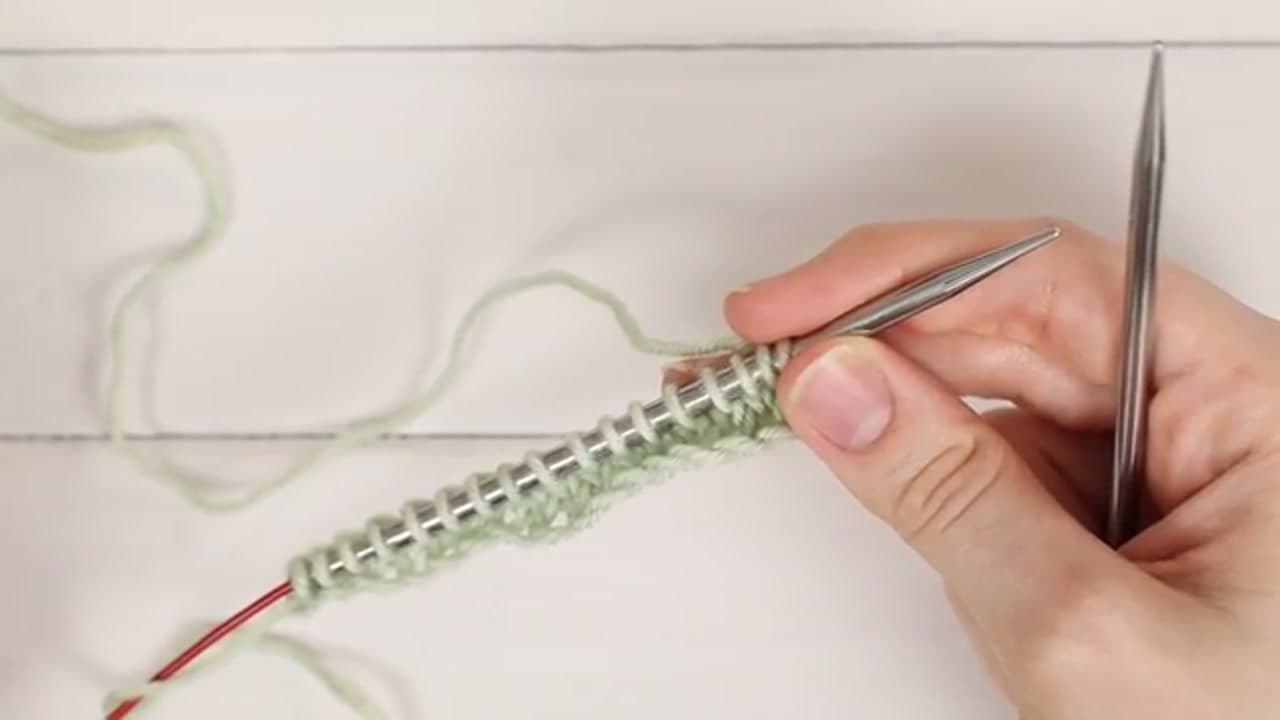
Grab a pair of straight needles in a worsted-weight friendly size (US 7 or 8) and a smooth, light-colored yarn so the stitches are easy to read while you practice. Cast on around 17 stitches using whatever cast-on you're comfortable with. The long-tail cast-on works well here. If you've never cast on before, work through our how to cast on tutorial first, then come back. Any stitch count is fine for a swatch.

Watch this step on YouTube

Tip

A solid, lighter-colored yarn in a smooth (non-fuzzy) fiber makes the stitches way easier to see while you're learning. Save the variegated novelty yarn for later.

2

Step 2: Work Your First Knit Stitch

0:53
Step 2: Step 2: Work Your First Knit Stitch

Row 1 is the right side and it's all knit stitches. Keep the working yarn behind the needles. Look at the first stitch on your left needle. You'll see a front loop and a back loop. Slide the right needle into the front loop from left to right so the needles crisscross. Bring the yarn over the right needle from front to back, then pull that new loop through the hole. Slip the old stitch off the left needle. One knit stitch done.

Watch this step on YouTube

Tip

If the needles feel slippery and the stitches keep sliding off, bamboo needles are more forgiving than metal for the first few projects.

3

Step 3: Knit Across the Whole Row

1:40
Step 3: Step 3: Knit Across the Whole Row

Repeat that same motion across the full row: into the front loop, yarn over front to back, pull through, slip off. Take it slow and check your tension after every few stitches. The yarn should sit snug against the needle but still slide. When you reach the last stitch, treat it exactly like the others. Go into the front loop, not around the edge. Once every stitch has moved to the right needle, the row is done.

Watch this step on YouTube

Tip

Death-grip tension is the most common beginner mistake. If your stitches won't slide along the needle, you're squeezing too tight. Relax your hands and let the yarn breathe.

4

Step 4: Turn the Work and Bring the Yarn Forward

2:10
Step 4: Step 4: Turn the Work and Bring the Yarn Forward

Turn the work so the right needle becomes the left needle and the working yarn sits at the start of the row again. Row 2 is the wrong side and it's all purls, so move the yarn from the back of the work to the front before you start. The yarn-in-front position is what makes a purl stitch different from a knit stitch. Everything else is a mirror image of what you just did.

Watch this step on YouTube

Tip

If the yarn ever ends up in the wrong position mid-row, your stitches will start looking weird (yarn-overs and twisted loops). When in doubt: knits have yarn behind, purls have yarn in front.

5

Step 5: Work Your First Purl Stitch

2:30
Step 5: Step 5: Work Your First Purl Stitch

Insert the right needle into the front loop of the first stitch from right to left. That's purl-wise. With the yarn already in front, wrap it over the right needle from front to back. Pull that loop down and through the hole, then slip the old stitch off the left needle. Work every stitch across the row the same way. If the yarn feels awkward, try tensioning it with your thumb or index finger and use whichever grip stays consistent.

Watch this step on YouTube

Tip

Purling feels clunkier than knitting for almost everyone at first. Stick with it. Two or three rows in, your hands figure out the rhythm.

6

Step 6: Spot the V's and the Purl Bumps

4:55
Step 6: Step 6: Spot the V's and the Purl Bumps

Two rows in and you can already see stockinette forming. Flip the swatch to the right side and look for columns of little V shapes stacked on top of each other. That's the knit face. Flip it to the wrong side and you'll see horizontal bumps instead. Those are purl bumps. To keep building stockinette, every odd row is a knit row on the right side and every even row is a purl row on the wrong side.

Watch this step on YouTube

Tip

Lost track of which row you're on? Look at the side facing you. V's mean the next row is a knit row. Purl bumps mean the next row is a purl row.

7

Step 7: Keep Going and Watch for Common Mistakes

5:30
Step 7: Step 7: Keep Going and Watch for Common Mistakes

Keep alternating knit rows and purl rows until your swatch is a few inches tall. If you lose your place mid-row, peek at the side facing you: V's mean knit, bumps mean purl. Watch for twisted stitches (the loop sits backwards on the needle) and dropped stitches (a loop slipped off and started running down a column). Both are normal beginner mistakes. Tension evens out with practice. Your tenth row will look cleaner than your first.

Watch this step on YouTube

Tip

A row counter clicker or a stitch marker on the right-side row makes it almost impossible to lose your place. Cheap and worth it.

Products Used

☐ The Checklist

How to Knit and Purl (Stockinette Stitch for Beginners)

Tools
3
Materials
2
Steps
7
Video
6 min

Your Guide

The Blue Mouse Knits

As an Amazon Associate we earn from qualifying purchases. Links on this page may be affiliate links - clicking them and buying doesn't change your price, but helps support ShowMeStepByStep.

Tags

Related Tutorials