How to Draw a Nose - Realistic Graphite Do's and Don'ts

Save it for later. We'll email you a link, no password.

Find it again on your phone or computer, with your finished steps ticked.

You tapped Save

Save this project for later

We'll email you a link, no password.

How to Draw a Nose - Realistic Graphite Do's and Don'ts

  • Your saved projects in one list
  • Your ticked steps on any device

Check your inbox for an email from us. Not there? Look in your spam folder.

  • 8 steps
  • 14:45 video
  • Difficulty: Medium
  • About 50 minutes
  • Materials about $10 to $18
  • Drawing

Based on a video by Kirsty Partridge Art

Opens their YouTube channel

Steps written out by Crafting Step by Step · Published · Updated

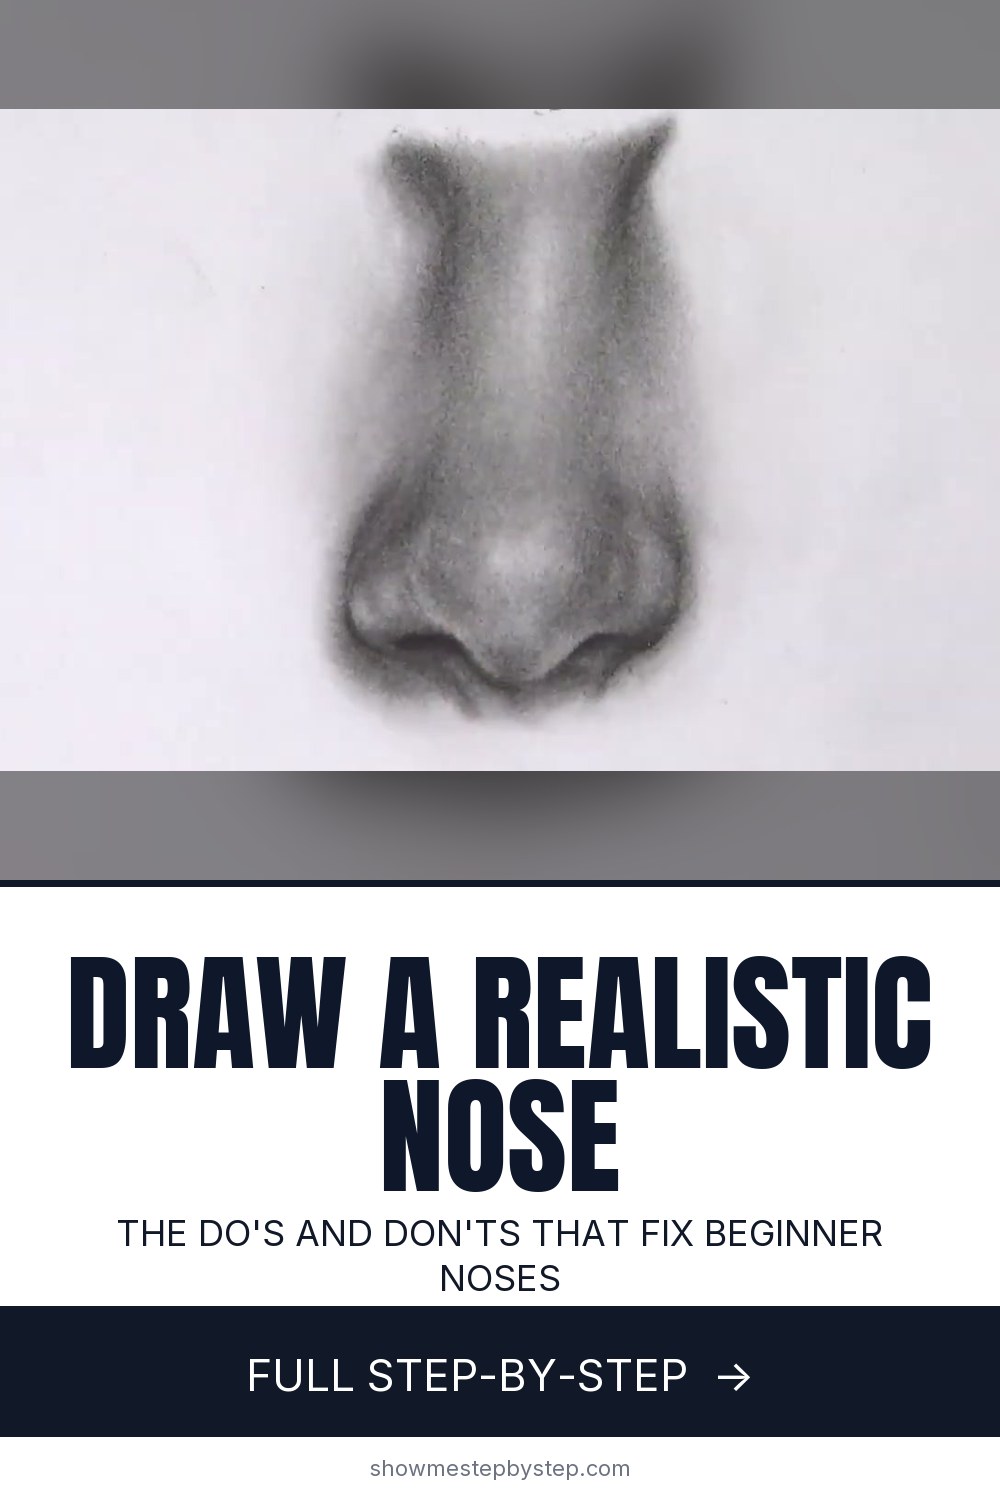
The finished result: How to Draw a Nose - Realistic Graphite Do's and Don'ts
Also in:Painting

The nose is the part of the face most people rush, and it shows. This walkthrough follows Kirsty Partridge Art on YouTube, who draws the same nose twice: once the way most beginners do it, then again the slow way, in Derwent graphite and a hard charcoal pencil. The second nose takes about 45 minutes. The first took five, and looks it.

Kirsty builds the video as do's and don'ts, so the steps below do the same. Each one names the mistake she sees most often, then the fix. The drawing is shot straight down over the paper, so you can see exactly where the pencil is and how little pressure she uses.

What you need

A B and a 4B graphite pencil, an extra hard charcoal pencil for the nostrils, a few cotton buds, a clean tissue and a kneaded eraser. Smooth drawing paper. No charcoal? A 6B or 8B graphite works; it shines more under a lamp, which is the only reason Kirsty prefers charcoal for the darkest marks.

The five mistakes

Rushing the sketch. Thinking "nose" instead of looking at the shapes in the reference. The angles drift, and no amount of shading rescues them.

Dark round nostrils. Two black circles read as holes in the page. Real nostrils are tapered slits and mostly hidden unless the head tilts back.

Messy strokes. Long back-and-forth scribbles stay visible after blending. Small circles with light pressure disappear.

Blending with a finger. Skin oil makes the graphite patchy and leaves grease on the paper that never comes out.

A white stripe for the highlight. One hard swipe with a block eraser down the bridge. The real highlight is a cluster of soft shapes, brightest in the centre.

The order

Sketch, charcoal darks, B shadows, 4B darks, blend. Then a second pass of all of it, and the highlights last. Every blend lightens the drawing, so the darks get rebuilt. Highlights go on at the very end because shading over them muddies them.

More of the face

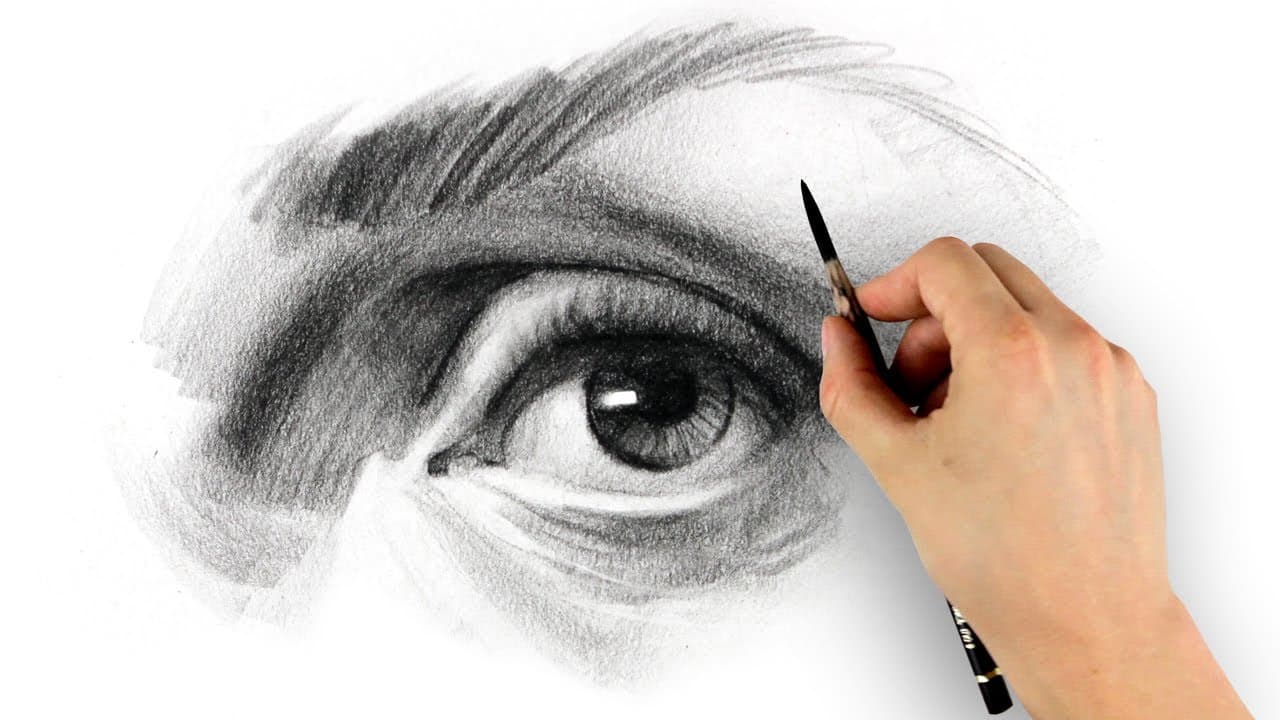
The same slow, look-at-the-shapes approach carries straight over to drawing eyes and drawing lips, and it all comes together in how to draw a face. For the fundamentals underneath all of these, start with how to draw.
Free printable

Print the steps and supply list for this project

One page you can take to the table. Free with a free account, no password.

Get the free printable

What you'll need

Free, for this project

Get this checklist by email

  • All 8 tools and materials, with tick boxes
  • A link to print all 8 steps on paper, to keep by you while you craft

No password. The whole tutorial stays free on this page.

Quick answer

Draw a realistic pencil nose in 8 steps of do's and don'ts: sketch the shapes slowly, taper the nostrils, blend with a cotton bud and lift the highlights last. A medium project: about 50 minutes. Materials cost about $10 to $18. You need 8 things, including Smooth drawing paper, Cotton buds and Clean tissue paper. The 8 steps start with sketch the Nose as Shapes, Not as a Nose and block In the Nostrils With Charcoal, Tapered Not Round.

Step-by-step guide

8 steps, about 15 minutes. Tap a picture to jump to that step. Your progress saves automatically.

Tick each step off as you go.

  1. Step 1: Sketch the Nose as Shapes, Not as a Nose

    Watch this step · 4:36

    Start with the B pencil and go slowly. The don't version rushes this part. Kirsty's fix is to stop thinking "nose" at all. Look at the reference and copy the shapes you can see: the curve of each wing, the round of the ball, the two soft lines up the bridge.

    Keep the lines light. Then mark where the darkest shadows will sit and where the bridge highlight will run, so you know where the pencil never goes. Make this the slowest part of the drawing. If the structure is off, no amount of shading saves it.

    Tip:

    Hold the pencil further back than usual for the sketch. A longer grip forces a lighter line that erases without a trace.

    Back to all steps

  2. Step 2: Block In the Nostrils With Charcoal, Tapered Not Round

    Watch this step · 5:08

    Switch to the extra hard charcoal pencil and put down the darkest marks first: the nostrils and the shadow along the underside of the nose. Charcoal gives a flat black with no shine, which is why Kirsty uses it here instead of a soft graphite.

    The don't mistake is two dark circles. Draw each nostril as a slim, tapered shape that fades out at the ends. From the front you see very little of the opening; most of what reads as "nostril" is the shadow of the wing curling over it. Taper that shadow off, no hard edge.

    Tip:

    No charcoal pencil? A 6B or 8B graphite does the same job. It will shine a little under a lamp, which is the only reason to prefer charcoal.

    Back to all steps

  3. Step 3: Lay In the Shadows With Small Circles

    Watch this step · 6:00

    Back to the B pencil. Shade every shadow area using small circular motions and almost no pressure, building the tone up in thin layers. The don't version uses long scribbled strokes, and every one of them stays visible after blending. Circles vanish.

    Leave the paper bare wherever the highlights will go: down the centre of the bridge, the top of the ball, the top edge of each wing. You are drawing the shadows around the light, not the light itself. Check the reference constantly. Every nose has a different width and length, and the shadows follow it.

    Tip:

    If you can see individual strokes, you are pressing too hard. Ease off and add another layer instead.

    Back to all steps

  4. Step 4: Deepen the Darkest Shadows With the 4B

    Watch this step · 7:43

    Once all the shadows are in with the B, go over the deepest ones again with the 4B: down the sides of the bridge, under the ball, into the creases where the wings meet the face. Same small circles, same light hand. This is the pass where the nose stops looking flat and starts to turn.

    Kirsty stops at 4B on purpose. Softer grades put down more graphite than you can blend, and the shine catches every light in the room. A light 4B blends out matte.

    Tip:

    Keep the 4B sharp. A blunt point lays down wide, dark patches that are hard to soften later.

    Back to all steps

  5. Step 5: Blend With a Cotton Bud, Never a Finger

    Watch this step · 8:18

    Take a clean, dry cotton bud and blend the shading in small circles, working from the darkest areas outward so the graphite fades into the paper. The don't move is to rub it with a fingertip. Skin oil makes the blend patchy and unpredictable, and it leaves grease on the paper that never comes out.

    Blending softens the structure, so the nose looks a bit vague at this point. That is fine. This is the base layer. The darks come back in the next step.

    Tip:

    A cotton bud loaded with graphite is useful. Use it to darken an area gently instead of adding more pencil.

    Back to all steps

  6. Step 6: Rebuild the Darks and Blend as You Go

    Watch this step · 9:50

    Blending lightens everything, so the nostrils and the underside shadow have gone grey. Go back in with the charcoal pencil and bring them back to black. This time blend each patch out with the cotton bud straight away, so the darkest tone melts into the shading next to it instead of sitting on top as a hard edge.

    This second pass is where the structure returns. Work small: a bit of charcoal, a bit of blending, then a look at the reference before the next mark.

    Tip:

    Wipe the cotton bud on scrap paper between the nostrils and the lighter areas, or you will drag charcoal into the highlights.

    Back to all steps

  7. Step 7: Layer Up the Contrast Until It Matches the Photo

    Watch this step · 11:36

    Keep working around the rest of the nose, adding shadow and blending, until the contrast matches the reference. Save the charcoal for the places that are near black in the photo. Everywhere else use the 4B and the B; charcoal on a mid-tone goes grainy and looks wrong.

    There are no outlines on a real face, only shadow and light, so every change of tone should be soft. Ignore the highlights for now and let the shadows do the work. The don't nose took Kirsty five minutes. This one took forty-five, and the difference is all in this step.

    Tip:

    Step back from the paper every few minutes. Contrast that looks strong up close is often too weak at arm's length.

    Back to all steps

  8. Step 8: Lift the Highlights With a Kneaded Eraser

    Watch this step · 13:44

    Highlights come last. The don't move is one hard swipe with a block eraser down the bridge, which leaves a white stripe. Instead, press and dab a kneaded eraser into the shapes you can see in the reference. It lifts graphite gently, and you can keep pressing the same spot for a brighter mark.

    For a wider, softer lift, press clean tissue onto the area first, then dab the strongest highlight on top at the centre of the bridge and the tip of the ball. Once the highlights are in, stop shading. Going over them muddies them.

    Tip:

    Shape the kneaded eraser to a point for the centre of the bridge and flatten it for the ball. Reshape it as soon as it goes grey.

    Back to all steps

How to Draw a Dreidel

Keep going

How to Draw a Dreidel

You reached the last step

Save this project to come back to it

Your ticked steps, the free printable and your other saved makes, together in My Projects. Free, no password.

You tapped Save

Save this project for later

We'll email you a link, no password.

How to Draw a Nose - Realistic Graphite Do's and Don'ts

  • Your saved projects in one list
  • Your ticked steps on any device

Check your inbox for an email from us. Not there? Look in your spam folder.

Free printable

Printable sheet for this project

The bonus is hidden until you sign up.

Free with a free account, no password. Every step above stays open to everyone.

Products Used

The Checklist

How to Draw a Nose - Realistic Graphite Do's and Don'ts

Tools
5
Materials
3
Steps
8
Video
15 min

Tools we recommend

As an Amazon Associate we earn from qualifying purchases. Links on this page may be affiliate links - clicking them and buying doesn't change your price, but helps support Crafting Step by Step.

Tags

The Crafter's Weekly

New drawing tutorials, every Sunday

One short email with the week's best step-by-step guides. Free, no spam, unsubscribe anytime.

Test your knowledge

Did the lesson stick? Start with this one.

5 questions covering what you just read. No signup, no score saved, and you can stop after this one.

Question 1 of 5

What is the mistake to avoid when sketching the outline of the nose?

Quick reference

Key takeaways from How to Draw a Nose - Realistic Graphite Do's and Don'ts

5 questions, answers, and one-line explanations. Tap to expand.

  1. 1.What is the mistake to avoid when sketching the outline of the nose?

    Answer: Rushing it and thinking nose, not shapes

    Copy the shapes you can actually see, the wings, the ball and the bridge, and slow right down.

  2. 2.Why use a charcoal pencil for the nostrils rather than soft graphite?

    Answer: Charcoal gives a flat black with no shine

    Soft graphite shines under the light, charcoal stays a dead flat black.

  3. 3.How should the nostrils be shaped when seen from the front?

    Answer: Slim, tapered, fading at the ends

    From the front you see very little of the opening, so a round black dot looks wrong.

  4. 4.What should you blend the shading with?

    Answer: A dry cotton bud

    Skin oil makes the blend patchy and leaves grease on the paper that never comes out.

  5. 5.How are the highlights added at the very end?

    Answer: Dabbing a kneaded eraser into shapes

    Pressing and dabbing lifts graphite gently and lets you shape each highlight.

Did this work for you?

What's next

Related collections

Curated theme pages that include this tutorial.

Similar tutorials

Hand-picked next reads based on the one you just finished.

Liked this drawing tutorial?

Pick the crafts you want to hear about. One email every Sunday with new step-by-step tutorials. No spam, easy to unsubscribe.

Get more like this in your inbox

Weekly digest. Pick the categories you want. Unsubscribe anytime.

Send me tutorials about

We only email about new tutorials. Easy unsubscribe anytime.