How to Draw a Rose

Save it for later. We'll email you a link, no password.

Find it again on your phone or computer, with your finished steps ticked.

You tapped Save

Save this project for later

We'll email you a link, no password.

How to Draw a Rose

  • Your saved projects in one list
  • Your ticked steps on any device

Check your inbox for an email from us. Not there? Look in your spam folder.

  • 8 steps
  • 12:11 video
  • Difficulty: Easy
  • About 25 minutes
  • Materials about $6 to $12
  • Drawing

Based on a video by Art Hub Plus

Opens their YouTube channel

Steps written out by Crafting Step by Step · Published · Updated

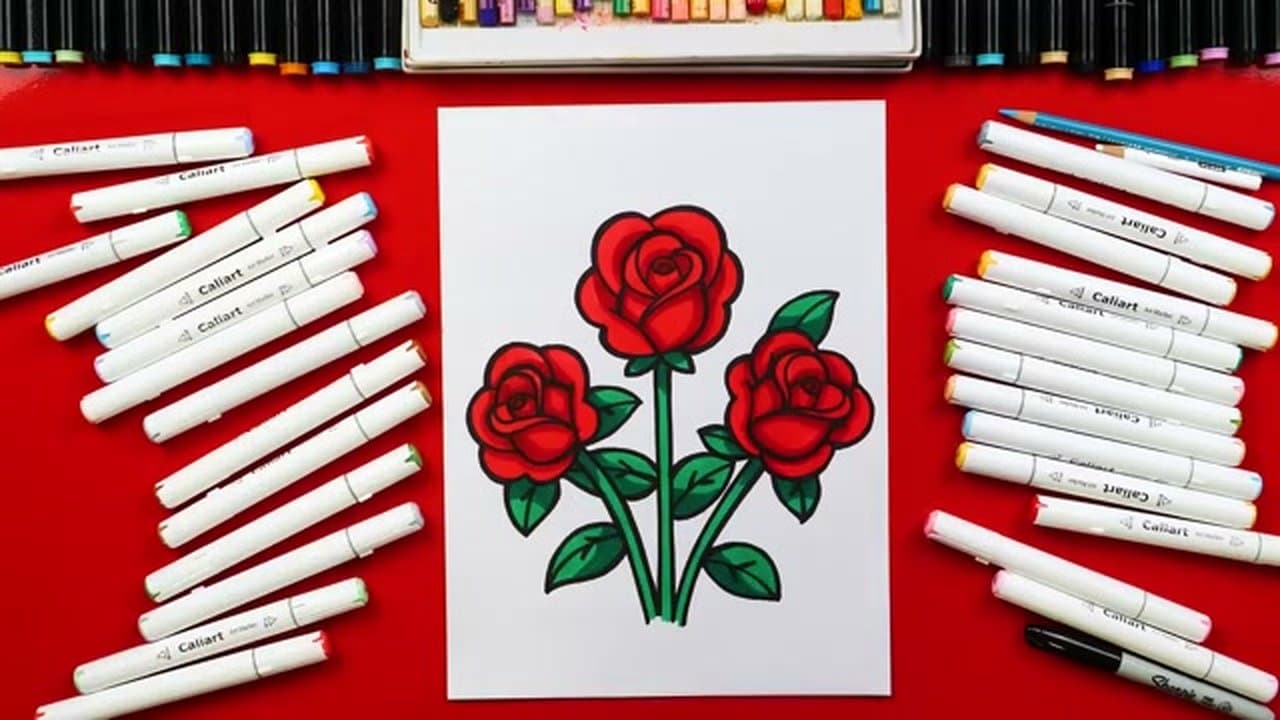
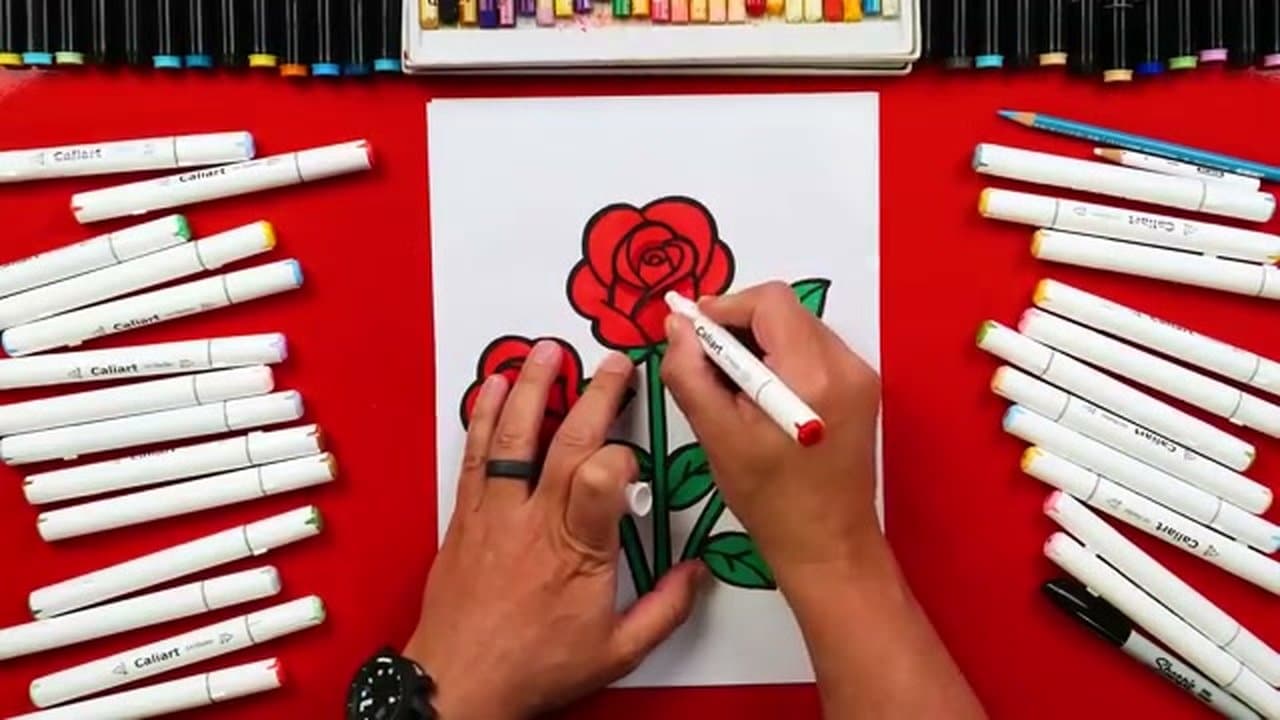
The finished result: How to Draw a Rose
Also in:Painting
Step 6 of 6 inLearn to Draw: Nature and Landscapes

Drawing a rose looks intimidating, but the trick is to start tiny and build outward. You begin with a small spiral that becomes the bud, then add curves and S-curves around it, each layer a little bigger than the last. The flower takes shape on its own as you go.

This tutorial follows Art Hub Plus, a channel known for art lessons that work for kids, teens and adults alike. The lesson uses markers, but you can sketch first in pencil and finish in marker, or do the whole thing in pencil. The most useful part is the shading at the end: a second pass with a darker red lifts the rose off the page in about thirty seconds.

Two ways to draw a rose

The spiral-center method used here starts with a curl and wraps petals around it. It's fast, it's hard to get wrong, and it gives you a rose seen from the side and slightly above.

The cup-and-petals method starts with a cup or bowl shape for the whole bloom, then carves the petals into it. It takes longer, but it's easier to control the overall size, and it works better for a realistic pencil rose. Try the spiral first. Move to the cup when you want more control.

Open bloom or bud

A bud is the spiral and one or two tight petals, taller than it is wide, with the green sepals curling up around the base. An open bloom keeps adding wider petals until the outer ones flip back at the edges. The steps here land in between. Stop at step 4 for a bud, or keep adding outer petals with bumps for a full bloom.

Stem, leaves and thorns

  • Give the stem a slight curve. A dead-straight stem looks like a stick glued on.
  • Rose leaves grow in groups of three or five on one small stalk, with the biggest leaf at the tip.
  • Serrated edges sell the leaf. Short zigzags along the outline are enough.
  • Thorns are small hooked triangles pointing down the stem. Space them out and keep them few.

Coloring with markers

Work light to dark. Lay the base red over the whole bloom, let it dry for a few seconds, then add the darker red where petals tuck under each other and deep inside the spiral. Leave a sliver of white paper on the top edge of a few petals. Those gaps read as light hitting the rim, and they're the fastest way to make a marker rose look round. Do the same on the leaves with two greens.

No markers? Use a pencil

Draw the same lines lightly with an HB pencil, then shade with a 2B or 4B. Keep the petal edges light and push the darkest tones into the center and the undersides of the petals. The shading logic is the same as the marker version.

Common mistakes

  • Petals all the same size. Each ring should be bigger than the one inside it.
  • Flat center. The spiral needs the darkest shading on the page or it looks like a pinwheel.
  • Stem too straight. Add a gentle curve and a leaf group to break it up.
  • Over-shading. Stop the moment it looks finished.

For more blooms, see how to draw flowers and how to draw a sunflower, and practice leaf shapes with how to draw a leaf. If the sketching and shading here feel like guesswork, the fundamentals - pencil grades, the light-pass method and picking a light source - are at how to draw.

Free printable

Print the steps and supply list for this project

One page you can take to the table. Free with a free account, no password.

Get the free printable

What you'll need

Free, for this project

Get this checklist by email

  • All 7 tools and materials, with tick boxes
  • A link to print all 8 steps on paper, to keep by you while you craft

No password. The whole tutorial stays free on this page.

Quick answer

Beginner rose drawing tutorial. Spiral the center, layer the petals, add a stem, and use a darker shade to make it pop in 3D. Step-by-step photos. An easy project: about 25 minutes. Materials cost about $6 to $12. You need 7 things, including Marker paper, Red marker and Green marker. The 8 steps start with gather your supplies, draw the spiral center, add the first ring of petals, build the next petal layer outward and add the outer petals with bumps.

Step-by-step guide

8 steps, about 12 minutes. Tap a picture to jump to that step. Your progress saves automatically.

Tick each step off as you go.

  1. Step 1: Gather your supplies

    Watch this step · 0:22

    Pull out a pad of marker paper and a small set of markers - any colors you like, plus at least one red, one green, and a darker version of each for shading. A black fine-tip marker is handy for outlining. A pencil is optional but useful if you want to sketch the rough shape first before committing in marker.

    Marker paper matters more than you'd guess. Regular printer paper bleeds through and dulls your markers fast. A pad of marker paper keeps colors crisp and protects whatever surface you're working on.

    Tip:

    If you don't have markers, this technique works just as well with colored pencils, watercolor, or even a single black pen. The shape comes from the linework - the color is just the finishing touch.

    Back to all steps

  2. Step 2: Draw the spiral center

    Watch this step · 0:43

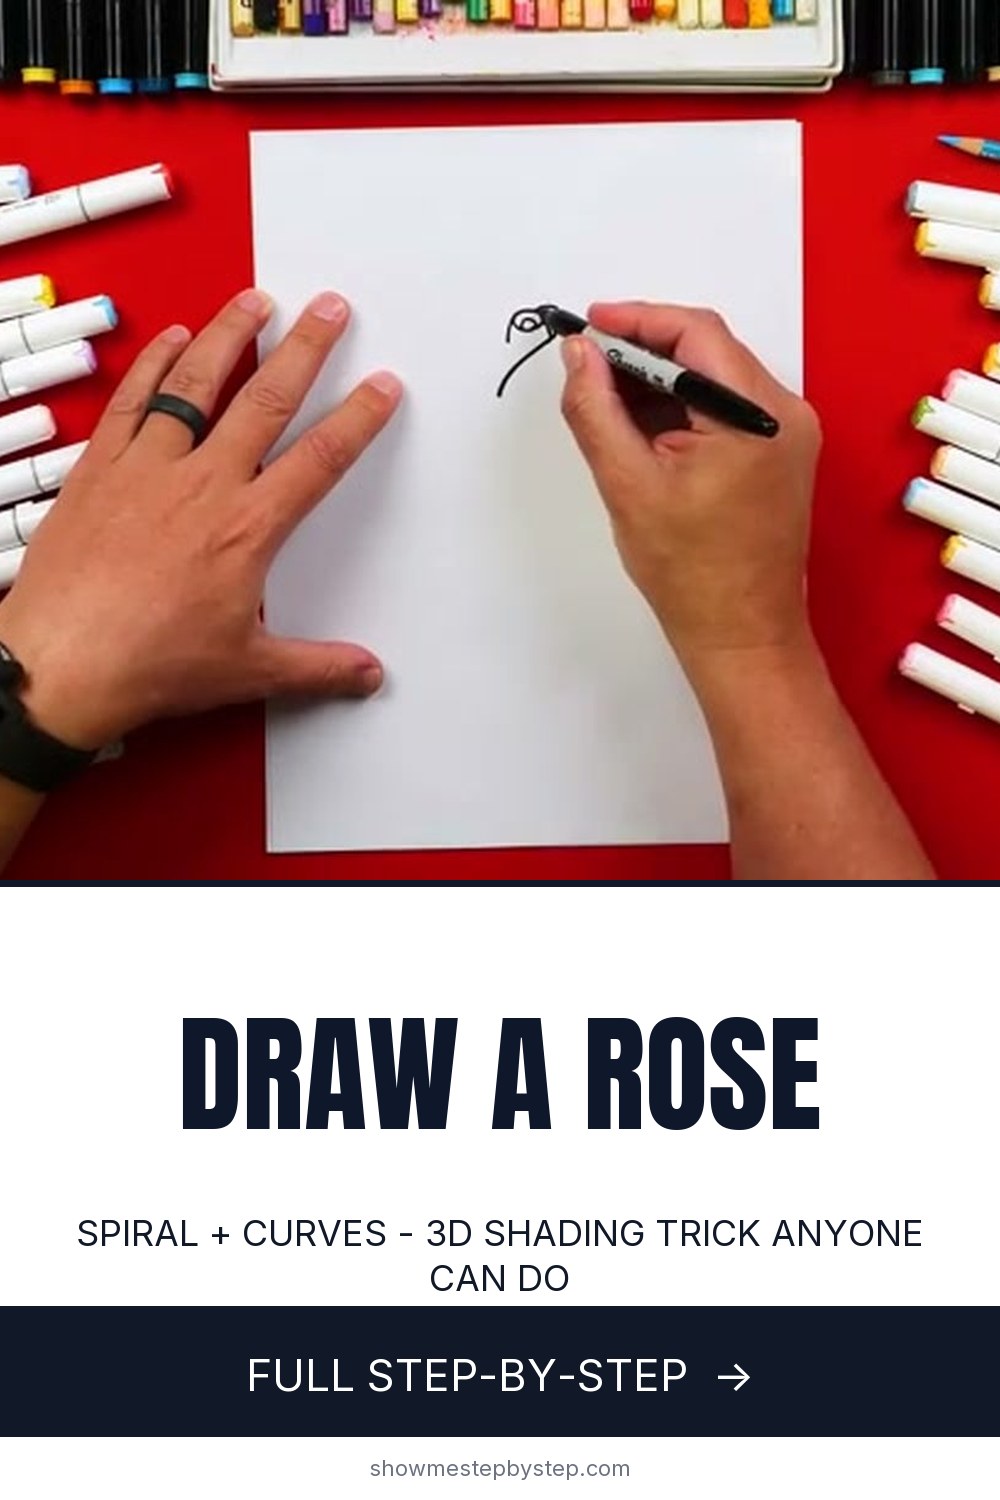
    Start near the middle of your paper, slightly toward the top. Draw a small spiral that curls inward - like a tiny snail shell - then close it off where you started. This is the bud at the heart of the rose.

    From the center of the spiral, drop a short straight line down. That line marks the first petal. Keep everything small here - the rose will get bigger as you add layers, so leave room around the spiral.

    Back to all steps

  3. Step 3: Add the first ring of petals

    Watch this step · 2:00

    On each side of the center line, draw a soft curve that bows outward and ends slightly lower than where it began. These are the inner petal edges wrapping the bud.

    Then come back to the top of the spiral and draw an S-curve down on each side, keeping them short. The inner ring is small on purpose. It sits tightly around the spiral, with each petal getting just a little bigger as you move outward.

    Tip:

    Don't worry about symmetry. Real roses are asymmetrical, and slightly different curves on each side make the rose look more natural, not less.

    Back to all steps

  4. Step 4: Build the next petal layer outward

    Watch this step · 1:50

    From the bottom of each S-curve, draw a longer curve that swoops out wider, then comes back to a point at the bottom. Mirror this on both sides of the rose.

    At this stage the shape should start to look like a heart - that's a good sign. The heart silhouette is the framework that tells you the rose is forming correctly. If your shape looks lopsided, just extend the smaller side a bit further before moving on.

    Back to all steps

  5. Step 5: Add the outer petals with bumps

    Watch this step · 2:50

    Draw the outermost petals so they curve out wider still, but this time add a small bump in the middle of each curve before bringing the line back down. The bump suggests where one petal folds over another.

    Repeat on both sides so the petals balance. The bumps are what stop the rose from looking like a flat fan and make it look like a real flower in bloom. Keep them shallow - a tiny bump goes a long way.

    Back to all steps

  6. Step 6: Draw the stem and leaves

    Watch this step · 3:20

    From the bottom of the rose, sketch one leaf curving out to the left and another to the right. Keep them simple - just an almond shape with a center vein line.

    Then draw the stem straight down with two parallel lines, leaving a small gap so the stem has thickness. A thicker stem looks more grounded than a single thin line. Real rose leaves have a jagged edge, but a smooth curve keeps the lesson easy and still reads as a leaf.

    Back to all steps

  7. Step 7: Color the rose with red and green

    Watch this step · 10:20

    Fill in the rose with solid red marker and the leaves and stem with green. Don't worry about staying perfectly inside the lines - markers don't need to be precise here. Just lay down the base color.

    This is your foundation layer. The next step adds shading on top, so what you do here doesn't have to be perfect. Stay loose and quick.

    Tip:

    Color the rose in any direction you want, but try to color the leaves with strokes that follow the leaf's center vein. It's a small detail but it adds a sense of texture without any extra work.

    Back to all steps

  8. Step 8: Layer darker shades for 3D shading

    Watch this step · 10:55

    Take a darker red marker and layer it on top of the base red. Place shadows underneath each petal, behind petals that sit further back, and inside the center spiral. Then do the same with a darker green on the leaves.

    This step is the magic. Two passes of shading turn a flat drawing into one that looks like it has real depth. Stop the moment it looks finished. It's tempting to keep adding shadows, but more isn't better here.

    Tip:

    If you only have one shade of red, leave some of the base color visible and color around the shadows lightly with the same red - the visible base will read as a highlight against the saturated shadow areas.

    Back to all steps

How to Draw a Star

Keep going

How to Draw a Star

You reached the last step

Save this project to come back to it

Your ticked steps, the free printable and your other saved makes, together in My Projects. Free, no password.

You tapped Save

Save this project for later

We'll email you a link, no password.

How to Draw a Rose

  • Your saved projects in one list
  • Your ticked steps on any device

Check your inbox for an email from us. Not there? Look in your spam folder.

Free printable

Printable sheet for this project

The bonus is hidden until you sign up.

Free with a free account, no password. Every step above stays open to everyone.

Products Used

The Checklist

How to Draw a Rose

Tools
2
Materials
5
Steps
8
Video
12 min

Tools we recommend

As an Amazon Associate we earn from qualifying purchases. Links on this page may be affiliate links - clicking them and buying doesn't change your price, but helps support Crafting Step by Step.

Tags

The Crafter's Weekly

New drawing tutorials, every Sunday

One short email with the week's best step-by-step guides. Free, no spam, unsubscribe anytime.

Test your knowledge

Did the lesson stick? Start with this one.

5 questions covering what you just read. No signup, no score saved, and you can stop after this one.

Question 1 of 5

Why does marker paper matter more than you'd guess?

Quick reference

Key takeaways from How to Draw a Rose

5 questions, answers, and one-line explanations. Tap to expand.

  1. 1.Why does marker paper matter more than you'd guess?

    Answer: Regular printer paper bleeds through and dulls your markers fast

    Marker paper keeps colors crisp and protects your surface.

  2. 2.What shape do you start with for the rose's center?

    Answer: A small spiral that curls inward like a snail shell, closed off at the start

    The spiral is the bud at the heart of the rose.

  3. 3.At the next-petal-layer stage, what silhouette should the rose start to take?

    Answer: A heart shape

    The heart silhouette is the framework that tells you the rose is forming correctly.

  4. 4.What detail on the OUTERMOST petals stops the rose from looking like a flat fan?

    Answer: Small BUMPS in the middle of each curve - suggesting one petal folding over another

    Shallow bumps imply petal-over-petal folds and add real-flower depth.

  5. 5.What's the 'magic' final step that turns a flat drawing into a 3D-looking rose?

    Answer: Layering a DARKER red marker on top of the base red - shadows under petals, behind petals further back, inside the spiral

    Two passes of darker shading give it real depth - stop the moment it looks finished.

Did this work for you?

What's next

Related collections

Curated theme pages that include this tutorial.

Similar tutorials

Hand-picked next reads based on the one you just finished.

Liked this drawing tutorial?

Pick the crafts you want to hear about. One email every Sunday with new step-by-step tutorials. No spam, easy to unsubscribe.

Get more like this in your inbox

Weekly digest. Pick the categories you want. Unsubscribe anytime.

Send me tutorials about

We only email about new tutorials. Easy unsubscribe anytime.