How to Draw a Skull - Realistic Pencil Sketch in 8 Steps

Save it for later. We'll email you a link, no password.

Find it again on your phone or computer, with your finished steps ticked.

You tapped Save

Save this project for later

We'll email you a link, no password.

How to Draw a Skull - Realistic Pencil Sketch in 8 Steps

  • Your saved projects in one list
  • Your ticked steps on any device

Check your inbox for an email from us. Not there? Look in your spam folder.

  • 8 steps
  • 9:15 video
  • Difficulty: Medium
  • About 30 minutes
  • Drawing

Based on a video by Cartooning Club Focus

Opens their YouTube channel

Steps written out by Crafting Step by Step · Published · Updated

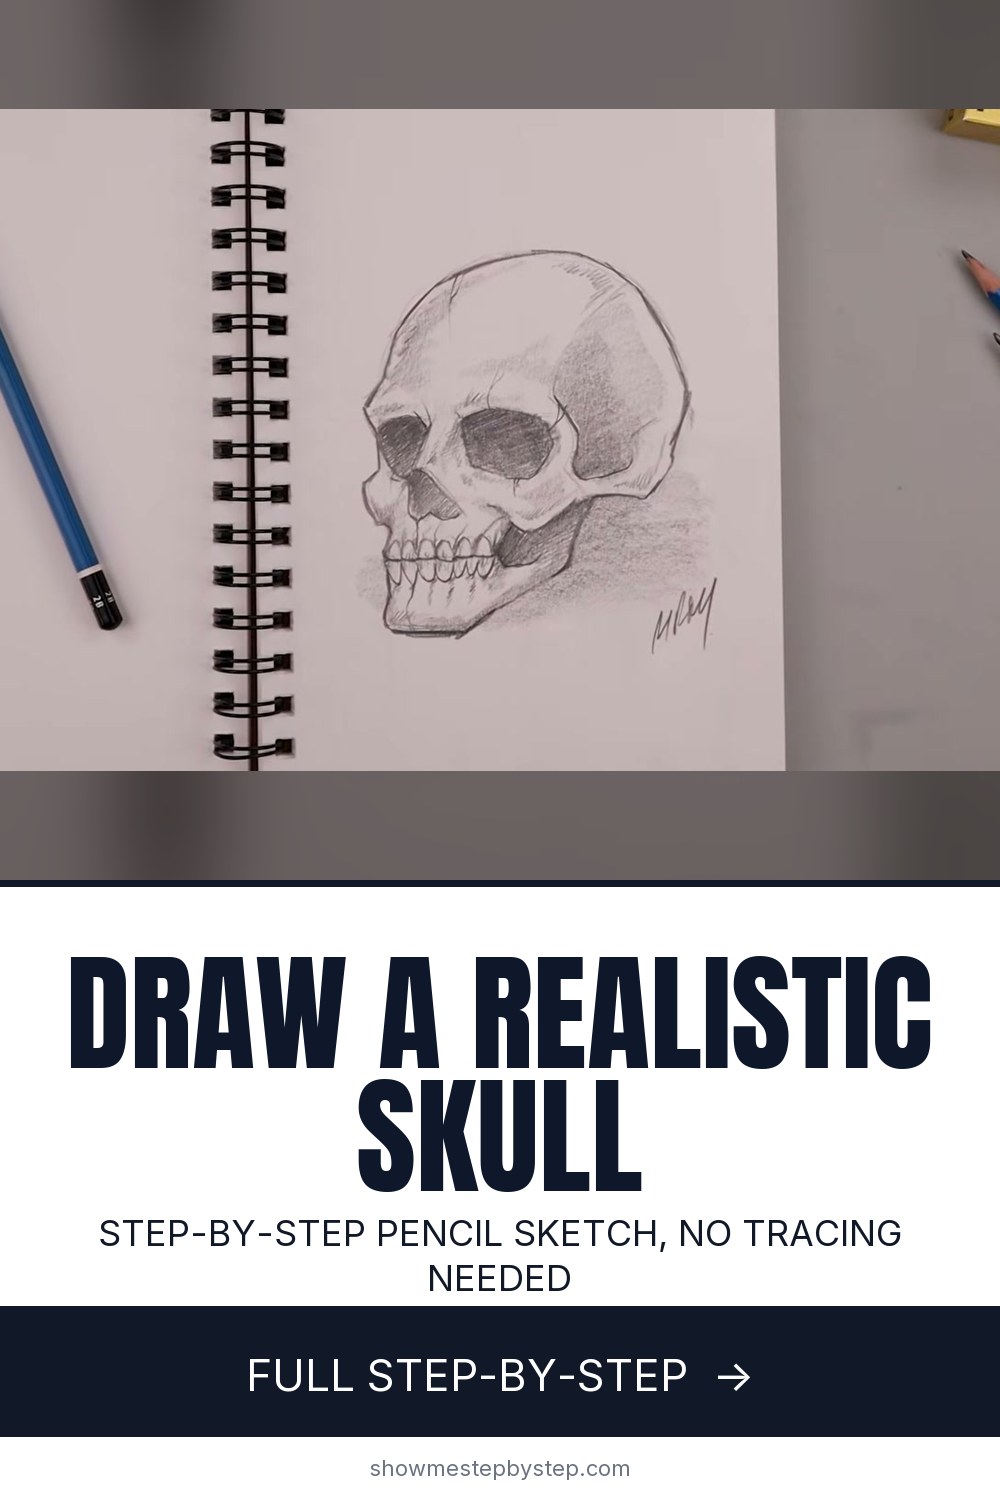
The finished result: How to Draw a Skull - Realistic Pencil Sketch in 8 Steps
Also in:Painting

Most first attempts at a skull fail the same way. The outline is fine, the teeth are fine, and the whole thing still reads flat, like a paper mask instead of bone. That happens when the features get placed by eye instead of hung on a frame.

The walkthrough follows Cartooning Club Focus, shot straight down over a sketchbook with a printed reference skull at the top of the page. The skull turns three quarters to the left. Ten minutes, two pencils, one eraser.

A skull is two shapes: a sphere and a box

The cranium is close to a sphere. The jaw is a box hung off the bottom of it. Start with those two and the proportions are settled before a single feature goes in.

Size the circle by measuring the same distance up, down, left and right from a centre point, then joining the four marks. Fussy, for a shape you erase three steps later. It is also how you avoid a cranium too small for its jaw. The same construction runs through how to draw a face: sphere, jaw, then features.

Keep those lines faint. A kneaded eraser will not lift heavy guidelines cleanly.

The eye socket is not an oval

This one detail separates a real skull from a Halloween sticker. The socket is closer to a rounded square tipped on its corner: heavy brow across the top, outer corner dipping toward the side of the head, floor sloping in toward the nose.

Beside it sits the cheekbone arc. It leaves the outer corner of the socket, swings out past the width of the cranium, then curves back down toward the upper teeth. That swing gives a skull its width. Tuck it in tight and the face goes narrow.

Leave a clear gap between the sockets and the nose bridge. It looks too wide while the drawing is still all outline, and right the moment the dark tone goes in. If eye shapes are a weak spot, how to draw eyes covers the socket the living version sits in.

Count the teeth, do not draw a zipper

An adult has 16 teeth on top and 16 underneath, and a three-quarter view shows maybe ten of each. The count is not the point. The variety is what sells it: two flat front teeth, narrower ones beside, a pointed canine at the corner, then molars shrinking round the jaw.

Draw a strip of even rectangles and you get a zipper. Four things fix it:

  • Give each tooth a slightly different width.
  • Shrink them as they turn away from you toward the far cheek.
  • Let the gum line wander instead of ruling it straight.
  • Darken the gaps between the teeth, not the teeth themselves.

Three quarters is more forgiving than straight on

A front-on skull is a symmetry test. Every socket, cheekbone and tooth has a twin opposite it, and the eye catches a mismatch instantly. Turn the head and the halves are supposed to differ in size, so a wobble reads as perspective.

The turned view also shows the temple hollow and the depth of the socket, both invisible head on. If you want the straight-on version anyway, fold the sheet down the centre, draw one half, then trace the mirror through the fold.

Skull drawing ideas to try next

The same sphere and jaw box carry a lot of other skulls once the three-quarter view feels steady.

  • Side profile. The cranium becomes a long oval, the jaw hinges under the ear, and you see one socket. Good practice for the cheekbone arc.
  • Sugar skull. Use a front view, keep the outline, skip the shading and fill the sockets with flowers and dots for Day of the Dead.
  • Ink skull. Trace your pencil drawing with a fine liner and build the dark sockets with hatching instead of graphite.
  • Open jaw. Swing the jaw box down and back from the hinge so the two rows of teeth split apart.

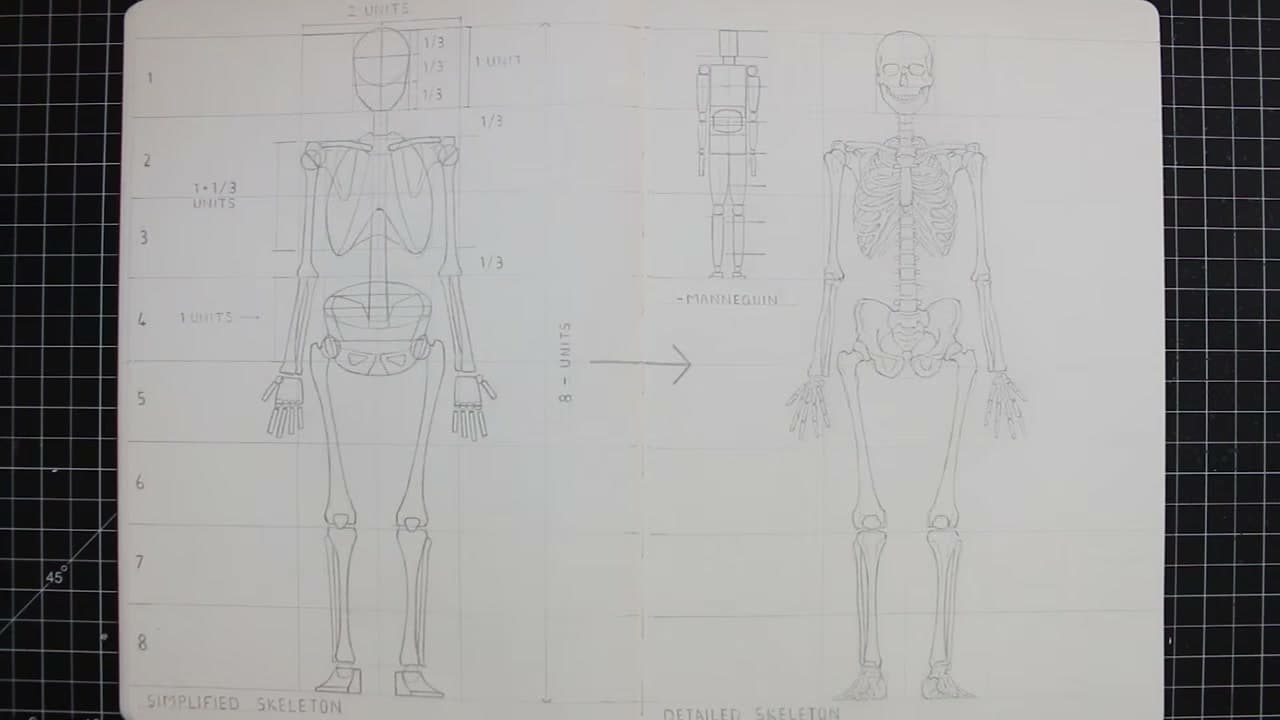
Want the rest of the bones? How to draw a skeleton puts a skull on a full body.

Shading the temple and cheekbone is where the depth comes from

Up to the teeth, the drawing is a diagram. Shading turns it into bone, and three areas do most of that work.

The eye sockets go near black at the top and fade toward the bottom edge. That gradient is the hollow. Flat grey looks like a circle someone coloured in. The nasal cavity takes the same treatment.

The temple hollow sits above and behind the cheekbone arc, and it is why a skull looks carved instead of inflated. Darken the dip, fade it up across the side of the cranium, leave the forehead and crown light, then lay a soft band under the cheekbone and along the jaw. Use a 4B or 6B for the darkest tones. A 2B pushed hard goes shiny grey.

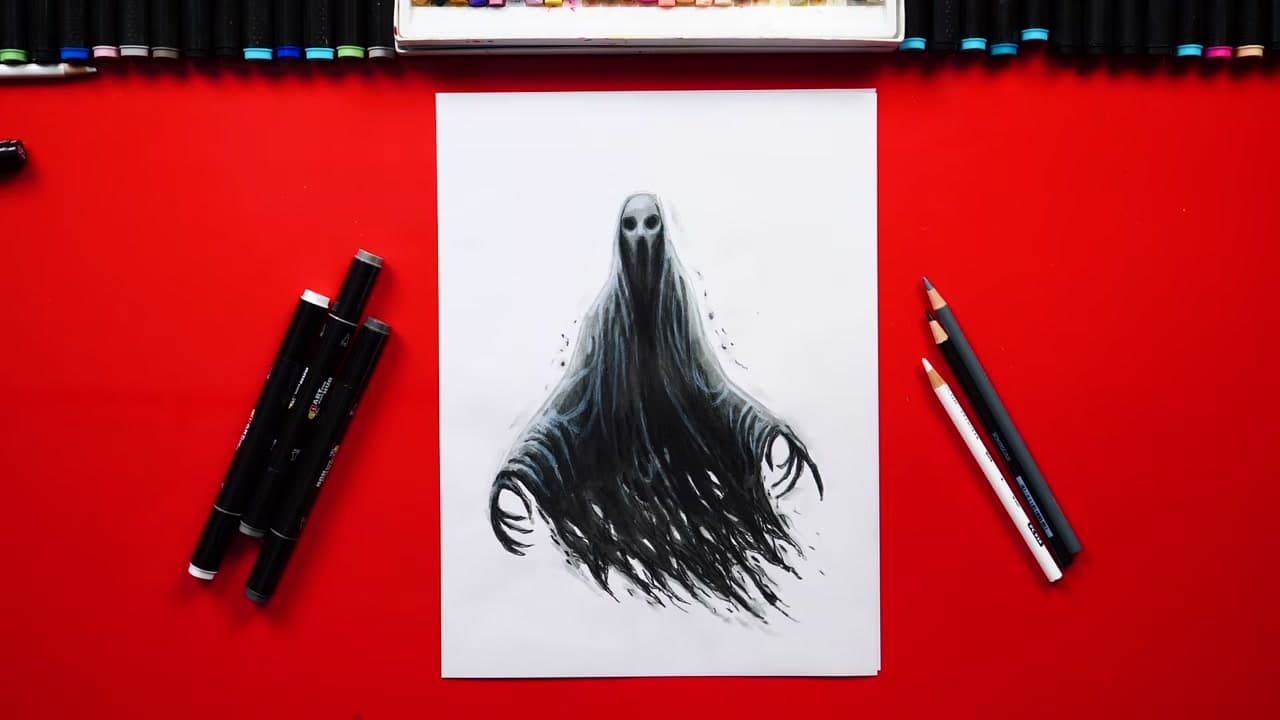
That same gradient carries over to a shaded ghost, a bat and a jack-o-lantern, a decent October set on one sheet. For the fundamentals under all of it, start at how to draw.

Free printable

Print the steps and supply list for this project

One page you can take to the table. Free with a free account, no password.

Get the free printable

What you'll need

Free, for this project

Get this checklist by email

  • All 6 tools and materials, with tick boxes
  • A link to print all 8 steps on paper, to keep by you while you craft

No password. The whole tutorial stays free on this page.

Quick answer

A realistic skull drawing in 8 pencil steps. A medium project: about 30 minutes. You need 6 things, including Sketchbook or drawing paper pad, 2B graphite pencil and Kneaded eraser. The 8 steps start with draw the Cranium Circle and Centre Guidelines, block In the Jaw Box Under the Cranium, place the Nose Bridge, Eye Sockets and Mouth Line, shape the Eye Sockets and Nasal Cavity, shape the Cheekbones, Jawline and Brow Ridge and draw the Top and Bottom Rows of Teeth.

Step-by-step guide

8 steps, about 9 minutes. Tap a picture to jump to that step. Your progress saves automatically.

Tick each step off as you go.

  1. Step 1: Draw the Cranium Circle and Centre Guidelines

    Watch this step · 1:00

    Start with a light vertical line down the centre of the page, then a horizontal line across the middle. Where they cross is the centre of the skull. Measure the same distance from that point up, down, left and right and make a small mark at each spot.

    Connect the four marks with a curve to close the circle. It does not need to be round on the first pass. Get the size right now and smooth the edge later.

    Tip:

    Press so lightly you can barely see the lines. Every mark in this step gets erased once the skull has a shape.

    Back to all steps

  2. Step 2: Block In the Jaw Box Under the Cranium

    Watch this step · 2:20

    The skull turns left, so the jaw hangs off the left side of the circle. Draw a short vertical line down from the left edge. Halfway between the centre and the bottom of the circle, draw a flat line across for the base of the cranium.

    Measure from that flat line to the bottom of the circle and extend the skull down by the same amount. Close it with a straight line, then angle the chin down and out toward the left. Add a vertical line to the right of centre for the far edge of the face.

    Tip:

    Keep the jaw block boxy at this stage. The curves come in step 5 once the features are placed.

    Back to all steps

  3. Step 3: Place the Nose Bridge, Eye Sockets and Mouth Line

    Watch this step · 3:20

    Draw a vertical centre seam from the chin up between the eyes. From the top of that seam, angle the nose bridge down and to the left, drop a short line for the side of the nose and flatten off the bottom. Halfway between the nose and the chin, rule the mouth line across.

    The eye sockets go on either side of the nose bridge, leaving a gap between them. Curl each one down, across and back up like a half circle. Rough shapes are fine here.

    Tip:

    Keep a clear gap between the sockets and the nose bridge. Sockets that touch the nose make the skull look squashed.

    Back to all steps

  4. Step 4: Shape the Eye Sockets and Nasal Cavity

    Watch this step · 3:50

    Erase the circle and the guidelines so only the skull outline and features remain. Curve the top edge of each eye socket and dip the outer corners down toward the sides of the head. Add some shape across the bottom of each socket too.

    Under the nose bridge, draw the nostrils as a curved notch that dips down, comes back up toward the middle and flattens across the top. Lightly shade the top of the nostril and the top of each socket, then fade the tone downward.

    Tip:

    A kneaded eraser lifts the guidelines without scrubbing the paper, so the light shading you add next sits clean.

    Back to all steps

  5. Step 5: Shape the Cheekbones, Jawline and Brow Ridge

    Watch this step · 4:35

    From the outer corner of the left eye socket, pull the cheekbone out, bring it down and curve it in toward the centre seam above the mouth. On the right side, go up and over the socket and angle the cheekbone back down.

    Round off the chin, then bend the jaw up and in underneath. Extend the brow out along the profile edge of the head and carry it across the top. On the right temple, add a dip that curves in toward the eye and back down to the cheekbone.

    Tip:

    Sharpen the pencil before the brow line. A crisp edge here is what separates the forehead from the side of the skull.

    Back to all steps

  6. Step 6: Draw the Top and Bottom Rows of Teeth

    Watch this step · 5:00

    Work along the mouth line. Draw a short stroke up to the gum line and back down, then repeat it across the top row, curving in toward the cheek as the teeth wrap around the jaw. Do the same for the bottom row, coming down and back up so both rows meet on the mouth line.

    Keep the strokes loose. Real teeth are uneven, and a slightly wobbly row looks more convincing than a neat one.

    Tip:

    Make the teeth smaller as they curve toward the far cheek. It sells the turn of the head.

    Back to all steps

  7. Step 7: Shade the Eye Sockets and Nasal Cavity Near Black

    Watch this step · 6:00

    Now the contrast. Go back into each eye socket with heavy pressure and darken the top to near black. Fade the tone down toward the bottom edge with lighter strokes so the socket reads as a hollow, not a flat patch.

    Do the same inside the nose cavity, darkest at the top. You can nudge the shape of the nose while you are in there. This is the step where the outline stops looking like a diagram and starts looking like a skull.

    Tip:

    Switch to a softer pencil, 4B or 6B, for the darkest tones. A 2B pressed hard will shine and never get truly black.

    Back to all steps

  8. Step 8: Shade the Cranium and Temple Hollow, Then Add a Drop Shadow

    Watch this step · 8:44

    Darken the indent at the temple and fade it up and out across the side of the cranium. The forehead and the top of the head stay light. Add a few soft strokes under the cheekbone and along the jaw, then go back over the fine details, the cracks and edges, on top of the shading.

    Finish with a drop shadow under the jaw and off to the right, blending it out so it fades to nothing. Sign it.

    Tip:

    A blending stump smooths the cranium shading into an even tone. Leave the eye sockets rough for contrast.

    Back to all steps

How to Draw a Skeleton

Keep going

How to Draw a Skeleton

10 steps · about 16 minutes

You reached the last step

Save this project to come back to it

Your ticked steps, the free printable and your other saved makes, together in My Projects. Free, no password.

You tapped Save

Save this project for later

We'll email you a link, no password.

How to Draw a Skull - Realistic Pencil Sketch in 8 Steps

  • Your saved projects in one list
  • Your ticked steps on any device

Check your inbox for an email from us. Not there? Look in your spam folder.

Free printable

Printable sheet for this project

The bonus is hidden until you sign up.

Free with a free account, no password. Every step above stays open to everyone.

Products Used

The Checklist

How to Draw a Skull - Realistic Pencil Sketch in 8 Steps

Tools
5
Materials
1
Steps
8
Video
9 min

Tools we recommend

As an Amazon Associate we earn from qualifying purchases. Links on this page may be affiliate links - clicking them and buying doesn't change your price, but helps support Crafting Step by Step.

Tags

The Crafter's Weekly

New drawing tutorials, every Sunday

One short email with the week's best step-by-step guides. Free, no spam, unsubscribe anytime.

Test your knowledge

Did the lesson stick? Start with this one.

5 questions covering what you just read. No signup, no score saved, and you can stop after this one.

Question 1 of 5

How is the first circle sized?

Quick reference

Key takeaways from How to Draw a Skull - Realistic Pencil Sketch in 8 Steps

5 questions, answers, and one-line explanations. Tap to expand.

  1. 1.How is the first circle sized?

    Answer: Four equal marks out from the centre

    Measure the same distance up, down, left and right from the centre, then join the marks.

  2. 2.The skull turns left. Which side of the circle does the jaw hang from?

    Answer: The left side

    The jaw drops off the side the skull is turned toward.

  3. 3.Where does the mouth line get ruled?

    Answer: Halfway from nose to chin

    Halfway between the nose and the chin is where the two rows of teeth meet.

  4. 4.Why keep the tooth strokes loose and uneven?

    Answer: Real teeth are never a neat row

    A slightly wobbly row looks more convincing than a perfectly even one.

  5. 5.Inside each eye socket, where is the tone darkest?

    Answer: At the top, fading toward the bottom

    Near black at the top and lighter toward the bottom is what makes the socket read as a hollow.

Did this work for you?

What's next

Related collections

Curated theme pages that include this tutorial.

Similar tutorials

Hand-picked next reads based on the one you just finished.

Liked this drawing tutorial?

Pick the crafts you want to hear about. One email every Sunday with new step-by-step tutorials. No spam, easy to unsubscribe.

Get more like this in your inbox

Weekly digest. Pick the categories you want. Unsubscribe anytime.

Send me tutorials about

We only email about new tutorials. Easy unsubscribe anytime.