How to Draw Lips - Realistic Mouth in 8 Steps

Save it for later. We'll email you a link, no password.

Find it again on your phone or computer, with your finished steps ticked.

You tapped Save

Save this project for later

We'll email you a link, no password.

How to Draw Lips - Realistic Mouth in 8 Steps

  • Your saved projects in one list
  • Your ticked steps on any device

Check your inbox for an email from us. Not there? Look in your spam folder.

  • 8 steps
  • 13:37 video
  • Difficulty: Medium
  • About 35 minutes
  • Drawing

Based on a video by Silvie Mahdal

Opens their YouTube channel

Steps written out by Crafting Step by Step · Published · Updated

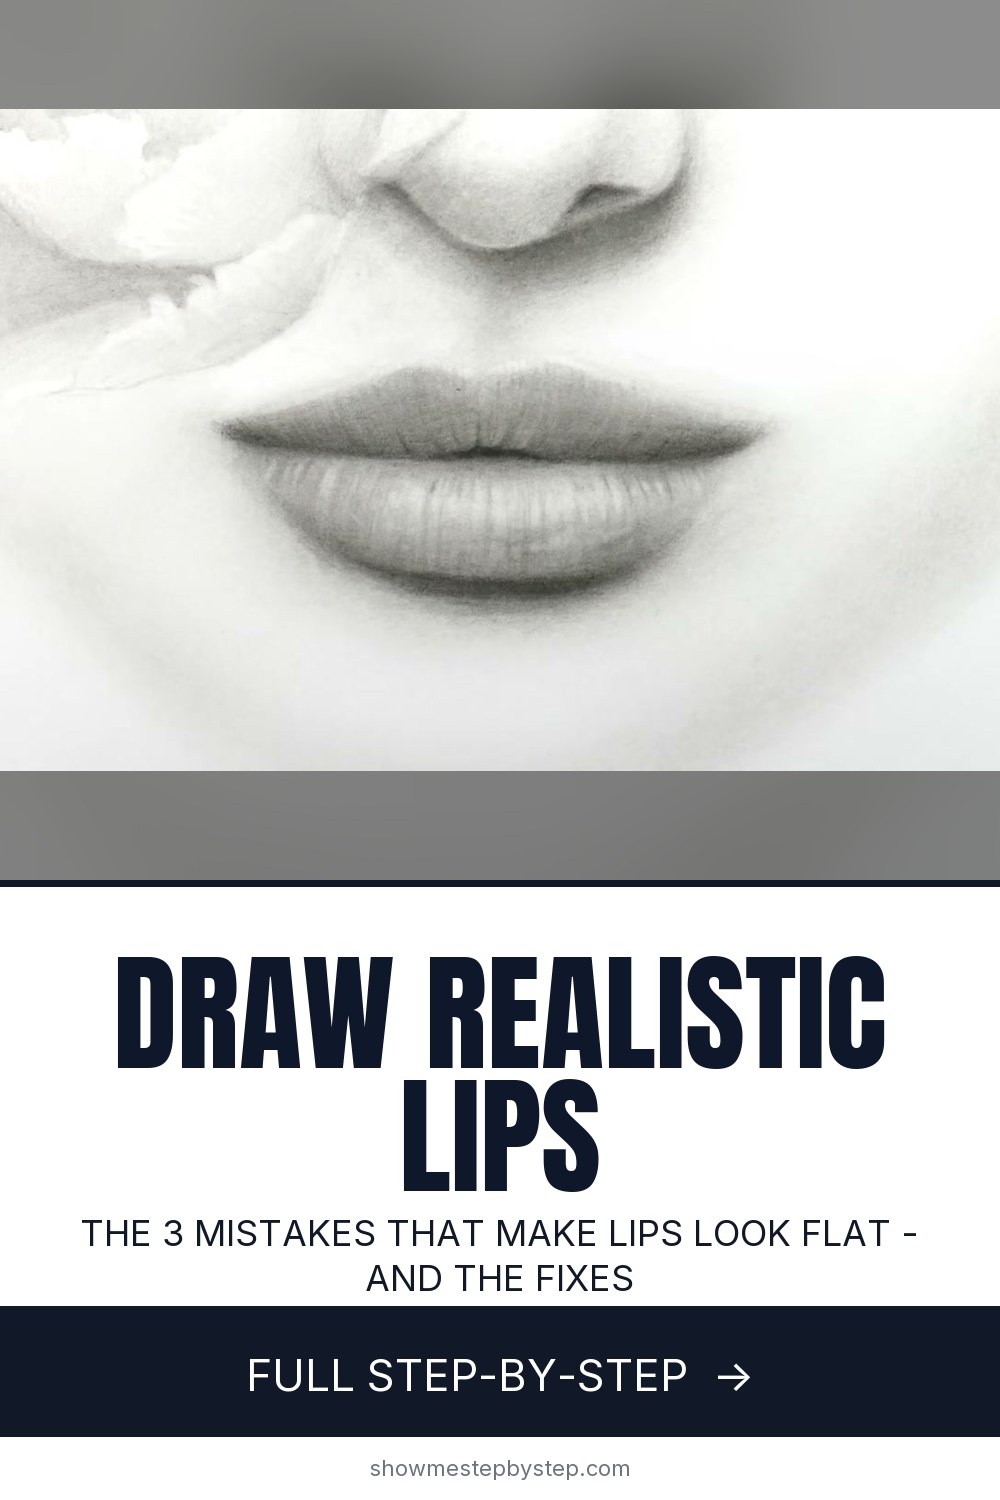
The finished result: How to Draw Lips - Realistic Mouth in 8 Steps
Also in:Painting

Lips are the feature most people draw flat. The outline comes out uneven, the shading looks gray, and the whole thing sits on the paper like a sticker. Every one of those problems has the same small fix, and this walkthrough goes through them one at a time.

The video is Silvie Mahdal's, the most-watched lips tutorial on YouTube. She draws each stage twice, side by side: the mistake on the left and the correction on the right. That is why most of the step images below show two mouths. Look at the right one.

What you need

Four graphite pencils, HB, 3B, 4B and 6B, a soft brush or blending stump, and an eraser with a sharp edge. Smooth paper. That is the whole kit, and everything on it costs a few dollars.

The three mistakes and the three fixes

No guidelines. Freehand outlines come out lopsided. Six light marks on a centre line fix the proportions before you draw a single curve.

Hard pencils. An H or HB cannot reach the dark values a mouth needs, so the shading stays gray. Move to a 3B for the first layer and softer from there.

Finger blending. Skin oil sinks into the paper and every later layer goes patchy. A brush, a tissue or a blending stump does the same job cleanly.

How to draw a mouth that looks three-dimensional

Think of the lips as two rounded forms stacked with the light coming from above. That means a shadow under each form, the darkest line where they meet, and a highlight on the upper surface of the lower lip. Every step from the first layer of shading to the final eraser lift follows that map. Get the map in your head first and the pencil work becomes almost mechanical.

Where it goes wrong

The outline shows through the shading. It was drawn too dark. Start lighter than feels useful.

The texture looks like a barcode. Too many lines. Three or four, each with its own small shadow, is enough.

It still looks flat. Not enough contrast. The centre line should be the darkest mark on the page and the lower-lip highlight should be bare paper.

The rest of the face

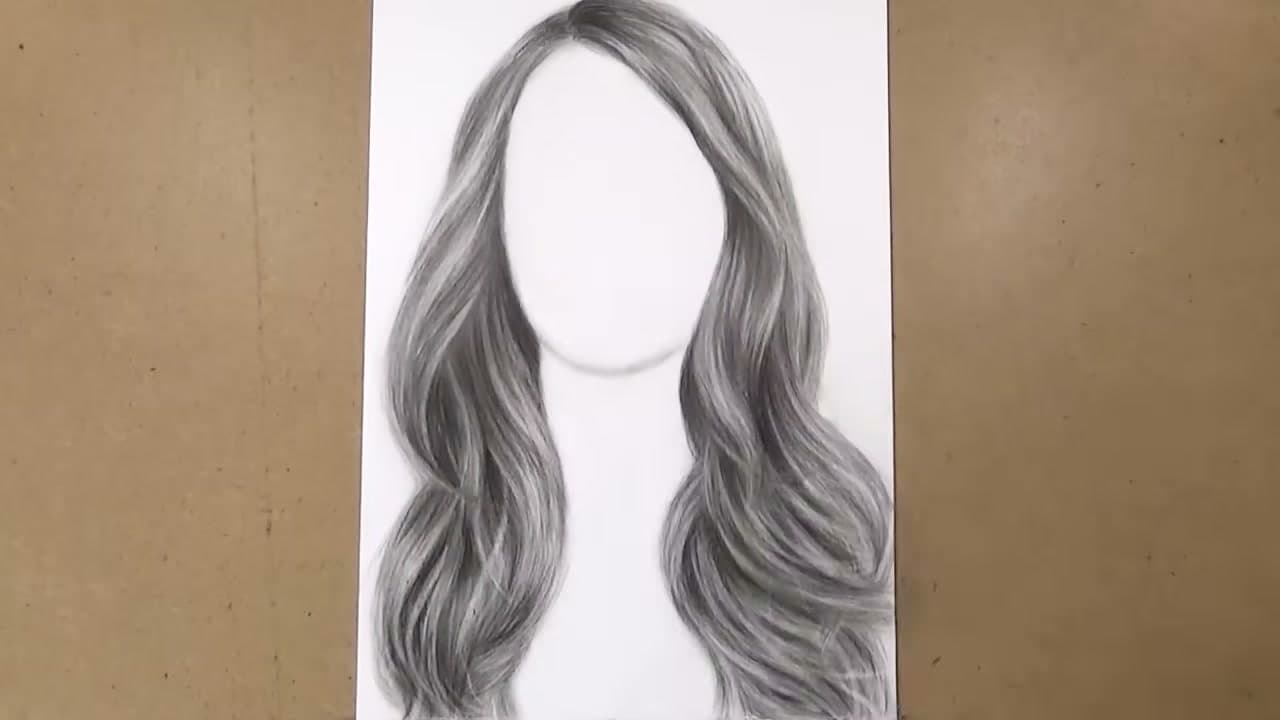
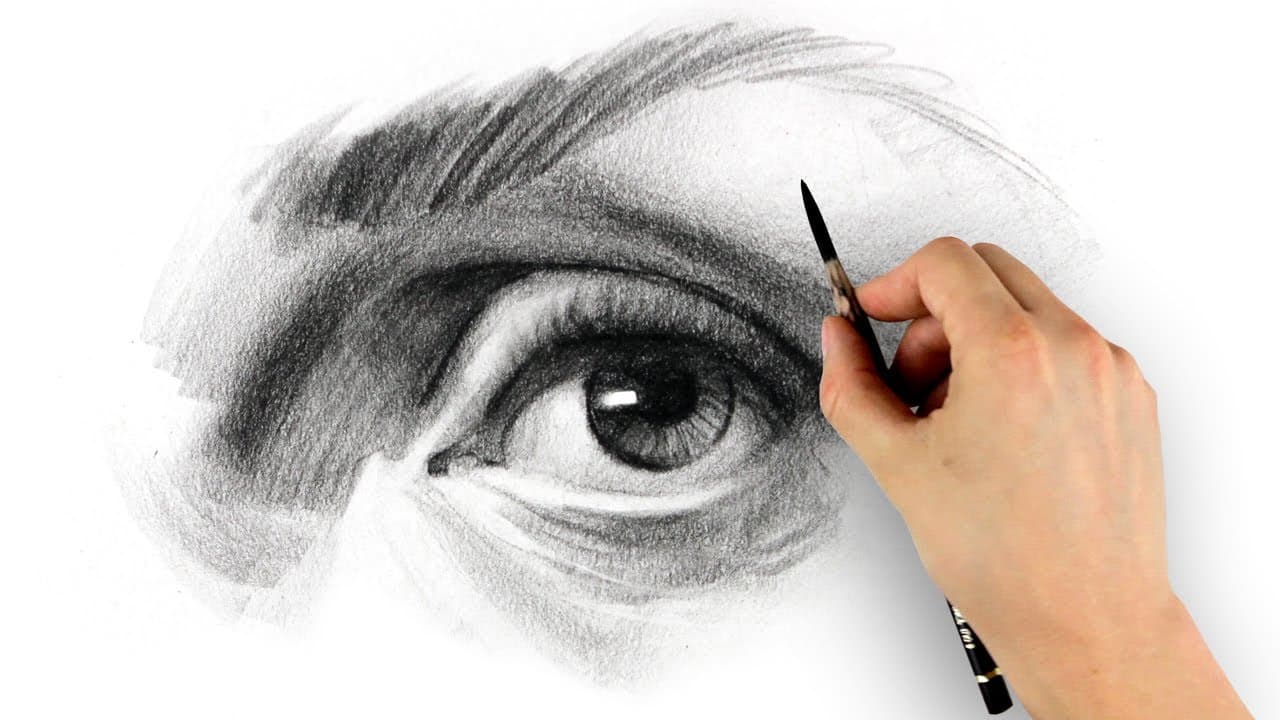
The same map of forms and light works on every feature. Eyes and the face as a whole both start from proportion guidelines before any shading, and hair is the same layered graphite approach on a much larger area. If the pencil grades and the light-source idea are new, how to draw covers both from scratch.

Free printable

Print the steps and supply list for this project

One page you can take to the table. Free with a free account, no password.

Get the free printable

What you'll need

Free, for this project

Get this checklist by email

  • All 5 tools and materials, with tick boxes
  • A link to print all 8 steps on paper, to keep by you while you craft

No password. The whole tutorial stays free on this page.

Quick answer

Learn how to draw lips that look real. A medium project: about 35 minutes. You need 5 things, including Smooth drawing paper, Graphite pencils and Soft brush or blending stump. The 8 steps start with draw the Guidelines Before Any Outline, connect the Marks Into a Light Outline, see the Lips as Two Forms Under One Light, lay the First Layer With a 3B Chisel Point and blend With a Brush, Then Shade the Upper Lip.

Step-by-step guide

8 steps, about 14 minutes. Tap a picture to jump to that step. Your progress saves automatically.

Tick each step off as you go.

  1. Step 1: Draw the Guidelines Before Any Outline

    Watch this step · 1:10

    With an HB pencil and almost no pressure, draw a horizontal line where the two lips meet. Mark the two corners of the mouth on it, then a mark above the line for the peaks of the cupid's bow and one below it for the bottom of the lower lip.

    This is the fix for the first beginner mistake: drawing the outline freehand and ending up with lips that are not symmetrical. Six light marks, and the proportions take care of themselves.

    Tip:

    Move the top and bottom marks closer to the centre line for thinner lips and further away for fuller ones. Decide that here, not while outlining.

    Back to all steps

  2. Step 2: Connect the Marks Into a Light Outline

    Watch this step · 2:10

    Join the marks with slightly curved lines. From each corner, the upper lip rises to the two peaks of the cupid's bow and dips between them. The lower lip is one fuller curve from corner to corner through the bottom mark.

    Keep every line light. Dark outlines are almost impossible to erase later and they show through the shading as a hard edge, which is the second thing that gives away a beginner drawing.

    Tip:

    Draw the outline as a series of short, overlapping light strokes rather than one committed line, and pick the best of them.

    Back to all steps

  3. Step 3: See the Lips as Two Forms Under One Light

    Watch this step · 3:48

    Before shading anything, think of the mouth as two simple rounded forms stacked on top of each other, with the light coming from above. That gives you a shadow under each form, the darkest tone along the line where they meet, and a bright highlight on the upper surface of the lower lip.

    Every realistic mouth drawing follows that map. Shading without it is what makes lips look flat, however carefully the strokes are laid down.

    Tip:

    Sketch the two forms as cylinders on scrap paper and shade them once. It takes two minutes and it fixes the flat-lips problem for good.

    Back to all steps

  4. Step 4: Lay the First Layer With a 3B Chisel Point

    Watch this step · 4:35

    Sharpen a 3B to a chisel point and shade the lower lip with light strokes packed close together, each one following the curve of the lip. Do not press. The softness of the pencil does the darkening; you only provide the direction.

    Hard pencils are the most common shading mistake. An H or HB cannot reach the dark values a mouth needs, so the drawing ends up gray and flat no matter how much you go over it.

    Tip:

    Cut the chisel point by rubbing the side of the lead on sandpaper or scrap paper. The flat face gives smooth tone, the edge gives crisp lines.

    Back to all steps

  5. Step 5: Blend With a Brush, Then Shade the Upper Lip

    Watch this step · 5:30

    Blend the first layer with a soft paintbrush or a folded tissue. Not a finger: skin oil sinks into the paper and makes every later layer patchy. Then shade the upper lip with the same pencil and the same short curved strokes, and blend it the same way.

    Blending softens the outline, so after each blend go back and lightly redefine the shape of the lips.

    Tip:

    A cheap flat watercolour brush is the best blender for large areas. Keep one just for graphite.

    Back to all steps

  6. Step 6: Add the Shadows With a 4B and Cut the Centre Line

    Watch this step · 7:10

    Switch to a 4B for the shadows: the corners of the mouth, the underside of the lower lip, and the band just beneath the centre line. Turn the chisel point onto its sharp edge and redraw the centre line crisp, then flip it back to the flat face and shade a soft shadow under it. Blend, then repeat on the upper lip.

    Some upper lips carry a small shadow right along the top edge as well. Add it if the mouth you are drawing has one.

    Tip:

    The centre line is the darkest single mark in the drawing. Everything else reads against it, so get it sharp before you go darker anywhere else.

    Back to all steps

  7. Step 7: Darkest Values With a 6B, Then the Texture

    Watch this step · 9:16

    Take a 6B for the darkest parts, which sit in the middle of the mouth and at the corners, and blend them with a blending stump for control. Then add the lip texture: thin lines running with the curve of each lip, and beside each line a touch of shading. The lines on lips are tiny forms with their own shadow, not just scratches.

    Go back with the HB for the lighter values between them and blend it all once more.

    Tip:

    Fewer texture lines than you think. Three or four well-placed ones read as skin; twenty read as a barcode.

    Back to all steps

  8. Step 8: Shade the Skin and Lift the Highlights

    Watch this step · 11:40

    Use the brush to shade a soft tone into the skin around the mouth so the lips sit in a face, and add a 6B shadow under the bottom lip where it meets the chin. Then take a pencil eraser, or the sharp corner of a regular one, and lift out the highlights on the lower lip where the light lands.

    That last lift is the step that makes the drawing come off the paper.

    Tip:

    Cut a regular eraser diagonally with a craft knife to get a sharp edge for precise highlights.

    Back to all steps

How to Draw Hair - Realistic Graphite Hair in 8 Steps

Keep going

How to Draw Hair - Realistic Graphite Hair in 8 Steps

8 steps · about 12 minutes

You reached the last step

Save this project to come back to it

Your ticked steps, the free printable and your other saved makes, together in My Projects. Free, no password.

You tapped Save

Save this project for later

We'll email you a link, no password.

How to Draw Lips - Realistic Mouth in 8 Steps

  • Your saved projects in one list
  • Your ticked steps on any device

Check your inbox for an email from us. Not there? Look in your spam folder.

Free printable

Printable sheet for this project

The bonus is hidden until you sign up.

Free with a free account, no password. Every step above stays open to everyone.

Products Used

The Checklist

How to Draw Lips - Realistic Mouth in 8 Steps

Tools
4
Materials
1
Steps
8
Video
14 min

Tools we recommend

As an Amazon Associate we earn from qualifying purchases. Links on this page may be affiliate links - clicking them and buying doesn't change your price, but helps support Crafting Step by Step.

Tags

The Crafter's Weekly

New drawing tutorials, every Sunday

One short email with the week's best step-by-step guides. Free, no spam, unsubscribe anytime.

Test your knowledge

Did the lesson stick? Start with this one.

5 questions covering what you just read. No signup, no score saved, and you can stop after this one.

Question 1 of 5

What should you draw before any outline of the lips?

Quick reference

Key takeaways from How to Draw Lips - Realistic Mouth in 8 Steps

5 questions, answers, and one-line explanations. Tap to expand.

  1. 1.What should you draw before any outline of the lips?

    Answer: A horizontal line where the lips meet

    A centre line with the corners and peaks marked on it is what keeps the mouth symmetrical.

  2. 2.Why keep the first lip outline very light?

    Answer: Dark outlines flatten the lip edge

    A hard outline reads as a border rather than the soft edge of flesh.

  3. 3.How should you think of the mouth before shading it?

    Answer: As two rounded forms lit from above

    Two stacked forms under one light give you the shadows and the highlight positions.

  4. 4.Why blend with a brush or tissue rather than a finger?

    Answer: Skin oil sinks in and blotches later layers

    Oil from your skin soaks into the paper and later layers go on unevenly.

  5. 5.You want a crisp centre line between the lips. What do you do?

    Answer: Turn the chisel point onto its sharp edge

    A chisel-pointed soft pencil turned on its edge draws crisp, then flips back to shade.

Did this work for you?

What's next

Related collections

Curated theme pages that include this tutorial.

Similar tutorials

Hand-picked next reads based on the one you just finished.

Liked this drawing tutorial?

Pick the crafts you want to hear about. One email every Sunday with new step-by-step tutorials. No spam, easy to unsubscribe.

Get more like this in your inbox

Weekly digest. Pick the categories you want. Unsubscribe anytime.

Send me tutorials about

We only email about new tutorials. Easy unsubscribe anytime.