How to Draw a Bat - Easy Halloween Silhouette in 6 Steps

Save it for later. We'll email you a link, no password.

Find it again on your phone or computer, with your finished steps ticked.

You tapped Save

Save this project for later

We'll email you a link, no password.

How to Draw a Bat - Easy Halloween Silhouette in 6 Steps

  • Your saved projects in one list
  • Your ticked steps on any device

Check your inbox for an email from us. Not there? Look in your spam folder.

  • 6 steps
  • 5:04 video
  • Difficulty: Easy
  • About 15 minutes
  • Drawing

Based on a video by HalloweenDrawings

Opens their YouTube channel

Steps written out by Crafting Step by Step · Published · Updated

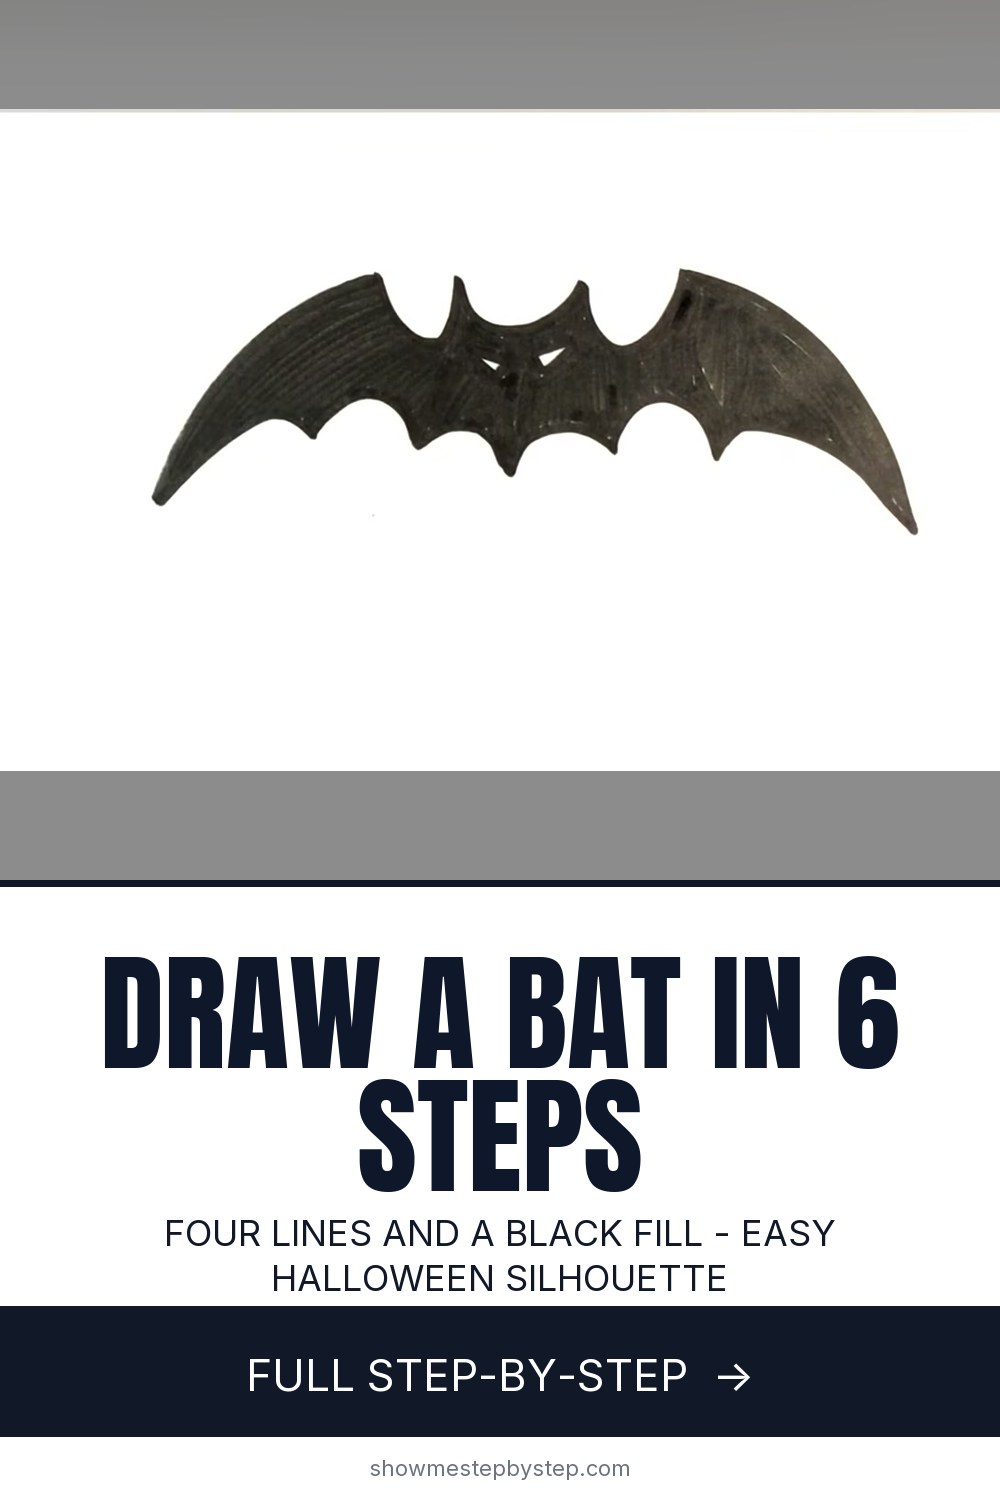
The finished result: How to Draw a Bat - Easy Halloween Silhouette in 6 Steps
Also in:Painting

A bat is the fastest Halloween drawing there is, and the reason is that you are not really drawing a bat. You are drawing its shadow. Four lines make the outline, a marker fills it in, and two dots become the eyes. Nobody has to draw fur, or a snout, or a wing bone that bends the right way.

The walkthrough below follows HalloweenDrawings on YouTube, filmed straight down over white paper with a black marker. No pencil guides, no shading, no colour. If your hand wobbles a little the solid fill hides it, which is why this one works for a six-year-old and for a card made at eleven at night.

Why the silhouette beats a drawn-out bat

Search for bat drawings and you get two kinds. One is a black shape with pointed ears and scalloped wings. The other is an anatomical bat with fur, a face, ribbed wings and an expression. The second one takes an hour and looks wrong for the first fifty minutes.

The silhouette wins because every hard decision has already been made for you. Solid black means no shading. No shading means no light source. No light source means no perspective to get wrong. What is left is an outline, and an outline is something you can fix by moving one line.

The scalloped edge is a row of finger bones

A bat wing is a hand. The long bones running out through the wing membrane are fingers, webbed and stretched, and the skin sags a little between each one. That sag is the row of U shapes along the bottom edge, and it is the only piece of anatomy here that has to be right.

Two things make the scallops work. Wider near the wingtip, tighter near the body, because the fingers fan apart as they travel out. And three or four per wing, not eight. Eight reads as a frill. Three reads as a bat.

The little hook at each wingtip is the thumb, the one finger a bat keeps free to climb with. It takes a second and does more for the silhouette than anything else.

Ears and nose, or you have drawn a bird

Take the ears off a bat silhouette and you have a bird. Those two pointed bumps on the head are what the eye reads first, so draw them tall enough to break the outline. Rounded ears turn it into a mouse. Slightly taller than wide, with a shallow dip between them, is the bat.

Keep the head small. Wings five or six times the width of the head is about right for a bat in flight, and a head drawn too big is the most common way this goes wrong - it stops looking like a bat and starts looking like a moth. A nose is optional, and a tiny notch at the bottom centre of the head is plenty. Anything more disappears the moment the black fill goes on.

Matching both wings without tracing

Symmetry is the part most people quietly give up on. Three ways around it:

  • Fold the paper down the middle, draw one half against the fold, then cut through both layers.
  • Mark both wingtips with a dot first, so each sweeping line has somewhere to land.
  • Count the scallops. Four on the left means four on the right. Matching the count matters more to the eye than matching the curve.

When one wing does come out longer, extend the short side rather than erasing the long one. A wide bat still looks like a bat. A patched-up one looks patched up.

Turning one bat into a window full of them

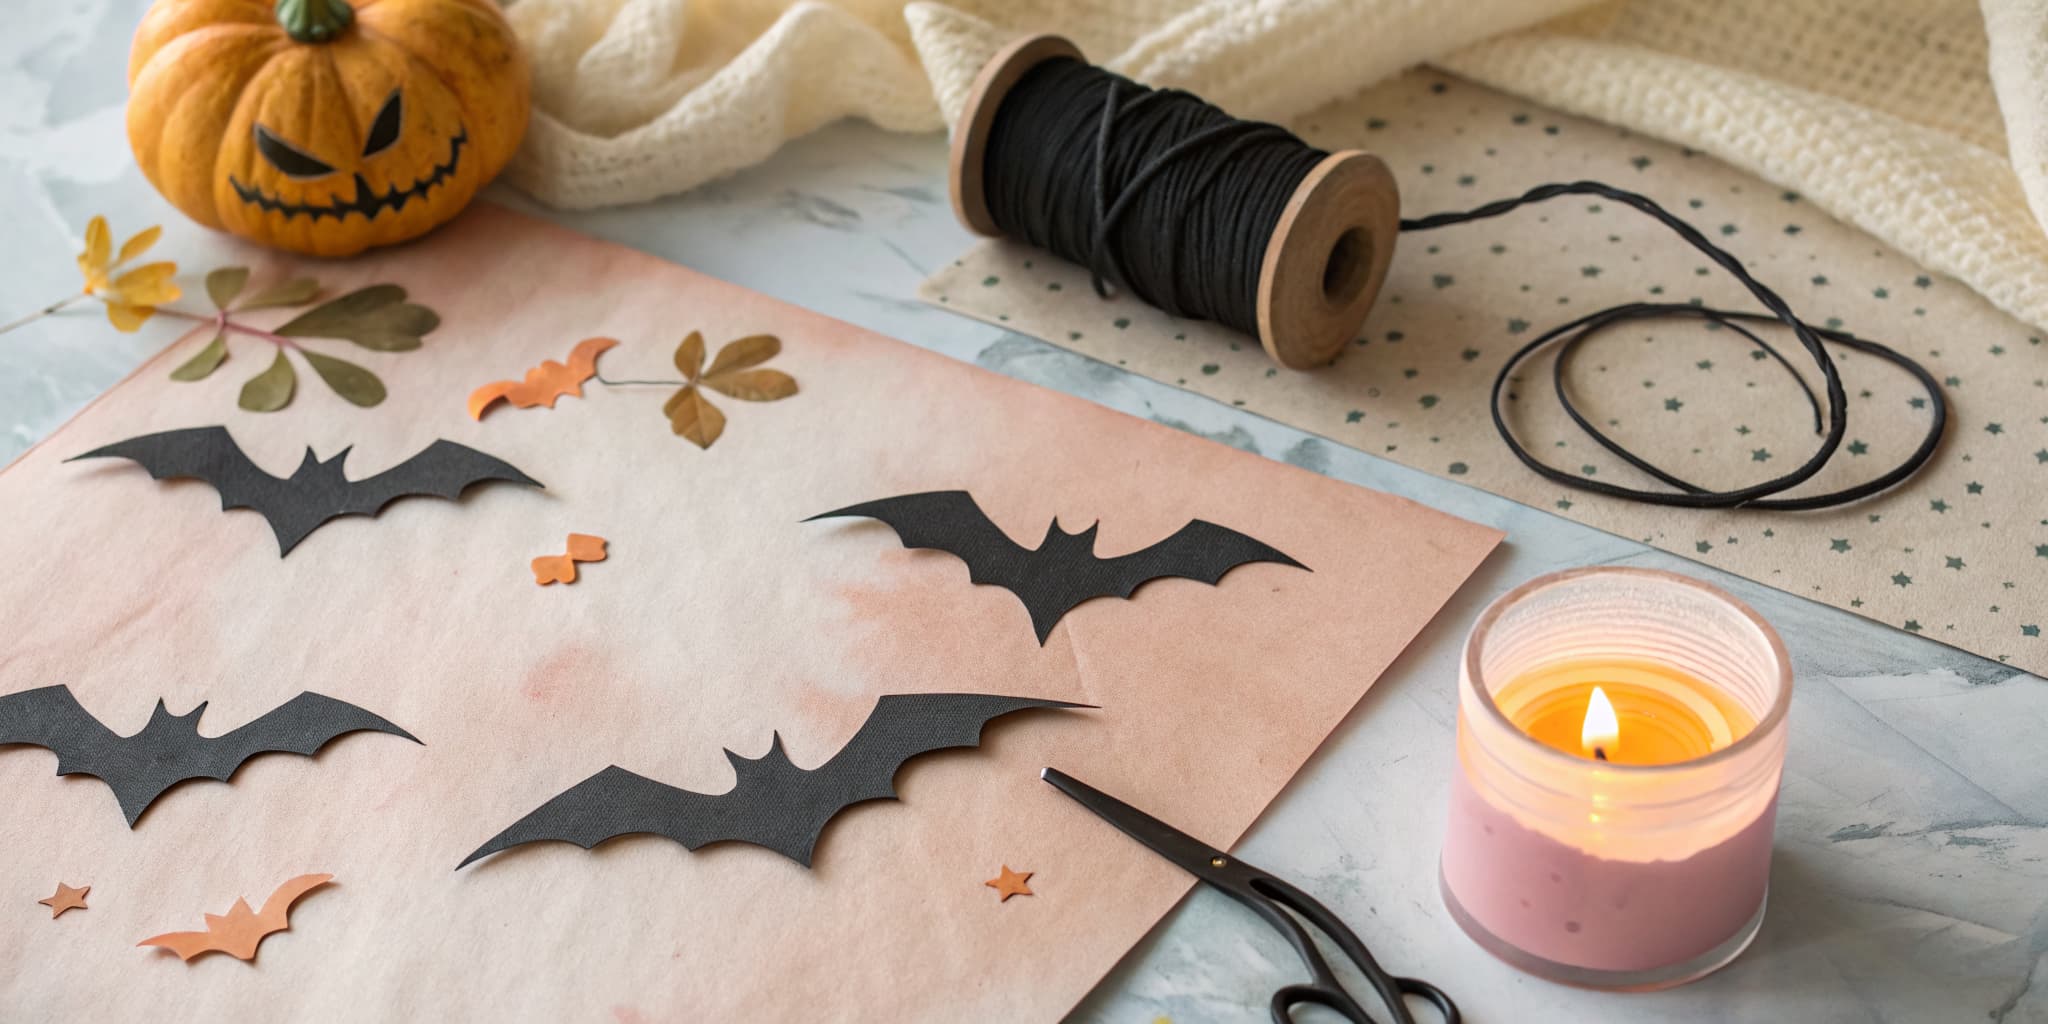
The silhouette has a second life as a template. Cut out the one you drew, trace round it onto black card three or four times at different sizes, and you have a flock for a wall or a window. Tilt a few so the wings sit at different angles and the group reads as movement.

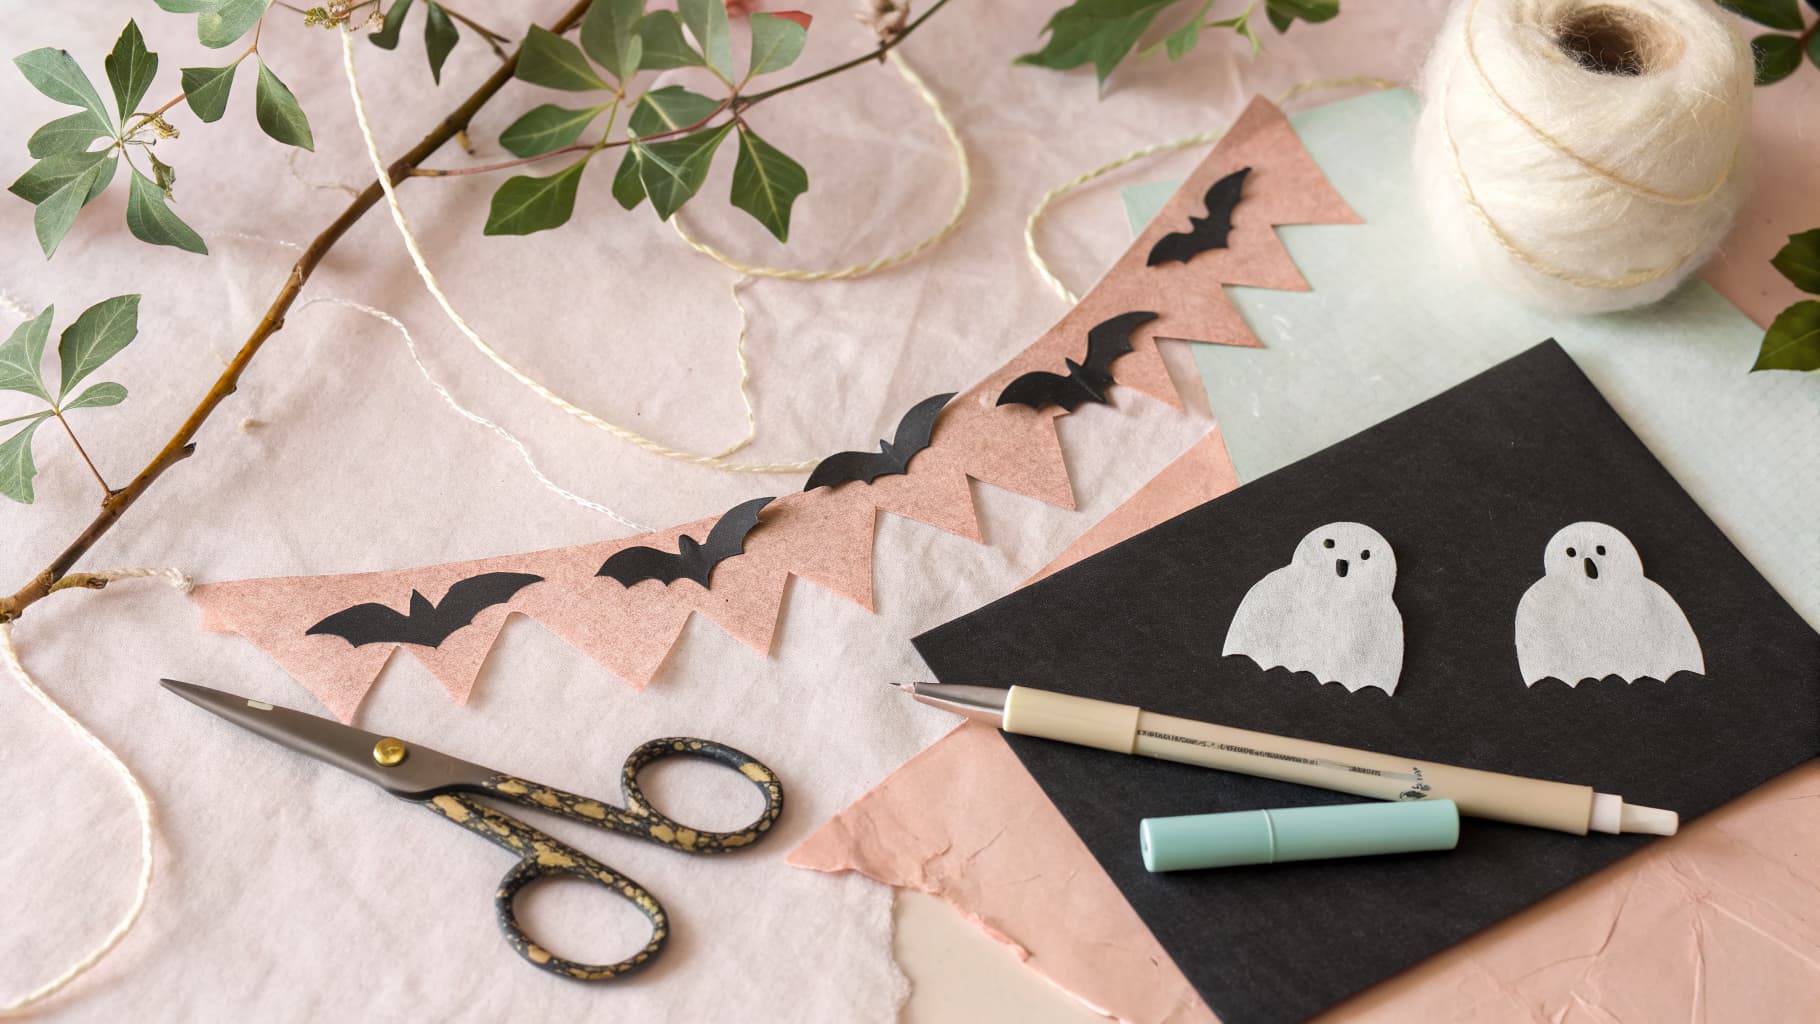
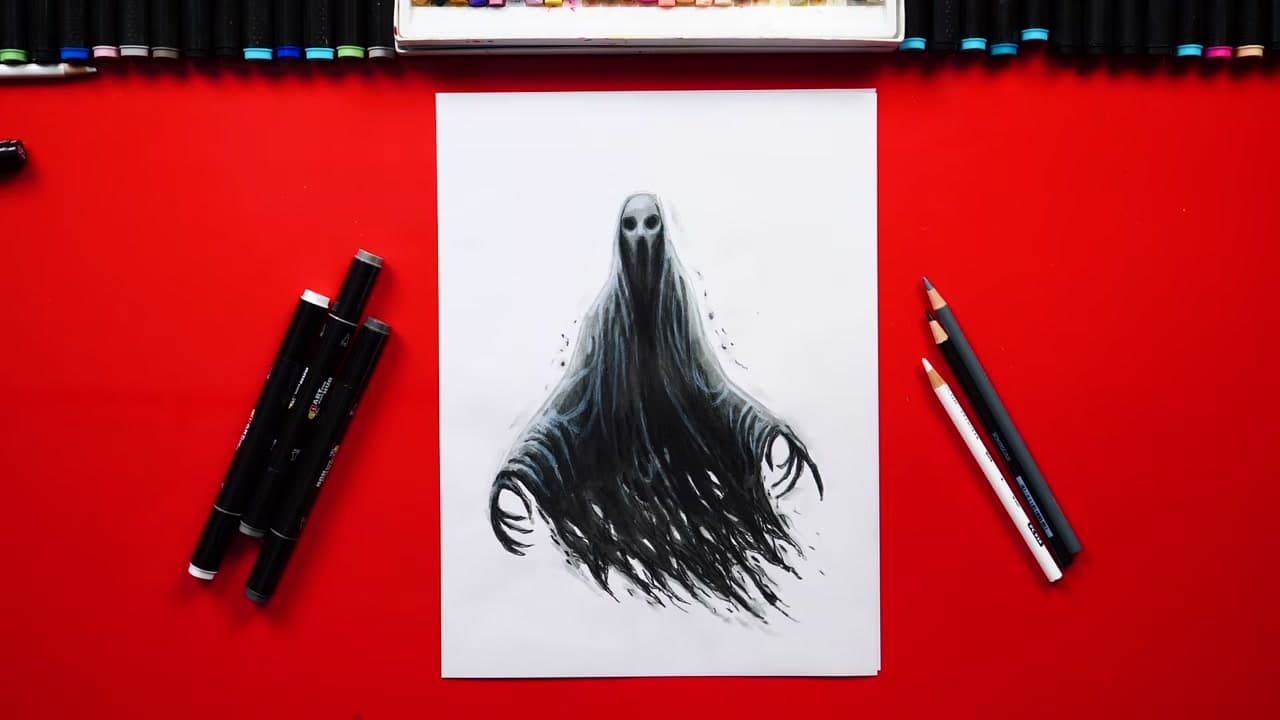
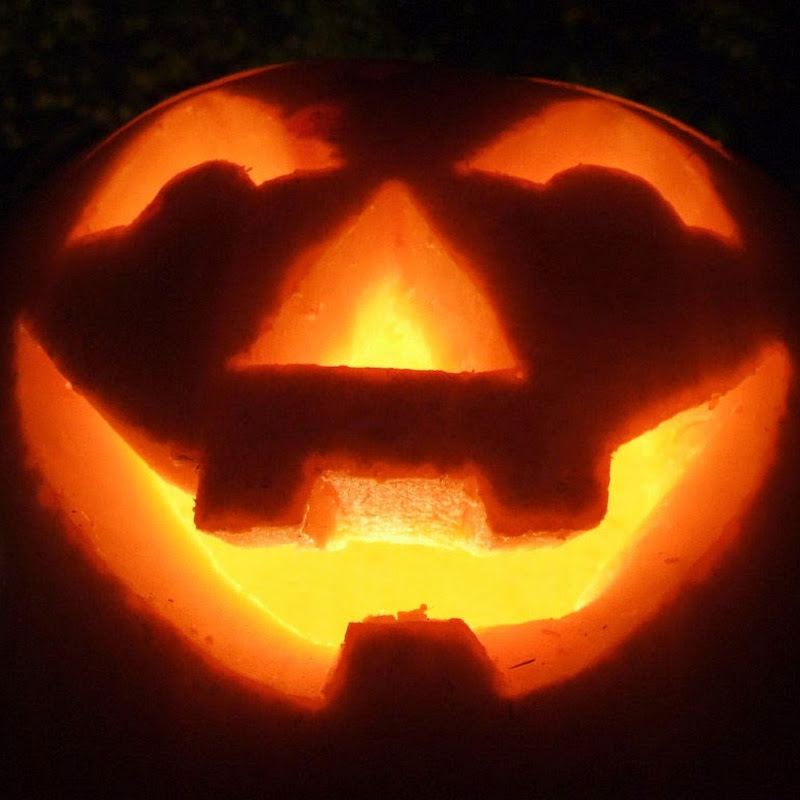
Strung on thread instead of taped flat, the same cut-outs make a garland - the same build as a ghost garland with a different shape on the string. Two more finish the set: a jack-o'-lantern for the card front, and a scary ghost, which goes the opposite way and builds its drama out of shading. If the freehand lines are what you want to fix, how to draw covers the basics.
Free printable

Print the steps and supply list for this project

One page you can take to the table. Free with a free account, no password.

Get the free printable

What you'll need

Free, for this project

Get this checklist by email

  • All 5 tools and materials, with tick boxes
  • A link to print all 6 steps on paper, to keep by you while you craft

No password. The whole tutorial stays free on this page.

Quick answer

Draw a Halloween bat in 6 easy steps. An easy project: about 15 minutes. You need 5 things, including Drawing or marker paper, Black card and Black fine-tip marker. The 6 steps start with draw the Bat's Head and Two Pointed Ears, sweep the Top Edge of Each Bat Wing Outward, scallop the Wing Membrane Along the Bottom Edge, add Two Beady Eyes to the Bat's Head and fill the Bat's Body and Wings in Solid Black.

Step-by-step guide

6 steps, about 5 minutes. Tap a picture to jump to that step. Your progress saves automatically.

Tick each step off as you go.

  1. Step 1: Draw the Bat's Head and Two Pointed Ears

    Watch this step · 1:30

    Near the top centre of the page, draw two small pointed bumps for the ears with a shallow dip between them. That little W shape is the whole head. Keep it small. The wings will end up five or six times wider than this, and a big head makes the bat look like a moth.

    Tip:

    Make the ears slightly different heights. Perfect symmetry reads as a logo rather than an animal.

    Back to all steps

  2. Step 2: Sweep the Top Edge of Each Bat Wing Outward

    Watch this step · 1:45

    From the outside of each ear, draw a long line curving outward and slightly upward, then hooking down at the tip. That hook is the wing's thumb. Do the left, then the right, and check they reach the same distance from the head.

    If one side comes out longer, extend the other rather than erasing. Nobody notices a wide bat; everybody notices a lopsided one.

    Tip:

    Draw these two lines in one motion each. A hesitant, wobbly wing edge is harder to fix than a confident one that is slightly off.

    Back to all steps

  3. Step 3: Scallop the Wing Membrane Along the Bottom Edge

    Watch this step · 1:55

    Come back from each wingtip toward the centre with a row of U shapes, three or four per side, and let the two rows meet under the head where the body sits. Those scallops are the stretched membrane between the bat's fingers, and they are the one detail that makes the silhouette read instantly.

    Tip:

    Make the U shapes bigger near the tip and smaller near the body. Even scallops look like a picket fence.

    Back to all steps

  4. Step 4: Add Two Beady Eyes to the Bat's Head

    Watch this step · 2:05

    Inside the head, put two small dots spaced evenly either side of the centre. That is the whole face. You will be filling everything else in black, so the eyes are the only white left on the bat, and two dots is all they need to be.

    Tip:

    Draw the eyes as small circles now rather than dots, so you can fill around them cleanly in the next step and leave them white.

    Back to all steps

  5. Step 5: Fill the Bat's Body and Wings in Solid Black

    Watch this step · 2:25

    Colour the entire bat in with the marker, working in overlapping strokes so no white streaks show through. Go right up to the outline and over it, and leave only the two eyes empty. The silhouette is the point of a bat drawing, so make it bold and dense rather than tidy.

    Tip:

    Open a window. Permanent marker fumes over a large fill are noticeable, and a chisel-tip marker fills faster than a fine one.

    Back to all steps

  6. Step 6: Add Fangs or Wing Lines to Finish the Bat Silhouette

    Watch this step · 2:55

    Two tiny white fangs under the eyes make it a vampire bat. A couple of short lines on each wing membrane suggest the bones without breaking the shape. Or skip the eyes entirely and keep it a pure black silhouette, which is how bats are usually cut for Halloween decorations.

    Draw several at different sizes and they make a flock across a wall or window.

    Tip:

    A white gel pen adds fangs or wing lines over dry black marker far more cleanly than trying to leave gaps while filling.

    Back to all steps

How to Draw a Pumpkin - Easy Jack-O'-Lantern in 7 Steps

Keep going

How to Draw a Pumpkin - Easy Jack-O'-Lantern in 7 Steps

7 steps · about 5 minutes

You reached the last step

Save this project to come back to it

Your ticked steps, the free printable and your other saved makes, together in My Projects. Free, no password.

You tapped Save

Save this project for later

We'll email you a link, no password.

How to Draw a Bat - Easy Halloween Silhouette in 6 Steps

  • Your saved projects in one list
  • Your ticked steps on any device

Check your inbox for an email from us. Not there? Look in your spam folder.

Free printable

Printable sheet for this project

The bonus is hidden until you sign up.

Free with a free account, no password. Every step above stays open to everyone.

Common problems

Why do the two wings on my bat drawing come out different sizes?

Matching freehand wings without tracing is the hard part. Mark both wingtips with a dot first so each sweeping line has somewhere to land, or fold the paper down the middle and draw one half against the fold, then cut through both layers. If one wing still comes out longer, extend the short side rather than erasing the long one.

Why does my bat drawing look more like a bird or a moth?

Taking the ears off a bat silhouette gives you a bird, and drawing the head too big gives you a moth. Keep the two pointed ears tall enough to break the outline, with a shallow dip between them, and keep the head small, since the wings should end up five or six times its width.

How many scallops should each bat wing have along the bottom edge?

Use three or four U shaped scallops per wing, bigger near the wingtip and smaller near the body. Eight scallops reads as a decorative frill rather than a bat wing, and evenly sized scallops look like a picket fence instead of a stretched membrane.

Why do white streaks show through when you fill in the bat silhouette with marker?

Color in overlapping strokes rather than single passes, going right up to the outline and slightly over it. Leave only the two eyes empty, and use a chisel tip marker if you have one, since it fills a solid area faster and more evenly than a fine tip pen.

Is it safe to use a permanent marker to fill in a silhouette this big?

Open a window while you work. Permanent marker fumes are noticeable over a fill this large, and a chisel tip marker finishes the job faster than a fine tip one, which also cuts down how long you spend breathing the fumes.

Products Used

The Checklist

How to Draw a Bat - Easy Halloween Silhouette in 6 Steps

Tools
3
Materials
2
Steps
6
Video
5 min

Tools we recommend

As an Amazon Associate we earn from qualifying purchases. Links on this page may be affiliate links - clicking them and buying doesn't change your price, but helps support Crafting Step by Step.

Tags

The Crafter's Weekly

New drawing tutorials, every Sunday

One short email with the week's best step-by-step guides. Free, no spam, unsubscribe anytime.

Test your knowledge

Did the lesson stick? Start with this one.

5 questions covering what you just read. No signup, no score saved, and you can stop after this one.

Question 1 of 5

What shape is the head of the bat?

Quick reference

Key takeaways from How to Draw a Bat - Easy Halloween Silhouette in 6 Steps

5 questions, answers, and one-line explanations. Tap to expand.

  1. 1.What shape is the head of the bat?

    Answer: A small W with two pointed ears

    Two pointed bumps with a shallow dip between them make the whole head.

  2. 2.How wide should the wings be compared with the head?

    Answer: Five or six times wider

    A small head against very wide wings is what makes the silhouette read as a bat.

  3. 3.What do the scallops along the bottom edge of the wings represent?

    Answer: Membrane stretched between fingers

    The row of U shapes is the skin stretched between the long finger bones.

  4. 4.When you fill the bat in with marker, what stays white?

    Answer: Only the two eyes

    Everything but the two eye dots gets filled, which is why the eyes need no detail.

  5. 5.Which addition turns the bat into a vampire bat?

    Answer: Two tiny white fangs under the eyes

    Two small fangs are the only change needed, since the wing lines just suggest bones.

Did this work for you?

What's next

Similar tutorials

Hand-picked next reads based on the one you just finished.

Liked this drawing tutorial?

Pick the crafts you want to hear about. One email every Sunday with new step-by-step tutorials. No spam, easy to unsubscribe.

Get more like this in your inbox

Weekly digest. Pick the categories you want. Unsubscribe anytime.

Send me tutorials about

We only email about new tutorials. Easy unsubscribe anytime.