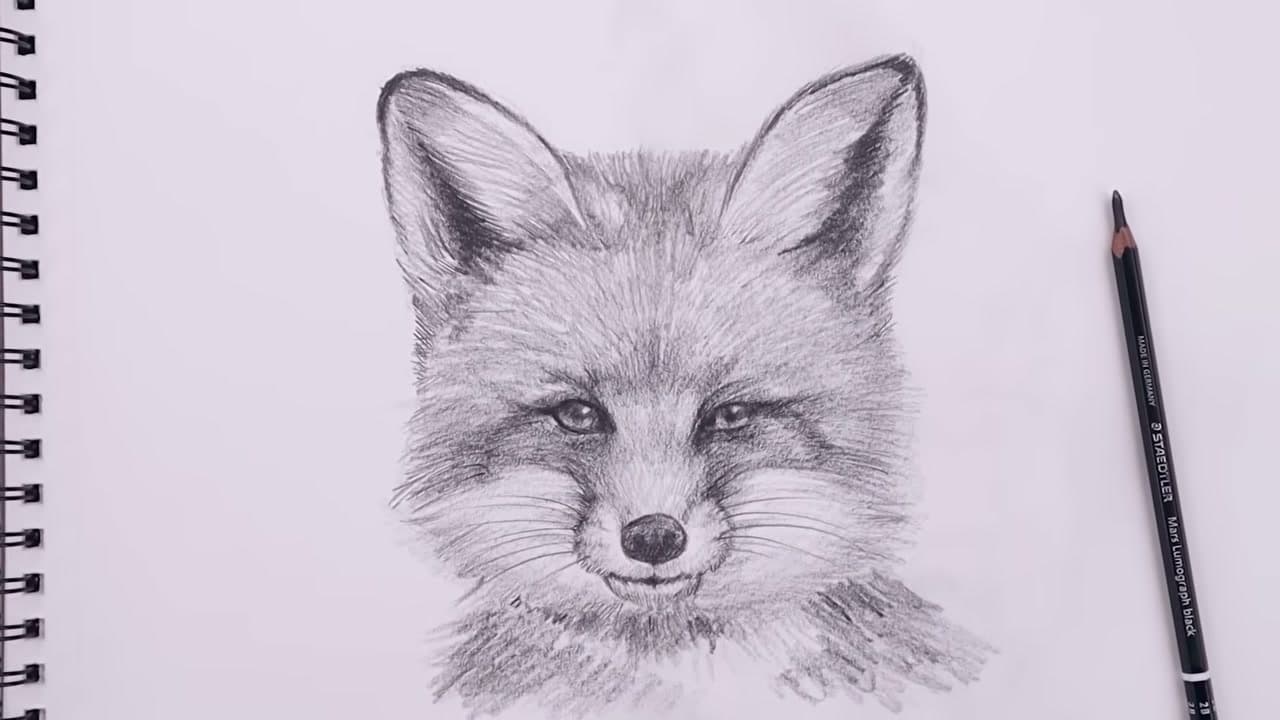
How to Draw a Leaf - Realistic Graphite Leaf in 8 Steps

Save it for later. We'll email you a link, no password.

Find it again on your phone or computer, with your finished steps ticked.

You tapped Save

Save this project for later

We'll email you a link, no password.

How to Draw a Leaf - Realistic Graphite Leaf in 8 Steps

  • Your saved projects in one list
  • Your ticked steps on any device

Check your inbox for an email from us. Not there? Look in your spam folder.

  • 8 steps
  • 16:43 video
  • Difficulty: Medium
  • About 45 minutes
  • Drawing

Based on a video by Vlada Repina Art

Opens their YouTube channel

Steps written out by Crafting Step by Step · Published · Updated

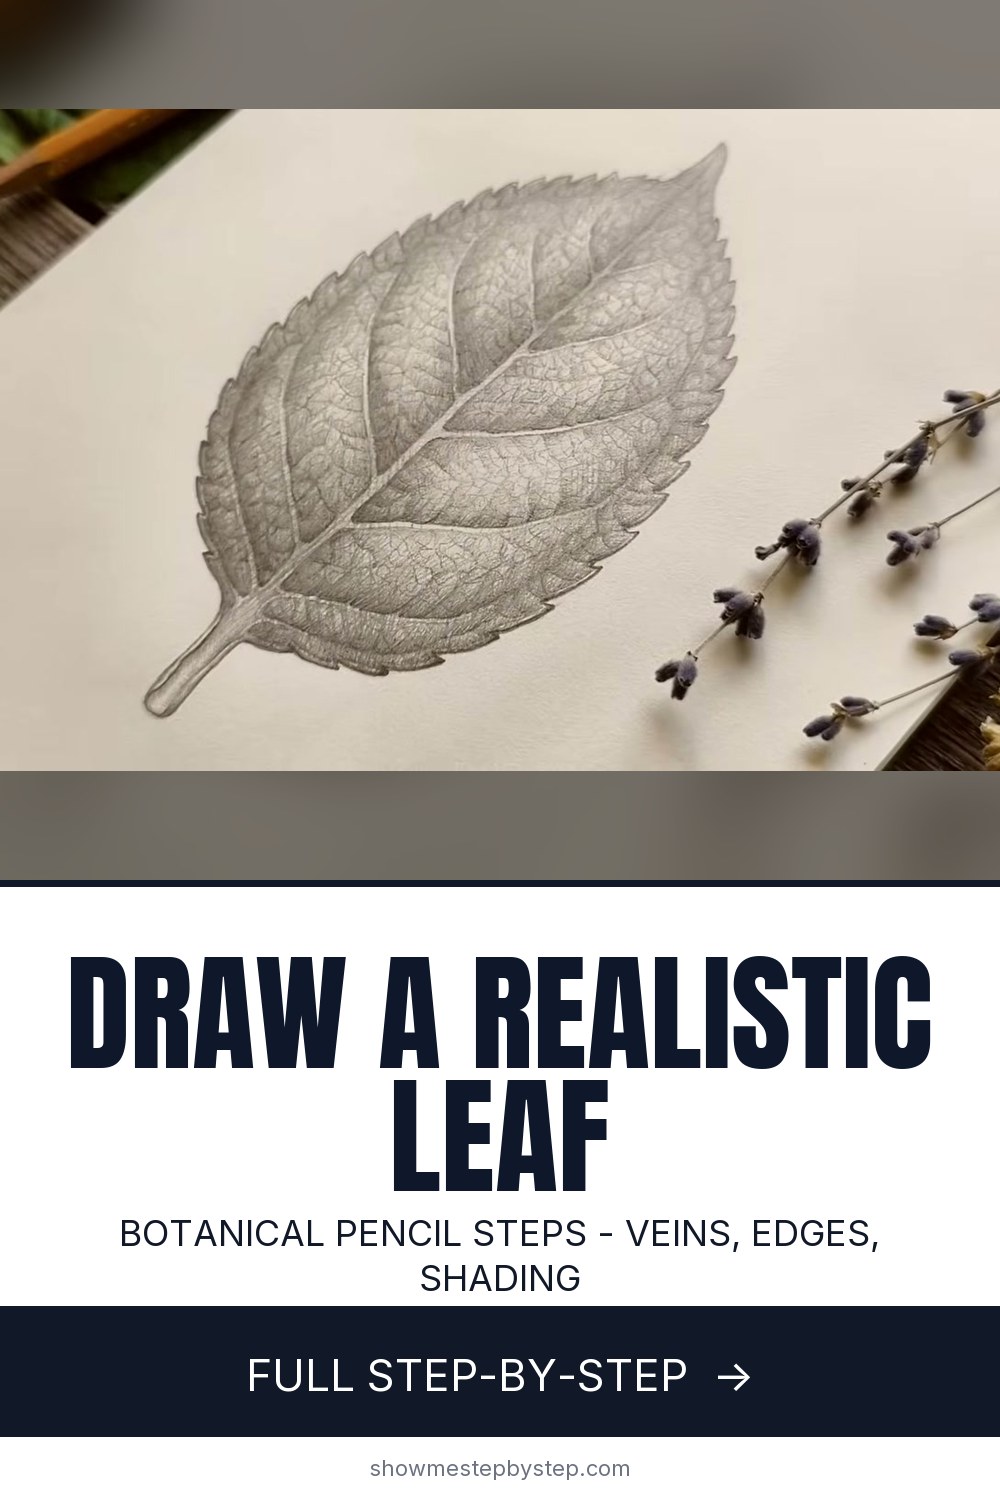
The finished result: How to Draw a Leaf - Realistic Graphite Leaf in 8 Steps
Also in:Painting

A leaf looks like the easy thing to draw until you try it. The outline goes fine, then the shading turns into a flat grey shape with some lines on it. This walkthrough fixes that by treating the leaf the way a botanical illustrator does: work out what kind of leaf it is, build the structure, and let the shading carry the weight at the end.

It follows Vlada Repina Art on YouTube, filmed straight down over the page with a real hydrangea leaf sitting beside the paper the whole time. One graphite pencil does most of the work. Sixteen minutes of video, closer to an hour of drawing if you take your time over the small veins.

What you need

Two or three graphite pencils covering hard through soft, an ordinary eraser, a kneaded eraser and a pad of drawing paper. A sharpener matters more than it sounds, because the fine vein network falls apart under a blunt point. And a real leaf. Pick one off a plant on the way in rather than working from a photo, since you need to tilt it against the light.

Why this leaf drawing reads as real

Three things carry it. Each vein gets a second line beside it so it has thickness instead of being a scratch. Every segment between the veins is shaded dark along the bottom and light at the top, which turns a flat panel into a shallow dip. And at the end one half of the leaf takes a single pass of extra tone, so the whole thing curves away from you.

Where it goes wrong

The outline is too dark to hide. The oval is scaffolding. Draw it at a pressure you can lift back out with a kneaded eraser, because the notched edge replaces it.

The shading turns into grey fog. Tone needs a direction. Heavier under each vein, lighter toward the top of the segment, every segment the same way round.

It goes muddy at the end. Stop earlier than feels right. Paper showing through the graphite is what makes it look like a leaf.

More botanical drawing

The same structure-then-shade method runs through a rose and flowers, and a stack of these leaves is most of the work in a tree. For the fundamentals underneath all of them, start with how to draw.
Free printable

Print the steps and supply list for this project

One page you can take to the table. Free with a free account, no password.

Get the free printable

What you'll need

Free, for this project

Get this checklist by email

  • All 6 tools and materials, with tick boxes
  • A link to print all 8 steps on paper, to keep by you while you craft

No password. The whole tutorial stays free on this page.

Quick answer

Draw a realistic leaf with a graphite pencil in 8 steps: sketch the oval and serrated edge, map the veins, shade each segment, darken one half for depth. A medium project: about 45 minutes. You need 6 things, including Drawing paper pad, Graphite pencils and Kneaded eraser. The 8 steps start with study the Leaf Before You Draw It, sketch the Oval and the Midrib, notch the Serrated Edge and map the Veins Out From the Midrib.

Step-by-step guide

8 steps, about 17 minutes. Tap a picture to jump to that step. Your progress saves automatically.

Tick each step off as you go.

  1. Step 1: Study the Leaf Before You Draw It

    Watch this step · 1:05

    Pick a leaf off a plant and set it on the table beside your paper. Find the widest point along its length. On this hydrangea leaf that sits near the middle, which puts the shape between ovate and oval.

    Then read three more things. The edge is toothed. The tip pulls out to a point. The base curves round. Last, look at how the veins branch off a central rib like a feather. Four minutes of looking saves twenty minutes of guessing later.

    Tip:

    Keep the real leaf in view the whole time. Set it above your paper so you can glance up without moving your drawing hand.

    Back to all steps

  2. Step 2: Sketch the Oval and the Midrib

    Watch this step · 3:20

    Mark a dot for the top of the leaf and another for the bottom, then rule a light line between them. That line is the midrib, and everything else hangs off it.

    Draw an oval around the line, widest through the middle. Pull the top into a point for the tip, round off the bottom, and drop a short stalk below it. Barely touch the paper. These lines are scaffolding and most of them come off again.

    Tip:

    Hold the pencil further back along the barrel than usual. It is hard to press hard from three inches up.

    Back to all steps

  3. Step 3: Notch the Serrated Edge

    Watch this step · 3:40

    A hydrangea leaf has a toothed margin, so the smooth oval gets replaced with a run of small sharp notches. Work in short flicks and go around the whole shape.

    Let the teeth come out uneven. Identical notches look printed rather than grown. As the notched line appears, lift the oval underneath it with a kneaded eraser until only the real edge is left on the paper.

    Tip:

    A kneaded eraser lightens graphite instead of stripping it. Press and lift rather than rubbing back and forth.

    Back to all steps

  4. Step 4: Map the Veins Out From the Midrib

    Watch this step · 4:50

    Draw the veins one pair at a time, curving each one toward the edge instead of running it straight. That curve is what makes them read as veins and not as spokes on a wheel.

    Go back over each vein and draw a second line beside it so it has width, closing the gap as it nears the edge. Then drop a few shorter veins in between the main pairs to break up the empty stretches.

    Tip:

    Veins get finer toward the outside of the leaf. Bring the two lines together as you reach the serrated edge.

    Back to all steps

  5. Step 5: Shade Each Segment With a 2B

    Watch this step · 6:30

    Swap to a 2B and start filling the segments between the veins. Where the tone sits is the whole point: heavier along the bottom edge of each segment, fading out as it rises toward the vein above.

    Do one segment, finish it, move to the next, and work down one side of the leaf. Brush the pencil across the tooth of the paper rather than pushing into it. Light passes build. Heavy passes leave a shine you cannot get back.

    Tip:

    Finish each segment before moving on. Jumping around the leaf leaves the tone patchy and it is hard to even out afterwards.

    Back to all steps

  6. Step 6: Draw the Small Veins Inside Each Segment

    Watch this step · 10:55

    Look at the real leaf again. Inside every segment there is a web of tiny veins running back toward the centre. Draw around them rather than over them, so the veins stay as pale paper while the ground between goes darker.

    Work segment by segment until the texture covers the whole leaf. When it does, run the pencil along the outer rim to draw the thickness of the leaf itself.

    Tip:

    Sharpen every few minutes. A blunt point turns the fine vein network into mush and you lose the texture you just built.

    Back to all steps

  7. Step 7: Darken One Half for Depth

    Watch this step · 13:10

    This is the move that does the most work for the least effort. Split the leaf down the midrib and choose a shadow side. Shade that whole half one step darker than the other, running straight over veins and segments alike.

    Keep the pass even and light. Nothing is being redrawn here, you are laying a thin film of tone across one side. The leaf stops sitting flat on the page and starts curving away from you.

    Tip:

    Decide which side is in shadow before you start. Switching halfway through leaves the leaf looking lit from two directions at once.

    Back to all steps

  8. Step 8: Sharpen the Final Details

    Watch this step · 14:35

    Take a softer pencil and go back over the veins that matter, pressing a little harder to bring them forward. Deepen the tone right along the serrated edge so the outline stays crisp from across the room.

    Add the last hair-fine veins wherever the texture looks thin, then stop. Some white paper still showing through the graphite is what keeps it reading as a leaf instead of a grey blob.

    Tip:

    Stand the drawing up and walk a few feet back. Anything that vanishes at that distance needs one more pass.

    Back to all steps

How to Draw a Lion - Pencil Portrait in 8 Steps

Keep going

How to Draw a Lion - Pencil Portrait in 8 Steps

8 steps · about 31 minutes

You reached the last step

Save this project to come back to it

Your ticked steps, the free printable and your other saved makes, together in My Projects. Free, no password.

You tapped Save

Save this project for later

We'll email you a link, no password.

How to Draw a Leaf - Realistic Graphite Leaf in 8 Steps

  • Your saved projects in one list
  • Your ticked steps on any device

Check your inbox for an email from us. Not there? Look in your spam folder.

Free printable

Printable sheet for this project

The bonus is hidden until you sign up.

Free with a free account, no password. Every step above stays open to everyone.

Products Used

The Checklist

How to Draw a Leaf - Realistic Graphite Leaf in 8 Steps

Tools
4
Materials
2
Steps
8
Video
17 min

Tools we recommend

As an Amazon Associate we earn from qualifying purchases. Links on this page may be affiliate links - clicking them and buying doesn't change your price, but helps support Crafting Step by Step.

Tags

The Crafter's Weekly

New drawing tutorials, every Sunday

One short email with the week's best step-by-step guides. Free, no spam, unsubscribe anytime.

Test your knowledge

Did the lesson stick? Start with this one.

5 questions covering what you just read. No signup, no score saved, and you can stop after this one.

Question 1 of 5

Before drawing, what is the first thing to find on the real leaf?

Quick reference

Key takeaways from How to Draw a Leaf - Realistic Graphite Leaf in 8 Steps

5 questions, answers, and one-line explanations. Tap to expand.

  1. 1.Before drawing, what is the first thing to find on the real leaf?

    Answer: The widest point along its length

    Where the leaf is widest decides whether the shape is oval, ovate or heart shaped.

  2. 2.Why keep the first oval and midrib barely touching the paper?

    Answer: They are scaffolding that mostly comes off

    The oval is only a guide, and the kneaded eraser lifts it once the real edge is drawn.

  3. 3.Why draw the veins curving toward the edge instead of straight?

    Answer: Straight veins look like spokes on a wheel

    The curve is what makes a line read as a vein rather than a spoke.

  4. 4.When shading a segment between veins, where does the heaviest tone sit?

    Answer: Along the bottom edge of the segment

    Heavy along the bottom of each segment, fading as it rises toward the vein above.

  5. 5.What is the one move that gives the leaf depth for the least effort?

    Answer: Shading one whole half a step darker

    A thin, even film of tone on the shadow side makes the leaf curve away from you.

Did this work for you?

What's next

Related collections

Curated theme pages that include this tutorial.

Similar tutorials

Hand-picked next reads based on the one you just finished.

Liked this drawing tutorial?

Pick the crafts you want to hear about. One email every Sunday with new step-by-step tutorials. No spam, easy to unsubscribe.

Get more like this in your inbox

Weekly digest. Pick the categories you want. Unsubscribe anytime.

Send me tutorials about

We only email about new tutorials. Easy unsubscribe anytime.