How to Crochet an Easter Bunny (Beginner Amigurumi)

CrochetEasy46:229 stepsBrowse more →
Also in:Crafts

By CraftingStepByStepPublished Updated

Based on a video by The Mary Jay.

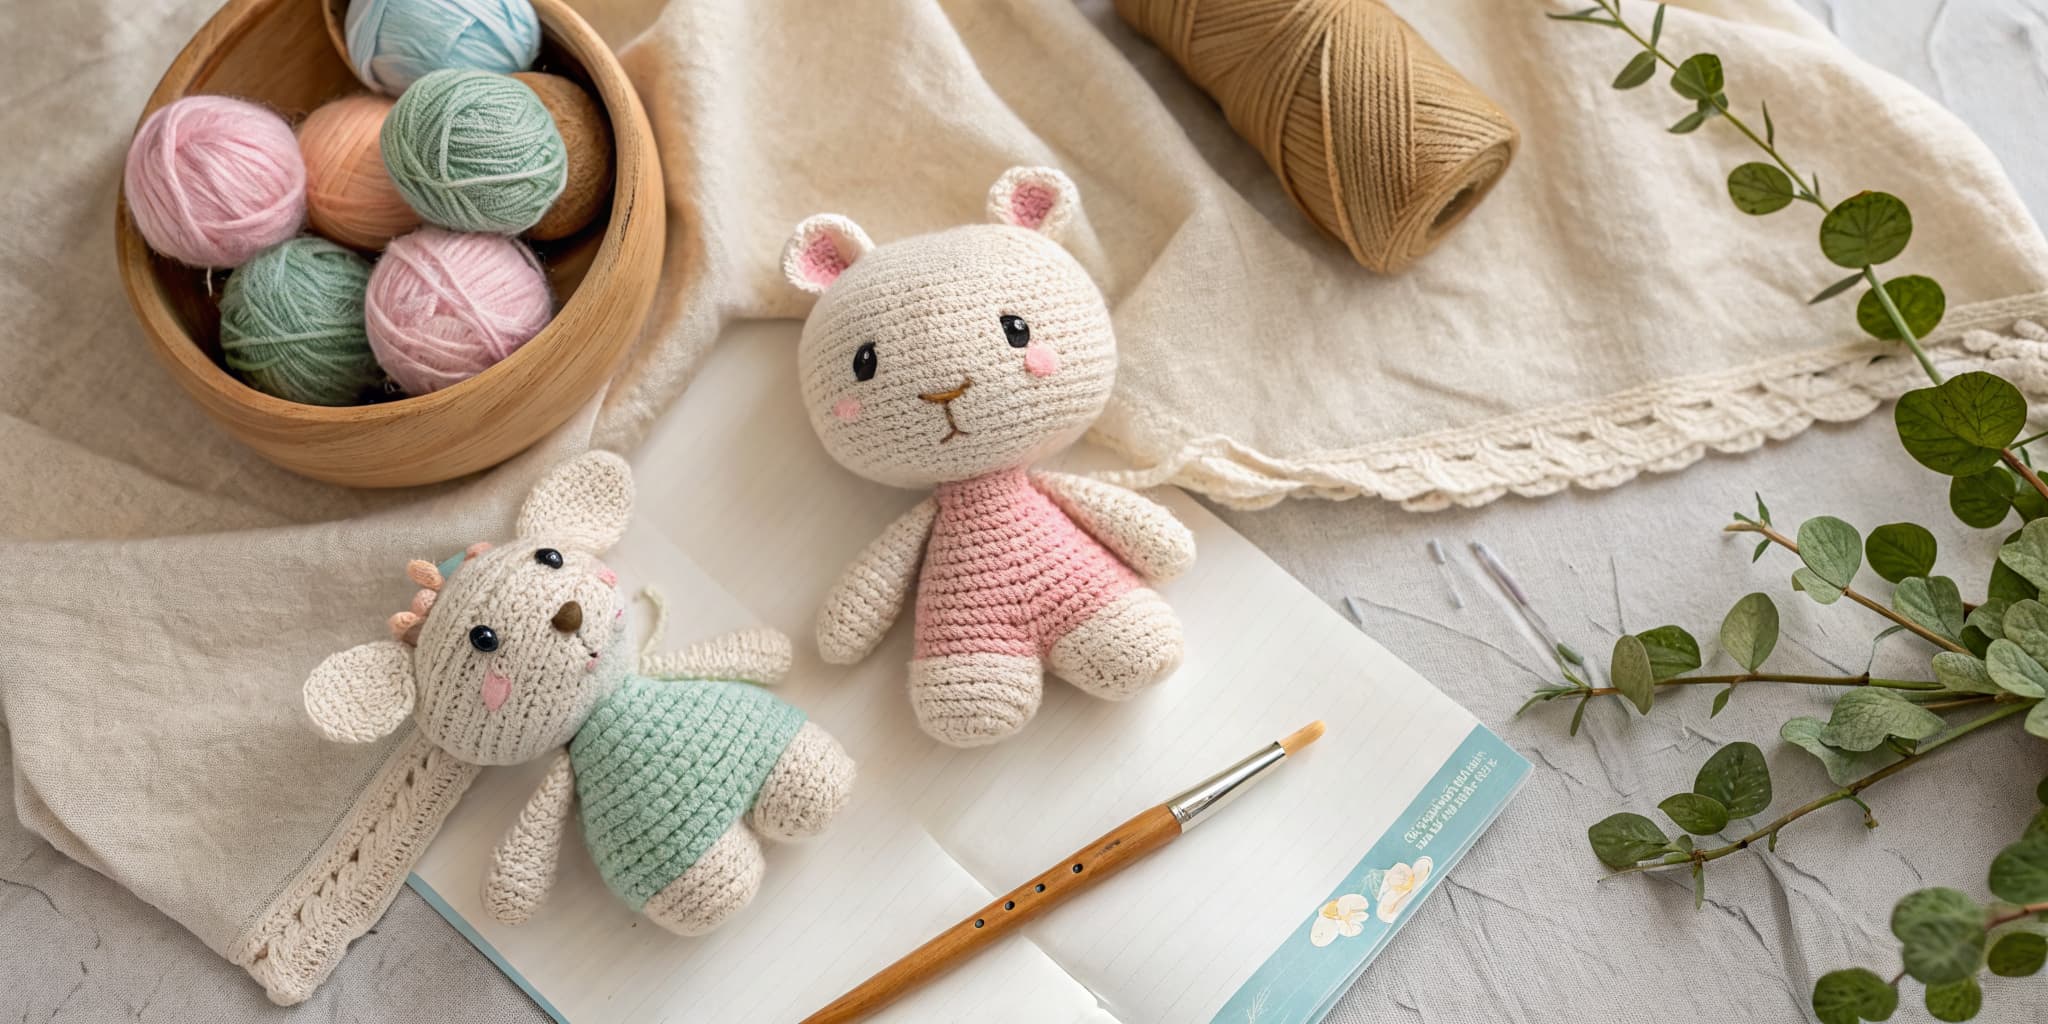
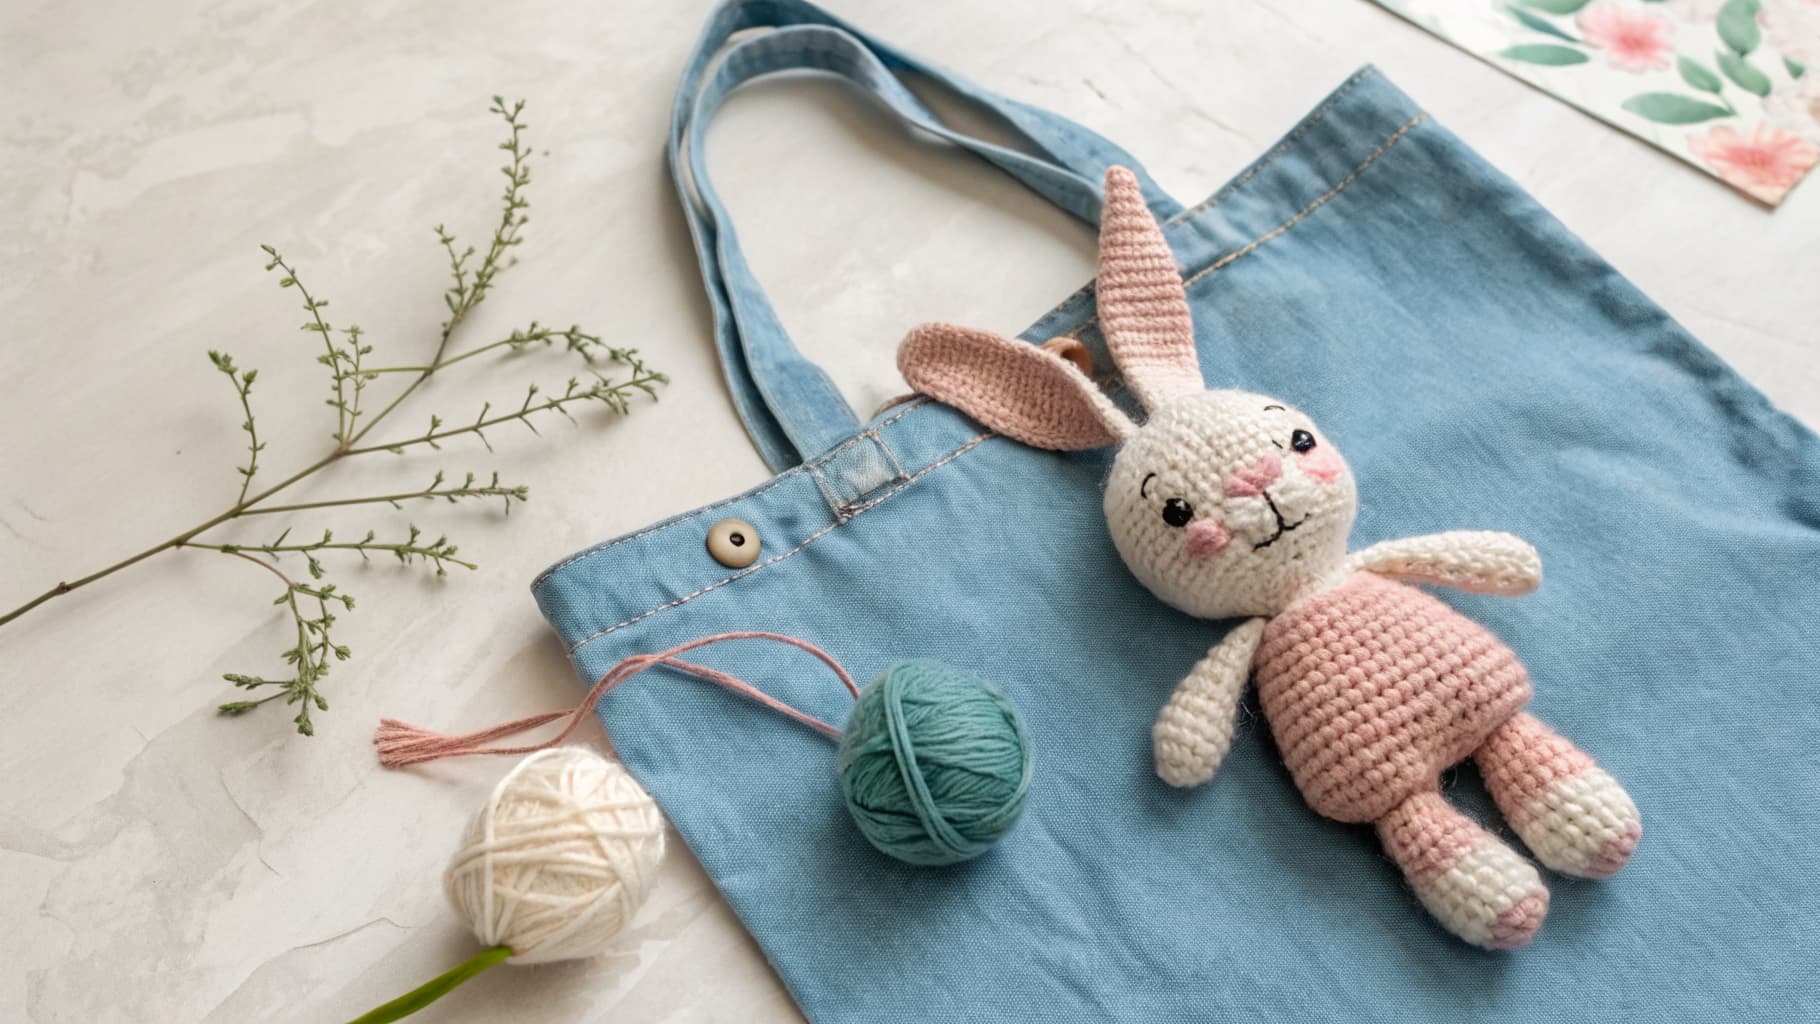
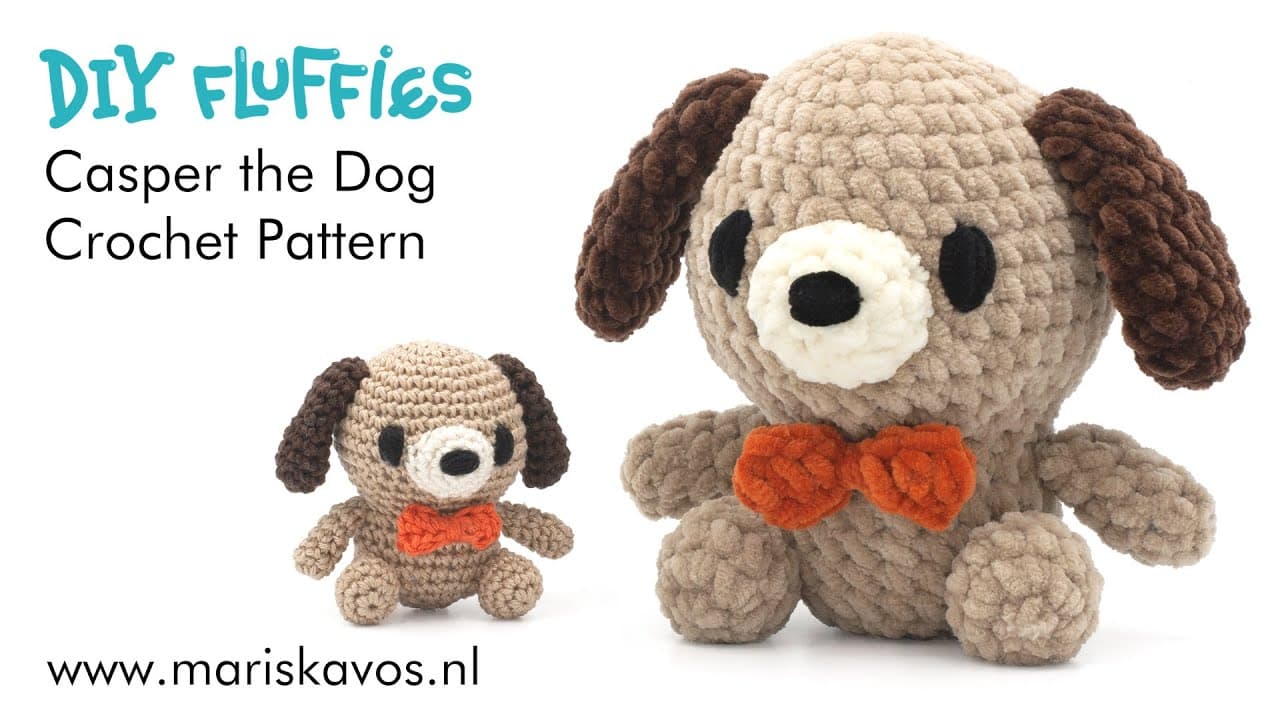
This soft, round little bunny works up in about an afternoon and lands square in the sweet spot for an Easter basket project. The body is a chunky sphere worked in the round - magic ring at the crown, increases out to widen, straight rounds for the cylinder walls, a single bobble stitch at the back to form the tail, then decreases to close it up. The face is two 16 mm safety eyes, a small black embroidered nose, and a tiny pink blush stitch beside each eye. Two small ears are crocheted separately and sewn on at the top. That is the whole project.

It is designed for total beginners. The Mary Jay walks every stitch on camera, so if magic rings or invisible decreases are new, the pacing is gentle. The one moment to slow down is round 10 - the bobble stitch tail. That is the textured rib that gives the bunny its character, and the first attempt usually feels fiddly because you end up with seven loops on the hook. Take your time. The second one always feels easier.

The finished bunny sits up on a shelf or tucks into an Easter basket. Use white or cream for a classic look, or swap in any super bulky color you have - dusty pink, mint, or pale blue all work. Skip the safety eyes for a bunny destined for a baby or a pet and embroider the eyes instead with black yarn.

New to amigurumi? Start with the magic ring - every step in this pattern builds on it. Brush up on single crochet and amigurumi basics too. If you want a companion project once your bunny is finished, try a chunky crochet bee or an octopus - same techniques, same beginner skill set.

Step-by-Step Guide

1

Step 1: Gather Your Supplies

0:53
Step 1: Step 1: Gather Your Supplies

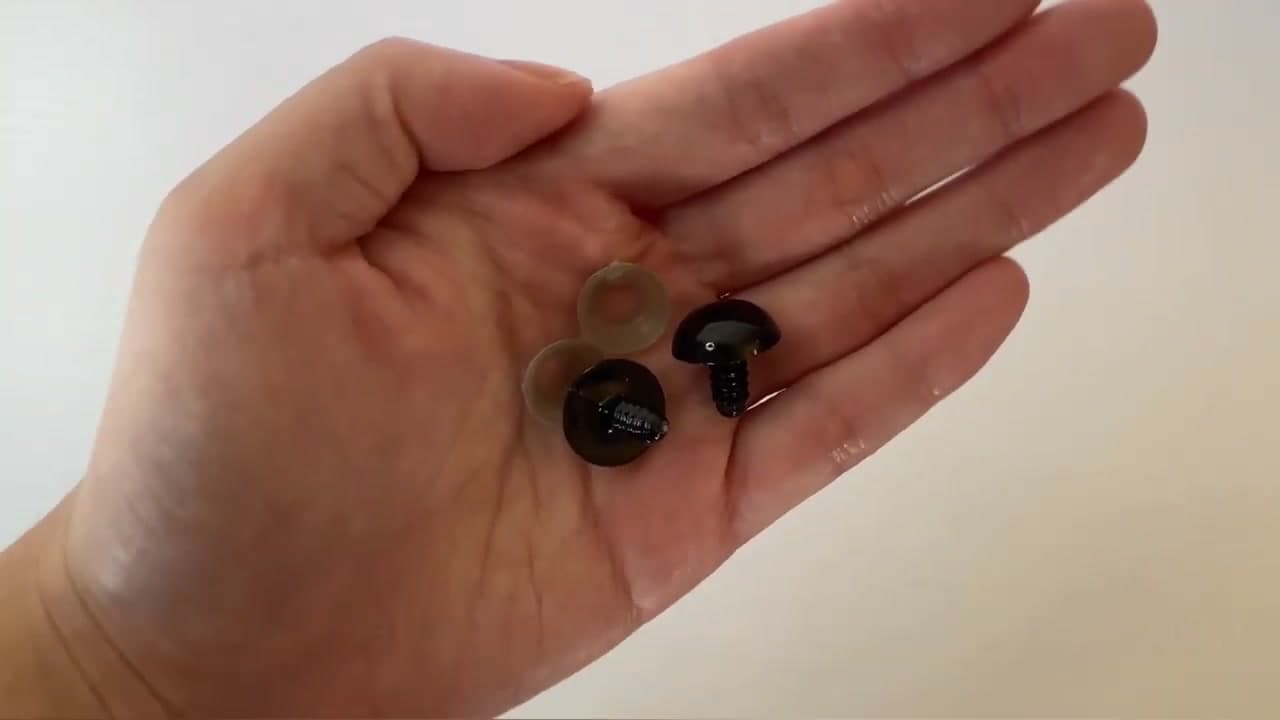
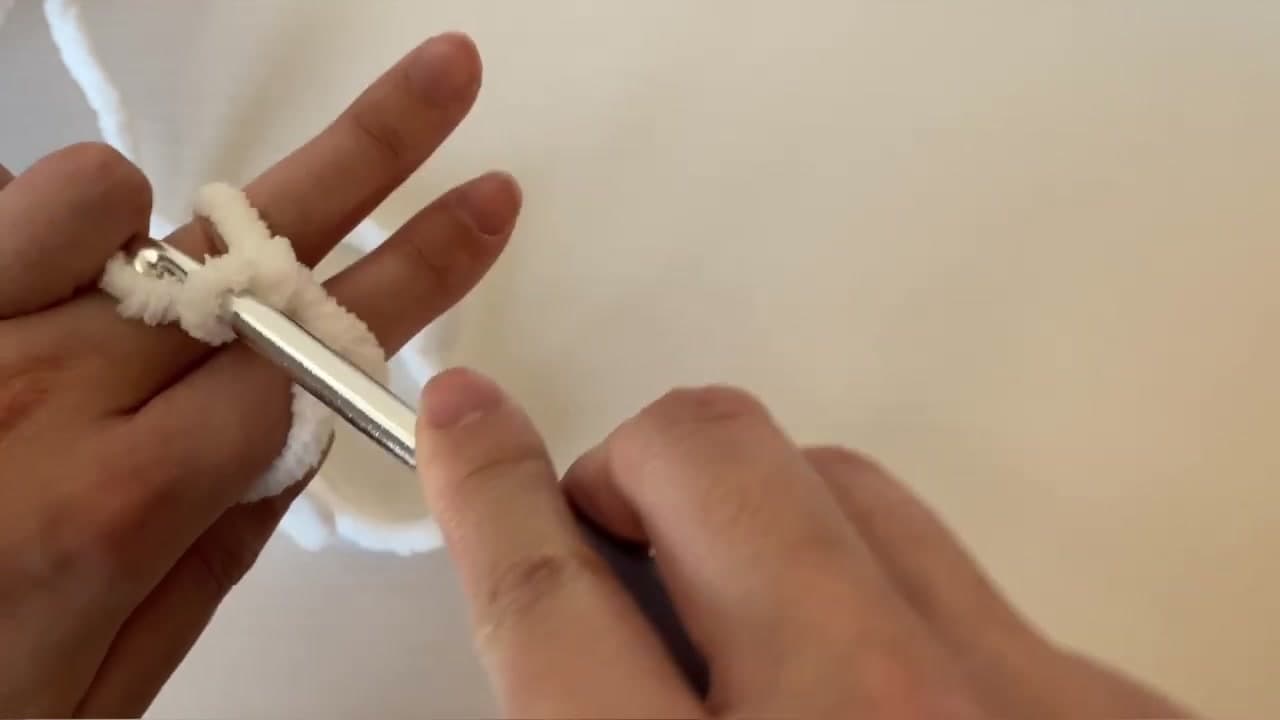
Lay out a 7 mm crochet hook, super bulky blanket yarn in white or cream as your main color, a small amount of pink for the blush and ear accents, and a length of worsted-weight black for the nose. You also need two 16 mm safety eyes with backings, polyester fiberfill stuffing, a yarn needle, sharp scissors, and a stitch marker.

Bernat Blanket is the easiest yarn to find for this. The pink and white pair shown in the source video is the standard combo, but any super bulky chenille yarn in a pastel color reads as bunny.

Tip

Safety eyes are a choking hazard for babies, toddlers, and pets. Skip them and embroider the eyes with black yarn instead if the bunny is a gift for anyone under three.
2

Step 2: Magic Ring and Round 1 (7 Single Crochets)

1:40
Step 2: Step 2: Magic Ring and Round 1 (7 Single Crochets)

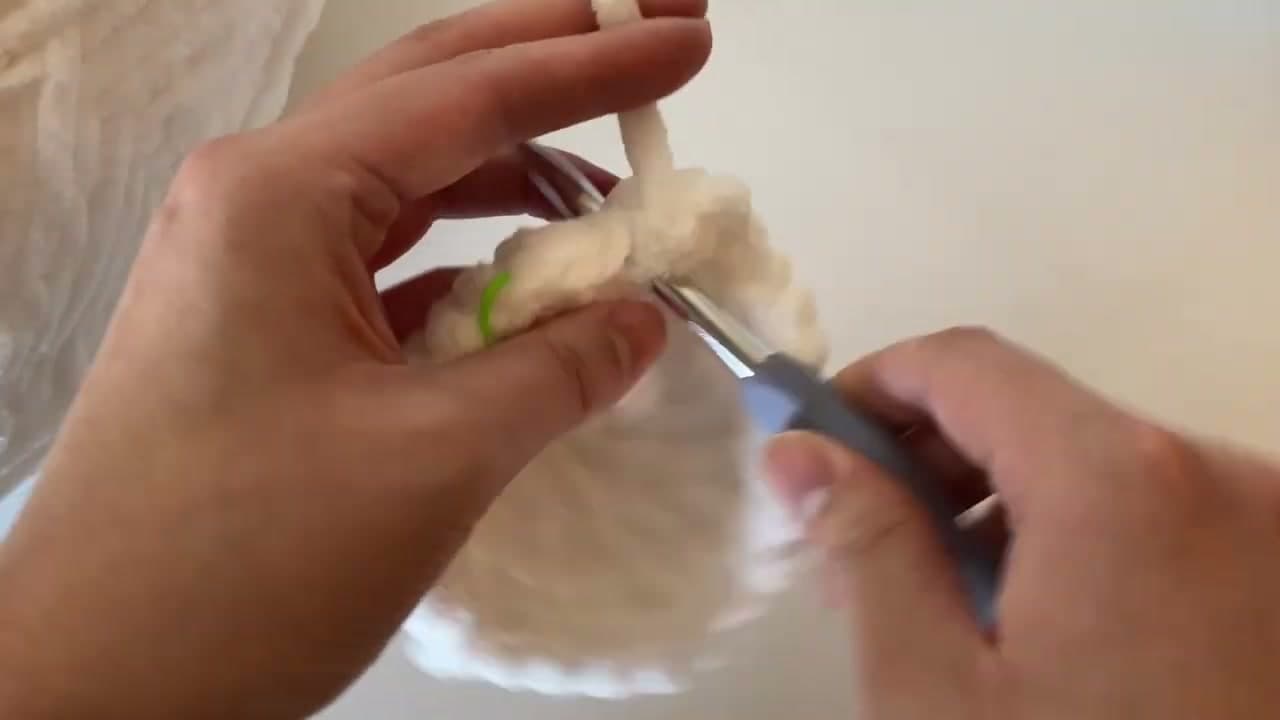
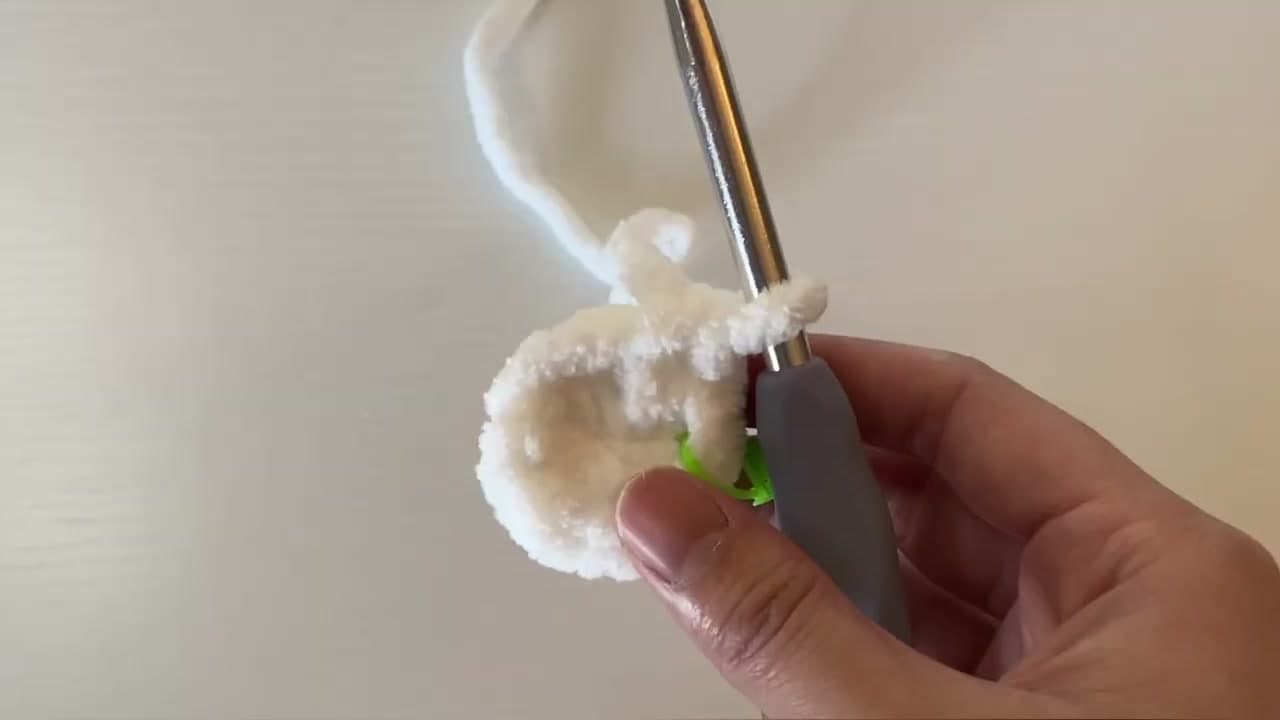
Start with white. Pinch the yarn between your thumb and pointer finger, wrap it around your pointer and middle finger to form an x, then slip the hook under the x, turn it, grab the lower strand, and pull it through. Turn the hook again, grab the lower strand, and pull through the loop - that is your magic ring.

Work 7 single crochets into the ring. Once round 1 is done, pull the tail to cinch the ring closed. Place a stitch marker in the last stitch so you know where round 1 ended.

Tip

If the magic ring keeps unraveling, slow it down on the first attempt. The muscle memory clicks in by the second one. There is also a slower walkthrough of the magic ring on its own if you want to drill it before starting the bunny.

3

Step 3: Increase Rounds 2 and 3

4:40
Step 3: Step 3: Increase Rounds 2 and 3

For round 2, work an increase in every stitch around. An increase is two single crochets in the same stitch, so seven stitches doubles to fourteen.

For round 3, alternate one single crochet and one increase, repeating seven times around. That brings the count to 21 stitches. Move the stitch marker to the last stitch of each round so you do not lose your place.

Tip

Count carefully through the first three rounds. If the count is off here, the bunny will end up lopsided once the straight rounds start. A few seconds of counting saves you from frogging later.

4

Step 4: Round 4 Increase + Straight Rounds 5-9

12:00
Step 4: Step 4: Round 4 Increase + Straight Rounds 5-9

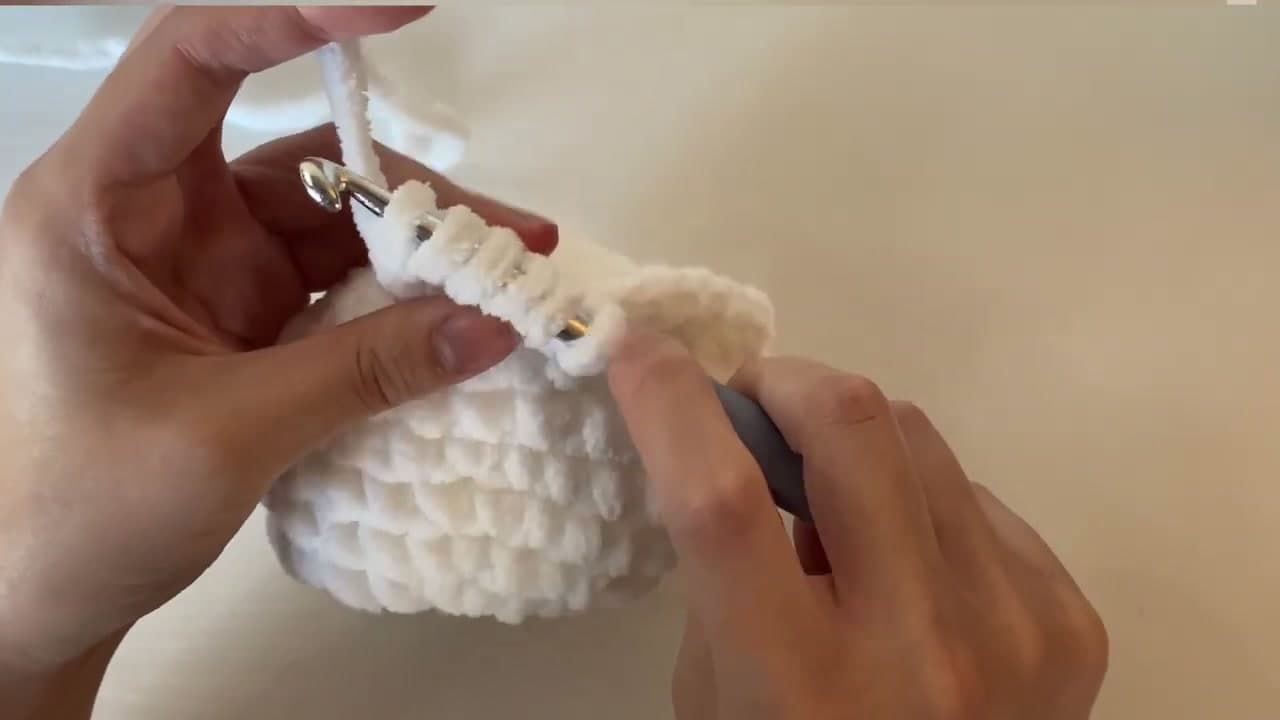
Round 4 is two single crochets followed by one increase, repeated seven times around for a total of 28 stitches. That is the last increase round - after this the body holds at 28 stitches.

Rounds 5 through 9 are plain single crochet rounds. Work one single crochet in every stitch all the way around. Five straight rounds back to back gives the bunny its short cylinder shape - tall enough to feel like a body, short enough to still read as round.

Tip

The straight rounds are repetitive on purpose. Hold the work in front of you and watch the cylinder grow - if it starts to spiral instead of sit flat, your stitch marker has drifted. Move it back to the end-of-round stitch.

5

Step 5: Round 10 - the Bobble Stitch Tail

17:20
Step 5: Step 5: Round 10 - the Bobble Stitch Tail

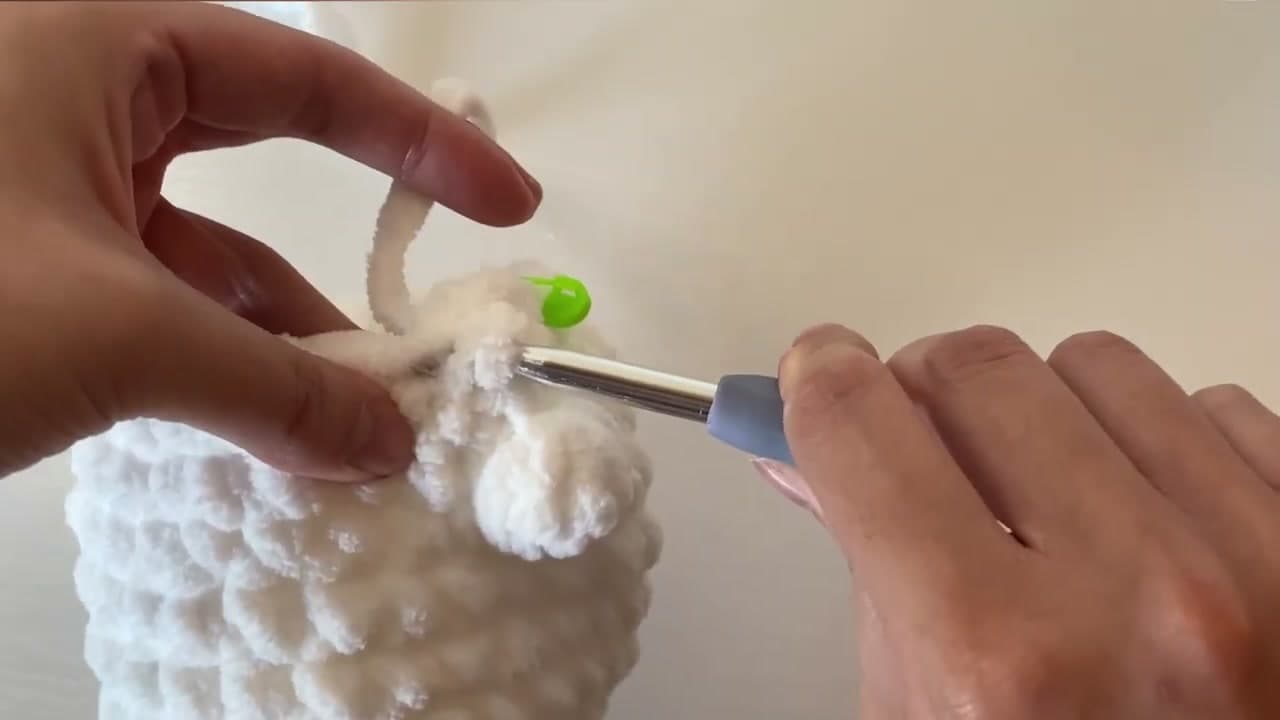
This is the round that gives the bunny its character, so slow down here. In the very first stitch of round 10, you are going to stack six double crochets to form a bobble.

Yarn over, insert your hook into the stitch, yarn over and pull through (three loops on the hook), yarn over and pull through the first two loops only (two loops left). That is one double crochet started. Repeat that whole sequence five more times into the same stitch - each repeat adds one loop. By the end you have seven loops on the hook. Yarn over one last time and pull through all seven loops at once. Push the bobble out so it points away from the body - that is the tail. Then single crochet in every remaining stitch around (27 single crochets) to finish round 10.

Tip

Seven loops feels like too many. It is not. Pull the working yarn slowly and let it slip through all of them in one motion - the bobble pops into shape on its own. If the loops feel tight, work them looser on the next attempt.

6

Step 6: Round 11 + First Decrease Round

22:10
Step 6: Step 6: Round 11 + First Decrease Round

Round 11 is another straight round - one single crochet in every stitch, 28 total. This sits the tail in place and gives a clean band above it.

Round 12 is where you start closing the head. Work two single crochets, then one invisible decrease, repeated seven times around for 21 stitches. For an invisible decrease, insert the hook through the front loop only of the next two stitches, then yarn over and pull through all three loops. Start stuffing the body about halfway full now so the shape sets before the safety eyes go on.

Tip

Stuff in small pinches, not big handfuls. Smaller pinches give a smoother shape and let you push the filling up into the crown of the head where the magic ring is.

7

Step 7: Attach Safety Eyes and Finish Stuffing

28:05
Step 7: Step 7: Attach Safety Eyes and Finish Stuffing

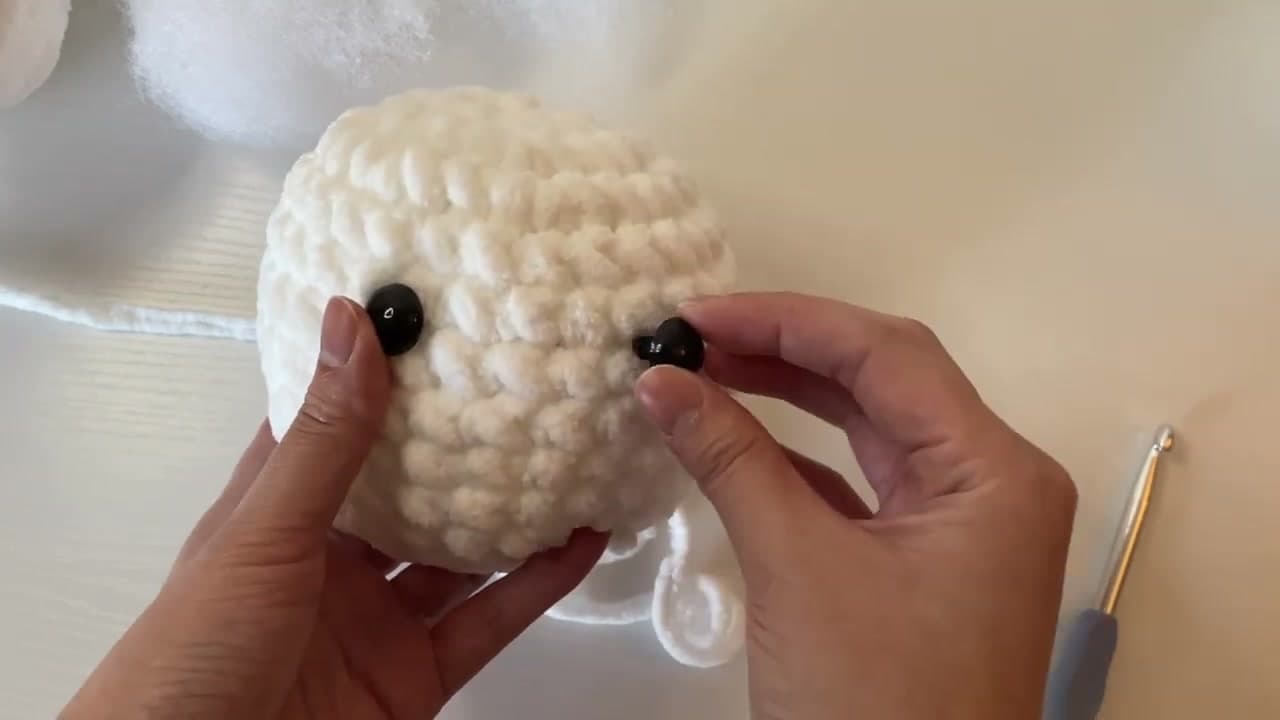
Hold the bunny up and look at the top down. Find the tail - the eyes go on the opposite side, directly across, between rounds 6 and 7. Place the first eye, then place the second eye four stitches over from the first.

Press both backings on firmly from inside the body. Once the backings are seated, the eyes are not coming back out, so adjust the placement before snapping them in. Then finish stuffing the head full so the shape is firm but not stretched tight.

Tip

If the eyes look too close together or too low, pull the backings off (use pliers if needed) before you fully seat them. Once a backing clicks all the way down, that eye is permanent.

8

Step 8: Embroider the Nose and Pink Blush

32:24
Step 8: Step 8: Embroider the Nose and Pink Blush

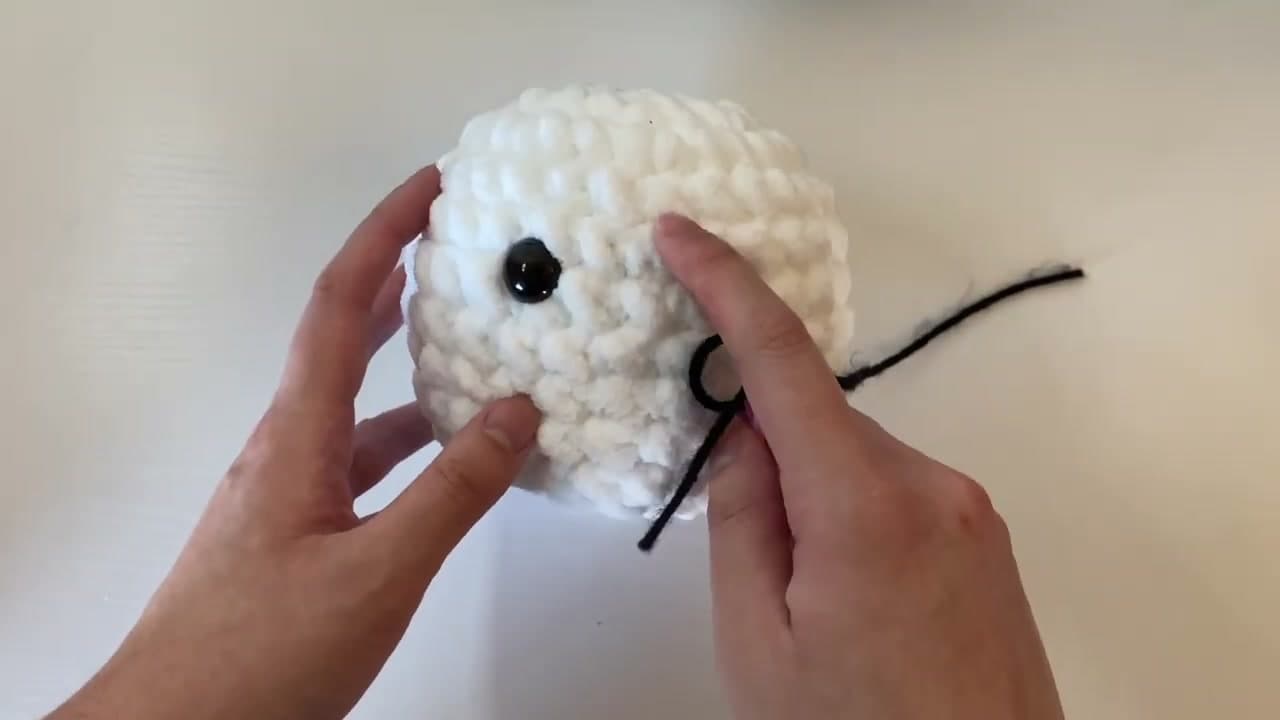
Cut about a foot of worsted-weight black yarn and thread a yarn needle. Bring the needle up between the two eyes, one row below them, and stitch a small horizontal bar two stitches wide for the nose. Pass over the same spot twice for thickness. Bring the needle straight down half a row and back up at the bottom of the nose to add the small vertical line that goes from the nose to the mouth. Tie off inside.

For the blush, cut a 6 to 8 inch piece of pink yarn and sew a small horizontal stitch on the outer side of each eye, one round below where the eye sits. Two passes per side is enough. Knot off inside the body and bury the tails.

Tip

If the nose looks too small after the first pass, do not redo it - just stitch over the same spot a third time. Layering bulks it up without unpicking.

9

Step 9: Crochet and Attach the Ears

42:50
Step 9: Step 9: Crochet and Attach the Ears

Each ear is a small piece worked in the round. Magic ring with 4 single crochets, then round 2 alternates a single crochet and an increase (6 stitches), round 3 alternates one sc and one increase three times (9 stitches), rounds 4 and 5 are straight, round 6 is one sc and one decrease three times (6 stitches), round 7 is one sc and one decrease twice (4 stitches). Fasten off leaving a long tail for sewing. Make two ears.

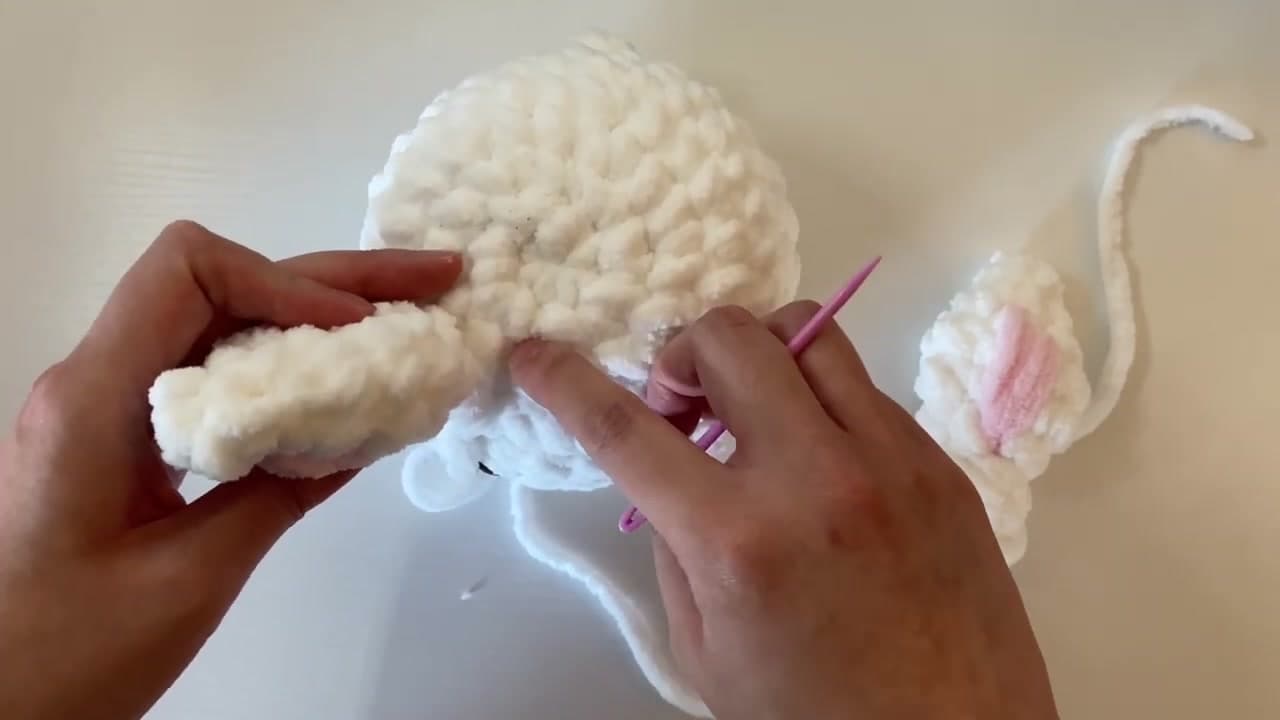
For the pink center, thread pink yarn and run it up and down the inside of each ear three to four times before knotting off. Then sew each ear onto the head at round 3, lined up with the inner corner of each eye. Squish the ear flat as you sew so the base looks pinched, not stuffed. Weave in all ends and the bunny is done.

Tip

Pin or hold each ear in place before sewing - it is hard to tell if they look right once stitched. Aim for the ears slightly angled inward so they meet the eye line, not splayed sideways. Need more amigurumi inspiration? Browse the rest of the essential crochet supplies guide for what to stock next.

Products Used

☐ The Checklist

How to Crochet an Easter Bunny (Beginner Amigurumi)

Tools
5
Materials
5
Steps
9
Video
46 min

Your Guide

The Mary Jay

As an Amazon Associate we earn from qualifying purchases. Links on this page may be affiliate links - clicking them and buying doesn't change your price, but helps support ShowMeStepByStep.

Tags

What's next

Related collections

Curated theme pages that include this tutorial.

Weekly Digest

Liked this crochet tutorial?

Pick the categories you want to hear about. Weekly digest of new step-by-step tutorials. No spam, easy unsubscribe.

Send me tutorials about

We only email about new tutorials. Easy unsubscribe anytime.