How to Crochet a Penguin (Amigurumi Pattern, Step by Step)

CrochetEasy12:487 stepsBrowse more →

By CraftingStepByStepPublished

Based on a video by naztazia.

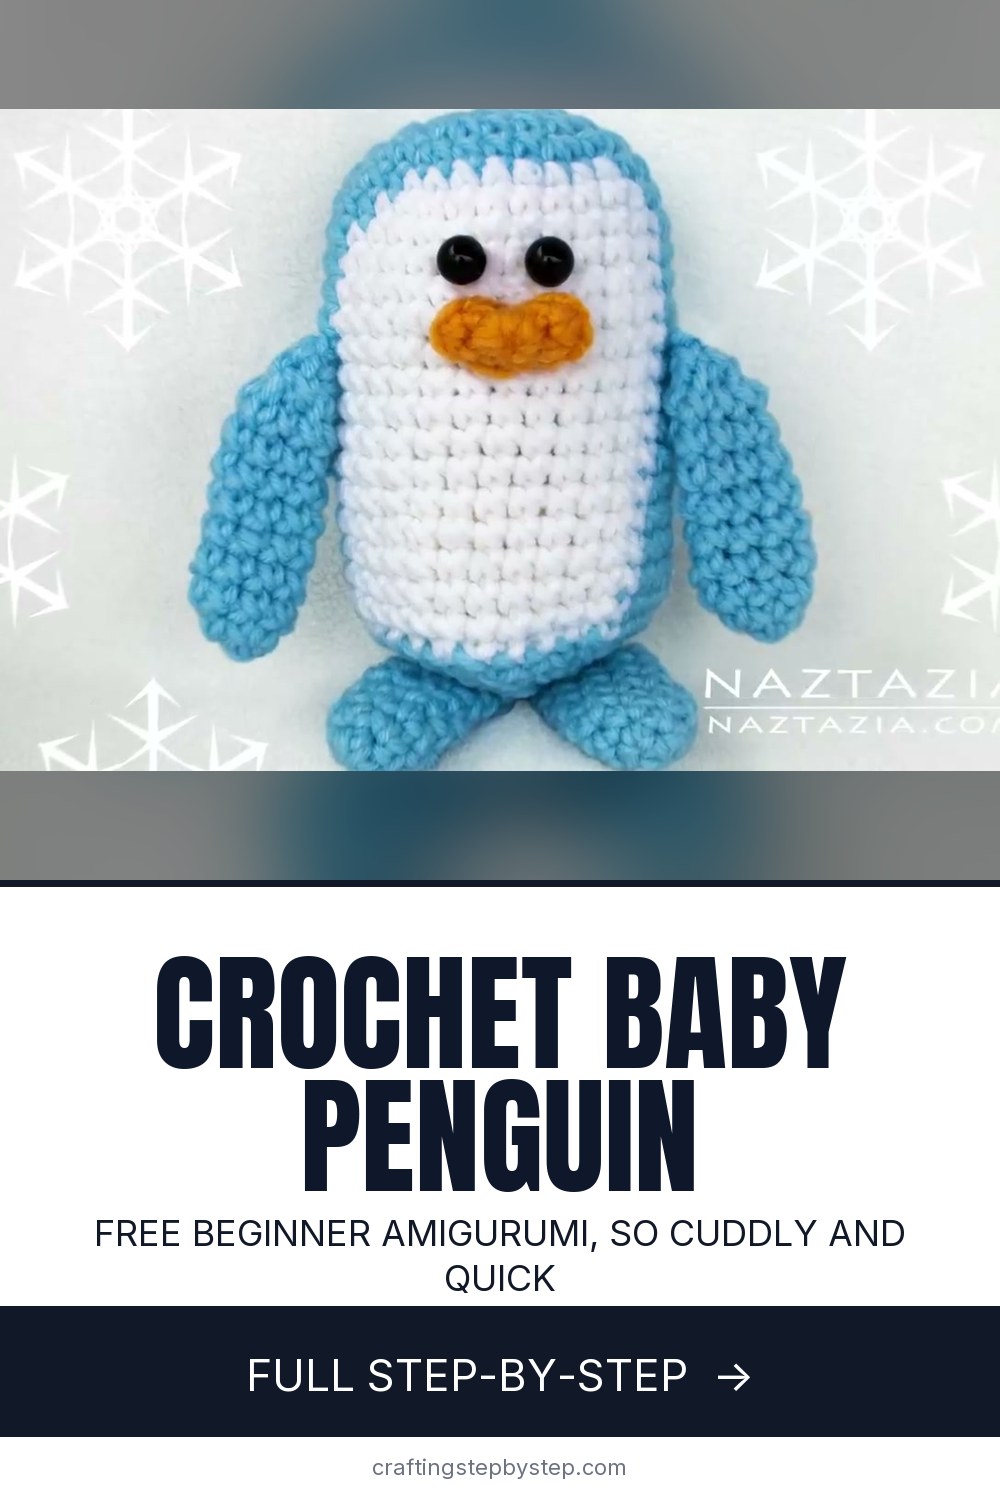
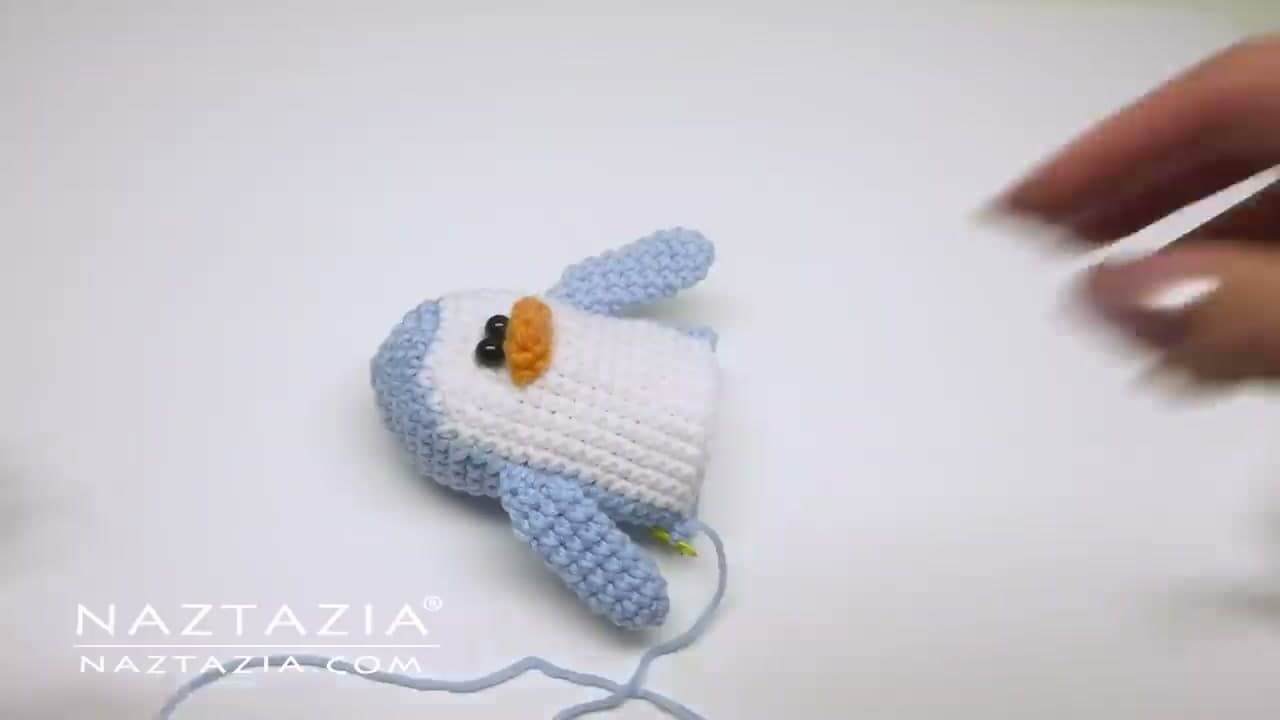
This little penguin is one of the friendliest amigurumi you can start with. Donna Wolfe of Naztazia designed it to use only small amounts of yarn - about 25 yards of white, 35 of blue, and a scrap of orange for the beak - so it is a great way to burn down your stash into a gift. You work the body in one continuous spiral, add a crocheted beak and button eyes, then make four little flippers and feet and sew everything on.

The clever part is how the two-tone body comes together. Instead of crocheting the belly as a separate piece, you change colors mid-round: white across the front, blue around the back, widening the white panel a couple of stitches each round. Donna also uses a "yarn under" for the first half of each single crochet instead of the usual yarn over, which keeps those color changes lined up straight. Every piece starts from a magic ring, so that is the one skill to have down before you begin.

Two things make or break the finished look: seating the eyes evenly and stuffing the body firmly before you close it. If you would rather use proper safety eyes than sewn buttons, attaching safety eyes to amigurumi walks through locking the washers on straight. And once this penguin is done, the same build - spiral body, stuffing, sewn-on limbs - carries straight over to the rest of crochet amigurumi. If you are making a set, the crochet owl and crochet sloth use the same core techniques.

Step-by-Step Guide

7 steps · about 13 minutes.Check off each step as you go and your progress saves automatically.

1

Step 1: Start the Body with a Magic Ring

0:26
Step 1: Step 1: Start the Body with a Magic Ring

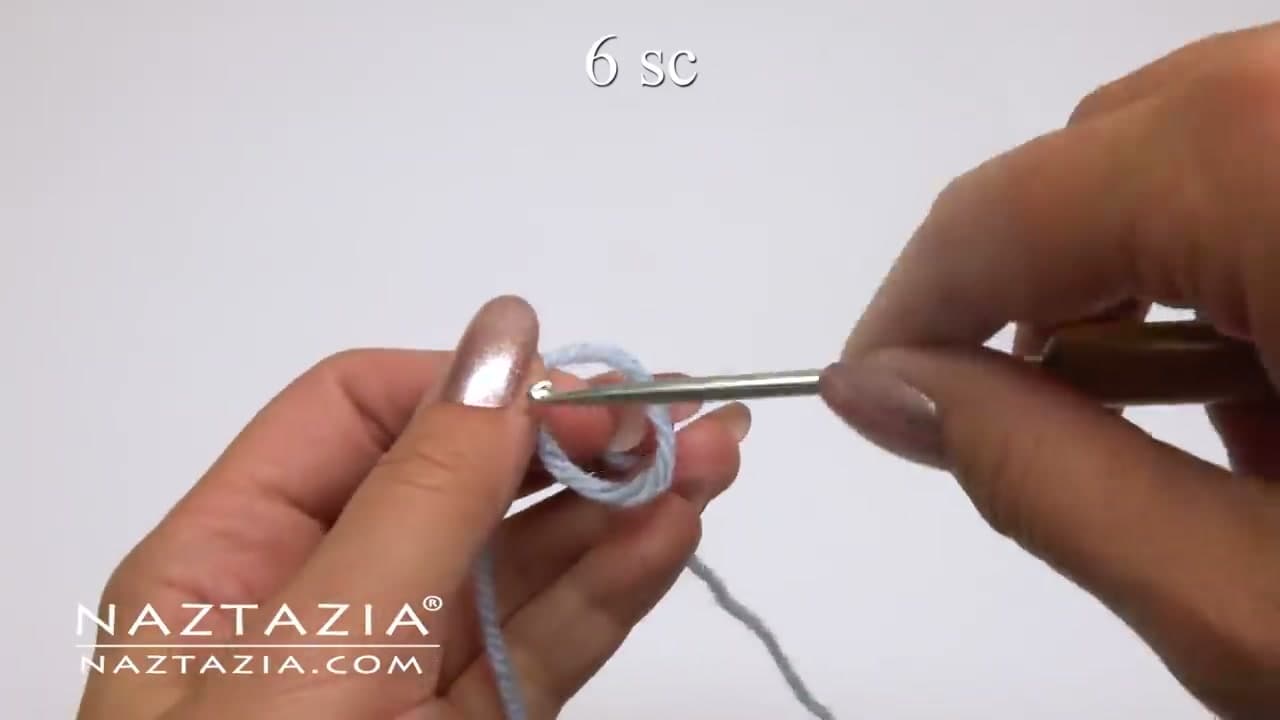
The whole penguin begins with the body, and the body begins with a magic ring, which is just a loose slip knot. Chain 1, then work 6 single crochet into the ring and pull the tail to draw it closed.

Watch how Donna does a yarn under for the first half of each single crochet instead of a yarn over. It feels odd at first, but it is what keeps your blue and white stitches sitting straight once the color changes start.

Tip

Watch this step Keep the ring loose while you place the 6 stitches, then cinch it. A too-tight ring makes those first stitches a fight.
2

Step 2: Increase the Body in a Spiral

1:30
Step 2: Step 2: Increase the Body in a Spiral

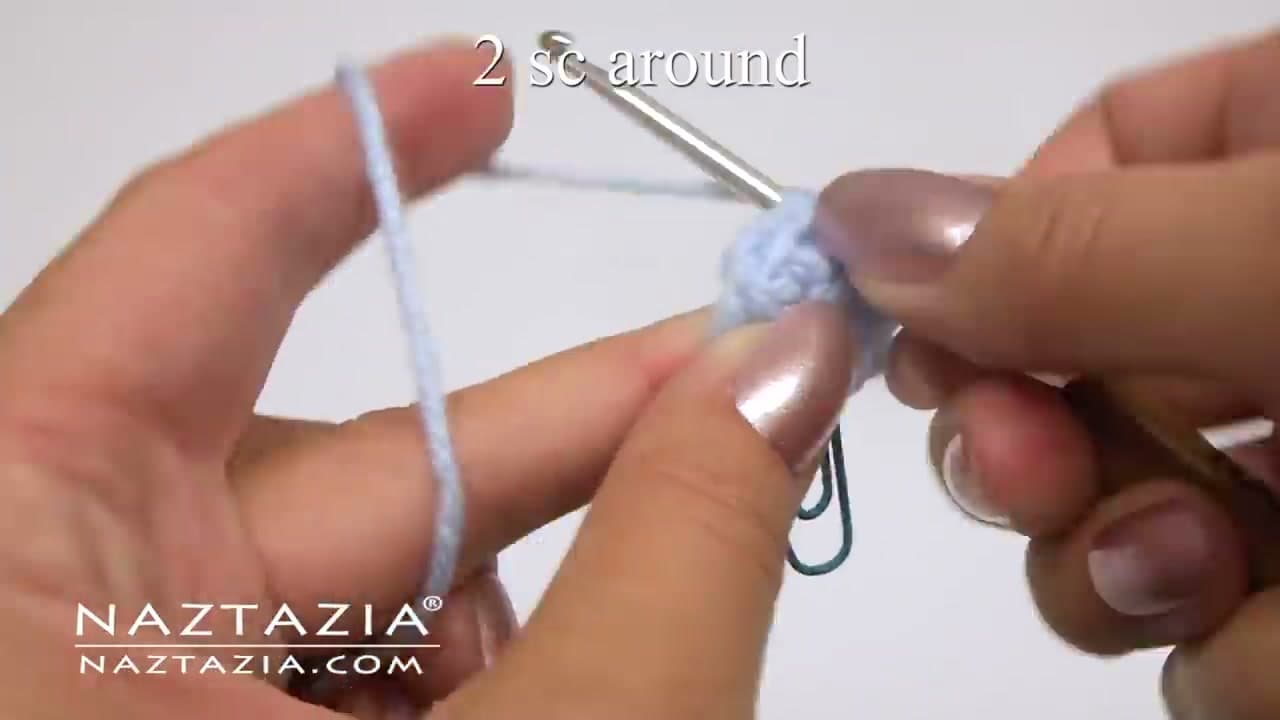
Now grow the base outward. Round two is two single crochet in each stitch to give you twelve. From there you add one plain stitch between the increases each round, so round three is increase-then-one, round four is increase-then-two, and so on until you have thirty stitches around.

You are working in a spiral with no join, so nothing tells you where a round ends. Drop a stitch marker into the first stitch of every round and move it up as you go.

Tip

Watch this step A different-colored scrap of yarn works as a marker in a pinch. Just loop it through the first stitch and pull it up each round.

3

Step 3: Change Colors for the White Belly

3:36
Step 3: Step 3: Change Colors for the White Belly

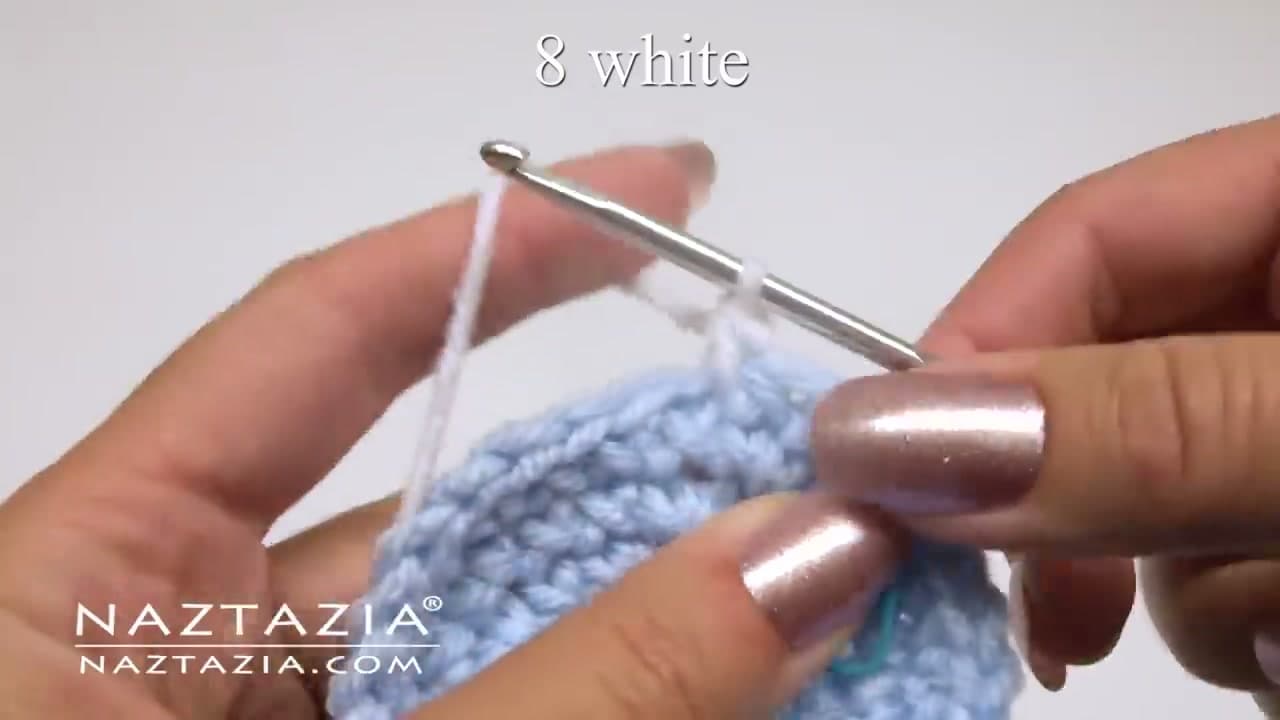
Once you hit thirty stitches, it is time to bring in the white. Change color mid-stitch: work the last blue single crochet up to the final pull-through, then finish it with white so the new color is on your hook. Work a block of white across the front, then switch back to blue at the far side the same way.

Each round the white panel gets a couple of stitches wider - eight, then ten, then twelve - which shapes that classic pale penguin belly.

Tip

Watch this step Carry the unused color loosely across the back of the work. Pull it too tight and the belly puckers.

4

Step 4: Finish the Two-Tone Body

7:08
Step 4: Step 4: Finish the Two-Tone Body

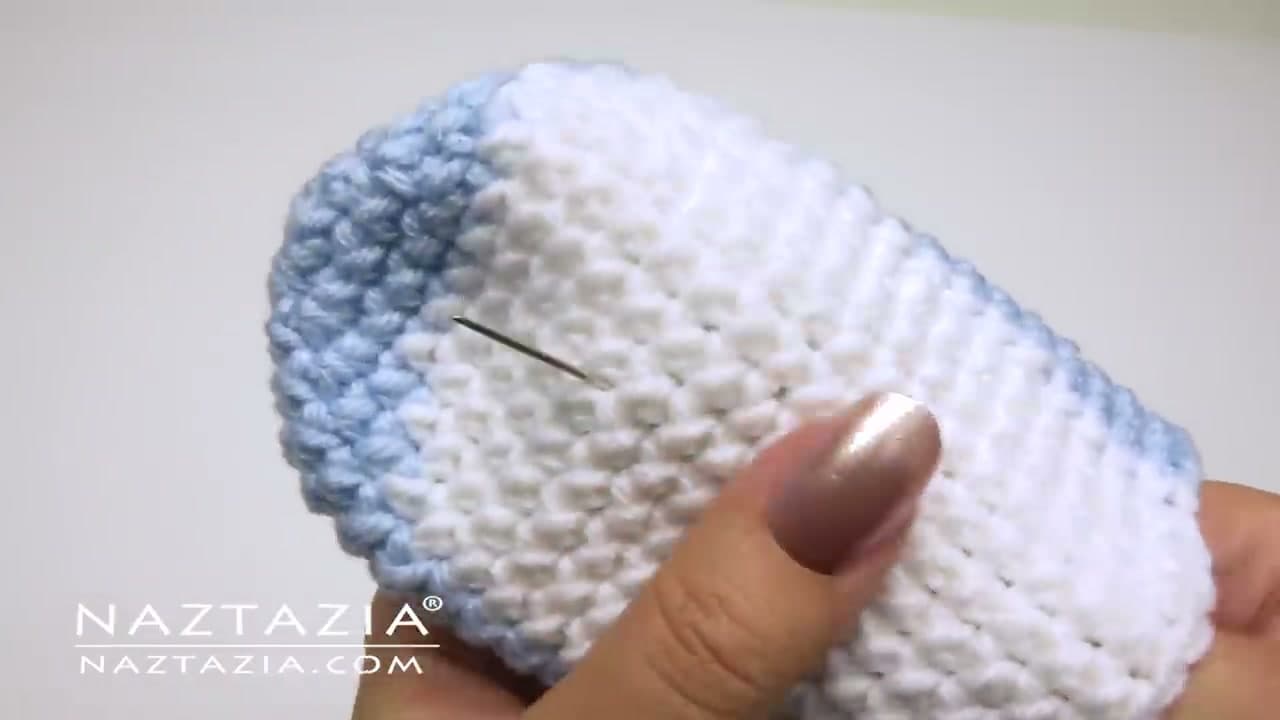
Keep repeating that white-front, blue-back round until the body is as tall as you want it. The stitch count stays the same now, so you are just building height with a straight tube of stitches.

When the body is done, cut the white yarn and weave it in, but leave the blue yarn attached. That blue tail is what you will use later to close up the bottom, so do not snip it off yet.

Tip

Watch this step Turn the body inside out for a moment to weave the white ends in under the belly stitches, where they will stay hidden.

5

Step 5: Add the Eyes and Crochet the Beak

7:12
Step 5: Step 5: Add the Eyes and Crochet the Beak

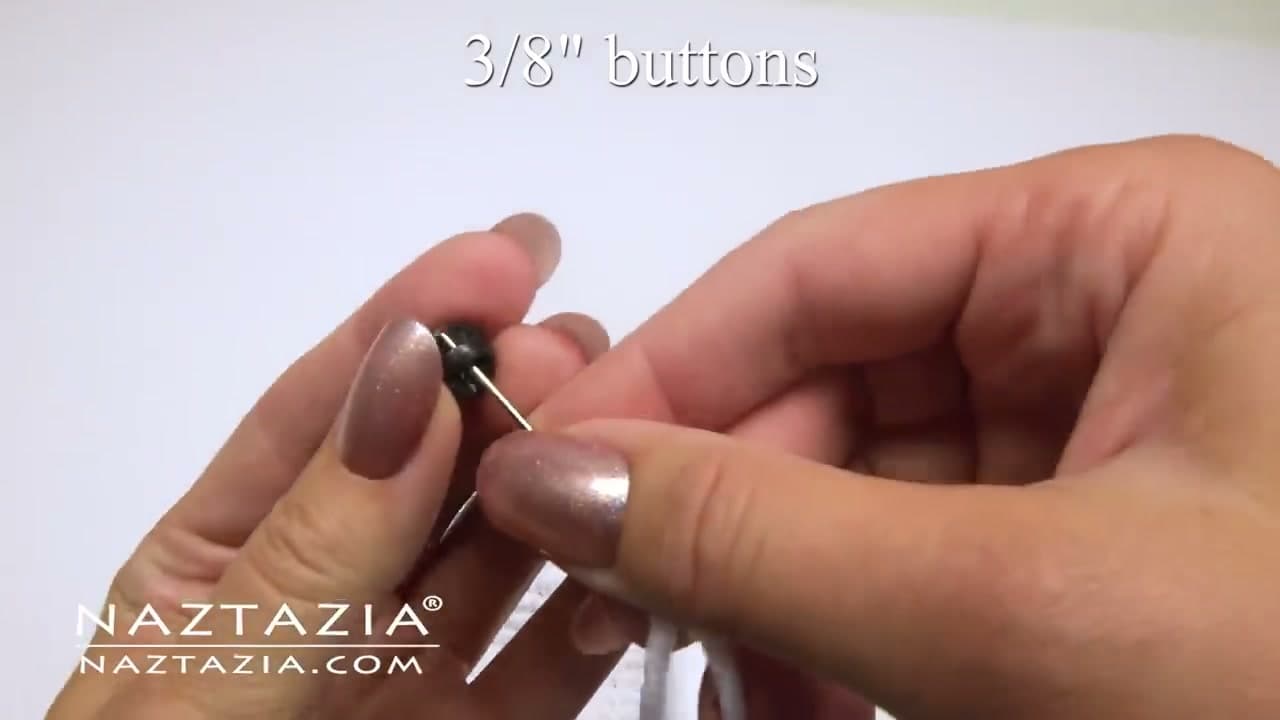
Give your penguin a face. Sew on the eyes using 9mm round black buttons, working the white tail from the body up between the stitches to hold them in place. Set them close together and a little above center.

For the beak, take the orange yarn and make a magic ring of 6 single crochet, then work 2 single crochet in each stitch on the second round. Squish that small circle flat, run the tail along the edge to close it, and stitch it on just below the eyes.

Tip

Watch this step If you are making this for a small child, skip the buttons and embroider the eyes with black yarn instead so nothing can pull loose.

6

Step 6: Make the Wings and Feet

8:48
Step 6: Step 6: Make the Wings and Feet

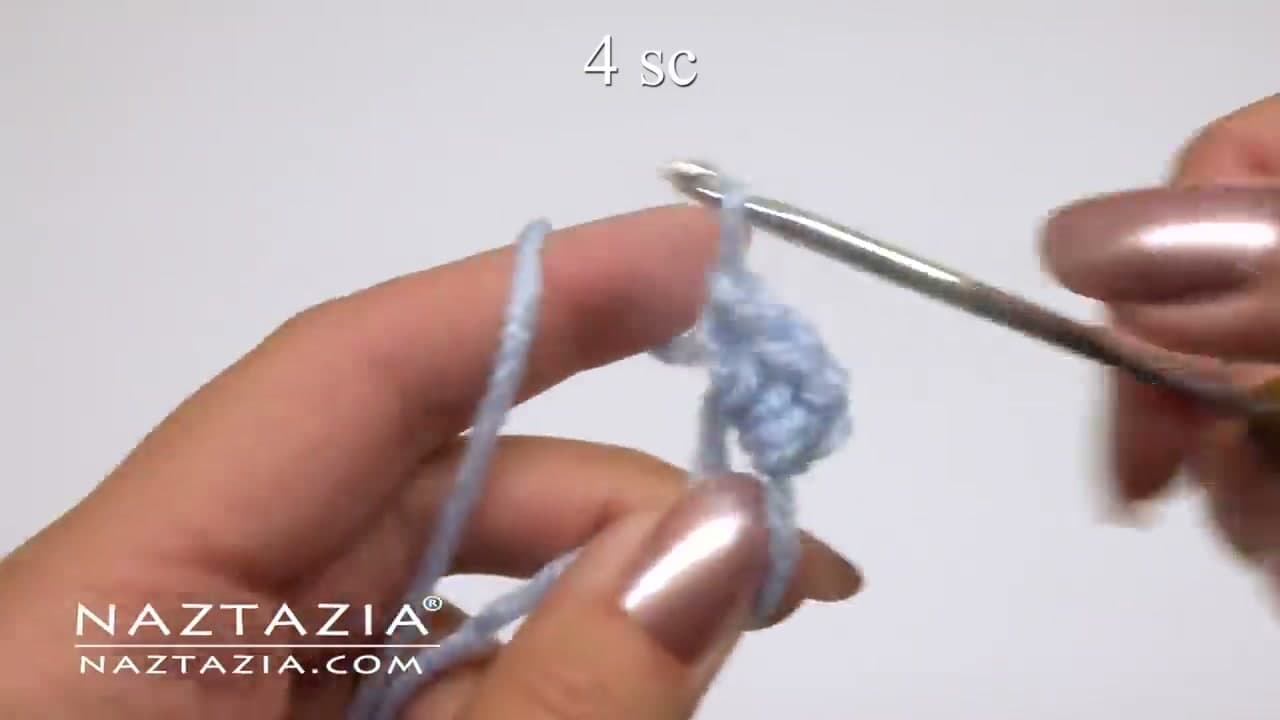
The penguin needs four small pieces down here: two flipper wings and two feet, all made from the same little pattern. Start each with a magic ring of 4 single crochet, then work 2 single crochet in each stitch on the next round.

After that, stop counting rounds and just work one single crochet in each stitch around, spiraling up until the piece is the length you want. Finish by working single crochet two together in the front loops only until the top closes, then leave a long tail for sewing.

Tip

Watch this step Working the front loops only on the closing decreases keeps the tip smooth instead of bunchy. Make all four pieces before you sew any on so they match.

7

Step 7: Stuff, Close, and Assemble

10:30
Step 7: Step 7: Stuff, Close, and Assemble

Lightly stuff the body with polyester fiberfill. Do not pack it hard - a soft fill keeps the penguin cuddly and lets it hold its shape. Then use that blue tail to close the bottom, working rounds of single crochet two together to draw the opening shut, adding a last bit of stuffing before it seals.

Sew the wings to the sides of the body and the two feet underneath so the penguin can stand. Weave in the ends inside, where you will never see them, and your penguin is finished.

Tip

Watch this step Pin the wings and feet in place before you sew, then hold the penguin up and look at it. It is much easier to move a pin than to un-sew a flipper.

Products Used

☐ The Checklist

How to Crochet a Penguin (Amigurumi Pattern, Step by Step)

Tools
4
Materials
5
Steps
7
Video
13 min

Tools we recommend

Your Guide

naztazia

As an Amazon Associate we earn from qualifying purchases. Links on this page may be affiliate links - clicking them and buying doesn't change your price, but helps support ShowMeStepByStep.

Tags

Free printable

Get the Crochet Cheat Sheet

Every basic stitch on one printable page. No spam, one-click unsubscribe.

Did this work for you?

What's next

Related collections

Curated theme pages that include this tutorial.

Weekly Digest

Liked this crochet tutorial?

Pick the categories you want to hear about. Weekly digest of new step-by-step tutorials. No spam, easy unsubscribe.

Send me tutorials about

We only email about new tutorials. Easy unsubscribe anytime.