How to Crochet Amigurumi: 5 Beginner Skills That Make Any Plushie

CrochetEasy5:317 stepsBrowse more →
Also in:Crafts

By CraftingStepByStepPublished Updated

Based on a video by The Mary Jay.

Amigurumi is the Japanese word for crocheted stuffed animals, and it sounds way more complicated than it actually is. Every single plushie - frogs, bees, octopuses, bears - comes down to five core skills. Learn those five and you can follow any pattern you find online.

This walkthrough from The Mary Jay covers all five in just over five minutes. Start with the magic ring for the circular base, then learn single crochet (the building block stitch), increases and invisible decreases for shaping, and the fasten-off cinch that closes the final round. Once you have these down, jump into a specific pattern like a crochet octopus or a crochet bee and you'll see how every step fits together.

One starter tip from Mary: pick a light-colored yarn for your first plushie. Black yarn hides the stitches and makes it ten times harder to count rounds. Save the dark colors for project number two.

Step-by-Step Guide

1

Step 1: Pick Your Yarn and Hook

0:55
Step 1: Step 1: Pick Your Yarn and Hook

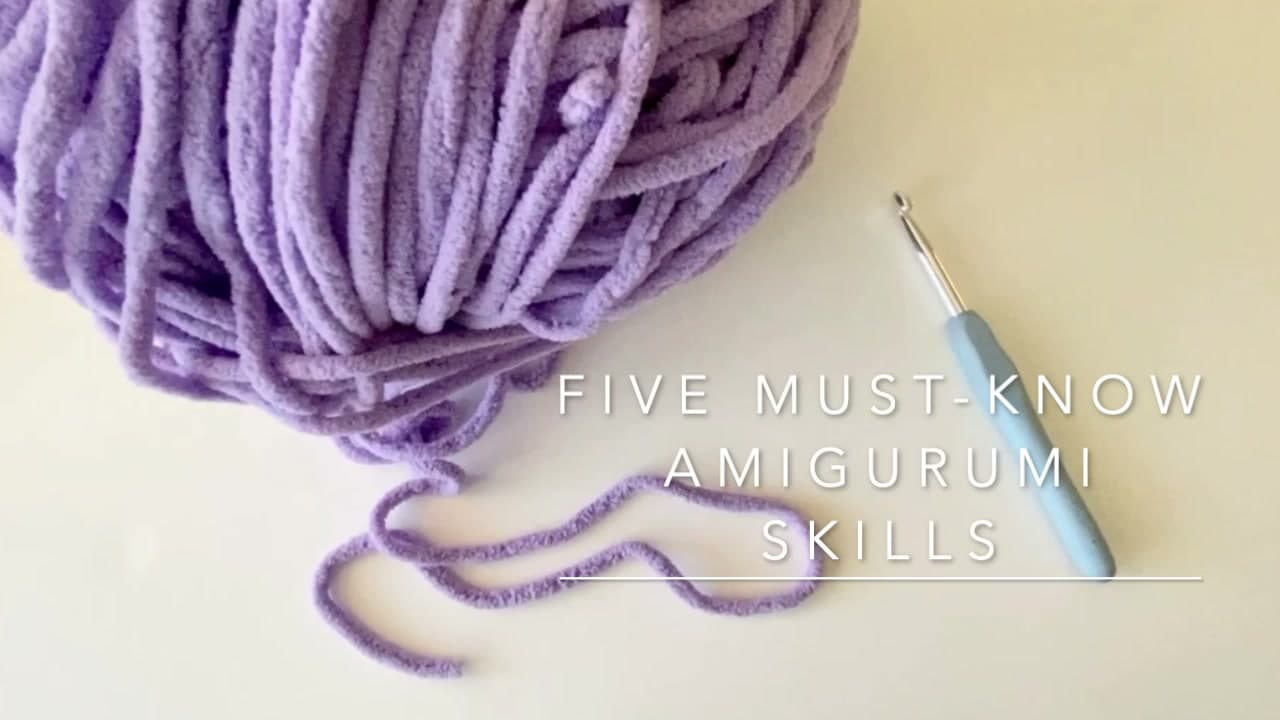
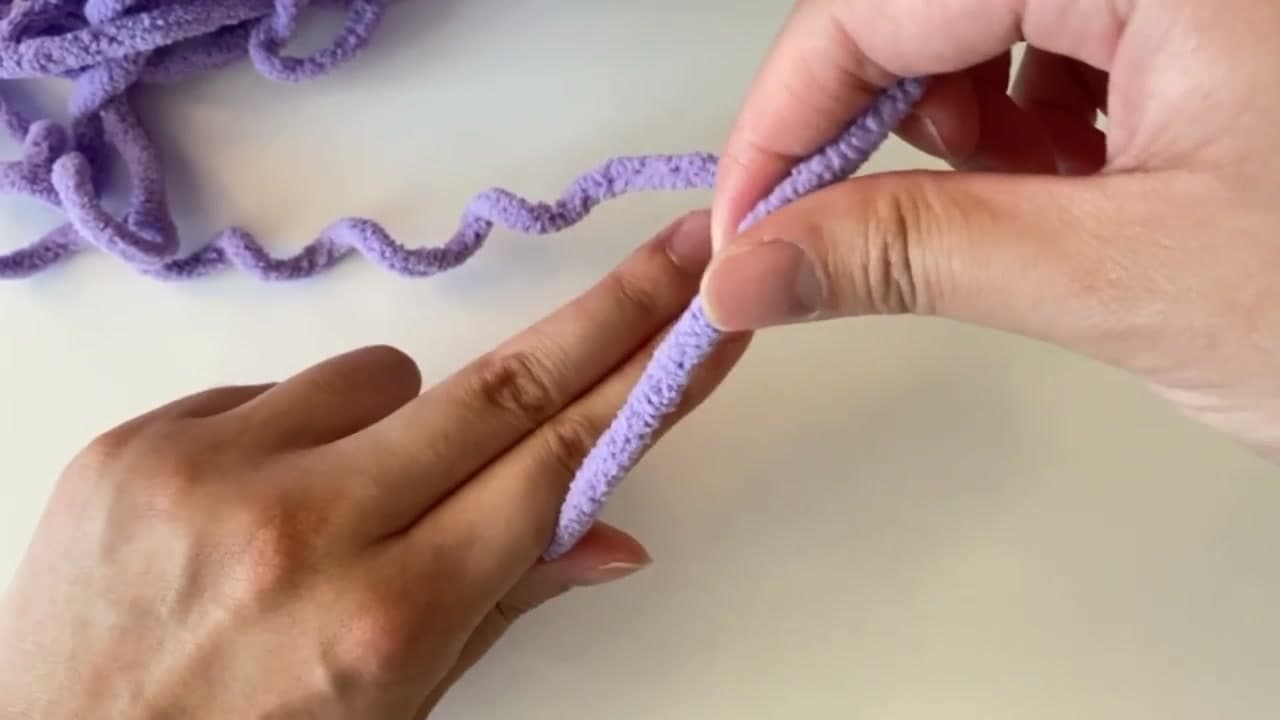
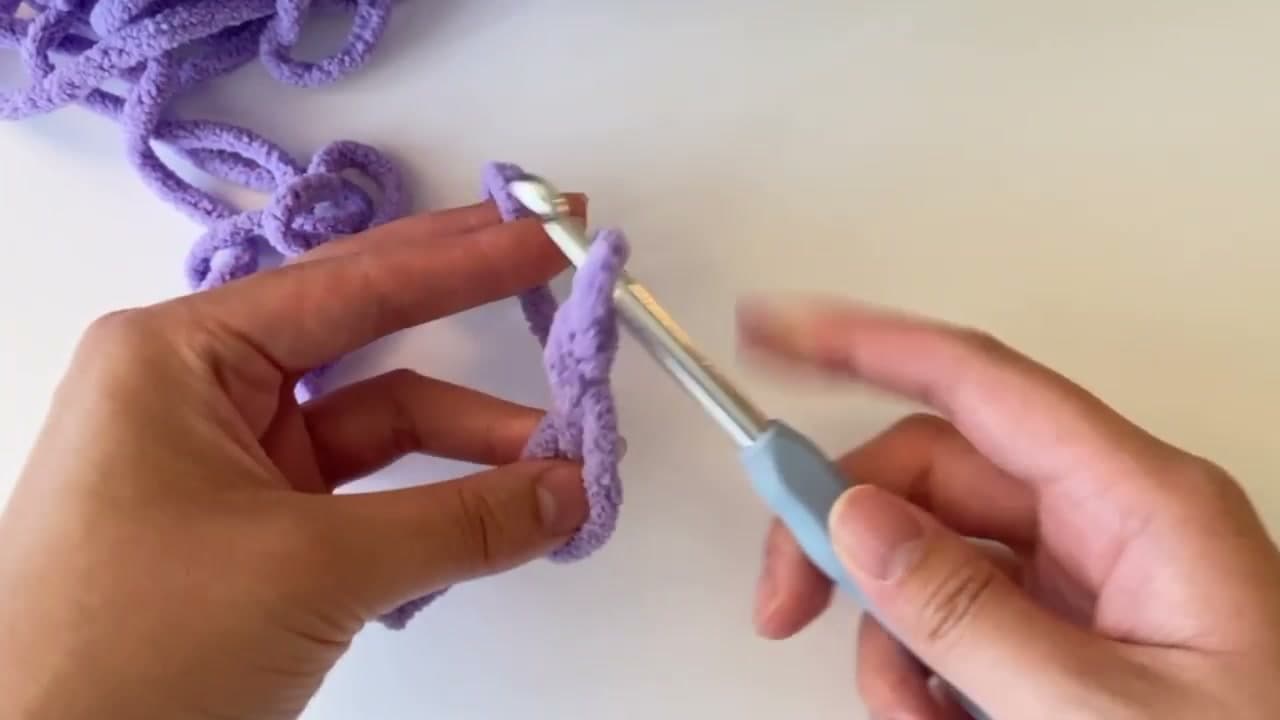
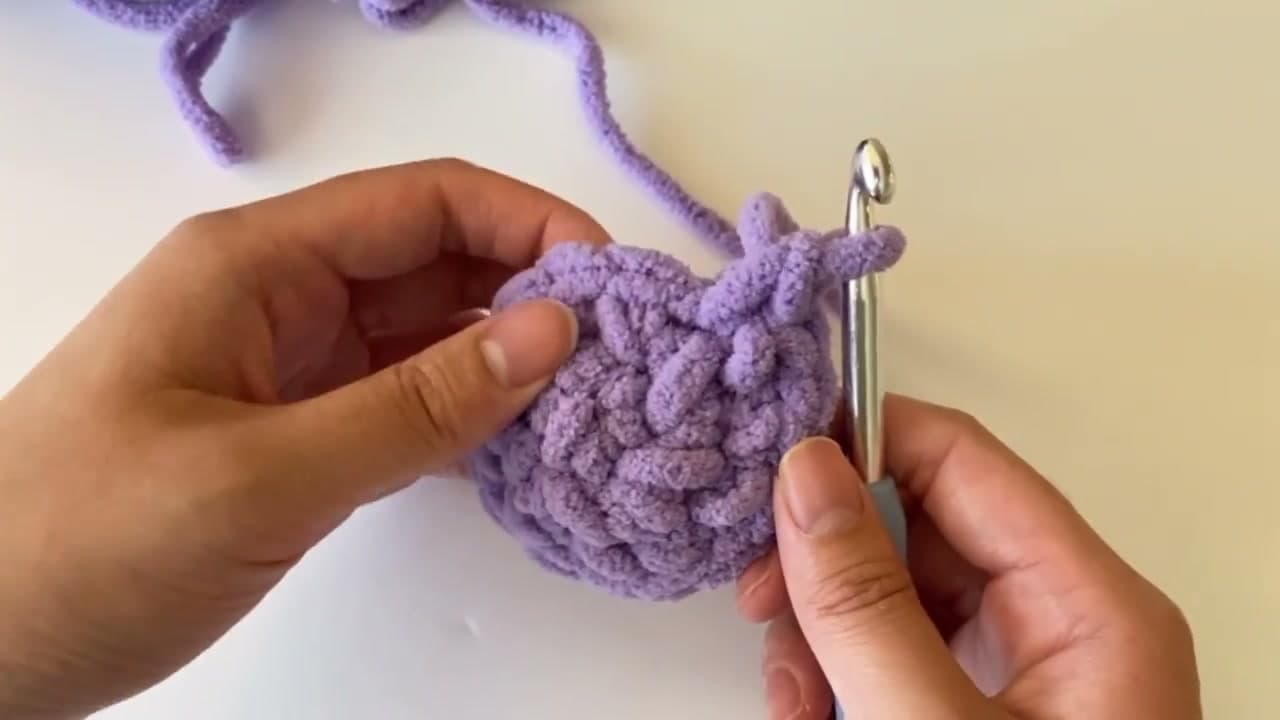
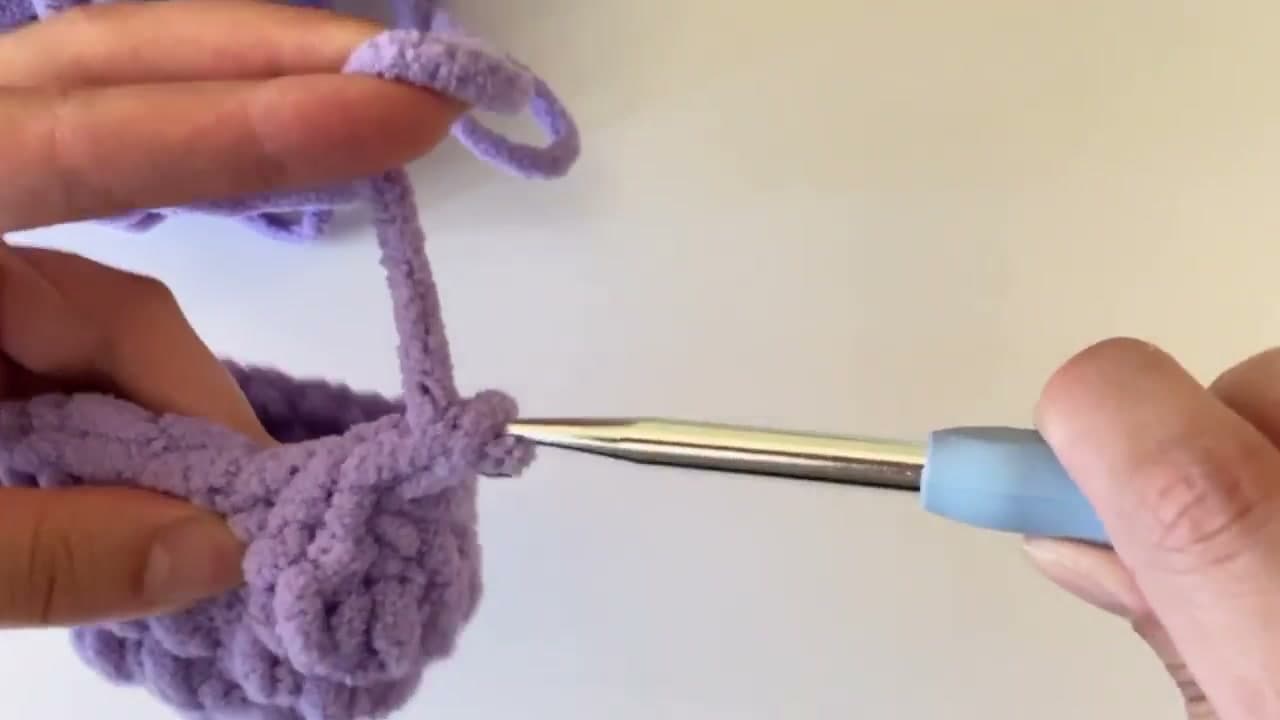
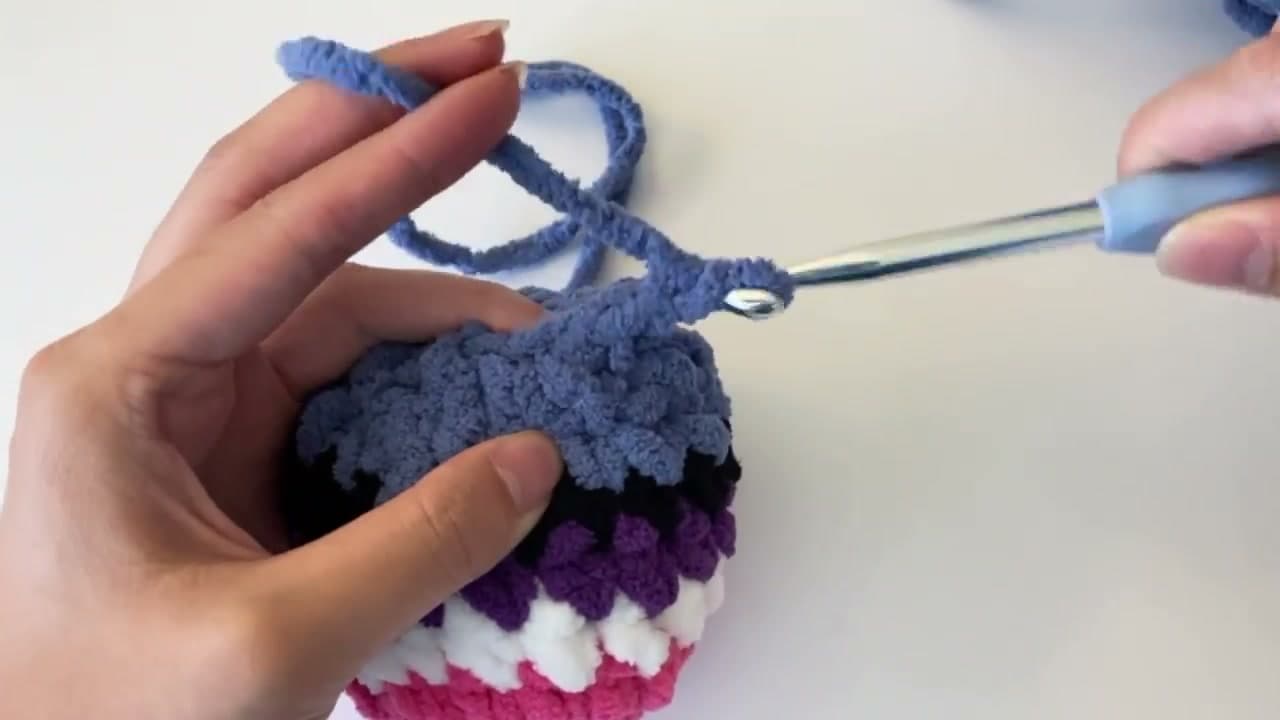
For your first amigurumi, grab a worsted weight yarn (also called a number four) and a 4mm crochet hook. Worsted is the most common, most affordable yarn at any craft store, and it's the easiest weight to learn on. Mary uses a chunkier super bulky yarn in the video, but worsted is the standard beginner recommendation.

The only color rule is do not pick black. Black yarn makes the stitches almost invisible, which makes counting and finding the V-shape of each stitch frustrating. Light pink, cream, pastel blue - anything you can see clearly will save you a lot of headaches.

Tip

If you already have yarn at home, check the label for the weight number. A 4 means worsted, a 5 is bulky, a 6 is super bulky. Match the hook to the yarn label's recommendation.

Products used in this step

Clover Soft Touch Crochet Hook Set
Worsted Weight Yarn Skein
2

Step 2: Make the Magic Ring

1:15
Step 2: Step 2: Make the Magic Ring

The magic ring is how almost every amigurumi piece starts. It gives you a closeable circle so the base of the plushie doesn't have a hole in the middle.

Pinch the yarn end between your thumb and pointer finger, then wrap the working yarn around your pointer and middle finger so it crosses into an X. Hold the X down with your ring finger and slide your hook under the X. Turn the hook 90 degrees toward your middle finger, grab the lower strand of the X, and pull it under. Turn the hook again the same way, grab the working yarn, and pull through the loop you just made. That's the magic ring.

Tip

Test it by tugging the yarn tail - the ring should tighten around your hook. If it doesn't tighten, you grabbed the wrong strand. Pull it apart and try again.

Products used in this step

Stitch Markers Set
3

Step 3: Single Crochet Into the Ring

2:20
Step 3: Step 3: Single Crochet Into the Ring

Single crochet is the building block stitch for amigurumi. You'll use it for almost every round of every plushie you ever make.

To single crochet into the magic ring, put your hook through the ring, grab the working yarn (yarn over), and pull a loop back through the ring. You should now have two loops on the hook. Yarn over again and pull through both loops. That's one single crochet. Repeat until you have six stitches in the ring, then pull the tail to cinch the ring closed.

After the first round, you'll single crochet into the V-shape on top of each stitch from the round below. Hook goes under the V, yarn over, pull through, yarn over, pull through both loops.

Tip

Most amigurumi patterns work in a continuous spiral - you don't join the end of each round to the beginning. Use a stitch marker in the first stitch of each round so you can count.

Products used in this step

Stitch Markers Set
4

Step 4: Increase to Grow the Shape

3:10
Step 4: Step 4: Increase to Grow the Shape

An increase is how you make the circle bigger. It's not a different stitch - it's just two single crochets worked into the same V from the round below.

Single crochet into the next stitch like normal. Instead of moving on to the next V, go right back into the same V and single crochet again. Two stitches into one means the round below grew by one stitch.

Patterns usually write this as 'inc' or '2sc in next st.' The standard amigurumi increase rhythm is round one: 6 stitches in the magic ring; round two: increase in every stitch (12 total); round three: increase, single crochet, increase, single crochet (18 total). The shape opens up into a flat disc, then a dome as you stop increasing.

5

Step 5: Work an Invisible Decrease

3:45
Step 5: Step 5: Work an Invisible Decrease

Decreases shrink the circle back down. The standard decrease leaves visible bumps; the invisible decrease - which is what Mary teaches and what most amigurumi makers use - hides them.

Instead of hooking under the full V of the next stitch, only pick up the front loop (the loop closest to you). Without yarning over yet, move to the next stitch and also pick up only its front loop. You now have three loops on your hook. Yarn over and pull through just the first two front loops, then yarn over again and pull through the remaining two loops on the hook. The two stitches just became one, with no visible bump.

Tip

The invisible decrease is the single biggest upgrade you can make to your amigurumi finish. The standard 'sc2tog' decrease leaves a small hole and a tiny diagonal line - invisible decrease leaves neither.

6

Step 6: Fasten Off and Cinch the Hole

4:35
Step 6: Step 6: Fasten Off and Cinch the Hole

Once the body is decreased down to a small ring of stitches, you fasten off and close the remaining hole.

Cut the yarn six to eight inches from the last stitch (leave plenty of tail for sewing). Pull the cut end all the way through the loop on your hook to lock the last stitch. Thread the tail onto a yarn needle and weave the needle through the front loop of every stitch around the final round. When you've gone all the way around, pull the tail tight - the stitches cinch together like a drawstring and the hole closes.

Tip

Stuff the plushie with polyester stuffing before cinching closed. Once the tail is pulled tight, you can't get more stuffing in there.

Products used in this step

Polyester Stuffing 12oz Bag
Yarn Needle Set
7

Step 7: Knot and Bury the Tail

5:05
Step 7: Step 7: Knot and Bury the Tail

Cinching closes the hole, but the tail can still work loose over time. Lock it in place with a few knots and hide the tail inside the body so it doesn't show.

After cinching, push the needle through a nearby stitch and pull the tail through, leaving a small loop. Pass the needle through the loop and pull tight - that's one knot. Repeat three to five knots until the knot feels solid. Then push the needle all the way through the body of the plushie and out the other side. Pull the knot through the body so it disappears into the stuffing, then snip the excess yarn flush. The tail end retracts back inside and the surface looks clean.

That's the whole technique. With these five skills - magic ring, single crochet, increase, invisible decrease, fasten off - you can follow any beginner amigurumi pattern. Pick a simple project like a bee or an octopus and try it.

Tip

For amigurumi with safety eyes, install the eyes before stuffing and closing - once the body is sewn shut you can't reach the backs of the eye posts.

Products used in this step

Safety Eyes Assorted Pack
Embroidery Thread Set

Products Used

Clover Soft Touch Crochet Hook SetWorsted Weight Yarn SkeinStitch Markers SetPolyester Stuffing 12oz BagYarn Needle SetSafety Eyes Assorted PackEmbroidery Thread Set
☐ The Checklist

How to Crochet Amigurumi: 5 Beginner Skills That Make Any Plushie

Tools
4
Materials
4
Steps
7
Video
6 min

Your Guide

The Mary Jay

As an Amazon Associate we earn from qualifying purchases. Links on this page may be affiliate links - clicking them and buying doesn't change your price, but helps support ShowMeStepByStep.

Tags

What's next

Related collections

Curated theme pages that include this tutorial.

Weekly Digest

Liked this crochet tutorial?

Pick the categories you want to hear about. Weekly digest of new step-by-step tutorials. No spam, easy unsubscribe.

Send me tutorials about

We only email about new tutorials. Easy unsubscribe anytime.