How to Crochet an Owl (Tiny Amigurumi Pattern, Step by Step)

CrochetEasy16:298 stepsBrowse more →

By CraftingStepByStepPublished

Based on a video by Happygurumi.

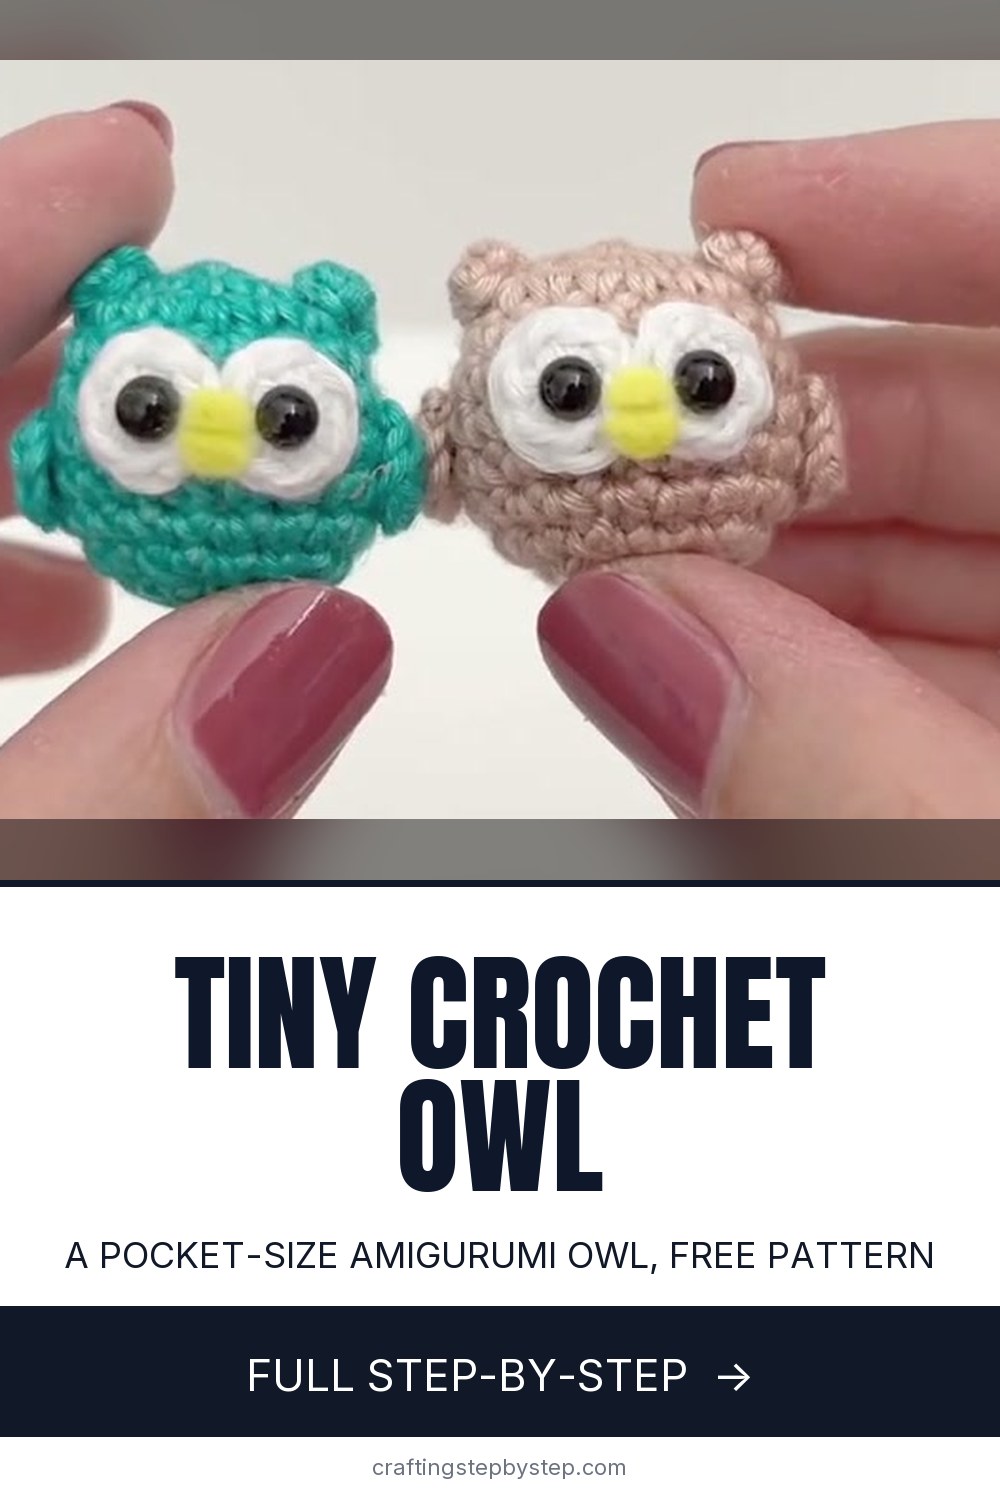
This tiny owl is the kind of amigurumi you can finish in an afternoon and still want to make five more. Happygurumi keeps it small and friendly: the whole owl is one stuffed body worked in a spiral, with the ears, wings and face added on at the end. There is no fiddly assembly of a separate head, which is what makes it such a good first animal.

The body is where all the shape happens. You start with a magic ring of six, increase out to eighteen stitches, run a few straight rounds to build the sides, then decrease back in and stuff it firmly so it holds a round shape. Once that little barrel is closed, the owl is basically done - the rest is decoration.

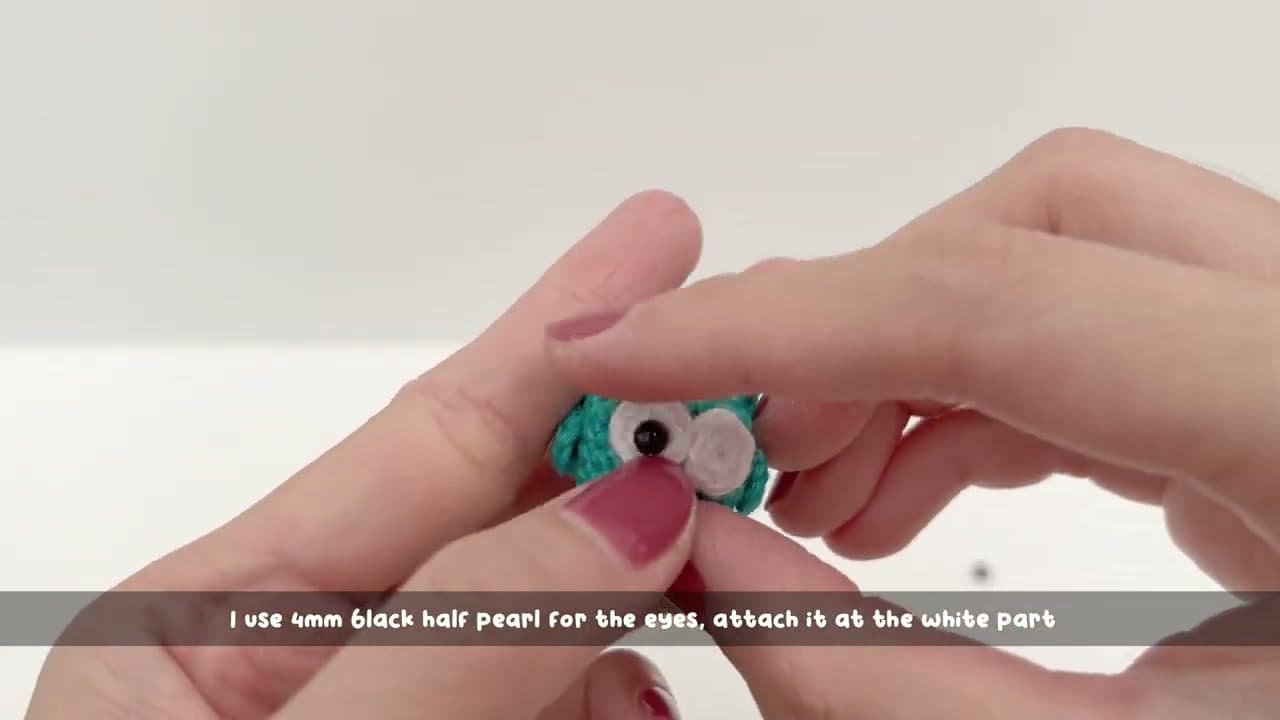
The face is what sells it. You crochet two small white circles for the eye patches, sew them to the front, add black beads for the pupils and a snippet of yellow felt for the beak. If you have not seated eyes before, attaching safety eyes to amigurumi is worth a quick read. And once you have this owl down, the same one-piece build carries straight over to the other animals in this set, like a crochet penguin or a crochet sloth. It all starts from the same amigurumi basics.

Step-by-Step Guide

8 steps · about 16 minutes.Check off each step as you go and your progress saves automatically.

1

Step 1: Start the Body with a Magic Ring

0:30
Step 1: Step 1: Start the Body with a Magic Ring

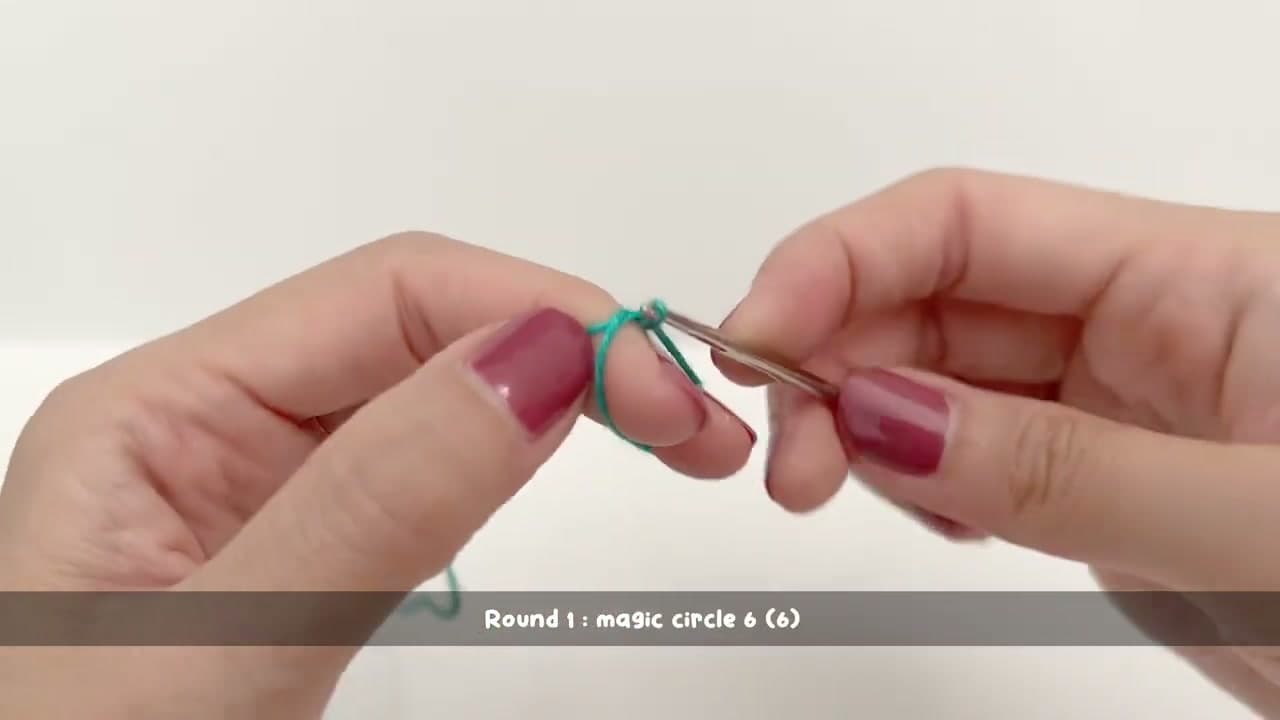
The owl is one piece, and it all grows from a magic ring. Make a ring with your main color and work six single crochet into it, then pull the tail to draw the center closed. That gives you a tidy starting circle of six.

Keep a stitch marker in the first stitch. You are working a continuous spiral with no join, so the marker is the only thing telling you where each new round begins.

Tip

Watch this step Cotton yarn on a smaller hook keeps the stitches tight so the stuffing does not peek through later. Pull each stitch snug.
2

Step 2: Increase to Eighteen Stitches

1:54
Step 2: Step 2: Increase to Eighteen Stitches

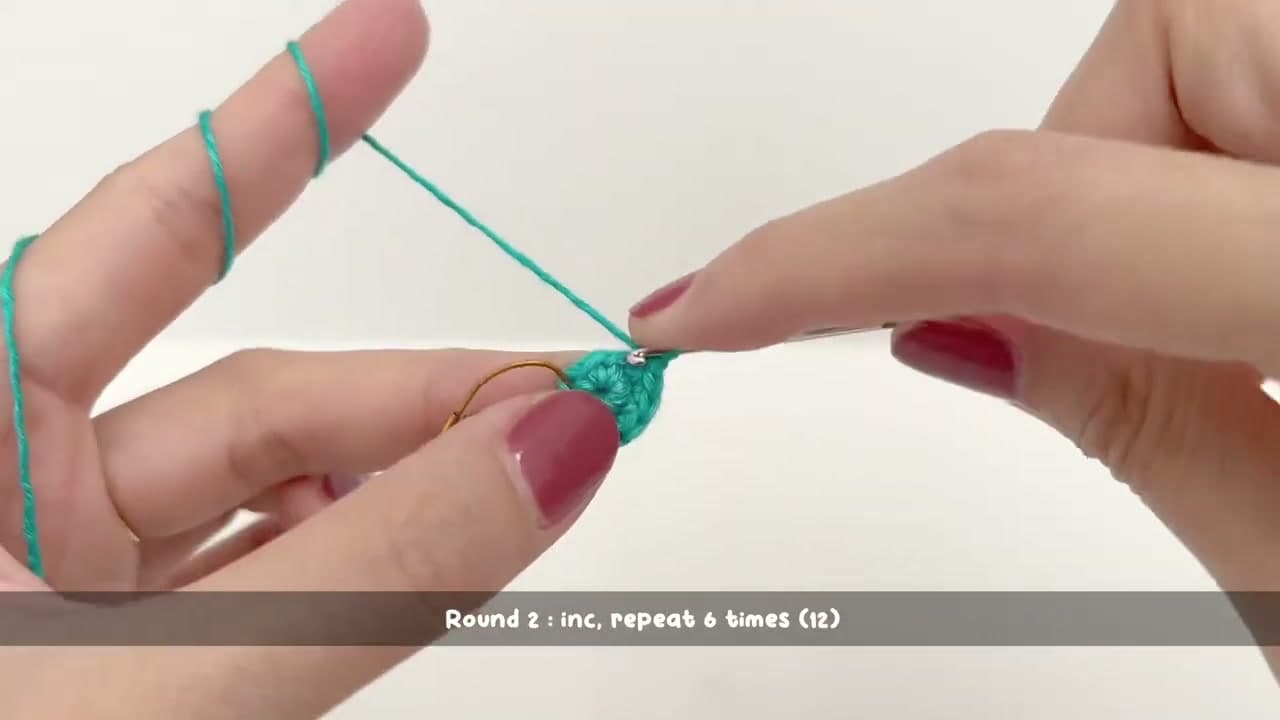
Now widen the disc. Round 2 is an increase in every stitch, which doubles you up to twelve. Round 3 is one single crochet followed by an increase, repeated all the way around, which brings you to eighteen.

Spreading the increases out like this keeps the circle flat and even instead of cupping or ruffling. Watch that your marker stays in the first stitch of each round so the count does not slip.

Tip

Watch this step If the disc starts to bowl upward, your tension is too tight. Loosen up a touch and it will lie flat again.

3

Step 3: Work the Straight Rounds for the Sides

3:54
Step 3: Step 3: Work the Straight Rounds for the Sides

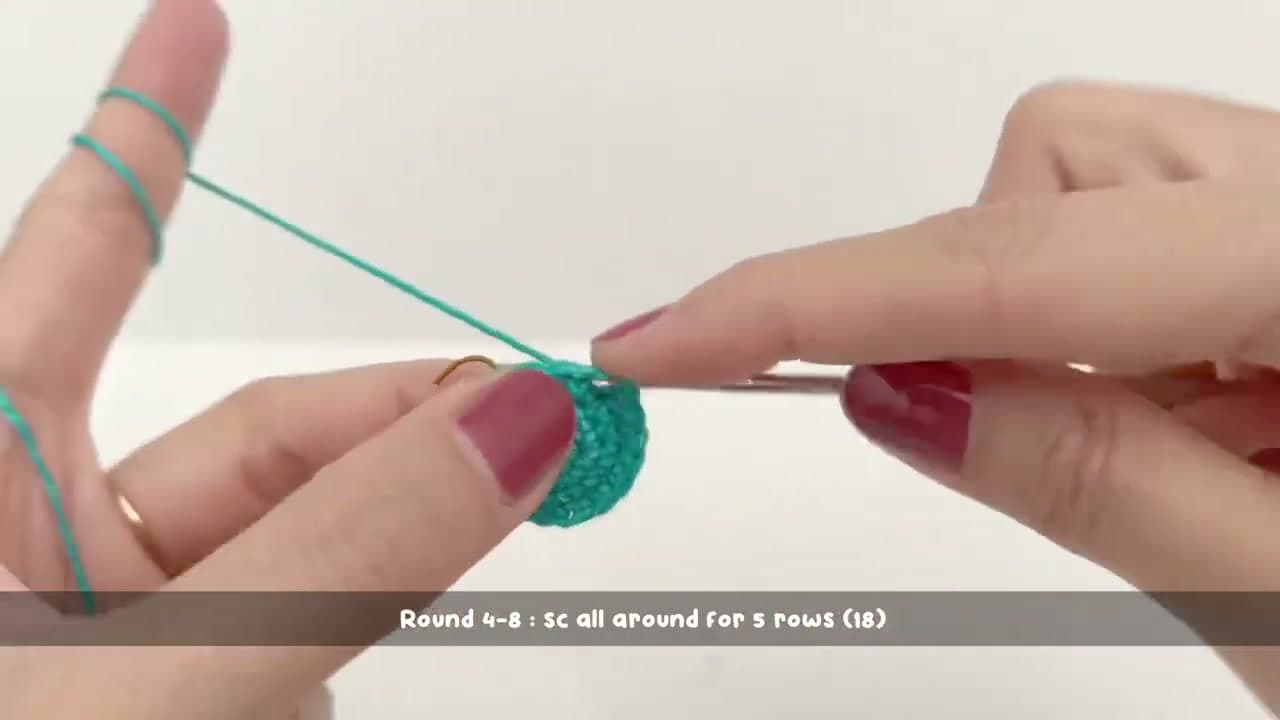
With eighteen stitches on the go, stop increasing and just single crochet around for about five rounds. No increases, no decreases. The piece stops widening and starts climbing straight up into a short barrel, which becomes the body of the owl.

This is the calm stretch of the make. Keep an even tension and let the little tube build. The taller you go here, the rounder and chubbier your finished owl will be.

Tip

Watch this step Move your marker up into the new round each time you pass it. It is the easiest stitch to lose track of on the straight rounds.

4

Step 4: Decrease to Dome the Top

4:54
Step 4: Step 4: Decrease to Dome the Top

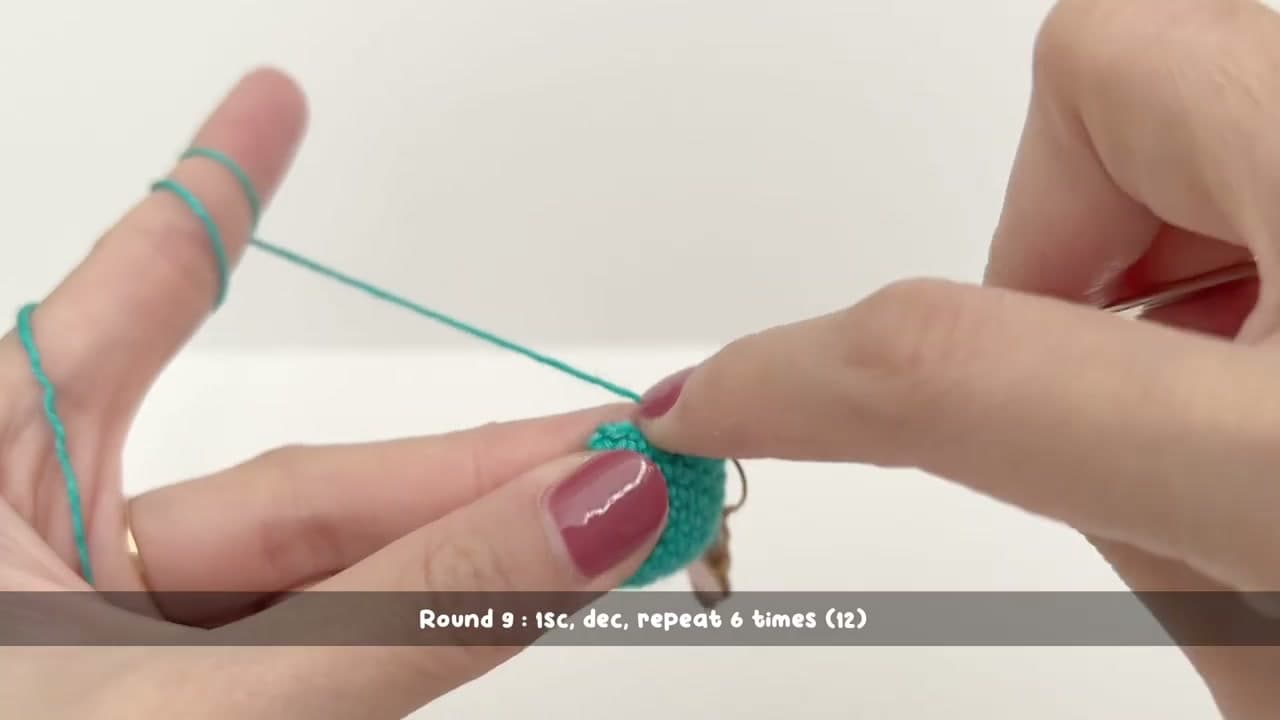
Now pull the top back in. Round 9 is one single crochet followed by a decrease, repeated around, which takes you from eighteen down to twelve. The straight sides start to curve inward and the top of the owl begins to dome over.

Work the decreases snug and even so the shaping stays smooth. Invisible decreases, worked through the front loops, keep the surface tidy if you want a cleaner look.

Tip

Watch this step Do your decreases before the hole gets too tight to reach into. Crowded stitches are much harder to work cleanly.

5

Step 5: Stuff the Body Firmly

5:54
Step 5: Step 5: Stuff the Body Firmly

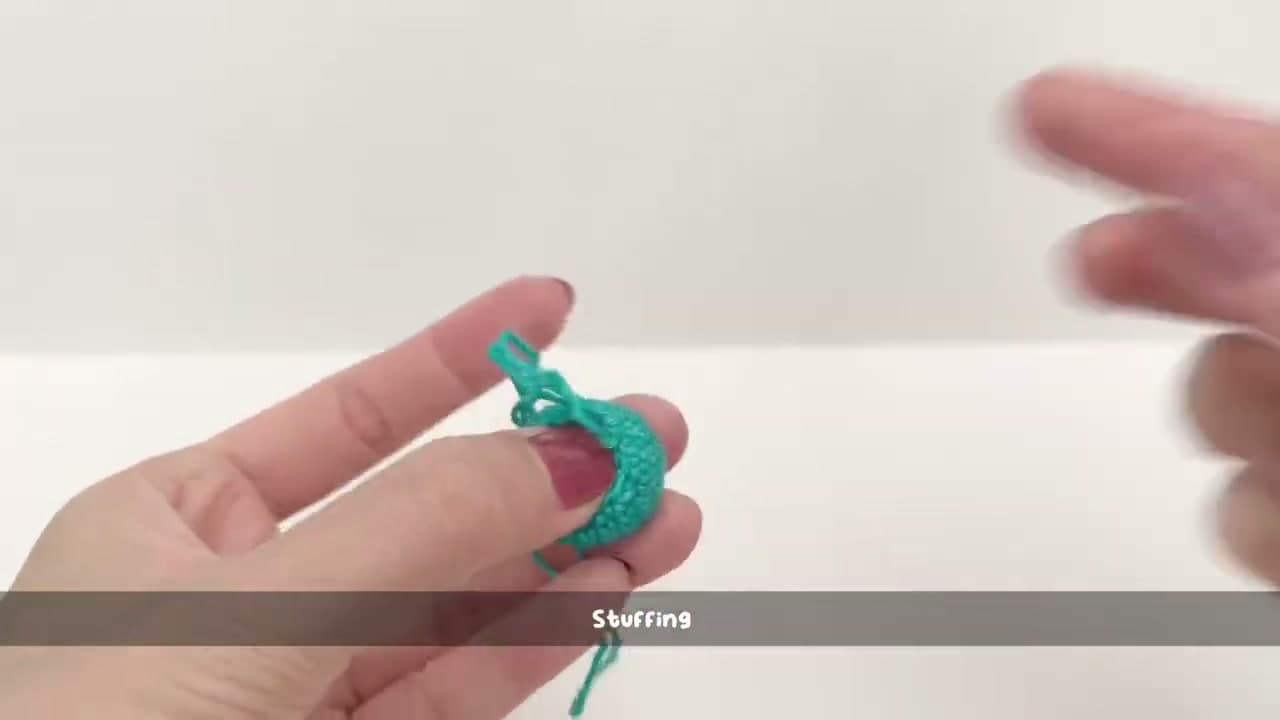
Before the opening gets too small, fill the body with fiberfill. Tear off little pieces and push them in with the end of your hook or a chopstick, working the stuffing into the corners so the shape holds round and does not dent when you press it.

Aim for firm but not bursting. Overstuffing splits the stitches and lets the fill show through; understuffing leaves a saggy, sad owl. A gentle squeeze that springs back is about right.

Tip

Watch this step Stuff in small pinches rather than one big wad. Little bits pack in more evenly and you avoid lumps.

6

Step 6: Close the Body and Fasten Off

6:54
Step 6: Step 6: Close the Body and Fasten Off

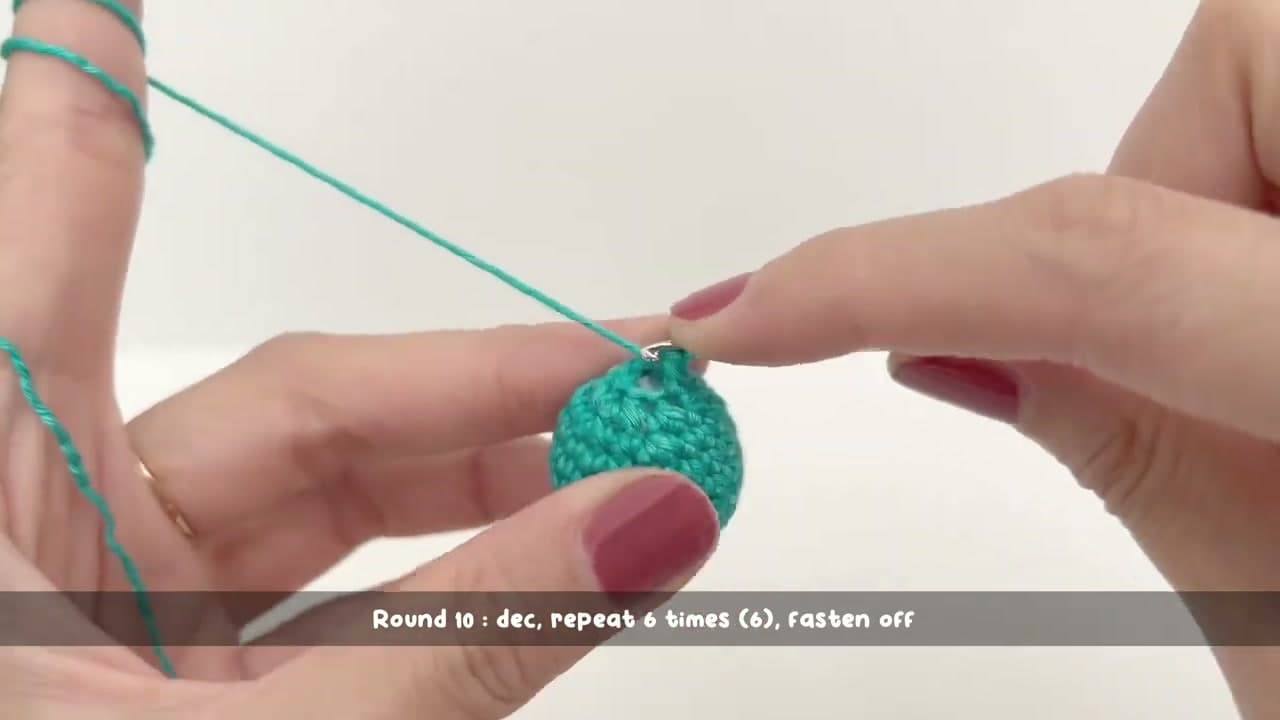
Work the last round as a decrease in every stitch, taking you down to six. Then cut the yarn, leaving a tail, and thread it onto a yarn needle. Run the needle through the front loops of those last six stitches and pull the tail to cinch the opening shut.

Knot it off and bury the tail down inside the body so it disappears. The stuffed owl body is finished now. Everything from here is the face and the little add-on pieces.

Tip

Watch this step Going through the front loops only gives a cleaner, flatter close than grabbing both loops. It hides the gather better.

7

Step 7: Add the Ears and Wings

9:56
Step 7: Step 7: Add the Ears and Wings

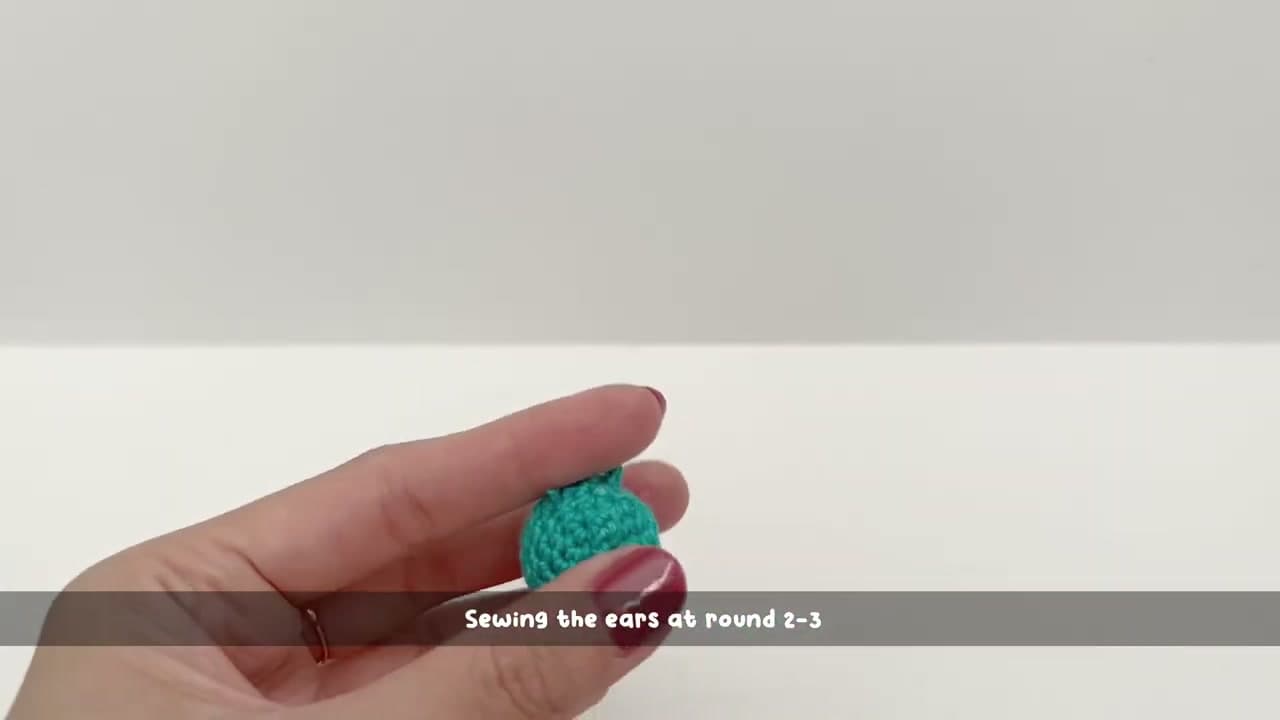
Time for the little details that turn a ball into an owl. Crochet two tiny pointed ears and two small flat wings from short chains. They are quick, and you sew them straight onto the body once they are off the hook.

Sew the ears to the top of the head so they stand up as small points, and stitch a wing to each side around row five. Hold them in place and eyeball the position first, then stitch through both the piece and the body to lock them on.

Tip

Watch this step Pin or hold both ears in place and check them from the front before you sew. A little symmetry now saves a lot of unpicking later.

8

Step 8: Make the Face with Eyes and a Beak

15:10
Step 8: Step 8: Make the Face with Eyes and a Beak

The face is what gives this owl its personality. Crochet two small white circles for the eye patches and sew them side by side on the front of the body. Center a 4mm black half-pearl bead on each white patch for the pupils and stitch it down.

Cut a tiny yellow felt triangle for the beak and sew it on between the eyes. Step back, check the placement, and your tiny owl is ready.

Tip

Watch this step Set the eyes and beak on with a pin or dab of glue and look at the face before you commit. A tiny shift in eye spacing changes the whole expression.

Products Used

☐ The Checklist

How to Crochet an Owl (Tiny Amigurumi Pattern, Step by Step)

Tools
4
Materials
5
Steps
8
Video
16 min

Tools we recommend

Your Guide

Happygurumi

As an Amazon Associate we earn from qualifying purchases. Links on this page may be affiliate links - clicking them and buying doesn't change your price, but helps support ShowMeStepByStep.

Tags

Free printable

Get the Crochet Cheat Sheet

Every basic stitch on one printable page. No spam, one-click unsubscribe.

Did this work for you?

What's next

Related collections

Curated theme pages that include this tutorial.

Weekly Digest

Liked this crochet tutorial?

Pick the categories you want to hear about. Weekly digest of new step-by-step tutorials. No spam, easy unsubscribe.

Send me tutorials about

We only email about new tutorials. Easy unsubscribe anytime.