The magic ring (sometimes called the magic circle) is how you start any crochet project worked in the round when you don't want a hole in the middle. It's the foundation of every amigurumi toy out there, and it shows up in hats, mandalas, granny rounds, and anything that starts at a single point and spirals outward.
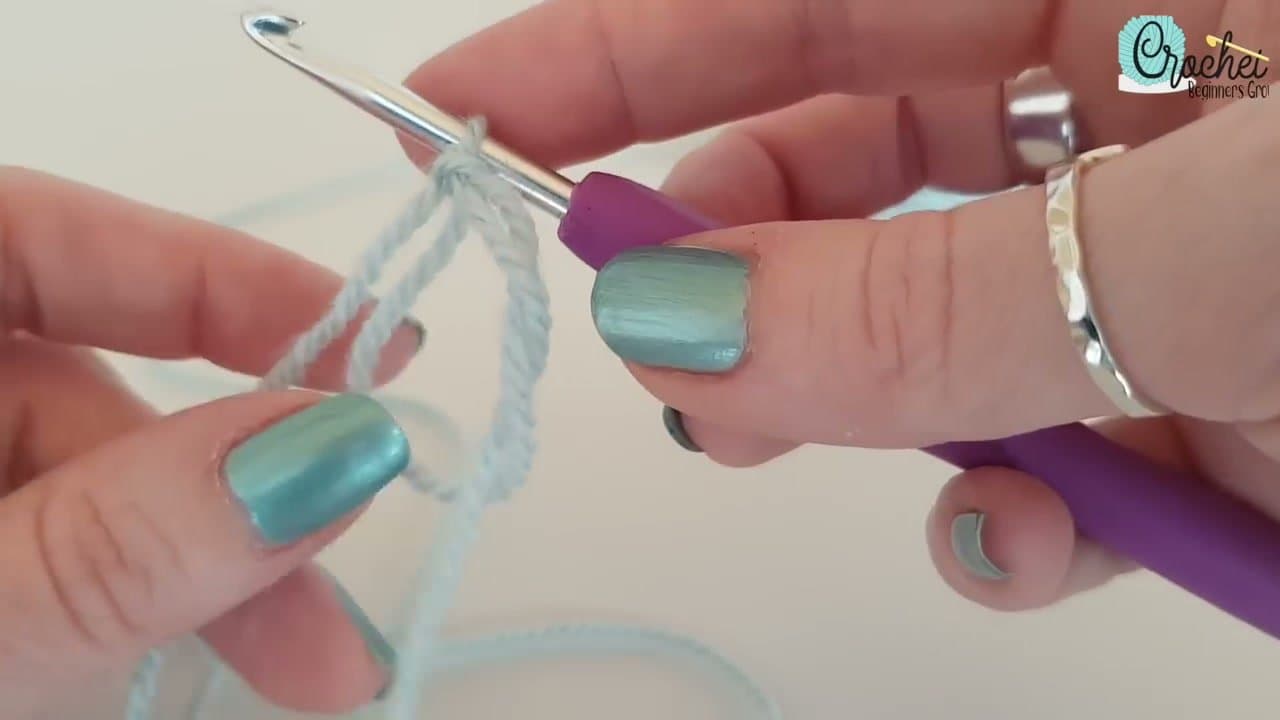
If you've tried it once and given up, you're not alone. The yarn slips, the loop won't tighten, the whole thing falls apart. Alexandra from Lexie Loves Stitching walks through it slowly so you can see exactly where the yarn goes and what your hook is doing.
By the end you'll have a closed circle of stitches with a tail you can pull to cinch the center shut. Grab a hook, some yarn, and follow along.
What to make with your magic ring
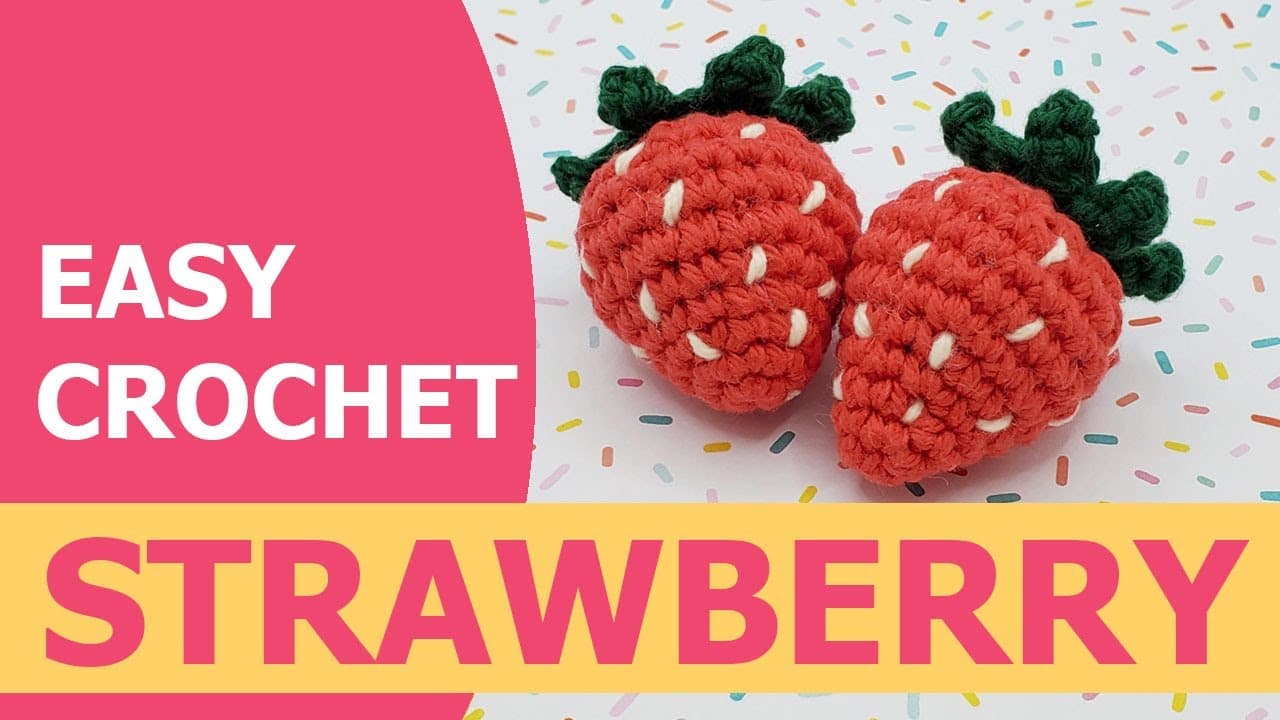
Once you can pull a magic ring closed without it unraveling, you're ready for actual projects. Every tutorial below starts with the magic ring you just learned.
Beginner-friendly first projects:
Wearables:
Amigurumi animals (small toys):
Roundup: If you want a single page that shows what's possible with everything you'll learn here, 10 easy crochet projects for beginners is your overview.
Techniques to learn next
The magic ring is your start. These are the techniques you'll layer on top of it to actually build projects.
Magic ring FAQ
Why does my magic ring keep falling apart?
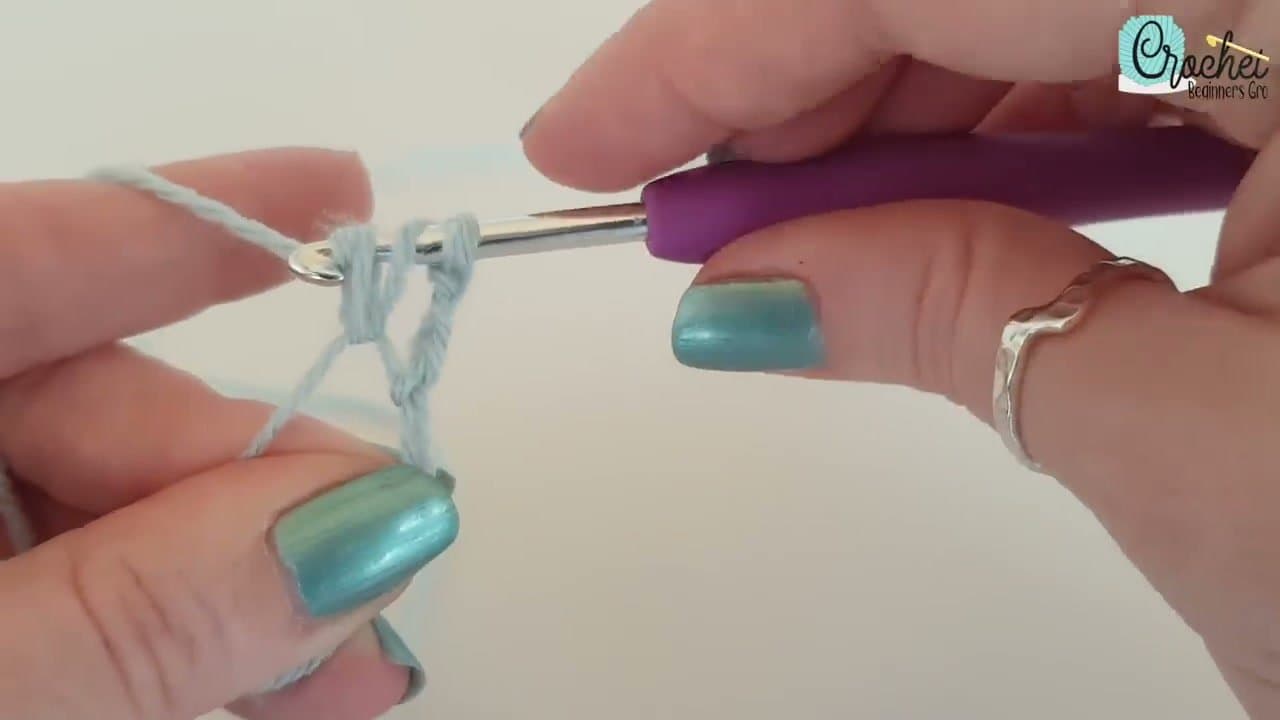
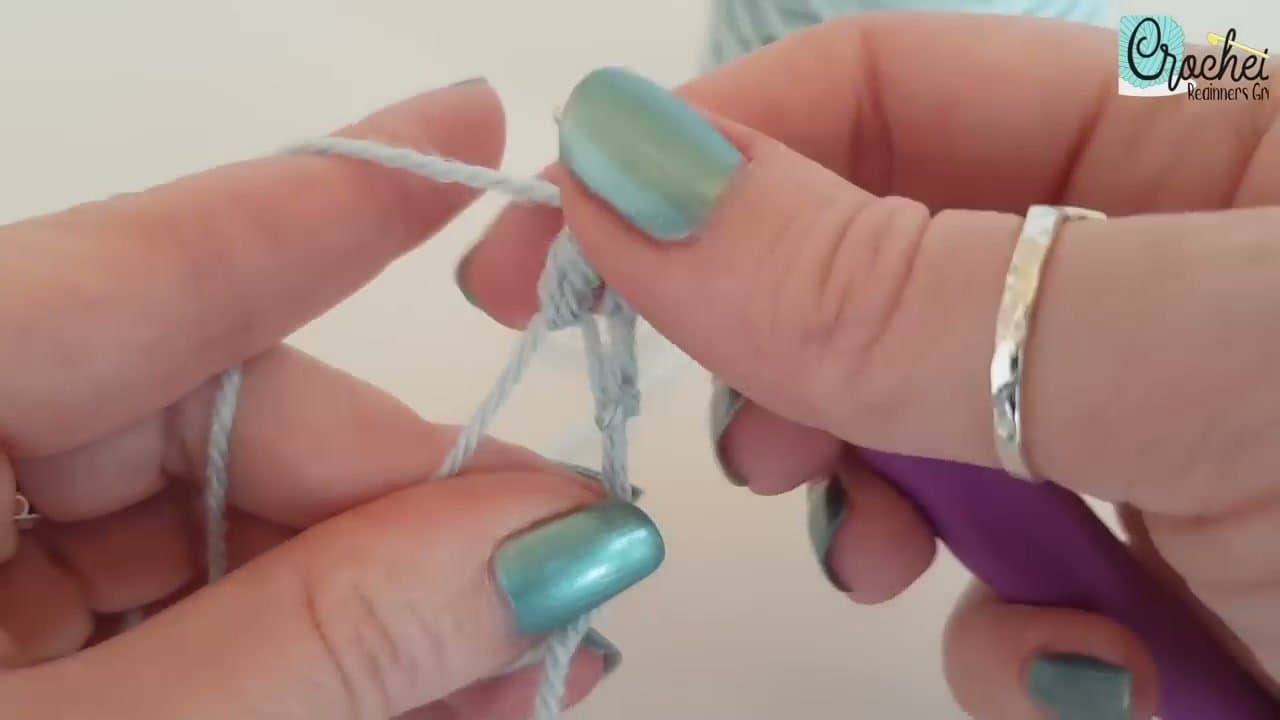
The first 6 single crochets are the most fragile moment — the loop wants to unravel before there's enough yarn locking it in place. Hold the tail and the ring tightly between your thumb and middle finger while you work the first 2-3 stitches. After the third stitch, the structure holds itself.
Is the magic ring the same as the magic circle?
Yes. Pattern designers use both names interchangeably. Some patterns also call it an "adjustable ring" or "sliding loop." All refer to the same closed-center start.
Can I crochet without a magic ring?
Yes. The alternative is the "chain 2, work into the second chain from hook" method. It's easier to learn but leaves a small hole in the center. For amigurumi where you stuff the toy, that hole is a problem because stuffing pokes through. For coasters and mandalas it doesn't matter as much.
Why do I need a magic ring for amigurumi?
Amigurumi toys are stuffed. If your starting ring has a hole, the stuffing shows through. The magic ring closes completely when you pull the tail, so the finished toy has a clean, fully enclosed shape.
How tight should I pull the tail when closing the ring?
Tight enough that no light passes through the center, but not so tight that the first round of stitches gets distorted. After cinching, weave the tail through the back of the stitches so it can't slip loose later. Weaving in ends covers the finishing pass.