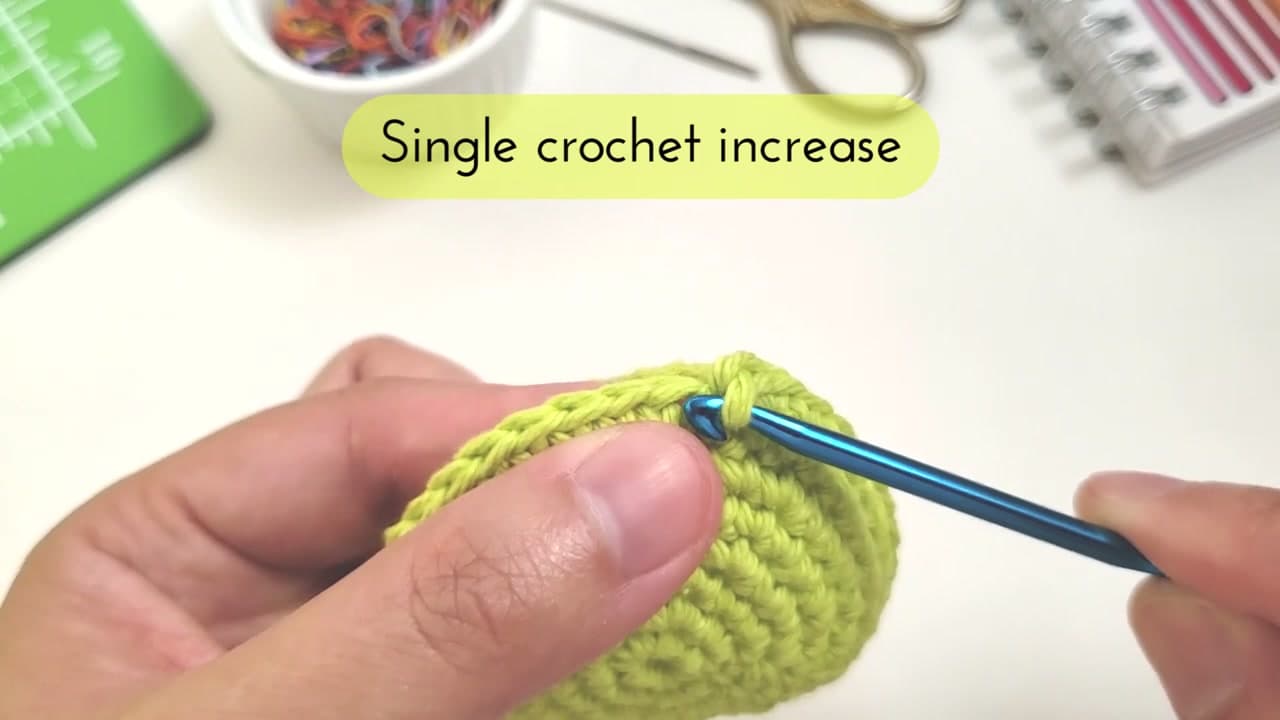
Increasing is what turns a flat circle into a sphere. Without it, every amigurumi would stay a tube. The single crochet increase is the move you will reach for in every single amigurumi pattern, and once your hands know it, you can stop counting along with the video and just do it.
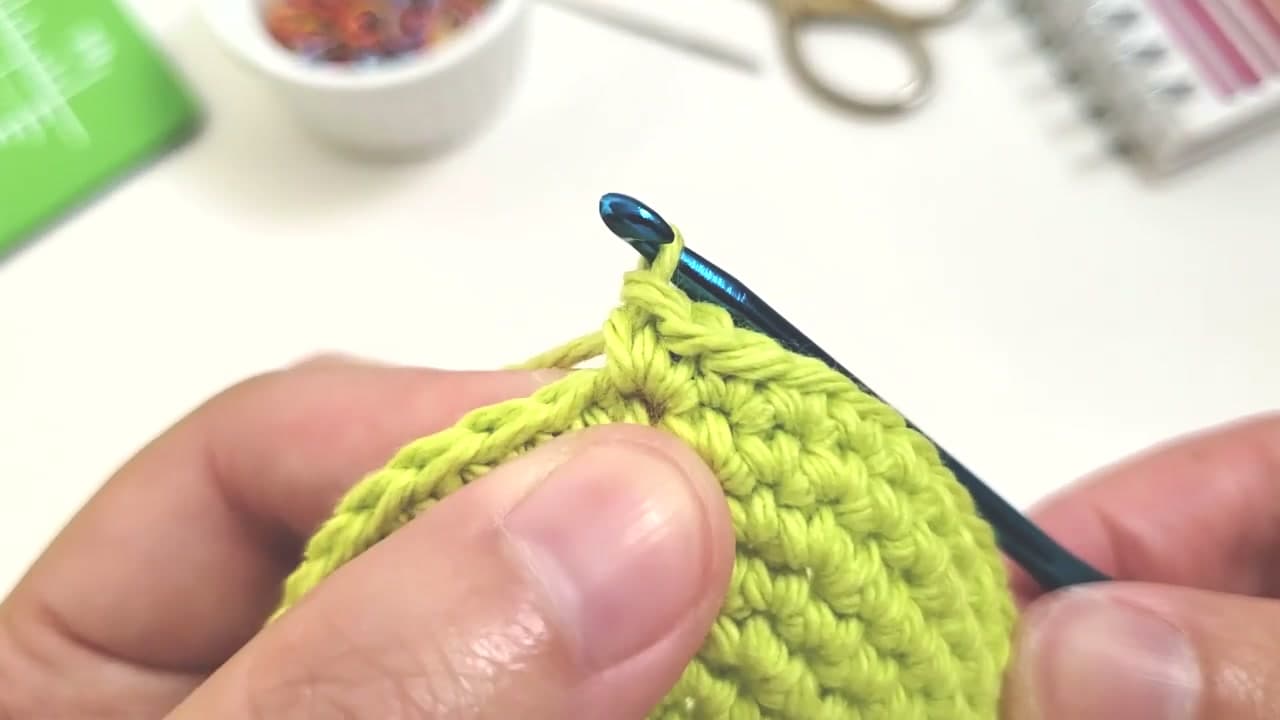
Vanessa from The Pudgy Rabbit shows the technique on a small round-in-progress piece using worsted weight cotton and a size H hook. The move itself is simple - two single crochets into the same stitch instead of one - but the small visual cues of where exactly to put your hook are what trip up beginners. This tutorial walks through those cues frame by frame.
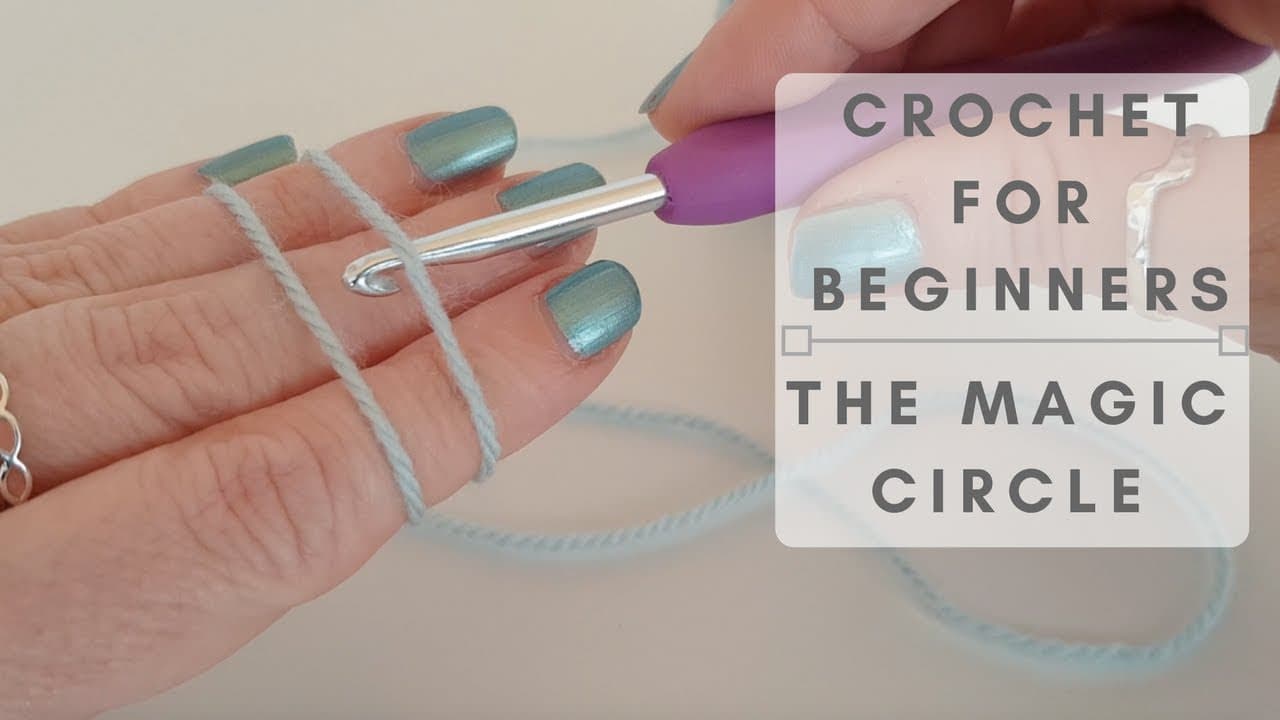
This pairs naturally with our how to decrease in crochet tutorial, since the two together give you the full shaping vocabulary every amigurumi pattern uses. If you are brand new, start with how to single crochet first - the increase is two of those worked into one base. The starting point for nearly every amigurumi is a magic ring, and once you have all three moves down you can follow along with a project like how to crochet an octopus from start to finish.
The invisible increase
The standard increase leaves a small gap and a visible bump where two stitches share one base.
On a flat square that does not matter. On amigurumi worked in tight rounds, a row of bumps reads
as a seam running up the piece.
The invisible increase fixes it. Work the first single crochet into the front loop only of the
stitch, then work the second into both loops of that same stitch. The two stitches sit closer
together, the gap closes, and the increase disappears into the fabric. It takes the same time as
the standard version once your hands learn it.
Use the standard increase while you are learning to see where the stitches go, then switch. Do
not mix the two in one project, because they produce slightly different row heights.
Where the increases go
A flat circle needs the same number of increases in every round, spread evenly, with one more
plain stitch between them each time. Round one is six stitches. Round two increases in every
stitch to give twelve. Round three is one plain then an increase, repeated, to give eighteen.
Round four is two plain then an increase, and so on.
Stack the increases directly above each other and the circle turns into a hexagon with visible
corners. Offset them by shifting the start of the repeat each round and the circle stays round.
Most patterns do this for you, which is why a pattern that looks wrong on paper is often right.
Increasing for a sphere rather than a disc
A sphere is a flat circle that stops increasing. Work the increase rounds until the piece is
the diameter you want, work plain rounds with no shaping for the straight sides, then mirror the
increases as decreases to close it. The count of plain rounds in the middle is what makes the
difference between a ball and a barrel.
Keeping the count
Miscounting one round throws every round after it, and it is almost never noticed until the
piece will not lie flat. A stitch marker in the first stitch of each round, moved up as you go, is
the whole fix. Count the finished round against the pattern before you start the next one.