How to Crochet a Puppy (Beginner Amigurumi)

CrochetMedium1:10:1110 stepsBrowse more →
Also in:Crafts

By CraftingStepByStepPublished Updated

Based on a video by DIY Fluffies.

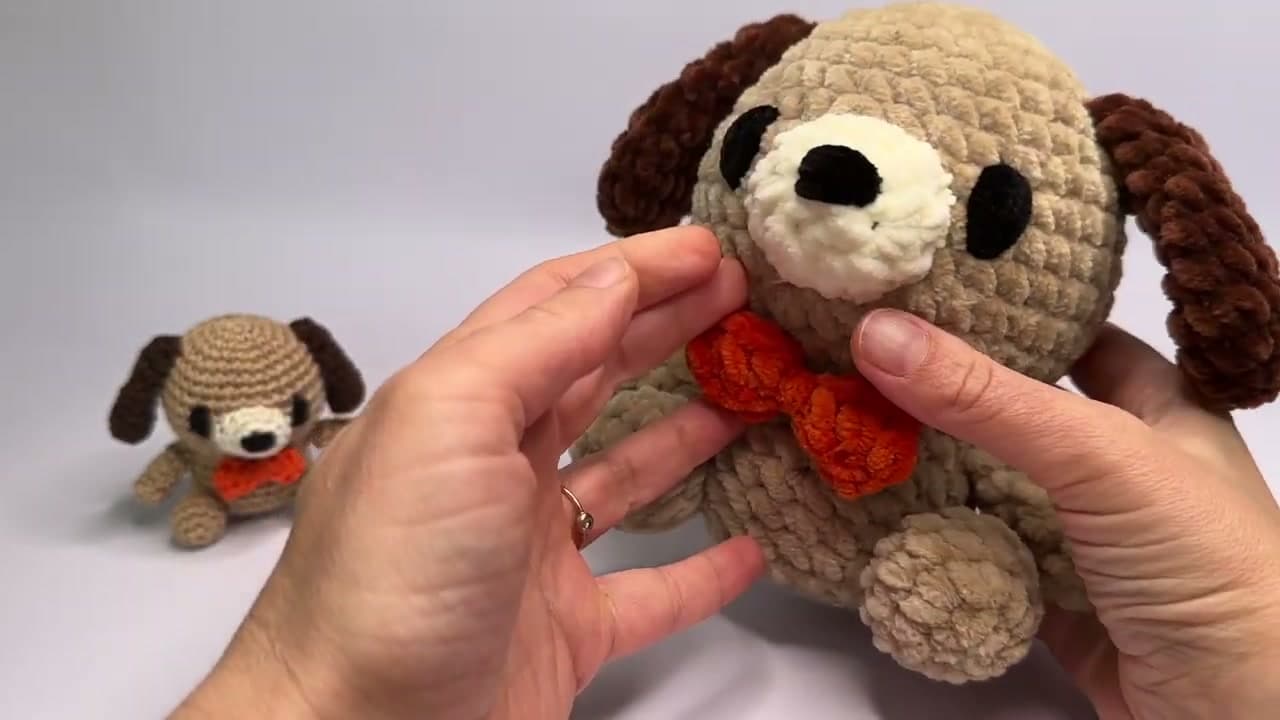
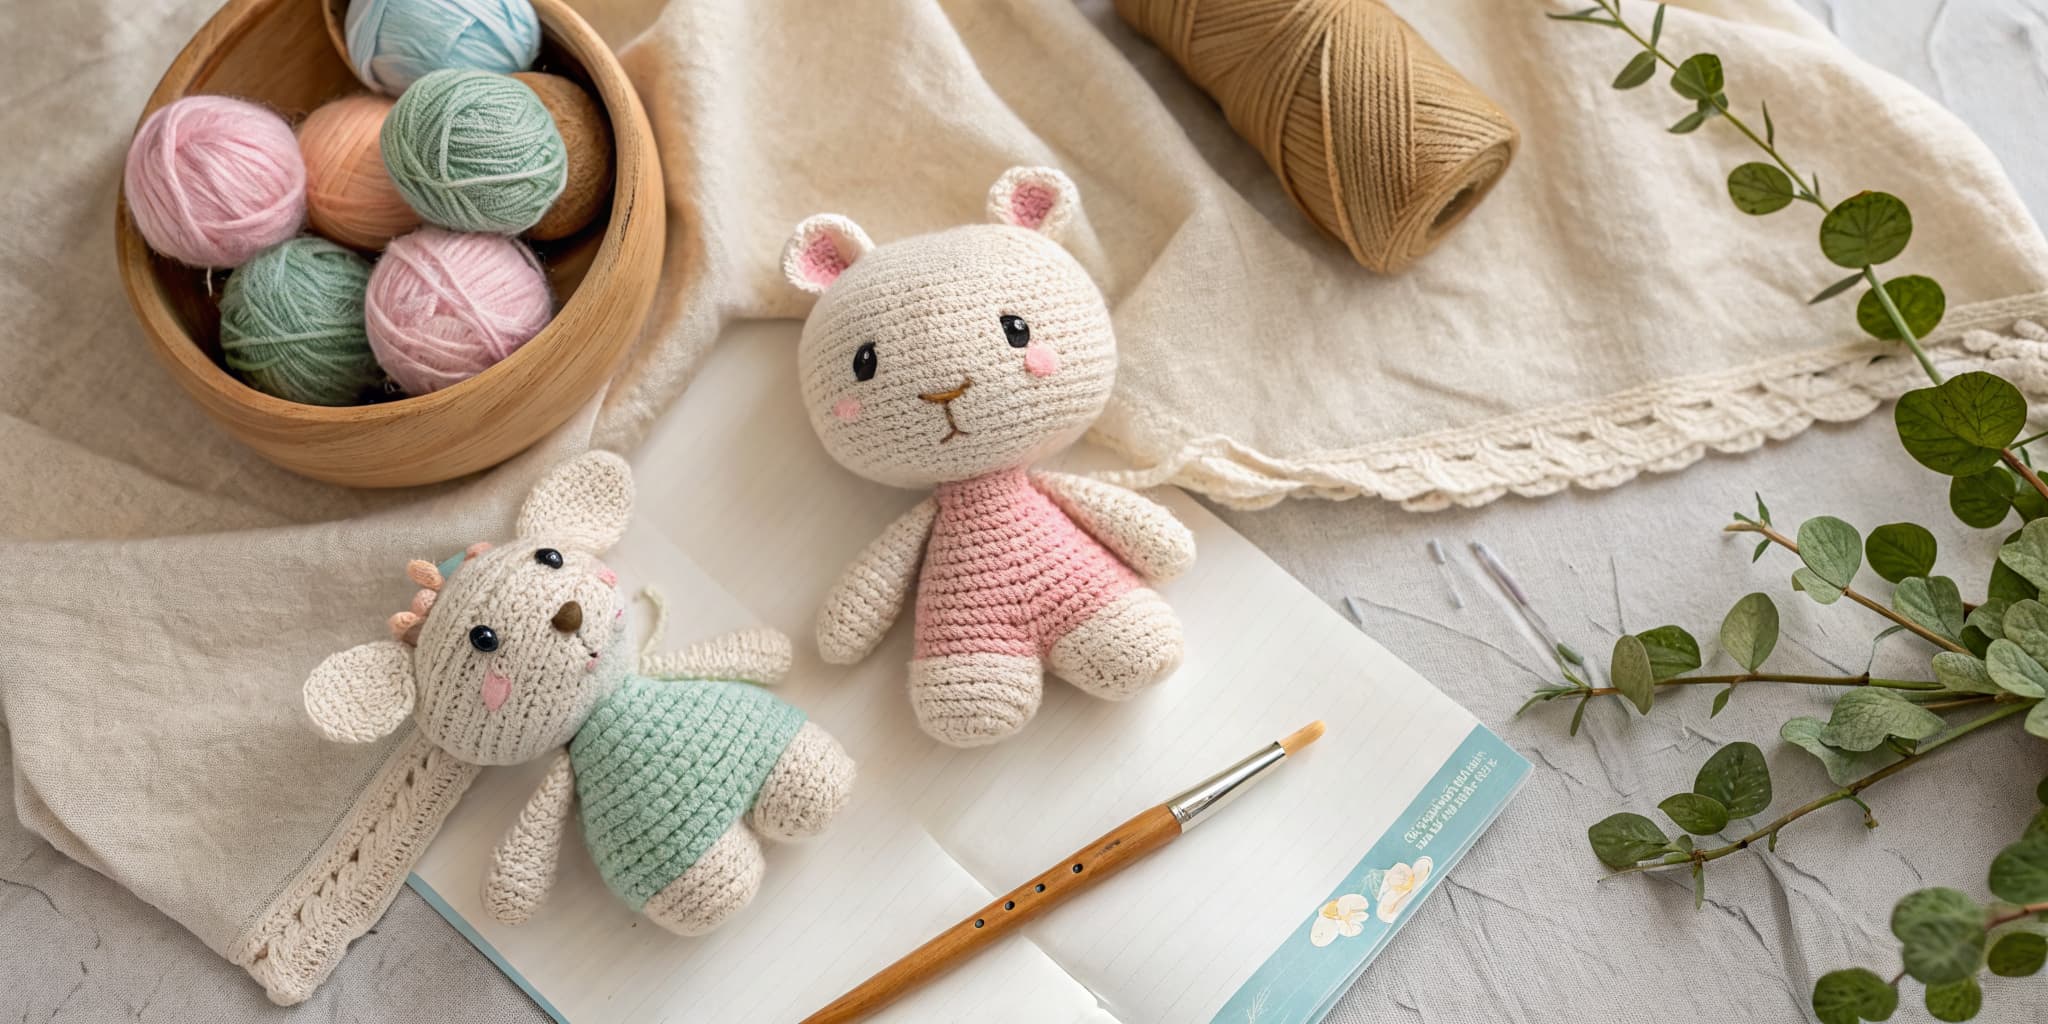
This puppy is a giftable amigurumi you can finish over a long weekend. The same free pattern from Mariska Vos-Bolman at DIY Fluffies works in sport-weight cotton with a 2.5 mm hook for a small palm-sized dog, or in super bulky chenille with a 5.0 mm hook for a fluffy plush you could hand to a kid. The cotton version shows the stitches clearly so beginners can see what's happening; the chenille version photographs like a toy-store plush.

The pattern is multi-piece. You'll crochet a body, a snout, two floppy ears, two little legs, two arms, a tail, and a tiny bow accent. Each piece starts from a magic ring, which is why this tutorial cross-links the magic-ring funnel heavily. After every piece, you sew it onto the body before moving to the next one, so the puppy comes together gradually instead of in one big assembly at the end. The bow at the neck is the photo hook and the reason this little dog reads as a puppy and not just a brown blob.

If you're new to amigurumi, work through the basics of amigurumi first, and brush up on single crochet, increases, and decreases. The bee, dinosaur, and turtle in this niche are all multi-piece amigurumi like this one - if you finish the puppy and want another sewn-construction project, try the chunky bee or the dinosaur next.

Step-by-Step Guide

1

Step 1: Gather Your Supplies

0:30
Step 1: Step 1: Gather Your Supplies

Lay out your yarn first. Pick beige for the body (sport-weight cotton if you want a small giftable puppy, or chunky chenille if you want a fluffier plush), brown for the ears, white for the snout, black for the eyes and nose, and a small amount of orange or red for the bow at the neck.

Match the hook to the yarn: 2.5 mm for cotton, 5.0 mm for chenille. The pattern itself is identical either way. You'll also need a tapestry needle, scissors, stitch markers, and a bag of polyester fiberfill stuffing.

Tip

The cotton version is smaller and shows stitches more clearly, so it's the better choice for your first amigurumi. The chenille version is more forgiving on tension but harder to count stitches in - save it for project number two.
2

Step 2: Crochet the Body with a Magic Ring

2:48
Step 2: Step 2: Crochet the Body with a Magic Ring

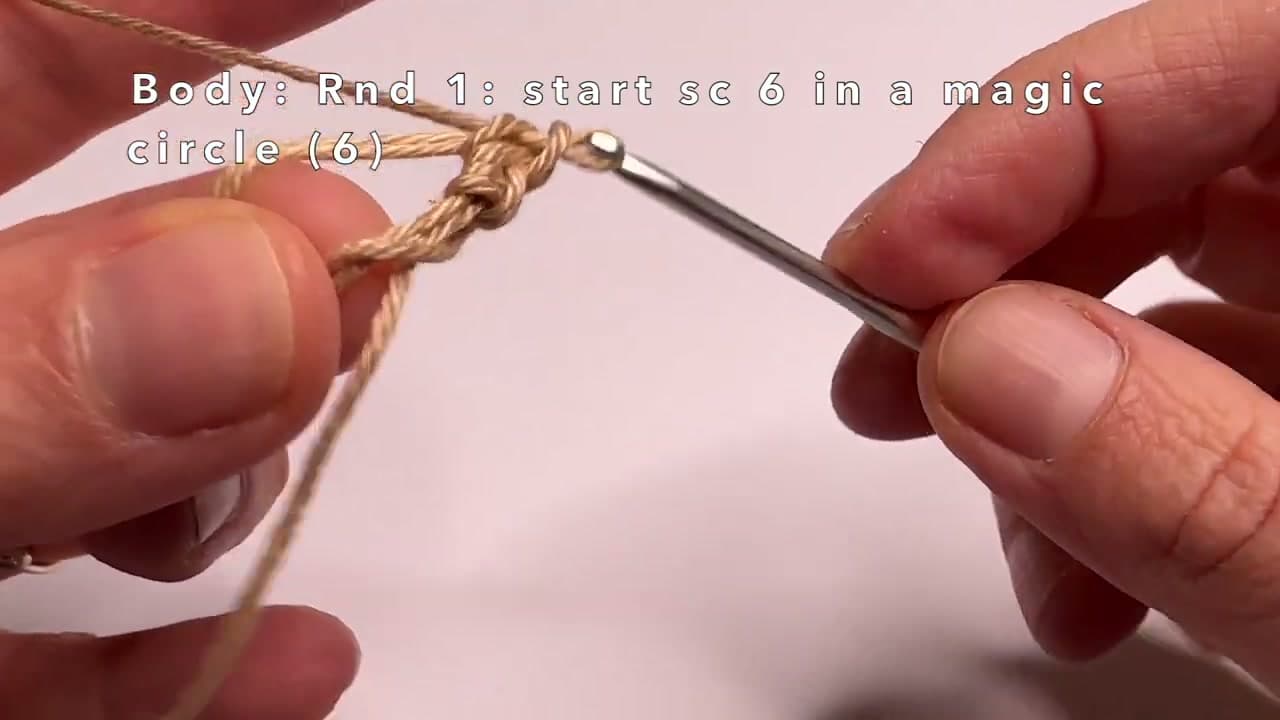
Start the body with a magic ring in beige. Wrap the yarn around your finger twice, hook through both loops, pull through, and chain one to lock the ring. Work six single crochets into the ring, then pull the short tail to cinch it closed.

From there you'll crochet in continuous spiral rounds, increasing on rounds 2 and 3 the way amigurumi typically does (double every stitch, then alternate sc and increase). Place a stitch marker in the first stitch of each new round so you don't lose your place. Keep going until the body is big enough to hold the puppy's head and torso shape - the pattern is in the video description, but the rhythm is sc rounds with occasional increase rounds until it's the size you want.

Tip

If the magic ring feels fiddly with chenille yarn, use a long-loop magic ring instead - DIY Fluffies shows that variant in the video at the same point.

3

Step 3: Embroider the Eyes

18:30
Step 3: Step 3: Embroider the Eyes

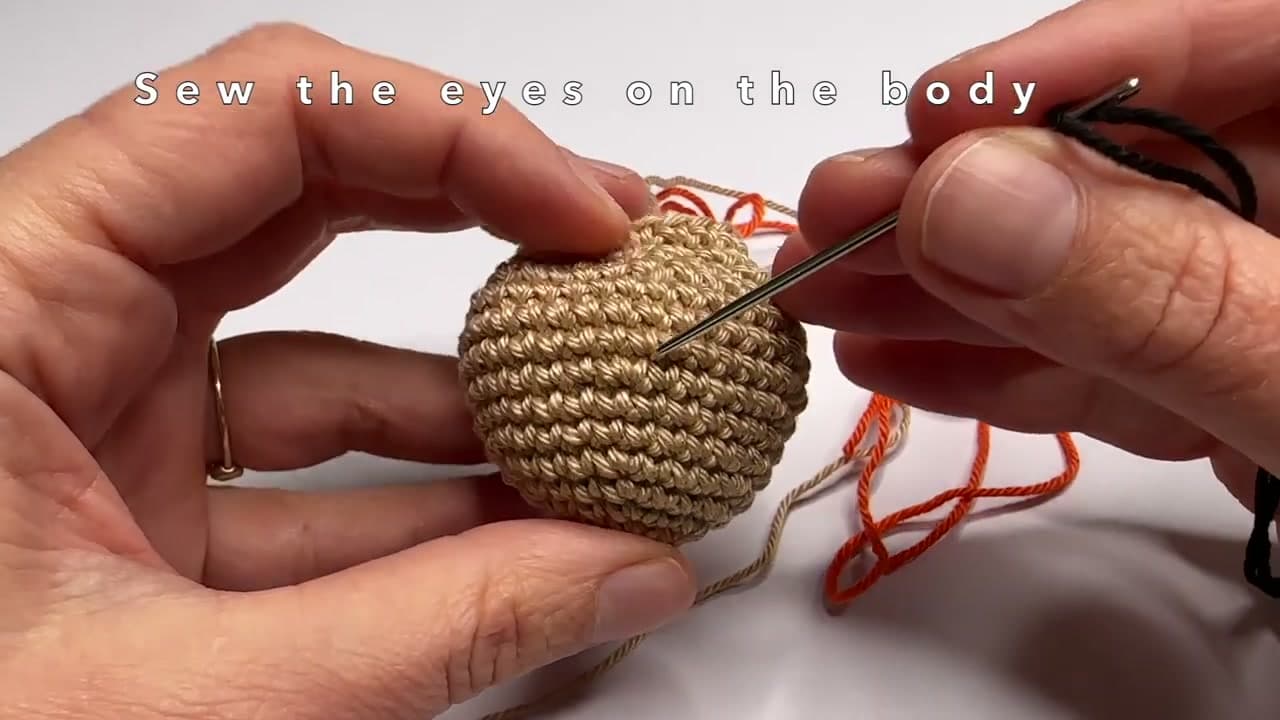
Between rounds 9 and 10 of the body, pause and embroider the two eyes in black yarn. Thread black yarn onto a tapestry needle, push through from inside the body to the front, sew over the same spot four or five times to build up a nice rounded eye, then push the needle back through to the inside and knot off.

Place the second eye seven stitches across from the first so they sit symmetrically. Once both eyes are done, pick the body back up and continue with round 10 and onward.

Tip

If you'd rather use safety eyes than embroider, push them through between rounds 9 and 10 before stuffing the body. Safety eyes are a choking hazard for kids under three, so embroidered eyes are the better choice for a baby gift.

4

Step 4: Make the Snout and Sew It On

28:30
Step 4: Step 4: Make the Snout and Sew It On

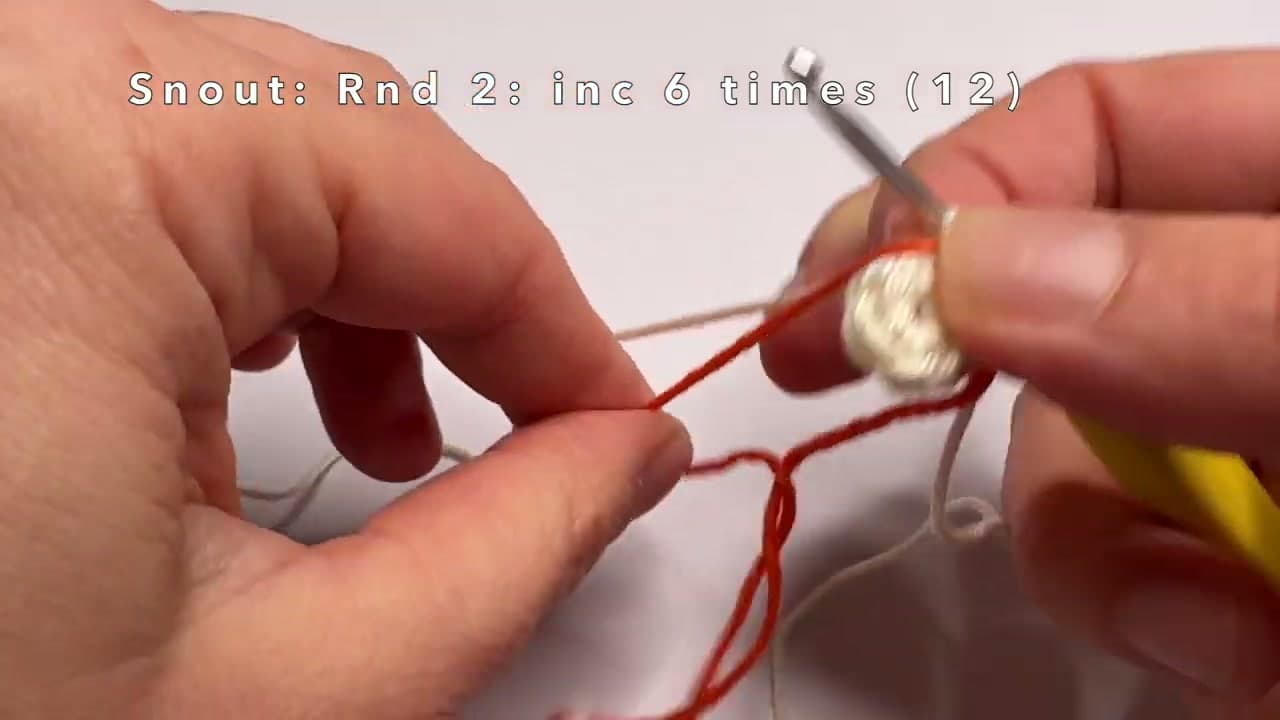
Start a fresh magic ring in white yarn and crochet a small snout - six single crochets into the ring, then a single increase round to 12 stitches, then a plain sc round to round it off. Fasten off and leave a long tail for sewing.

Embroider the black nose onto the snout between rounds 1 and 2, two stitches wide, stacking the stitches up to give the nose some height. Then stuff the snout lightly and pin it to the front of the body just under the eyes. Whip-stitch around the edge of the snout using the long tail.

Tip

Don't overstuff the snout - it should feel firm but not bulgy. A tightly packed snout pulls the embroidered nose forward and looks like it's poking out at a weird angle.

5

Step 5: Crochet Two Ears and Attach Them

35:30
Step 5: Step 5: Crochet Two Ears and Attach Them

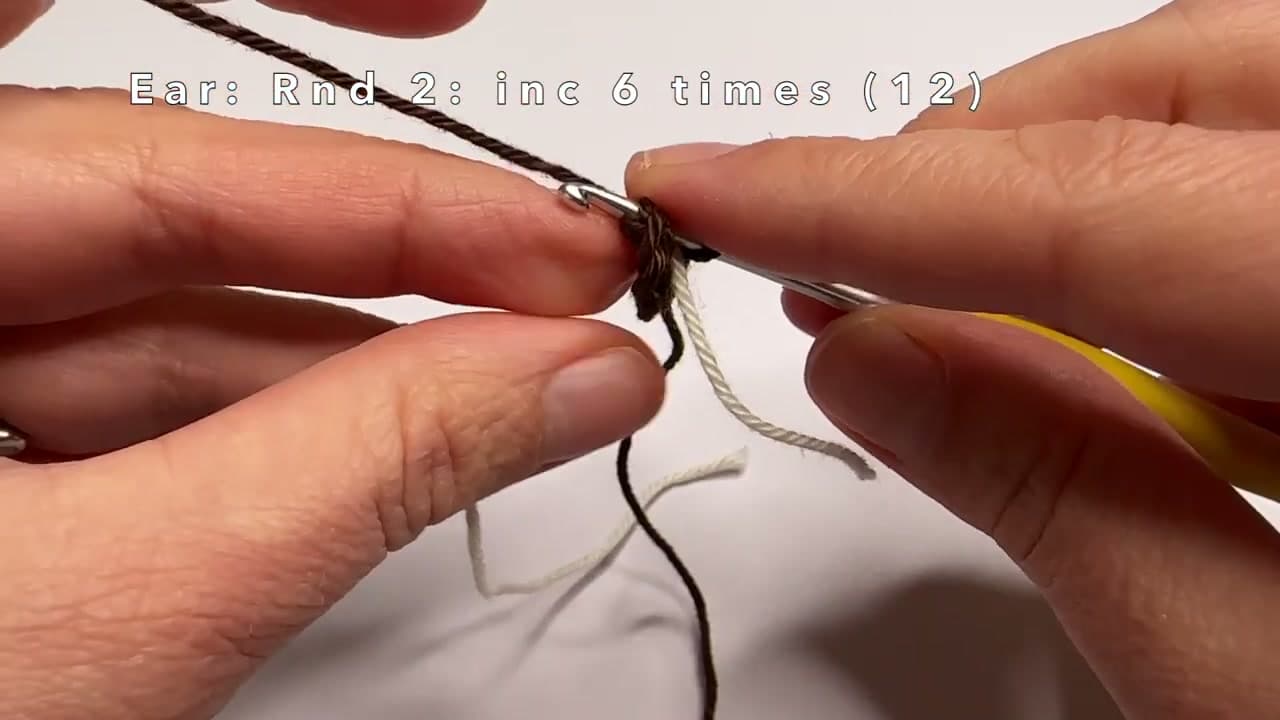
For each ear, start a magic ring in brown and work six single crochets into it. Round 2 is an increase round to 12 stitches. From there work even sc rounds until the ear is the length you want, then fasten off with a long tail.

Make two ears identical. Pin them to round six of the body so they sit symmetrically across from each other and flop forward over the face. Whip-stitch each ear onto the body along its top edge, then add a few extra stitches on the inside of the ear so it stays pressed against the head instead of sticking straight out.

Tip

Brown floppy ears against a beige face are what makes this read as a puppy and not a teddy bear. Don't substitute the brown - the color contrast is doing the work.

6

Step 6: Make Two Legs and Sew Them On

45:00
Step 6: Step 6: Make Two Legs and Sew Them On

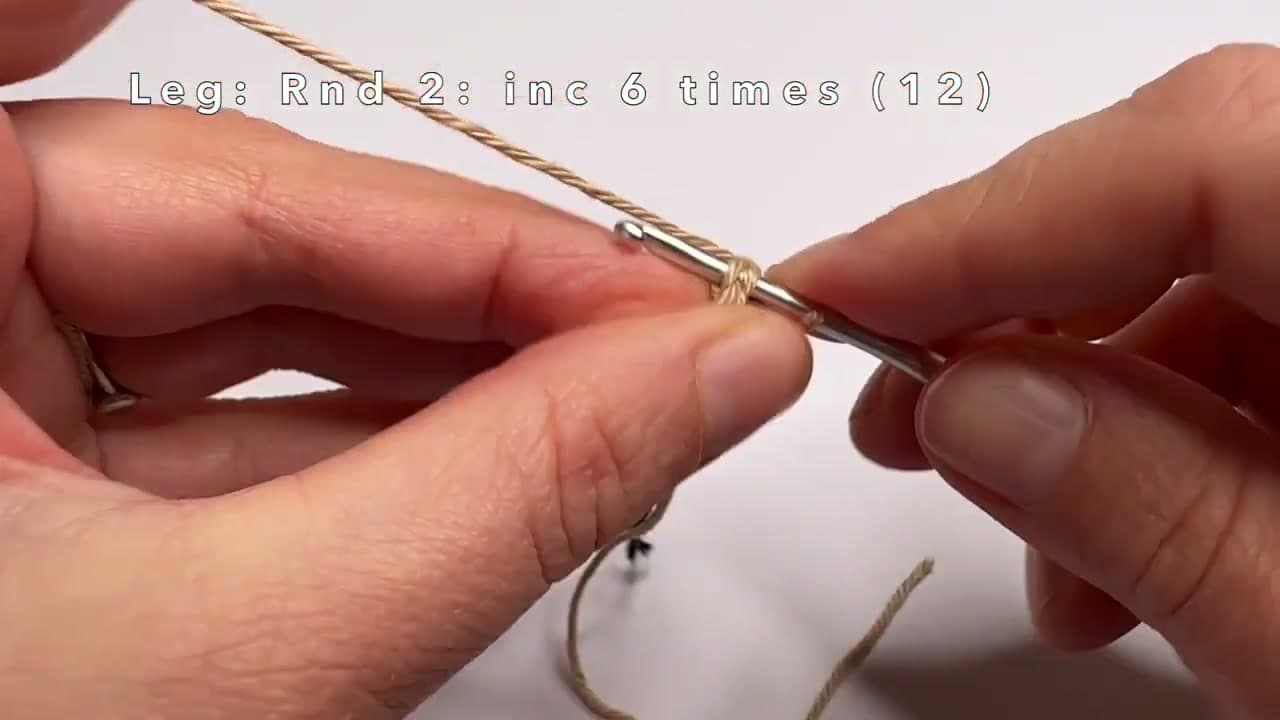
Each leg starts the same way as the ears: magic ring with six single crochets, increase round to 12, then sc rounds until the leg is short and cylindrical. Fasten off with a long tail.

Lightly stuff each leg. Sew the legs onto the body between rounds 17 and 21, one on each side at the bottom front so the puppy looks like it's sitting up. Whip-stitch around the top edge first, then add a second pass of stitches along the inside of the leg so it stays pressed flush against the body.

Tip

Use a stitch marker to mark where each leg goes BEFORE you sew. Once you've sewn one leg on, it's easy to end up with the second leg slightly off-center.

7

Step 7: Crochet and Attach the Arms

54:30
Step 7: Step 7: Crochet and Attach the Arms

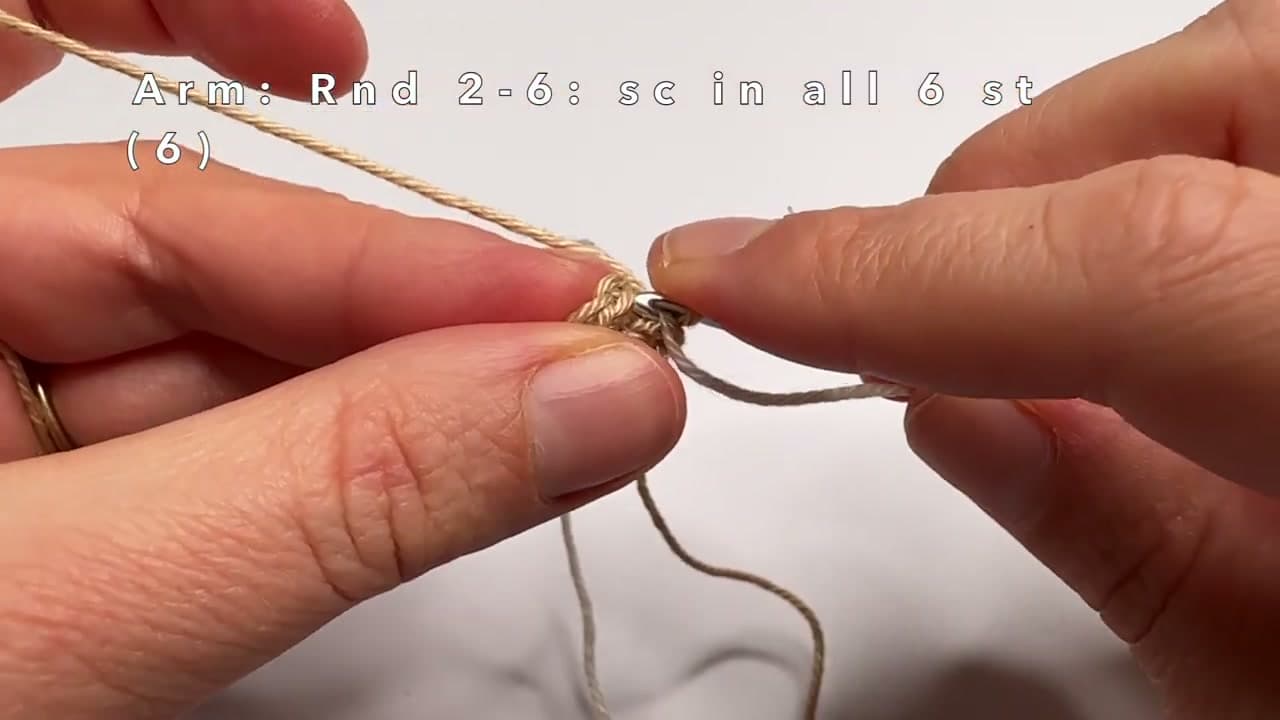
The arms are made the same way as the legs but a touch smaller - magic ring, six sc, then plain sc rounds for the length. No increase round this time. Fasten off with a long tail.

Sew the arms onto the body over round 16, one on each side at shoulder height so the puppy has its arms slightly forward. Whip-stitch around the top of each arm. Stuffing is optional - if you want softer arms, leave them unstuffed and they'll have a more natural drape.

Tip

If you want the puppy to be able to hold something later (a tiny flower, a piece of yarn, a charm), stuff the arms lightly and bend them inward when you sew so they're already in a hugging position.

8

Step 8: Make the Tail and Sew It On

60:30
Step 8: Step 8: Make the Tail and Sew It On

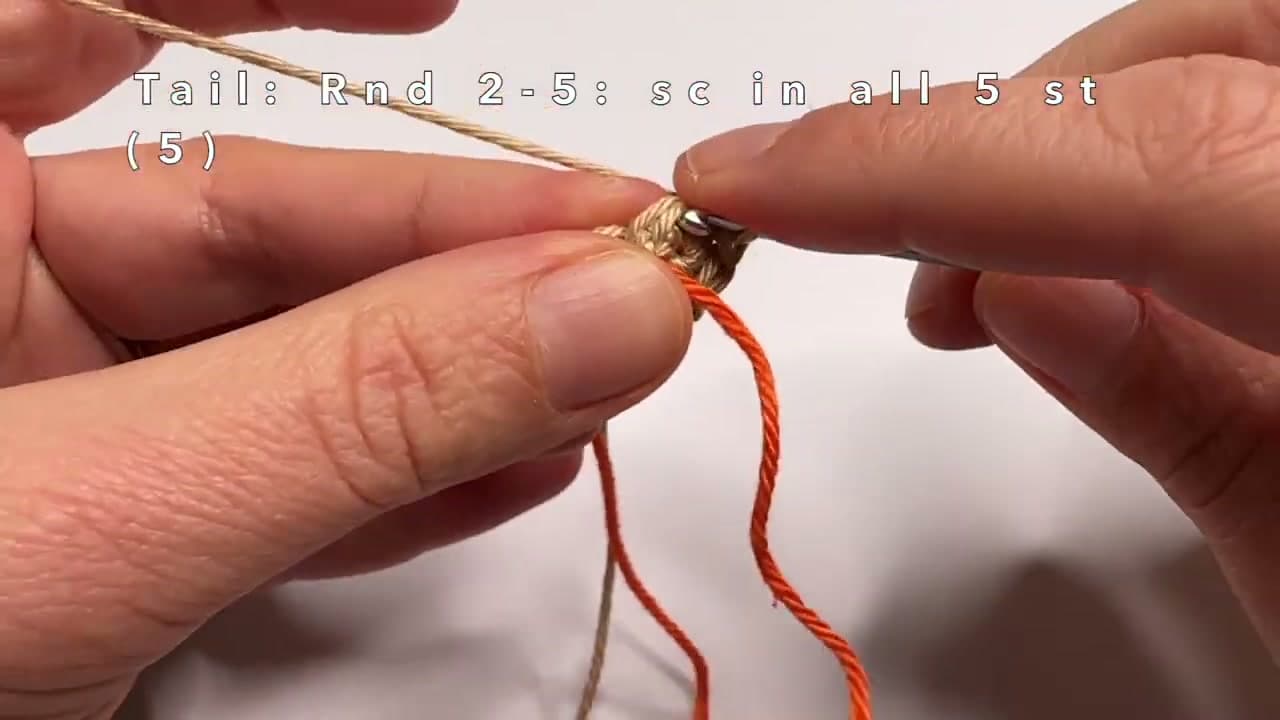
Start a magic ring in beige and work five single crochets into it (not six this time - the tail is smaller around). Pull the ring closed and work plain sc rounds for a few rows until the tail is short and stumpy. Fasten off with a long tail.

Sew the tail onto round 19 at the back of the body so it sticks up and slightly forward like the puppy is wagging it. Whip-stitch around the base.

Tip

If you want a curly tail, twist the tail piece around itself a few times before sewing it on and tack down the curl with a few stitches. A wagging-curl reads even more puppy-like than a straight stub.

9

Step 9: Crochet the Bow Accent

65:40
Step 9: Step 9: Crochet the Bow Accent

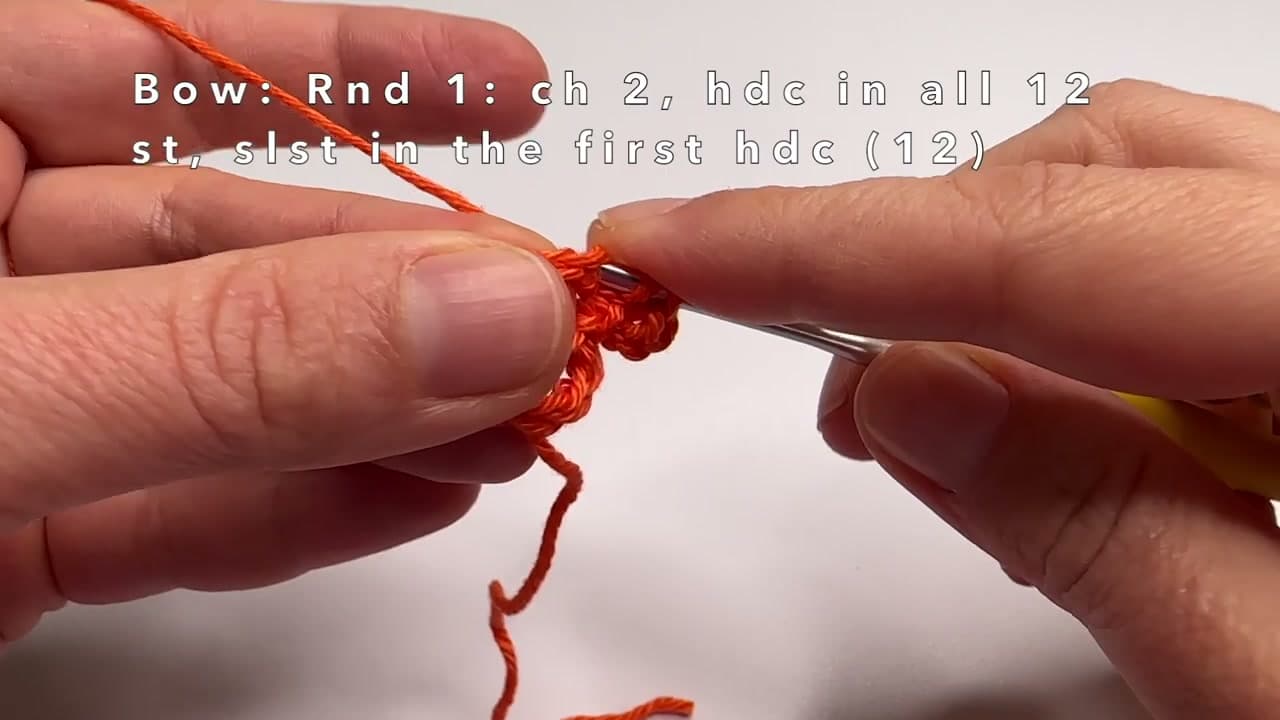
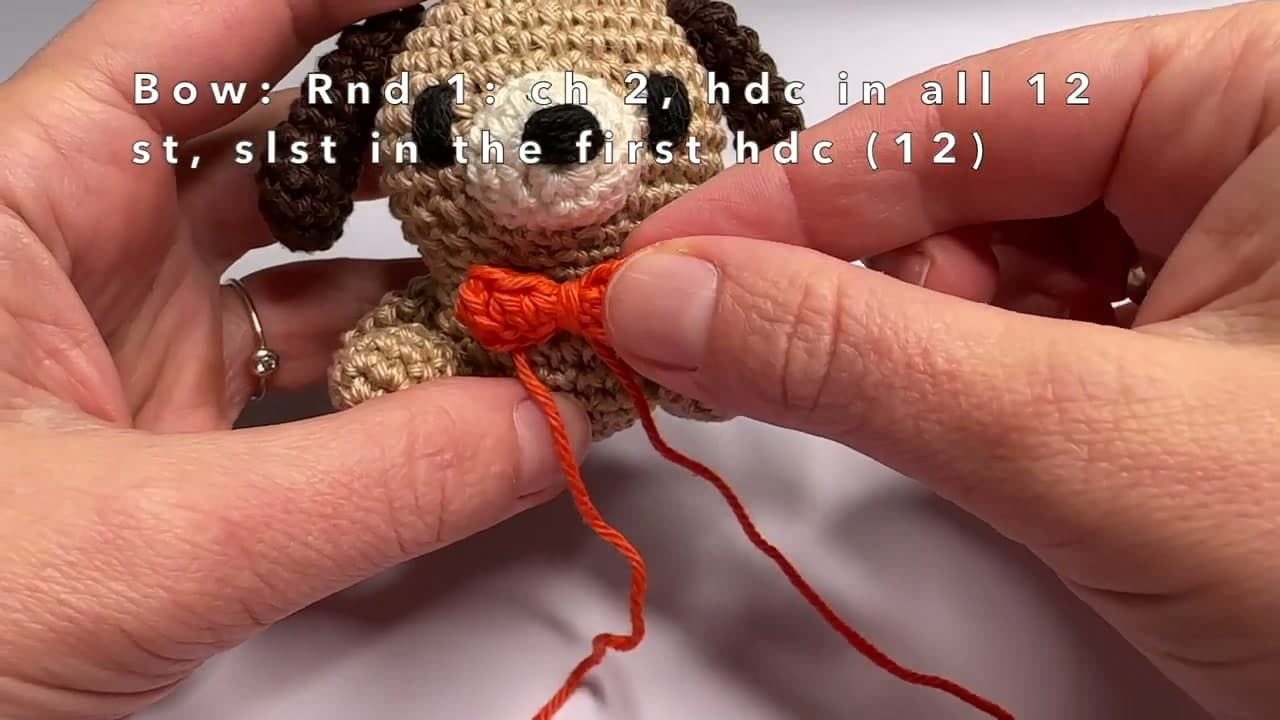
The bow is what sells the puppy as a photo subject. Start with a small foundation chain in orange (or red, or whatever contrast color you like), slip-stitch the chain into a ring, then work two chain stitches and a row of half double crochets all the way around - 12 hdc total. Slip-stitch into the first hdc to close the round.

Cut a long tail of yarn before you fasten off - you'll need it for the next step.

Tip

If half double crochet is new, swap it for plain single crochets - the bow will be a little flatter but still works. The shape comes from how you cinch it in the next step, not from the stitch.

10

Step 10: Attach the Bow and Weave In Ends

68:00
Step 10: Step 10: Attach the Bow and Weave In Ends

Flatten the bow piece you just made and wrap the long yarn tail tightly around the middle of it three or four times. That cinches the flat ring into the classic bow shape with two loops on either side. Knot the tail securely at the back of the bow.

Pin the bow to the front of the puppy just under the chin and sew it on. Weave in any remaining yarn tails from all the pieces using your tapestry needle, then fasten off for the last time. Stand the puppy up, photograph it next to a coffee cup for scale, and you're done.

Tip

For a finished gift, tie the puppy's bow in a different contrast color than the one in the video. A teal bow on a beige puppy photographs beautifully against a wood background and gives you a unique pin image. Browse crochet essential supplies if you're stocking up for a second one.

Products Used

☐ The Checklist

How to Crochet a Puppy (Beginner Amigurumi)

Tools
6
Materials
7
Steps
10
Video
1 hr 10 min

Your Guide

DIY Fluffies

As an Amazon Associate we earn from qualifying purchases. Links on this page may be affiliate links - clicking them and buying doesn't change your price, but helps support ShowMeStepByStep.

Tags

What's next

Related collections

Curated theme pages that include this tutorial.

Weekly Digest

Liked this crochet tutorial?

Pick the categories you want to hear about. Weekly digest of new step-by-step tutorials. No spam, easy unsubscribe.

Send me tutorials about

We only email about new tutorials. Easy unsubscribe anytime.