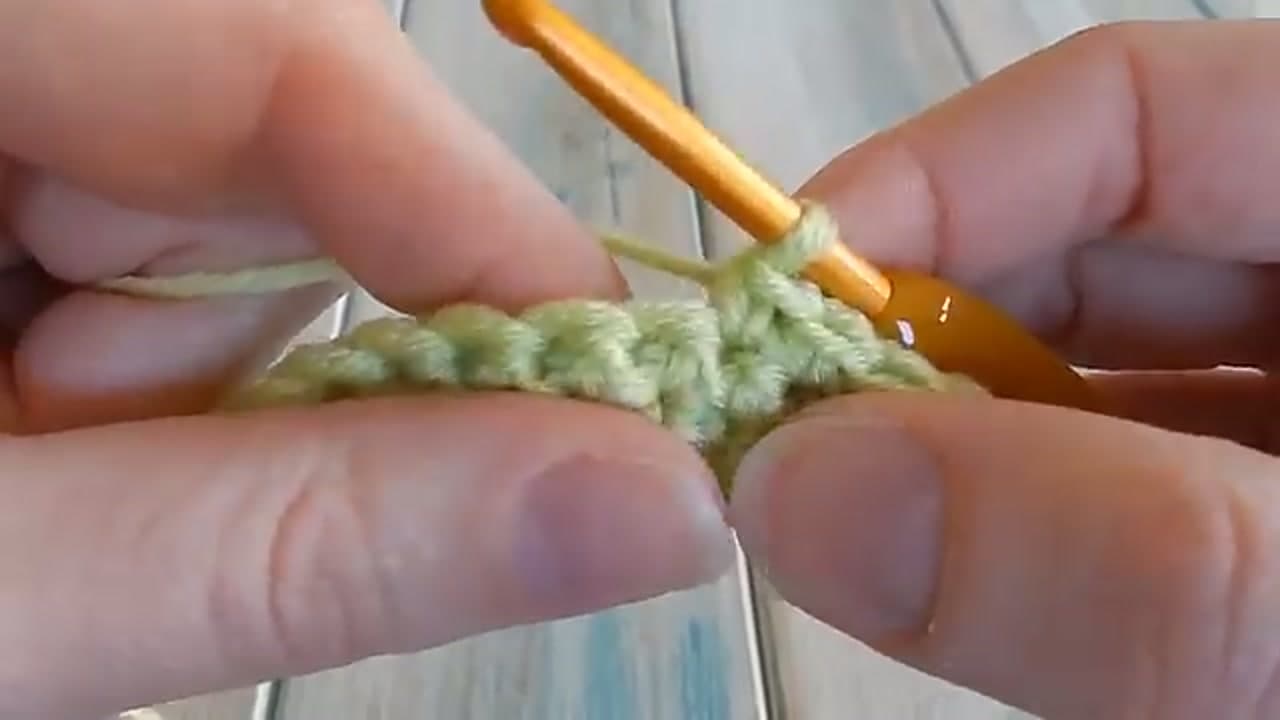
Step 1: Set Up a Practice Swatch
12:00
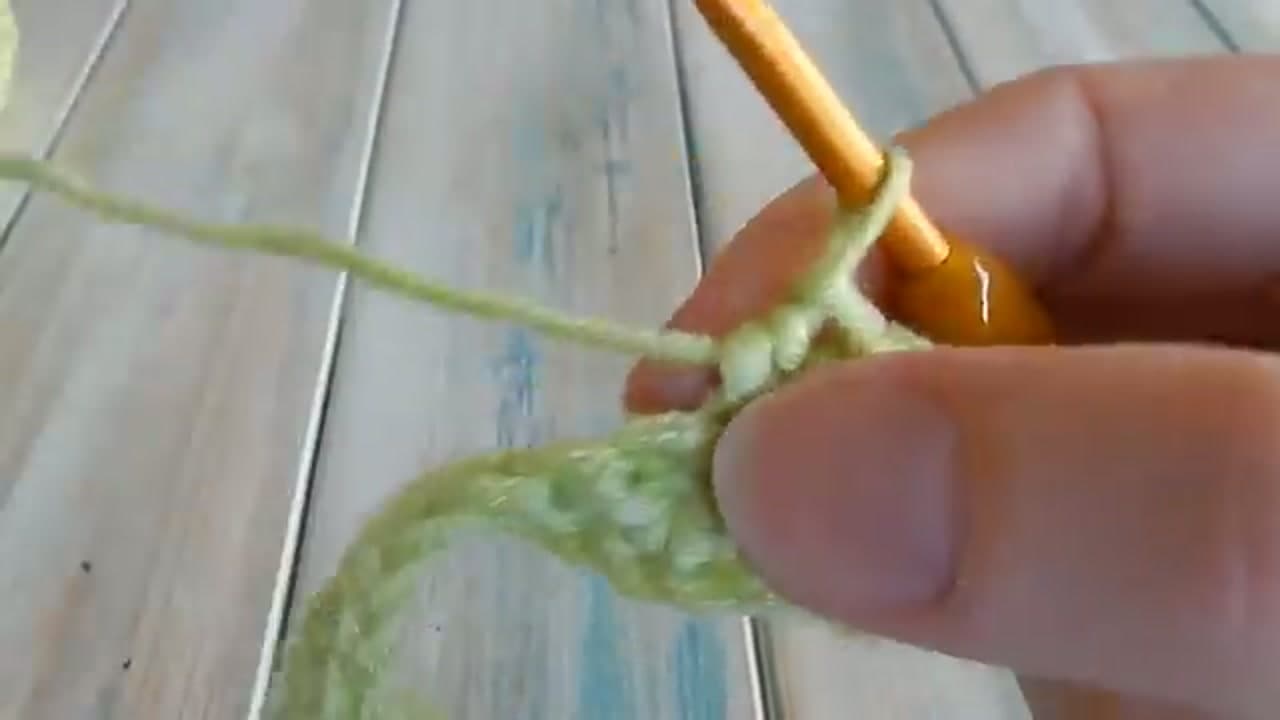
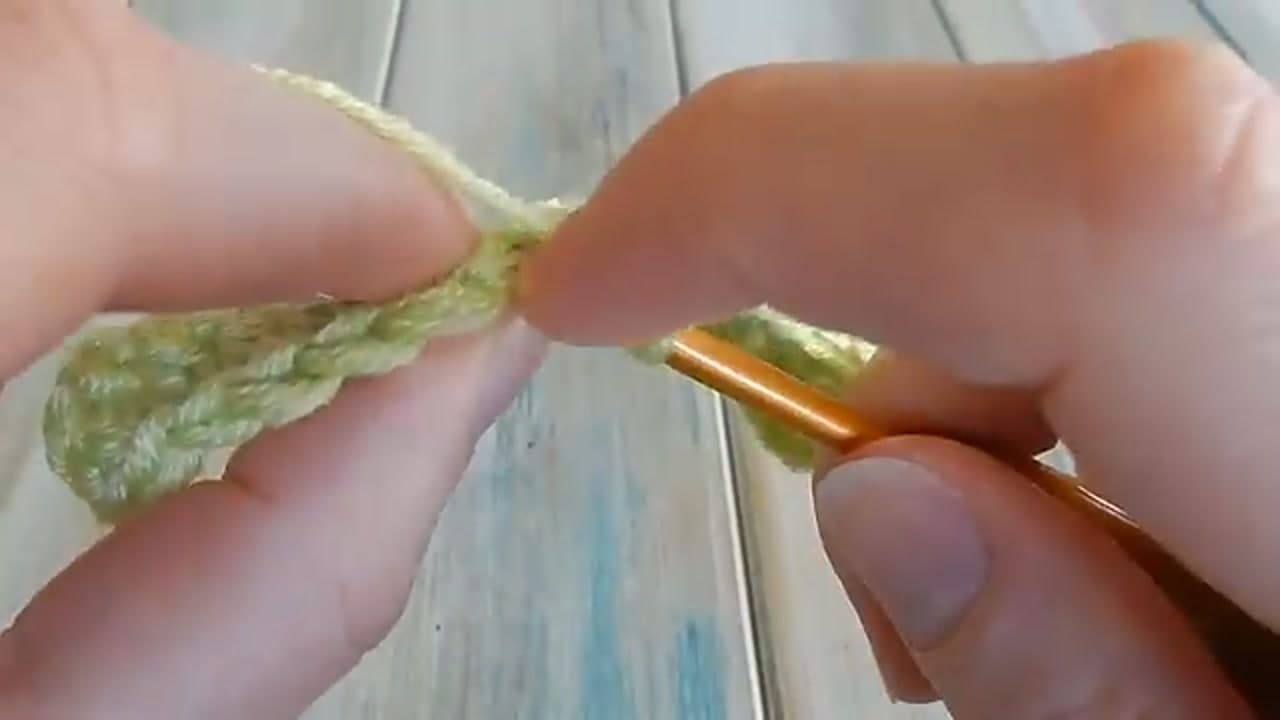
Work a small swatch of single crochet, about ten to twelve stitches across and four or five rows tall. That gives you room to practice every decrease method below without ripping back your real project. Laura uses US terminology throughout, which is the standard most North American patterns use.
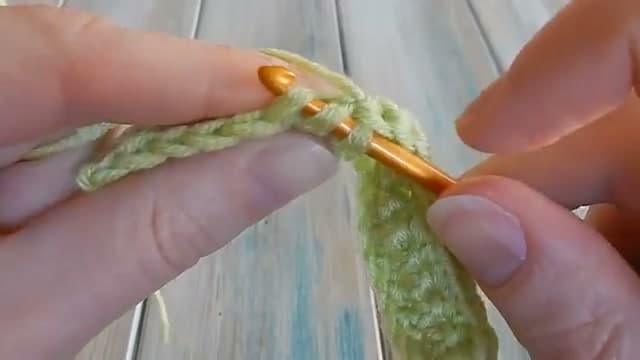
A decrease is two stitches combined into one. That is how you shape any crocheted piece that tapers - a beanie crown, the toe of a bootie, an amigurumi head. The hook moves are the same whether your row is flat or you are working in the round.
Tip
Practice on a swatch first, not on a real project. If a decrease goes wrong on your in-progress work, you have to rip back to undo it. Three rows of single crochet over twelve stitches is plenty of room to try every method below.