How to Crochet an Octopus - 7-Step Amigurumi Tutorial

CrochetEasy15:157 steps
Also in:Crafts

By CraftingStepByStepPublished Updated

Based on a video by CreateOsaur.

Amigurumi looks intimidating because the final shape feels organic, but the construction is just six rounds of single crochet, a stuffing step, and eight quick legs. Rihanna at Recreate walks through a free pattern that works up in about 30 minutes once you get the rhythm. The finished octopus is roughly two inches tall - perfect for a keychain charm, a pencil-cup ornament, or a tiny gift.

If you've never worked in the round before, this is one of the gentlest entry points. Every round uses the same single crochet stitch you'd use on a scarf, just placed in a circle instead of a row. The only new technique is the half double crochet at the very end, and that comes after the cute octopus body is already shaped.

The magic of the octopus is in the safety eyes and the curly legs. Safety eyes are little plastic posts with locking washers - push the post through the fabric, snap the washer onto the back, and they're locked in forever (which is also why you commit to their position before you snap them shut). The legs curl naturally because you work five half double crochets into a single stitch, which forces the row to coil.

Step-by-Step Guide

1

Step 1: Gather Supplies and Start the Foundation Round

1:35
Step 1: Step 1: Gather Supplies and Start the Foundation Round

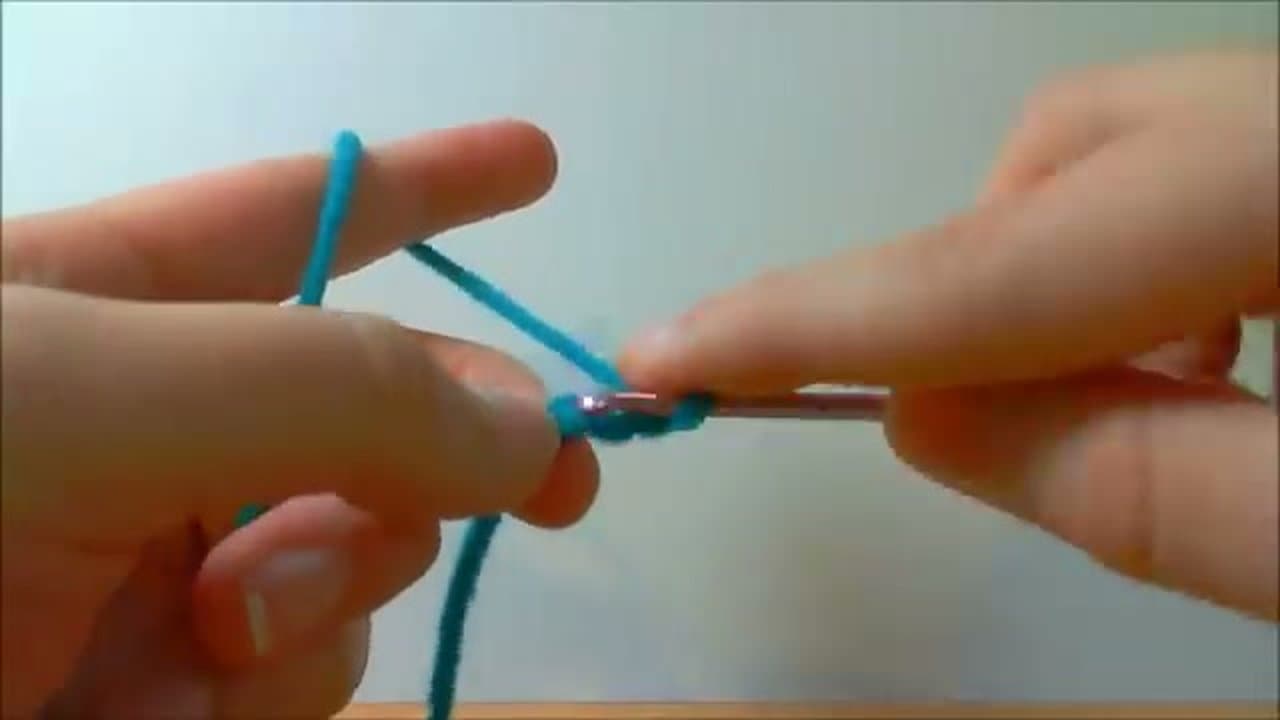
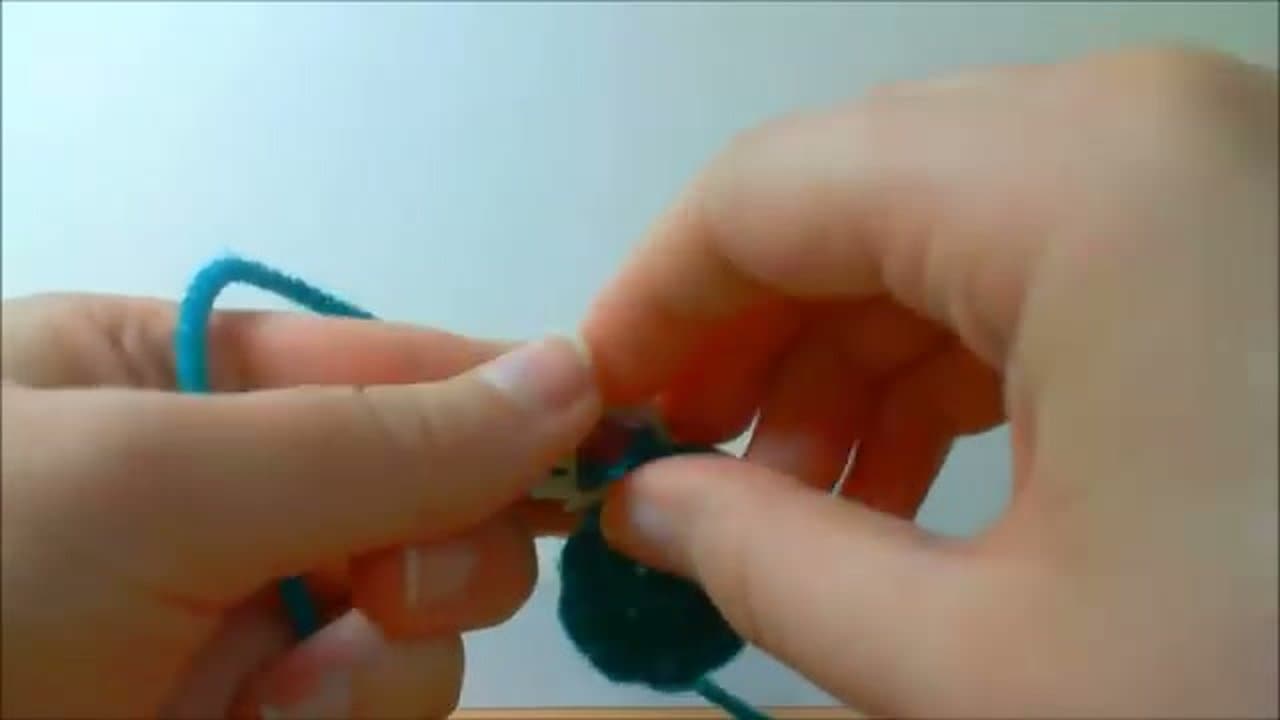
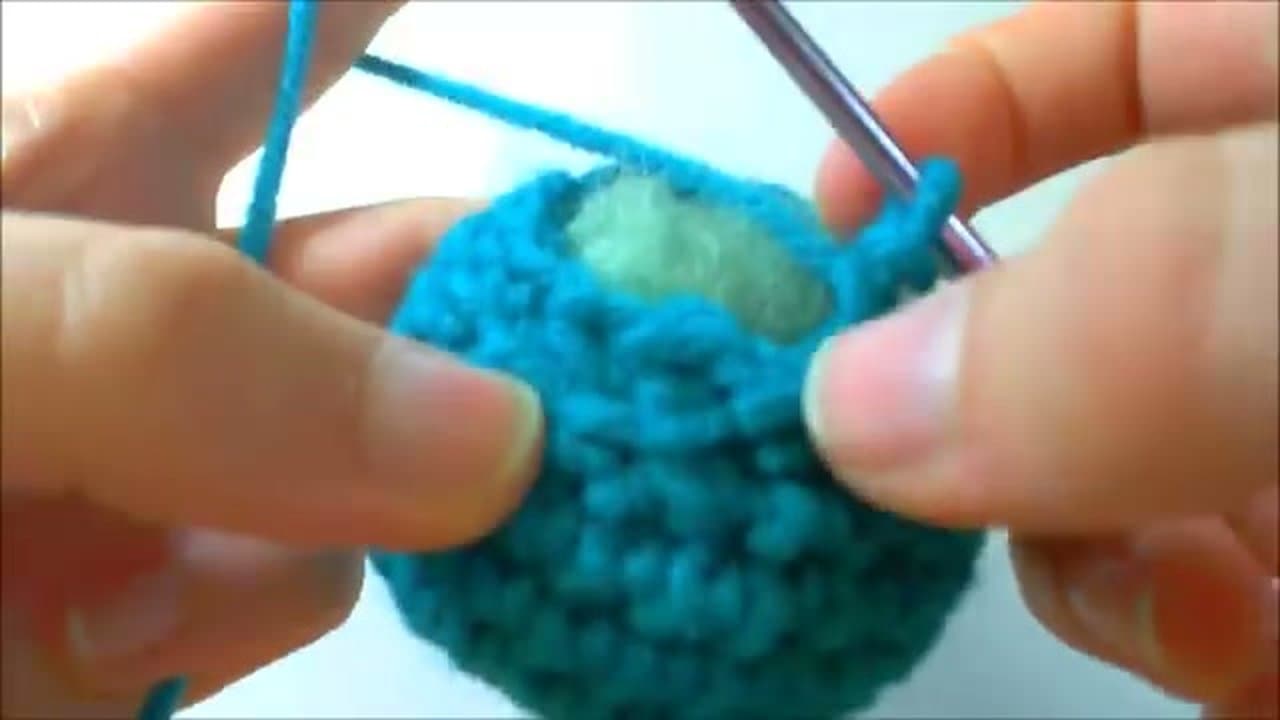
Lay out the basics: worsted-weight yarn, a 3.5 mm crochet hook, a small ball of fiberfill, two safety eyes, a yarn needle, and a stitch marker. Make a slip knot on the hook and chain 2.

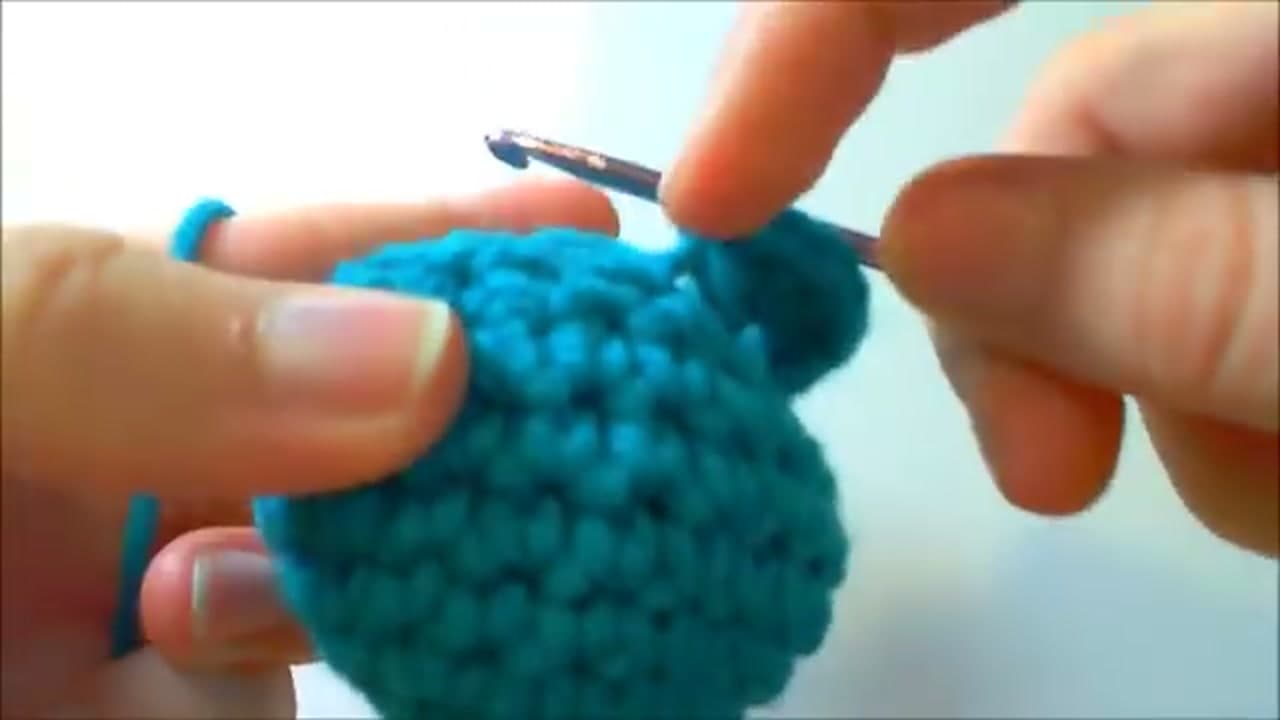
In the second chain from the hook - the one closest to the slip knot, not the loop on your hook itself - work 6 single crochets. They all go into that same chain, so the work feels crowded for the first few stitches. That's normal; the chain stretches to fit.

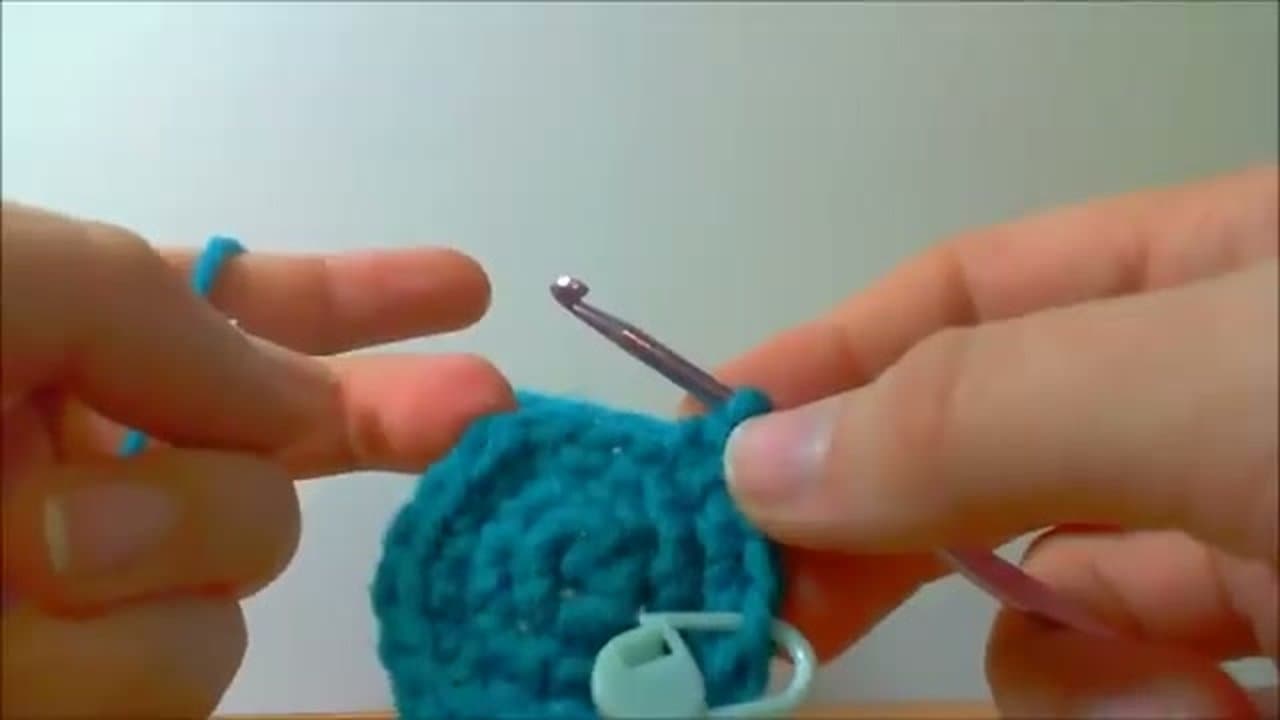
This is the tip of the octopus head. By the end of round 1 you'll have a tight little ring of 6 stitches.

Tip

If you already know the magic ring technique, you can substitute it here. The chain-2 method is friendlier for first-time amigurumi crocheters because there's no slipping yarn loop to wrangle.

2

Step 2: Double the Stitch Count and Add a Marker

3:00
Step 2: Step 2: Double the Stitch Count and Add a Marker

Round 2 is a pure increase round. Work 2 single crochets in each of the 6 stitches around, giving you 12 stitches total. You're doubling the count, which is what opens the ring into a small bowl shape.

Add your stitch marker into the last stitch of the round. From here on, every time you return to that marked stitch you've completed another round. Move the marker up as you go.

Tip

If you don't have a stitch marker, a paperclip or a scrap of contrasting-color yarn threaded through the stitch works just as well. Nancy Queen on YouTube uses a 6-inch piece of yarn that she carries up the work between rounds - never gets lost in the wash bin.

3

Step 3: Continue Increasing to 24 Stitches

4:30
Step 3: Step 3: Continue Increasing to 24 Stitches

Three more increase rounds shape the head. Each round follows a pattern of single crochets followed by an increase, but the spacing widens as the head grows.

Round 3: single crochet 1, then increase. Repeat that around. Round 4: single crochet 1, single crochet 1, then increase. Round 5: single crochet 1, increase, single crochet 1 (the increase moves to keep the shape symmetric).

By the end of round 5 you'll have 24 stitches and a small bowl about the size of a quarter coin.

Tip

An increase in single crochet just means working two single crochets into the same stitch. The new stitch makes the fabric flare outward, which is why amigurumi spheres are basically a stack of increase rounds, then plain rounds, then decrease rounds.

4

Step 4: Work Four Plain Rounds to Shape the Body

5:40
Step 4: Step 4: Work Four Plain Rounds to Shape the Body

Now the increases pause. Work 4 rounds of plain single crochet with no increases and no decreases - just one single crochet in each stitch all the way around. The body grows taller without getting wider.

This is where the shape becomes recognizable as an octopus head: a round dome about an inch tall. Keep moving the stitch marker up as you finish each round, and jot a tally mark on a sticky note if you tend to lose count.

Tip

If your tension is loose, the body will look saggy. Pull each stitch a little snugger than you would for a scarf - amigurumi looks best when the fabric is dense enough that the stuffing doesn't show through.

5

Step 5: Decrease and Attach the Safety Eyes

7:45
Step 5: Step 5: Decrease and Attach the Safety Eyes

Time to narrow the body and add a face. The decrease round goes: single crochet 2 together (a decrease that combines two stitches into one), then single crochet 1, all the way around.

Before you continue closing the body, attach the safety eyes. Pick the spot you want them - usually about two-thirds of the way up the body, two stitches apart - and push each eye post through the fabric from the outside. Snap the locking washer onto the post from the inside. Once that washer clicks, the eye is permanent.

Tip

Eye placement is the personality of the whole octopus. Try them in a few spots without locking the washers on, take a step back to look, and only commit once it makes you smile.

6

Step 6: Back-Loop Round, Stuff, and Close the Body

9:40
Step 6: Step 6: Back-Loop Round, Stuff, and Close the Body

Slip stitch, chain 1, then work the next round in the back loops only. That means the hook goes under just the back half of each stitch instead of both halves. The front loops are left behind as a ridge - that ridge is where the legs will attach later.

Continue the back-loop round with single crochet, decrease, single crochet, around. Then stuff the body firmly with fiberfill before the hole gets too small. Finish with one final round of single crochet 2 together all the way around, then cut the yarn leaving a tail. Thread the tail through the remaining stitches with the yarn needle and pull tight to cinch the hole closed.

Tip

Stuff more than you think you need. The fiberfill compresses inside the body, and an under-stuffed amigurumi looks deflated. Push small wads in with the eraser end of a pencil to reach the corners.

7

Step 7: Add the Eight Legs with Half Double Crochet

13:40
Step 7: Step 7: Add the Eight Legs with Half Double Crochet

Cut a fresh strand of yarn. Slide your hook under one of the front-loop ridges you left behind in step 6 - pick any one, the spacing works out. Pull a loop through and chain 1 to anchor.

In each of the 8 ridge loops around, work 5 half double crochets. A half double crochet is one yarn-over before inserting the hook, then yarn-over and pull through all three loops on the hook. Working 5 of them into a single stitch forces the fabric to coil, which is what makes each leg curl into a spiral.

Slip stitch between each cluster of 5 to anchor the next leg. After all 8 legs are done, cut the yarn and weave the tail through the body with the yarn needle. Your octopus is finished.

Tip

The legs naturally want to curl in opposite directions. You can encourage that by pinching each one as you finish it - the half double crochet has memory and will hold the curl.

Products Used

☐ The Checklist

How to Crochet an Octopus - 7-Step Amigurumi Tutorial

Tools
4
Materials
3
Steps
7
Video
15 min

Your Guide

CreateOsaur

As an Amazon Associate we earn from qualifying purchases. Links on this page may be affiliate links - clicking them and buying doesn't change your price, but helps support ShowMeStepByStep.

Tags

Related Tutorials