Gather Your Materials
0:40
Tip
100% acrylic yarn is the best choice for beginners because it does not split as easily as wool and holds its shape well while you are learning the movements.

By CraftingStepByStepPublished Updated
Based on a video by simplydaisy.
To crochet you need three things: a 5.5mm (US I/9) hook, a ball of worsted-weight yarn, and about twenty minutes of patience. You tie a slip knot onto the hook, wrap the yarn around it, and pull loops through other loops. That is the whole craft. Every stitch you will ever learn is a variation on pulling a loop through a loop.
This walkthrough follows simplydaisy on YouTube. She works slowly and shows the yarn-over from the angle you actually see it from when it is your own hands on the hook.
Buy a 5.5mm hook and one skein of smooth, light-coloured worsted yarn. Skip the fuzzy stuff and skip black. You need to see your own stitches while you are learning, and dark or hairy yarn hides them completely.
You do not need a kit. A hook, a skein and a pair of scissors gets you through the first several projects. Add a blunt yarn needle when you are ready to weave in ends properly.
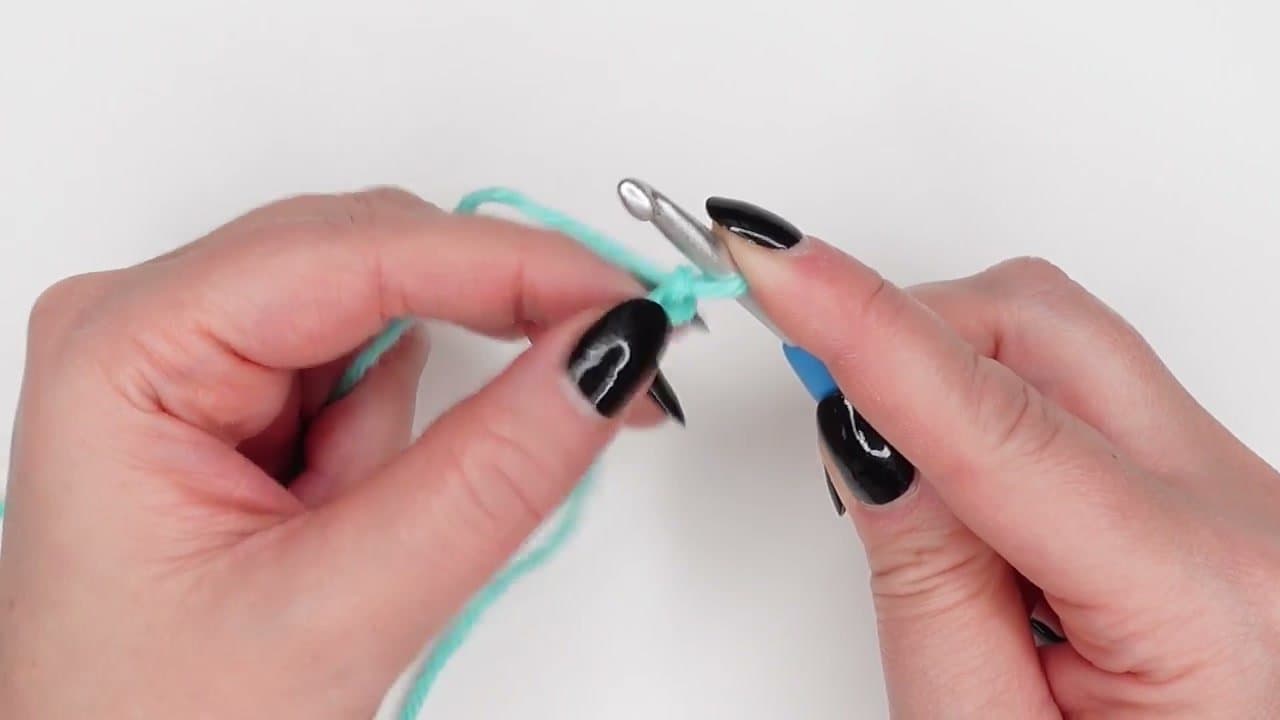
Slip knot. A loop that tightens when you pull the tail. It goes on the hook and becomes your first stitch.
Yarn over. Wrap the working yarn around the hook from back to front. This sits underneath every stitch in crochet, so get it into your hands early.
Chain. Yarn over, pull through the loop on your hook, repeat. A row of chains is the foundation you build the first real row on. Make fifteen to twenty for practice.
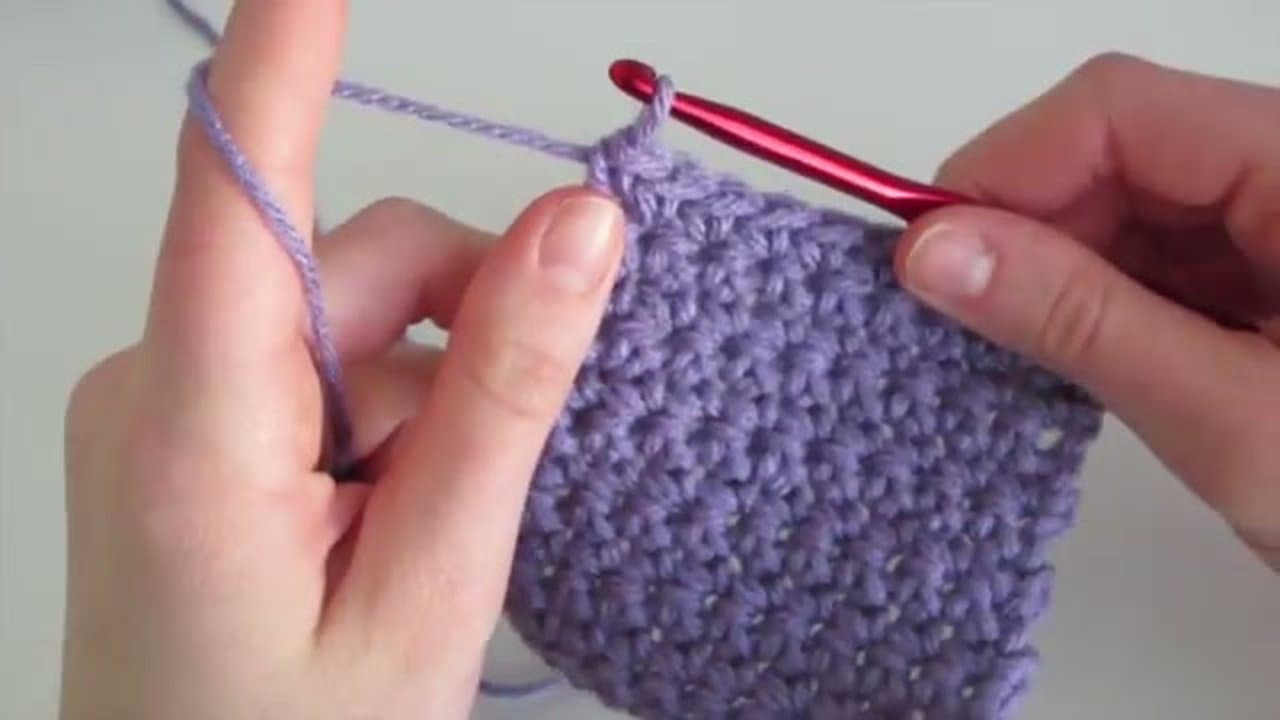
Single crochet. Insert the hook into a chain, yarn over, pull up a loop, yarn over again, pull through both loops. Two loops on the hook is your checkpoint. If you have three, you missed the last pull-through.
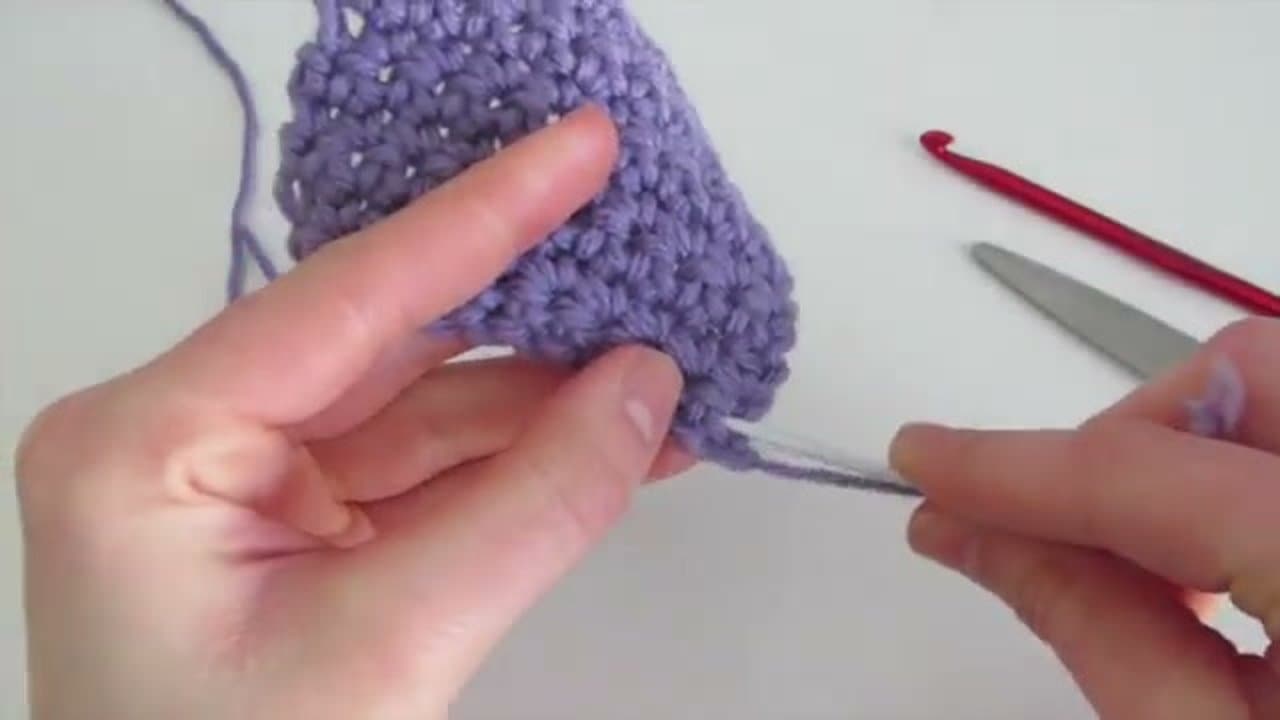
Fasten off. Cut the yarn, pull the tail all the way through the final loop, weave it back into the fabric. Done properly it never works loose.
Your first swatch will have loose stitches, tight stitches, and edges that wander. That is a tension problem, not a technique problem. Tension comes from how the yarn runs over your non-hook hand and it evens out with practice rather than with effort. Do not rip out your first swatch trying to fix it.
The other early frustration is a row that gets narrower or wider as it goes. That is almost always a miscount at the end of a row, where the turning chain either gets worked into or skipped. Count your stitches for the first few rows until your eye learns what a straight edge looks like.
Once single crochet feels automatic, work through the rest of the basic stitches. Double crochet is taller and builds fabric faster, half double crochet sits between the two, and treble crochet is taller again. Slip stitch joins and travels without adding any height at all.
To shape anything you need increases and decreases. To work in circles instead of rows, learn the magic ring and crocheting in the round. Those two together unlock amigurumi, which is where most beginners end up within a month.
For a first real project, a granny square teaches chains, double crochets, corners and rounds in one sitting. A coaster or a scarf works too if you would rather stay flat a while longer.
When a pattern stops making sense, it is usually the abbreviations rather than the stitches. Reading a crochet pattern covers sc, dc, ch, rep and the bracket notation that trips up everyone the first time.
8 steps · about 9 minutes.Check off each step as you go and your progress saves automatically.

Tip
100% acrylic yarn is the best choice for beginners because it does not split as easily as wool and holds its shape well while you are learning the movements.

Tip
The slip knot should be snug but not tight. If you cannot slide it easily along the hook, loosen it a little before you start chaining.

Tip
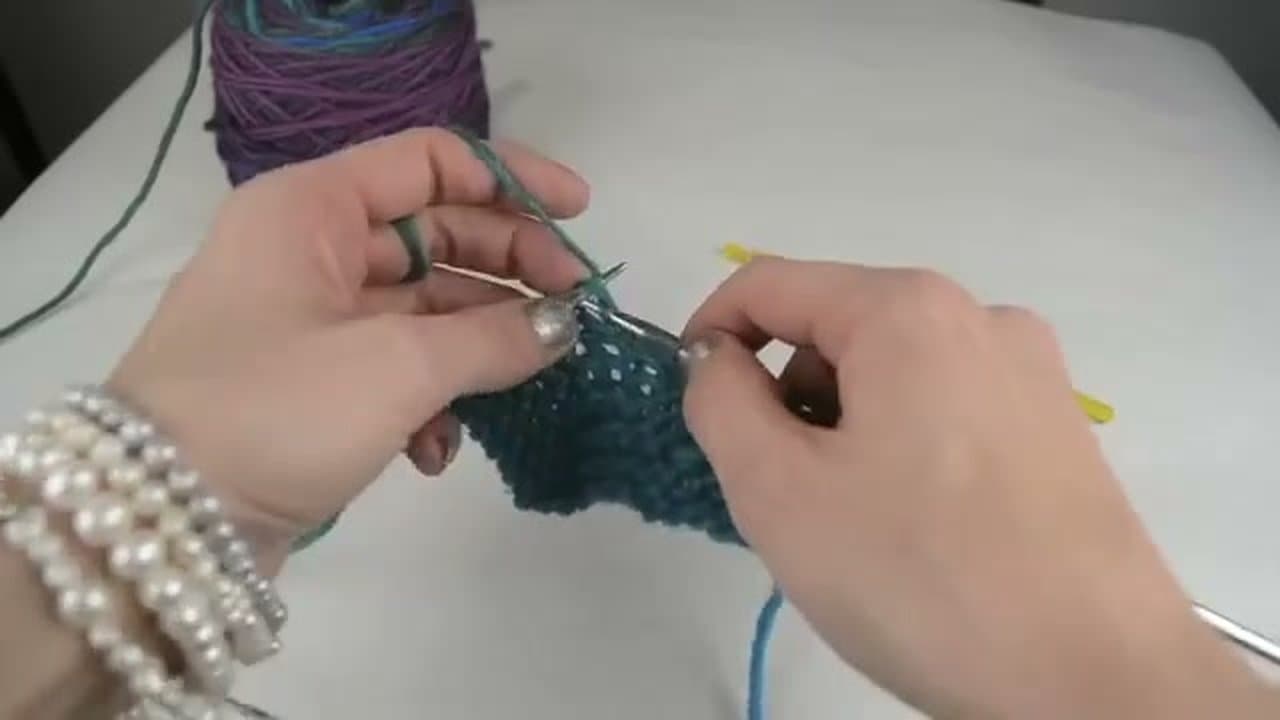
There is no single correct way to hold the yarn. This method is just one approach. Try a few different ways and go with whatever feels comfortable and gives you even tension.

Tip
Keep your tension consistent as you yarn over. If you pull too tight the loop will be hard to work into later. Too loose and your work will look messy.

Tip
Count your chains out loud as you make them. It is very easy to lose count when you are focused on the hand movements. Getting to exactly 11 is good practice for keeping stitch counts later.

Tip
Make sure you are inserting under both the top and bottom loops of each V when working back into existing rows. If you only catch one loop you will end up with a different texture than intended.

Tip
Your tension will probably get tighter or looser as you go, and that is normal when you are learning. Try to relax your grip. The more relaxed your hands are, the more even your stitches will be.

Tip
Weave the tail in at least a few inches in two directions so it does not work loose over time. A single pass is usually not enough, especially on acrylic yarn.

Keep going
How to Crochet a Foundation Chain: 7 Step Beginner Tutorial
How to Crochet - A Beginner's First Row
E6000
E6000 Craft Adhesive, Clear (3.7 oz)
The industrial-strength craft glue that bonds glass, wood, ceramic, metal, fabric, and concrete. The one adhesive most craft projects reach for.
Gorilla
Gorilla Dual-Temp Full-Size Hot Glue Gun
Dual-temp so it handles delicate florals and heavy materials alike. A precise nozzle and built-in stand make it the everyday craft-table gun.
OLFA
OLFA 18" x 24" Self-Healing Cutting Mat
The pro-standard cutting surface. Gridlines for square cuts, self-healing so blades never leave grooves, and big enough for paper, fabric, and leather.
As an Amazon Associate we earn from qualifying purchases. Links on this page may be affiliate links - clicking them and buying doesn't change your price, but helps support CraftingStepByStep.
Sunday How-To
One short email with the week's best step-by-step guides. Free, no spam, unsubscribe anytime.
Test your knowledge
5 questions covering what you just read. No signup, no score saved, and you can stop after this one.
Question 1 of 5
Quick reference
5 questions, answers, and one-line explanations. Tap to expand.
1.
Answer: Make a slip knot
The slip knot is the universal starting point — it creates an adjustable loop you place on the hook before any other step.
2.
Answer: It acts as a turning chain to bring the row to the correct height
The skipped chain is your turning chain; it raises the work so your hook enters at the right height for single crochet stitches.
3.
Answer: Wrapping the working yarn over the hook
Wrapping the yarn over the hook is the fundamental motion behind every crochet stitch — it's what creates the loop you pull through.
4.
Answer: Chain once, then flip your work over
One chain stitch plus flipping the work brings you back to the correct height for the next row of single crochet.
5.
Answer: Weave the yarn tail through nearby stitches to secure it
After making one last chain and removing the hook, you thread the tail onto a tapestry needle and weave it in so it won't unravel.
Did this work for you?
Curated theme pages that include this tutorial.
Hand-picked next reads based on the one you just finished.
Pick the categories you want to hear about. Weekly digest of new step-by-step tutorials. No spam, easy unsubscribe.
Send me tutorials about