How to Crochet a Granny Square (Beginner Tutorial)

CraftsEasy10:528 steps

Based on a video by Maddy Marie.

If you're new to crochet, the granny square is the right first project. It teaches you slip knots, chains, double crochets, slip stitches, and how to work in rounds - basically every fundamental skill except color changes. Once you have one square down, you can scale up to anything.

What you'll need: a crochet hook (the green one in this tutorial is a 5mm/H-8, a common starter size), a skein of medium-weight yarn, and a yarn needle for finishing. Pick a smooth light-colored yarn for your first square - it makes the stitches easier to see.

Step-by-Step Guide

1

Make a Slip Knot

0:25
Step 1: Make a Slip Knot

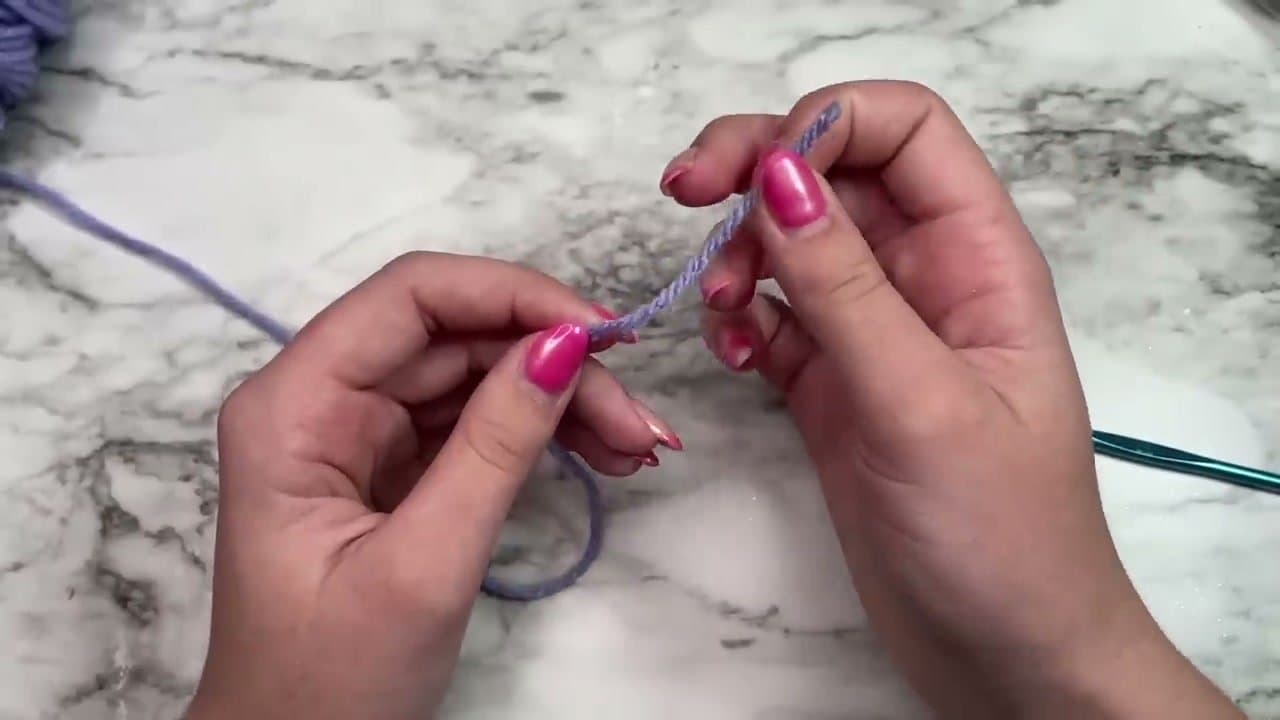
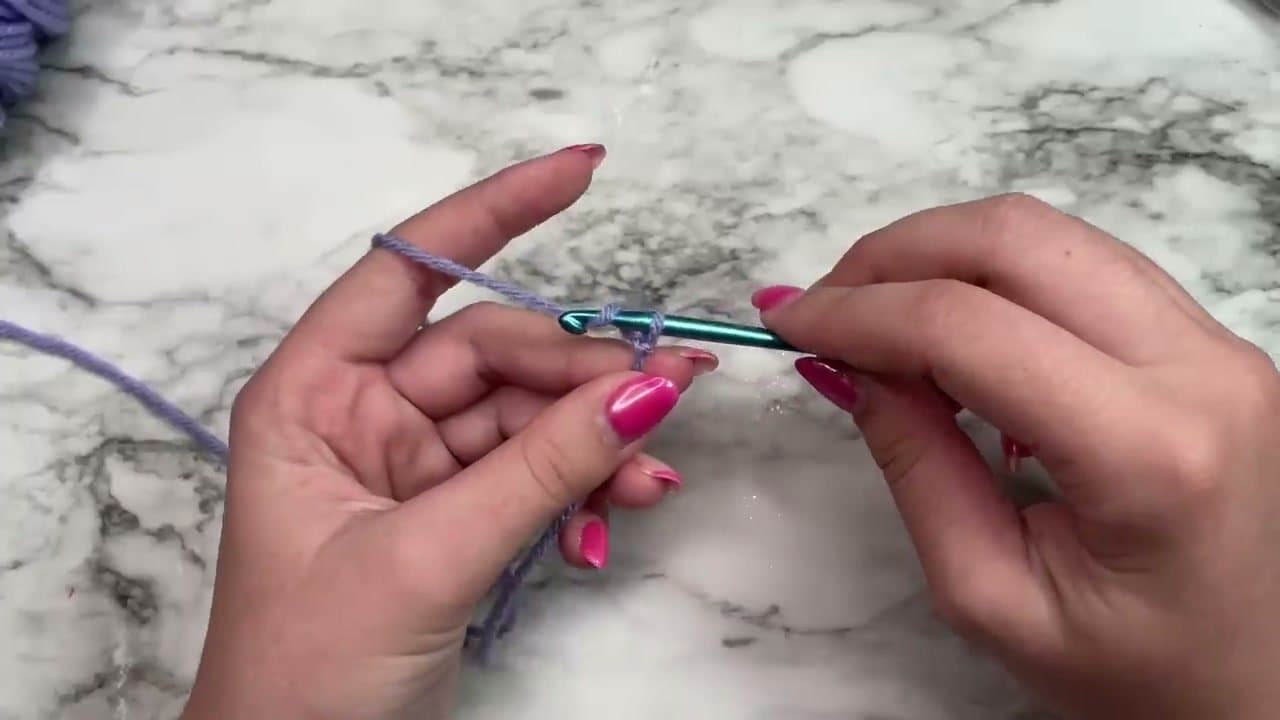
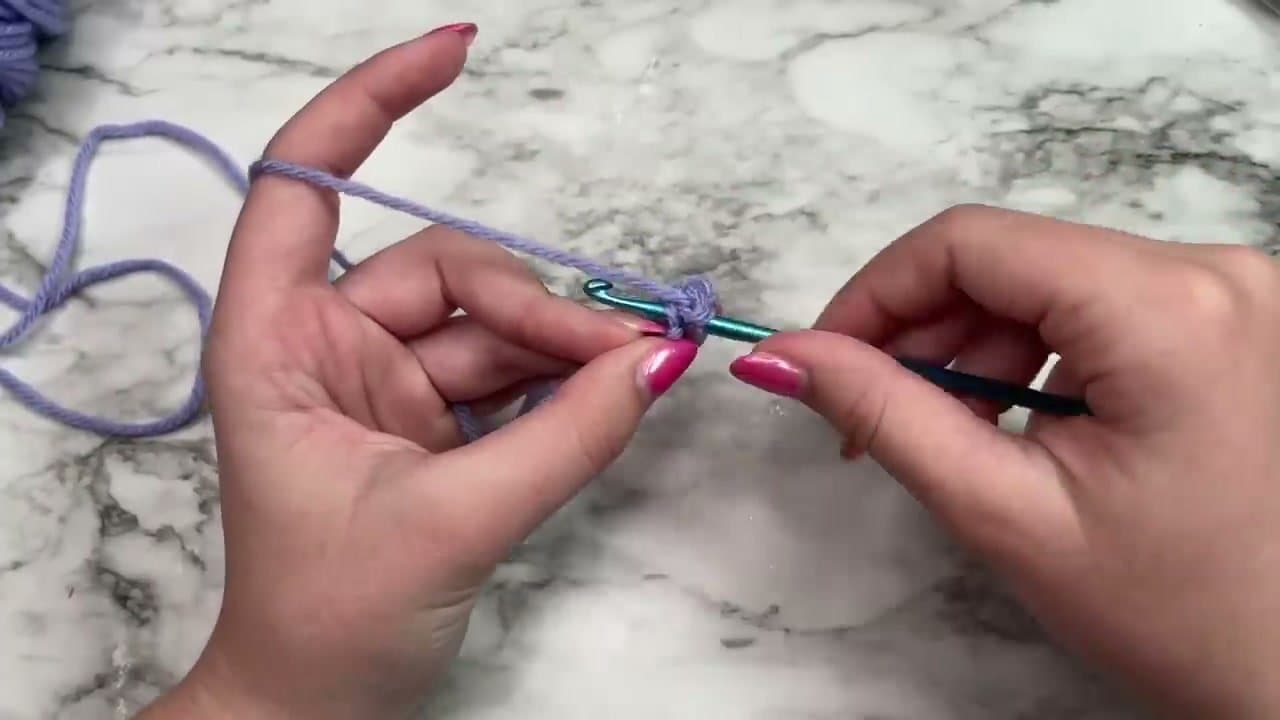
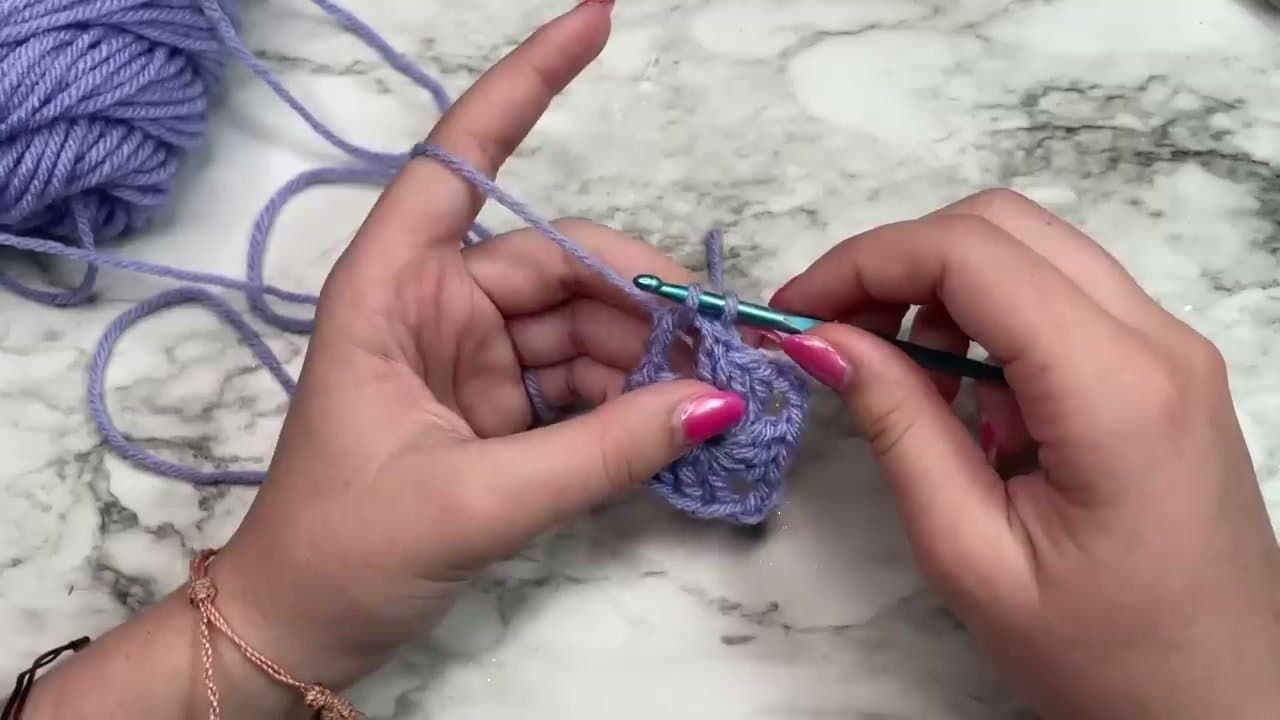
Take the tail end of the yarn in your right hand and the long strand in your left. Cross the long strand over the tail to form a loop. Reach through the back of the loop, grab the long strand, and pull a small loop through. Place that loop on your hook, then tug the long strand to tighten - you have a slip knot.

Tip

Don't pull too tight. The slip knot should slide on your hook with a little resistance, not lock in place. If it's too tight, slide it off, loosen, and try again.

Products used in this step

2

Chain 4

1:05
Step 2: Chain 4

Yarn over (wrap the working strand around the hook from back to front) and pull it through the loop on your hook. That's one chain. Repeat 3 more times. You'll have 4 chains plus the original loop on the hook.

Products used in this step

3

Slip Stitch into the First Chain to Form a Ring

1:35
Step 3: Slip Stitch into the First Chain to Form a Ring

Insert your hook through the very first chain you made. Yarn over and pull a loop through both the chain and the loop on your hook. You now have a small ring - this is what you'll work the first round into.

4

Chain 6 to Begin Round 1

2:10
Step 4: Chain 6 to Begin Round 1

Yarn over and pull through the loop on your hook 6 times. The first 3 chains count as your first double crochet, and the next 3 form the corner space. This sets up the start of round 1.

5

Make 3 Double Crochets in the Ring

2:55
Step 5: Make 3 Double Crochets in the Ring

Yarn over, insert hook into the ring, yarn over and pull up a loop (3 loops on hook). Yarn over, pull through the first 2 loops (2 left). Yarn over, pull through the last 2 (1 left). That's one double crochet. Repeat 2 more times so you have 3 double crochets clustered in the ring.

Tip

If you've never done a double crochet, the rhythm is yarn-over-insert, yarn-over-pull-up, yarn-over-pull-2, yarn-over-pull-2. Say it out loud the first few times.

6

Add Chain-3 Corners and Continue Around

3:55
Step 6: Add Chain-3 Corners and Continue Around

Chain 3, then make 3 more double crochets in the ring. Chain 3 again, 3 more double crochets. One more time. You should have 4 clusters of 3 double crochets with chain-3 spaces between them - the four corners of your future granny square.

7

Slip Stitch to Close the Round

4:50
Step 7: Slip Stitch to Close the Round

To finish round 1, slip stitch into the third chain of your starting chain-6. Insert your hook through that chain, yarn over, pull through both loops. The round is now joined - you have a small square shape with four corners and you can move on to round 2.

Tip

If your square doesn't look square yet, that's normal after just round 1. The shape becomes obvious in round 2 when the corners and middle spaces start to differentiate.

8

Cut Yarn and Weave in Ends

9:50
Step 8: Cut Yarn and Weave in Ends

After your final round, cut the yarn leaving a 6-inch tail. Pull the tail through the last loop to lock the stitch. Thread a yarn needle with the tail and weave it in and out of stitches on the back of the work for an inch or so, then trim flush. Repeat with the starting tail. Your granny square is finished.

Tip

Weave the tail in two different directions before trimming. It locks the end so the square doesn't unravel from washing or wear.

Products Used

Your Guide

Maddy Marie

As an Amazon Associate we earn from qualifying purchases. Links on this page may be affiliate links - clicking them and buying doesn't change your price, but helps support ShowMeStepByStep.

Tags

Related Tutorials