How to Crochet a Scarf

CrochetEasy10:388 stepsBrowse more →
Also in:Crafts

By CraftingStepByStepPublished

Based on a video by AllFreeCrochet.

A scarf is the project most crocheters cut their teeth on, and there is a good reason for it. The shape is forgiving (no shaping at all - just a long rectangle), the stitch count is small (15 chains across), and you finish with something you actually wear instead of a swatch that goes in a drawer. One skein of worsted weight yarn is enough for a full-length scarf, and you can finish it in an afternoon.

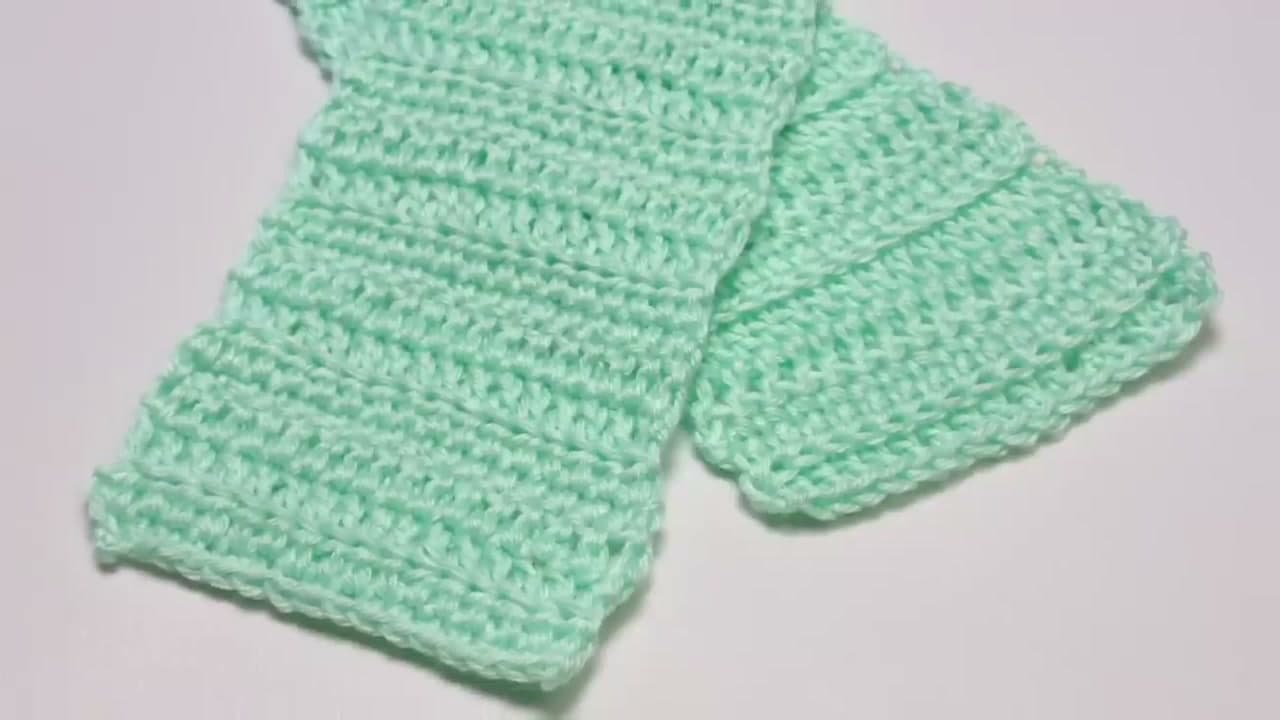
Kristy Simpson's beginner scarf uses three basic stitches in a four-row repeating pattern: single crochet, half double crochet, double crochet in the back loop only (which gives the scarf a subtle ridge), and double crochet in both loops. The mix of stitches gives the fabric texture - it does not look like a typical beginner project where every row is identical - and it doubles as a refresher on the three foundational crochet stitches.

If you have never crocheted before, work through how to crochet a foundation chain first - the chain is the base every project starts from. Then practice single crochet and double crochet on a scrap before starting the scarf. When you reach the end of your skein, fasten off cleanly so the work does not unravel.

Step-by-Step Guide

1

Step 1: Make a Slipknot

0:45
Step 1: Step 1: Make a Slipknot

Start with a slipknot. Loop the yarn over itself, flip it over so you can see a bar on top and a strand underneath, then grab the strand attached to the skein and pull it through the loop. Tighten gently against the hook.

The slipknot is what every pattern starts with - it is the easiest way to get an adjustable loop on your hook. If you have never done one, take your time. The loop should slide along the yarn when you tug the tail and grip the hook when you pull it snug.

Tip

Leave a 6-inch tail hanging off the slipknot. You will weave it into the back of the scarf at the end - too short a tail makes that step a pain.

2

Step 2: Chain 15

1:50
Step 2: Step 2: Chain 15

This is your foundation chain - the row that sets the width of the scarf. Yarn over the hook from back to front and pull the yarn through the loop already on the hook. That is one chain. Repeat 14 more times for a total of 15 chains.

Count out loud as you go. The loop currently on the hook does not count as a chain - only the completed stitches below it do. You should end up with a row of small V-shapes (with a bar running along the back).

Tip

If your chain looks twisted or uneven, the tension is the culprit. Hold the working yarn with the same finger every time so it feeds at a consistent rate. Practice tension on scrap yarn for ten minutes before starting a real project.

3

Step 3: Row 1 - Single Crochet Across

2:55
Step 3: Step 3: Row 1 - Single Crochet Across

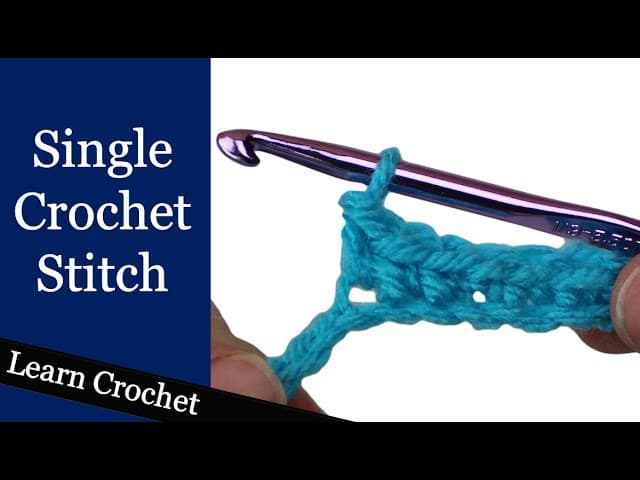
Skip the loop on your hook and work into the second chain from the hook. Insert the hook under the back bar (the strand on the back of the chain - using the back bar instead of the front V gives the first row a cleaner look that matches the last row). Yarn over, pull a loop back through the chain. You now have two loops on the hook. Yarn over again, pull through both loops. That is one single crochet.

Work a single crochet into each remaining chain across the row. You should finish with 14 single crochets.

Tip

Place a stitch marker (or a scrap piece of contrasting yarn) in the last stitch of the row. The end stitches are the easiest ones to miss on the way back, and a marker means you do not have to guess.

Products used in this step

4

Step 4: Row 2 - Half Double Crochet Across

4:25
Step 4: Step 4: Row 2 - Half Double Crochet Across

Chain 1 and turn the work over so the wrong side faces you. The chain 1 does not count as a stitch for half double crochet - it just gets the hook into position for the next row.

Yarn over first (this is what makes a half double different from a single), then insert the hook into the first stitch of the row below. Yarn over, pull a loop through the stitch - you have three loops on the hook. Yarn over once more and pull through all three loops at once. That is one half double crochet. Work one in each of the 14 stitches across.

Tip

Half double crochet leaves a small horizontal bar on the back of each stitch. That bar matters for the next row - you will work into the back of it to create a textured ridge.

5

Step 5: Row 3 - Double Crochet in the Back Loop

5:50
Step 5: Step 5: Row 3 - Double Crochet in the Back Loop

Chain 3 and turn. Those three chains count as your first double crochet, so the first real stitch will be worked into the second stitch of the row, not the first.

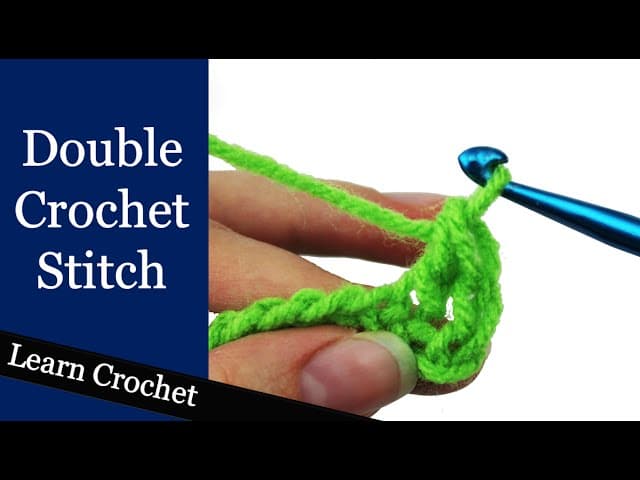
For a double crochet: yarn over, insert the hook into the back loop of the stitch (just the back loop, not both loops), yarn over, pull a loop through. You have three loops on the hook. Yarn over, pull through two loops. Yarn over again, pull through the remaining two loops. Work a double crochet into the back loop of every stitch across. Working in the back loop only leaves the unworked front loop sitting like a horizontal ridge - that ridge is what gives the scarf its texture.

Tip

The back loop is the loop furthest from you when looking down at the row. Regardless of how you turn the work, the loop on the back side is always the back loop and the loop on the front side is the front loop. It does not flip with the work.

6

Step 6: Row 4 - Double Crochet in Both Loops

7:55
Step 6: Step 6: Row 4 - Double Crochet in Both Loops

Chain 3 and turn again. The chain 3 counts as the first double crochet. Work into the second stitch of the row below.

This row is a standard double crochet through both loops: yarn over, insert the hook under both loops of the stitch, yarn over, pull through, yarn over, pull through two, yarn over, pull through two. Work one in each stitch across. The last stitch of the row goes into the top of the chain 3 from the previous row (the third chain up).

Tip

If the edge starts leaning or curving, you missed a stitch. Count your stitches at the end of every row - you should always have 14. If you ended up with 13, you skipped one and the next row will lean. If 15, you accidentally worked two into one stitch.

Products used in this step

7

Step 7: Repeat the Four-Row Pattern Until the Scarf Is Long Enough

9:05
Step 7: Step 7: Repeat the Four-Row Pattern Until the Scarf Is Long Enough

The rest of the scarf is the same four rows over and over: single crochet, half double crochet, double crochet in the back loop, double crochet in both loops. Memorize the sequence and you will not need to look at the pattern again.

A typical adult scarf is 60 to 70 inches long - measure with a tape measure every few inches once you get going. Stop when the scarf is the length you want, ending after a Row 4 (double crochet in both loops) so the two ends look symmetrical.

Tip

One skein of worsted weight yarn (around 170 yards) makes a roughly 60-inch scarf at this width. If you want it longer or wider, buy two skeins so you do not run out three rows from the finish line.

Products used in this step

8

Step 8: Fasten Off and Weave In the Ends

10:25
Step 8: Step 8: Fasten Off and Weave In the Ends

Cut the working yarn, leaving a 6-inch tail. Yarn over the hook one last time and pull that tail all the way through the loop on the hook. Pull snug. The scarf is now locked - it cannot unravel.

Thread the tail onto a yarn needle and weave it back and forth through the back of three or four stitches at the edge of the scarf. Reverse direction and weave it through one or two more. Trim the leftover close to the fabric. Do the same with the tail at the starting end. The scarf is done.

Tip

If this is your first finished crochet project, take a minute to look at it. Notice where the tension is tight and where it is loose - that is the muscle memory you will fix on the next project. Every scarf gets a little more even.

Products Used

☐ The Checklist

How to Crochet a Scarf

Tools
4
Materials
1
Steps
8
Video
11 min

Your Guide

AllFreeCrochet

As an Amazon Associate we earn from qualifying purchases. Links on this page may be affiliate links - clicking them and buying doesn't change your price, but helps support ShowMeStepByStep.

Tags

What's next

Weekly Digest

Liked this crochet tutorial?

Pick the categories you want to hear about. Weekly digest of new step-by-step tutorials. No spam, easy unsubscribe.

Send me tutorials about

We only email about new tutorials. Easy unsubscribe anytime.