1
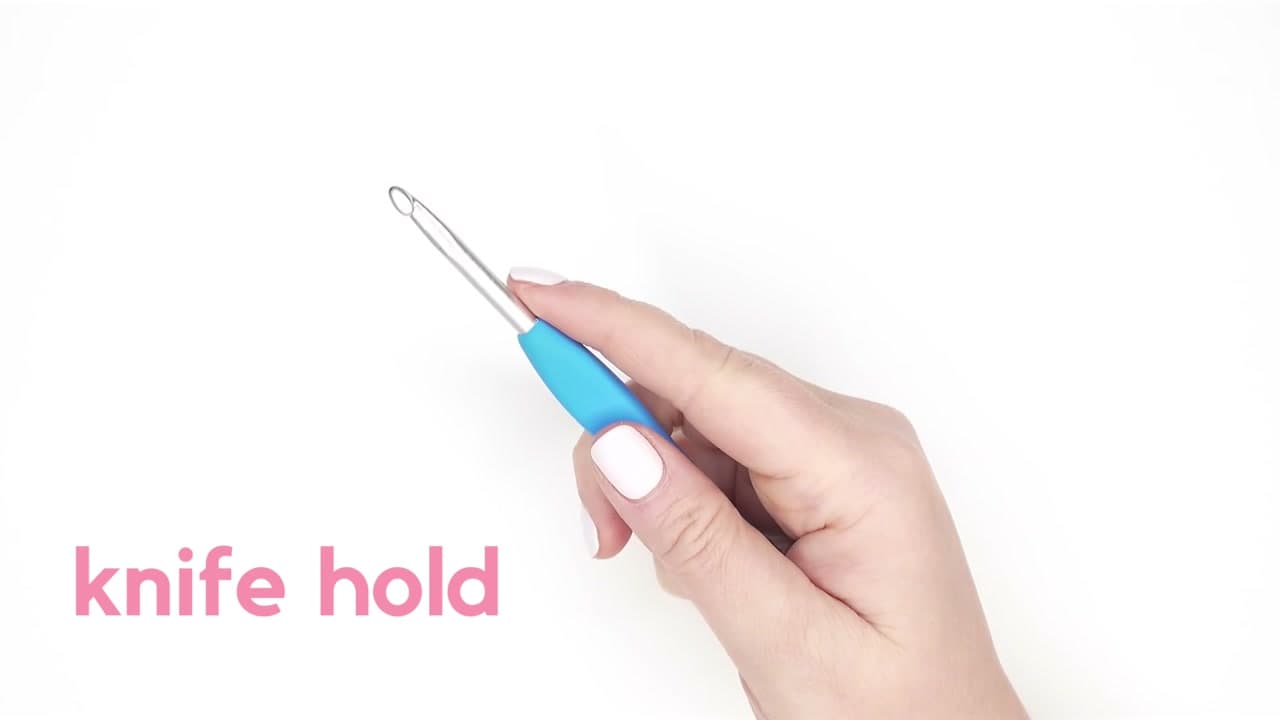
Step 1: Start With a Slip Knot on the Hook
1:05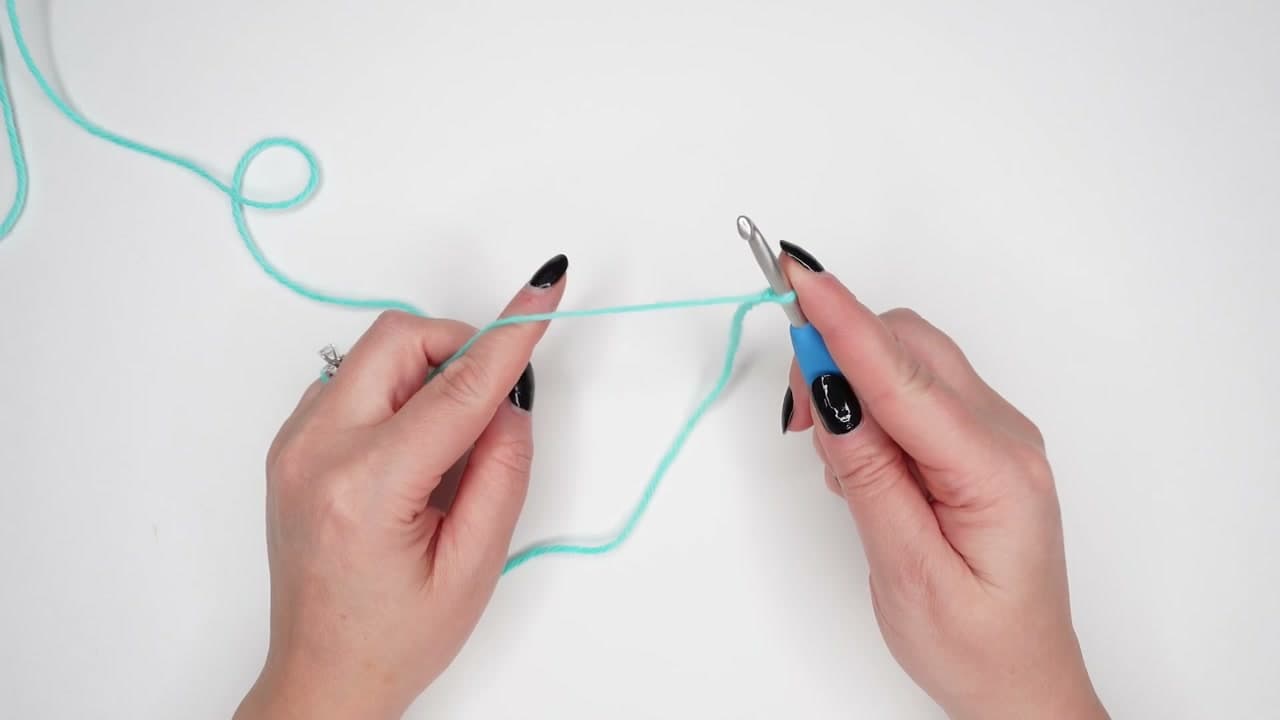
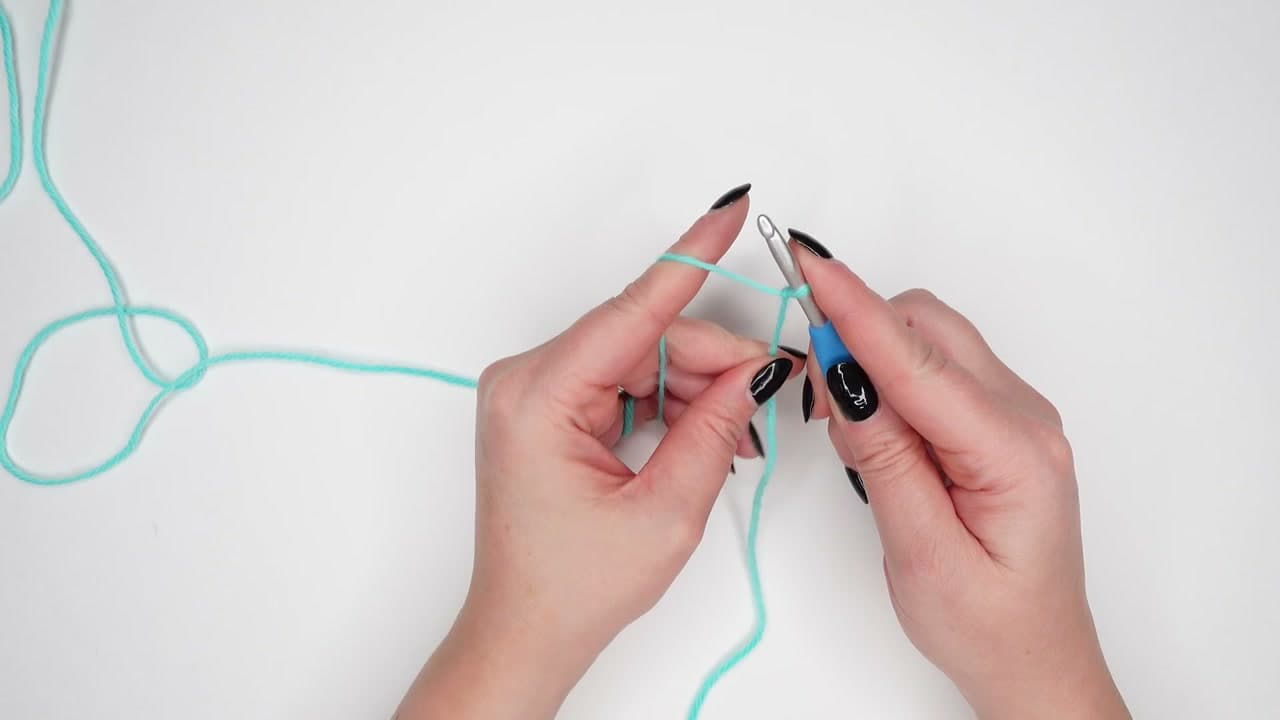
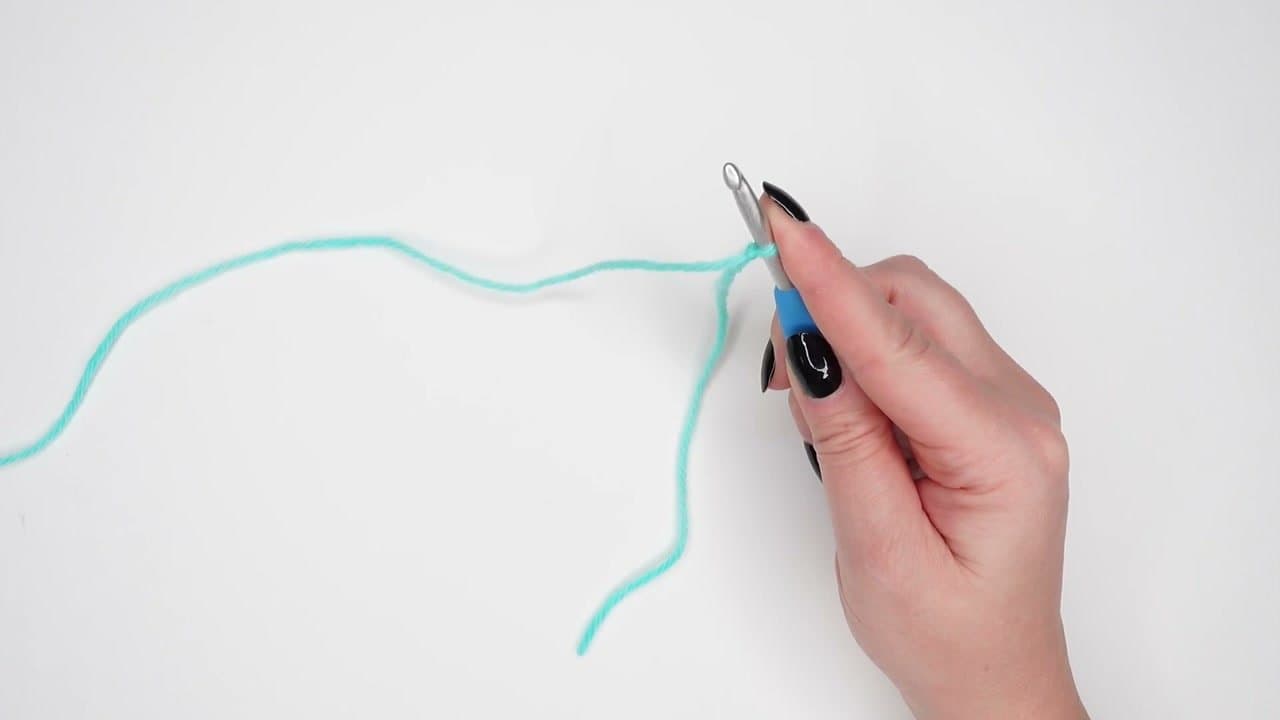
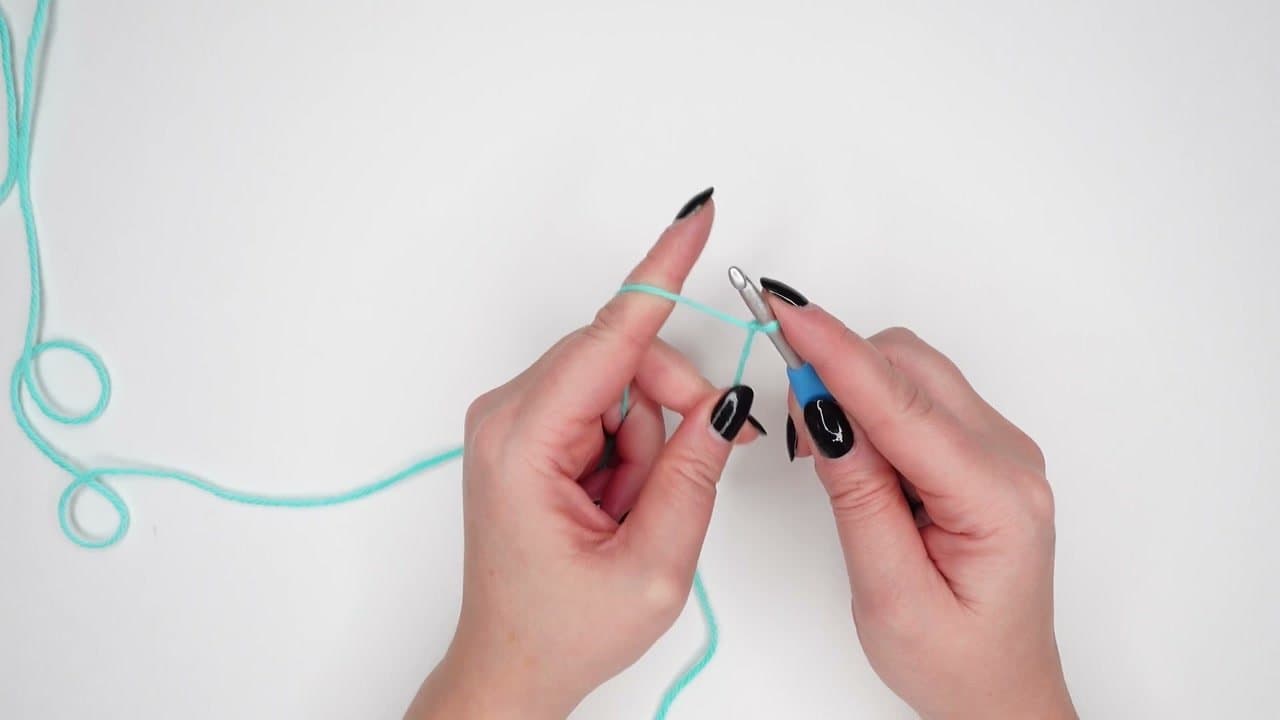
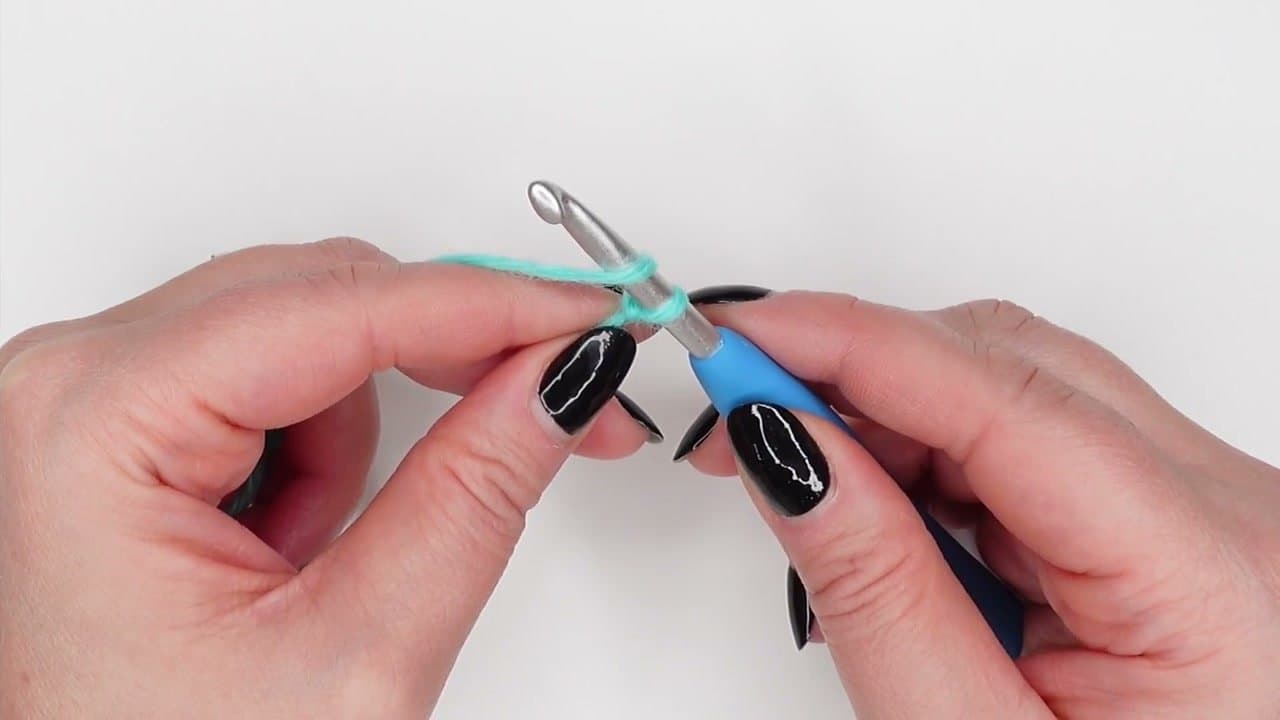
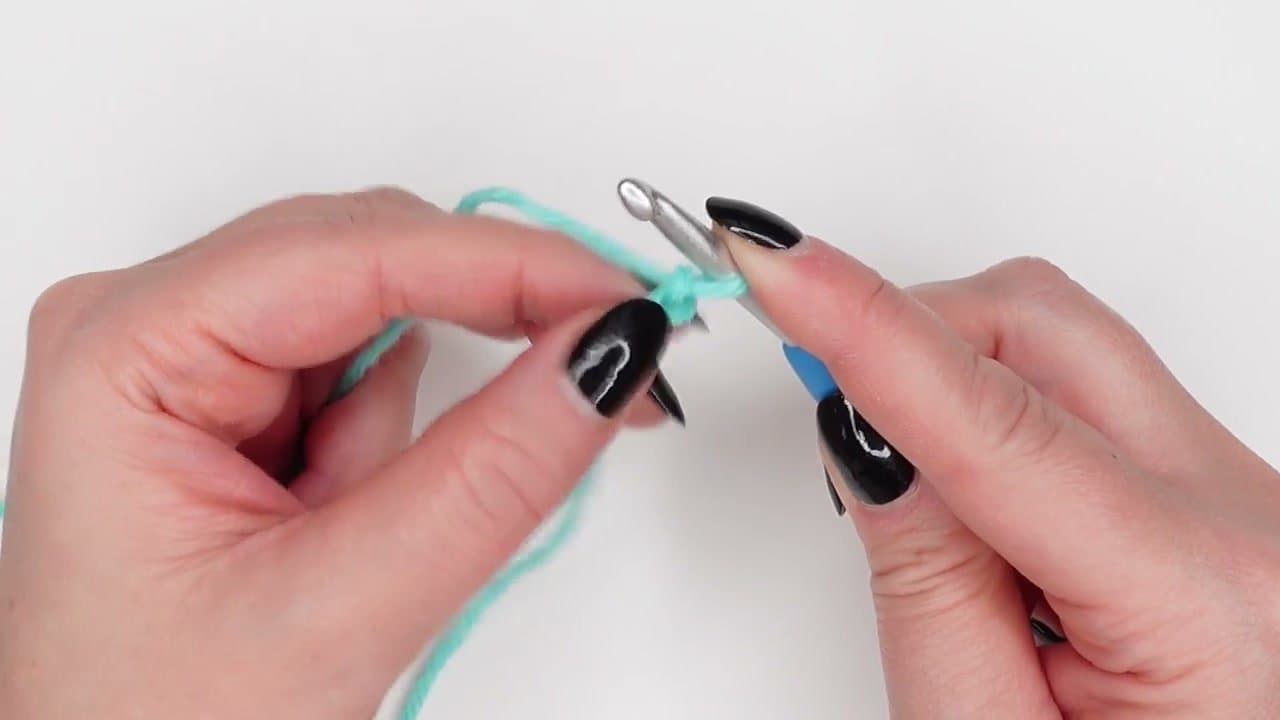
Make a slipknot at the end of your yarn and slide the loop onto the crochet hook. The slipknot is your anchor - it tightens when you pull but doesn't unravel as you work.
If you don't know how to make a slipknot: cross the yarn into a loop, twist it once, and pull a section of the working yarn through the loop. Slide it onto the hook and gently tighten so it grips the hook without choking it.