How to Crochet in the Round: Foundational Technique

CrochetEasy9:067 stepsBrowse more →
Also in:Crafts

By CraftingStepByStepPublished Updated

Based on a video by Crochet Guru.

Crocheting in the round is how every crochet hat, amigurumi toy, and flat-circle motif begins. Instead of working back and forth across a row, you start at a single point and spiral outward, increasing in each round so the work stays flat.

If you can already work a single crochet and a foundation chain, you have everything you need to learn this. Bobby Thompson from Crochet Guru walks through it slowly and shows two starting methods: a chain-four ring (small center hole) and a chain-two start (no visible hole). Both end up in the same place by round two.

Grab a hook, some worsted-weight yarn, and follow along. By the end you will have a flat 18-stitch disc and the pattern for keeping it growing.

Step-by-Step Guide

1

Step 1: Chain four to start the ring

0:45
Step 1: Step 1: Chain four to start the ring

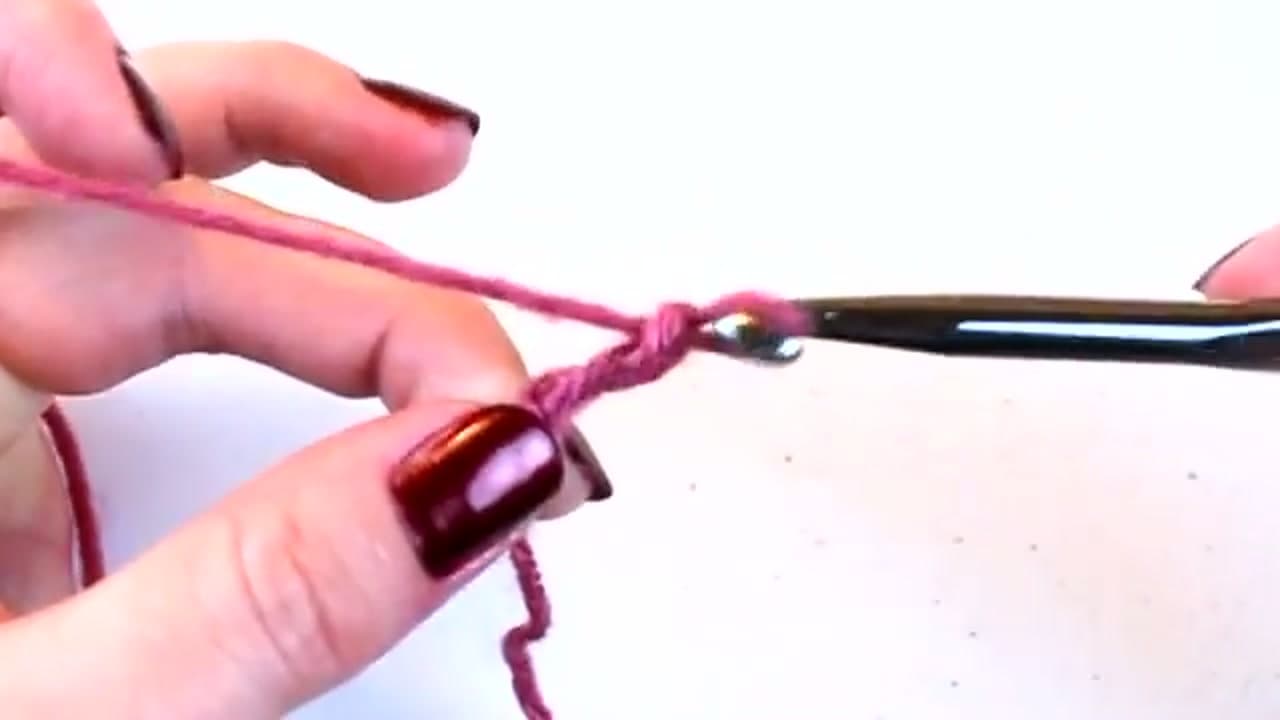
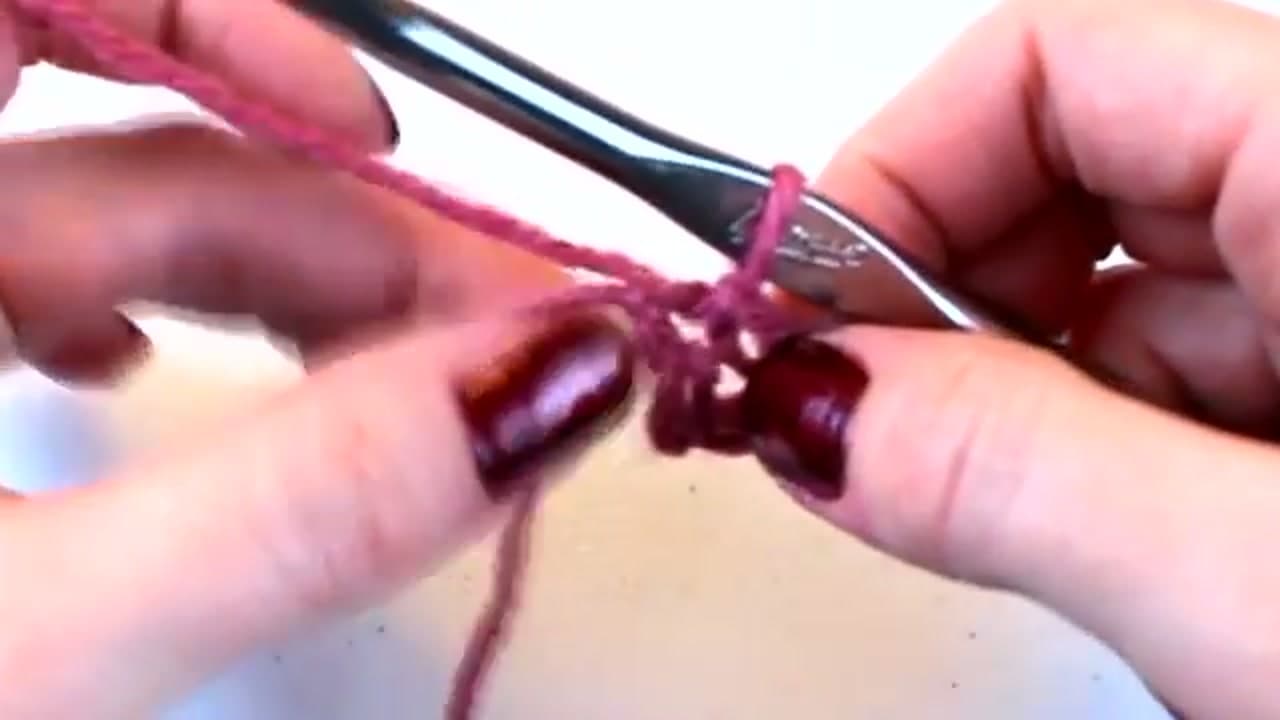
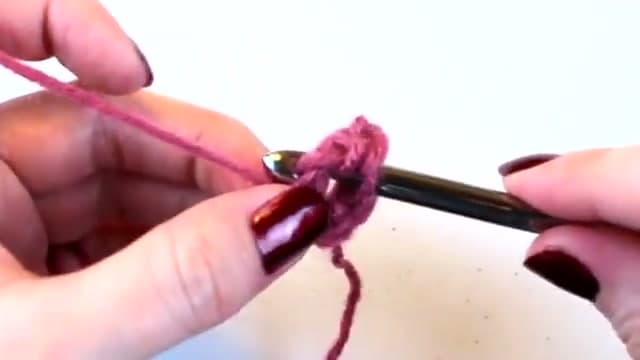
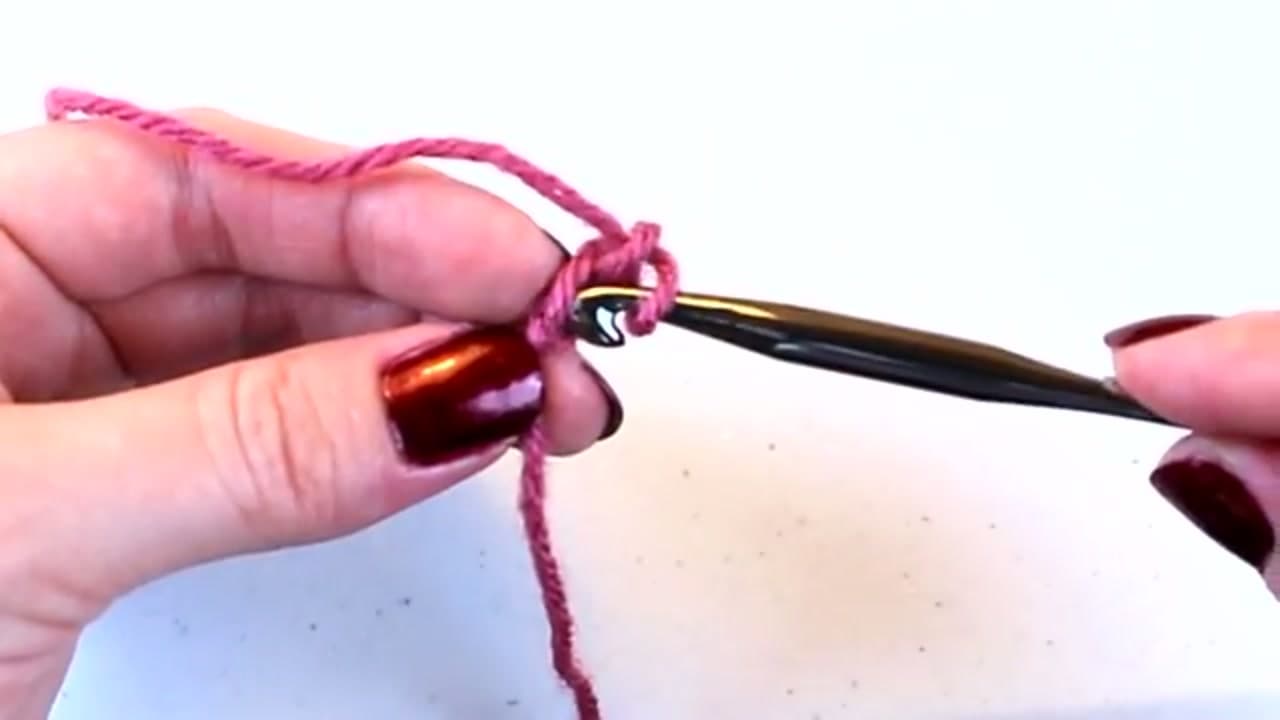
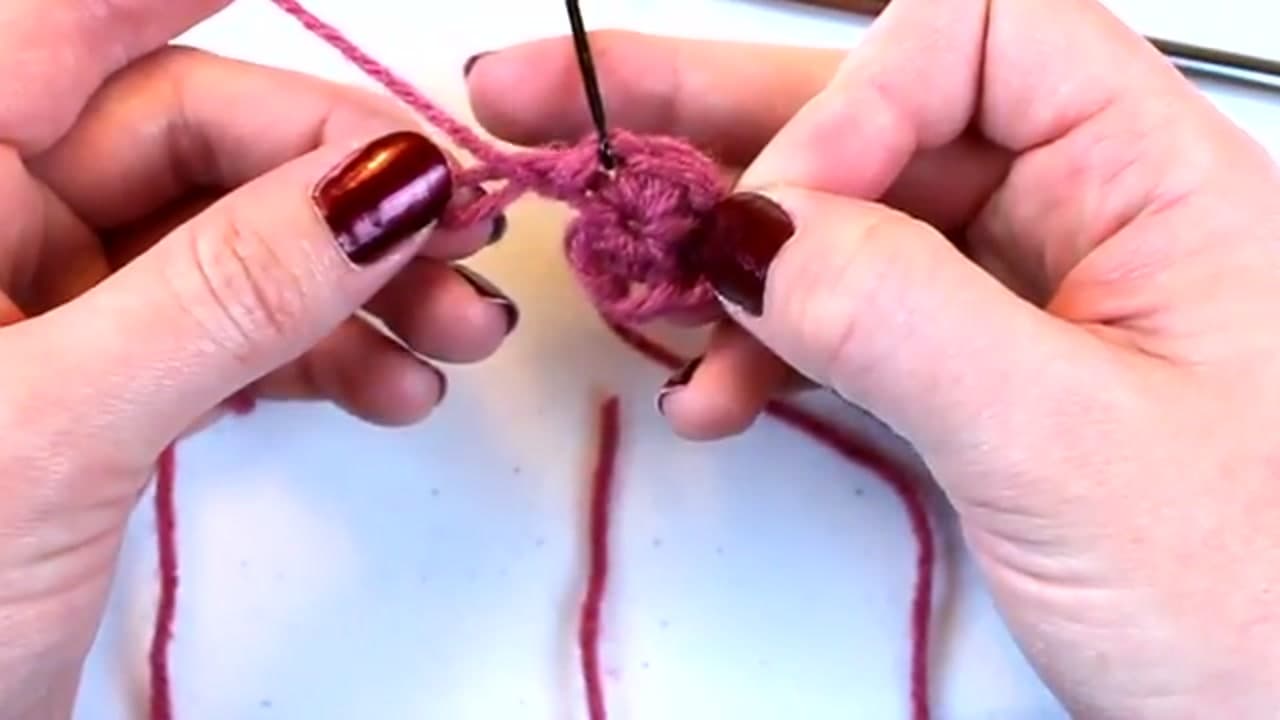
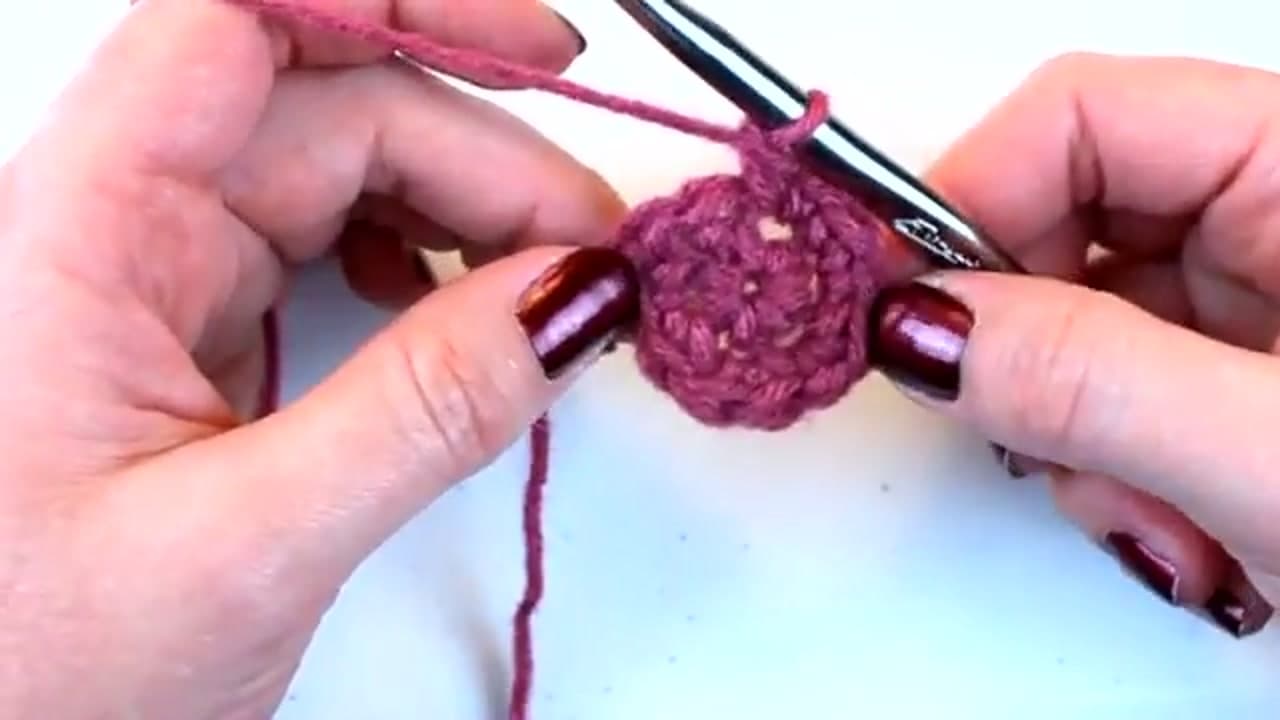
Method one starts with a chain-four ring. Make your slipknot, then chain four stitches. This little chain is going to become the ring you crochet into.

Some patterns ask for a chain of six or eight instead. Read your pattern. A longer chain gives you a bigger opening to work into but also a bigger center hole in the finished piece.
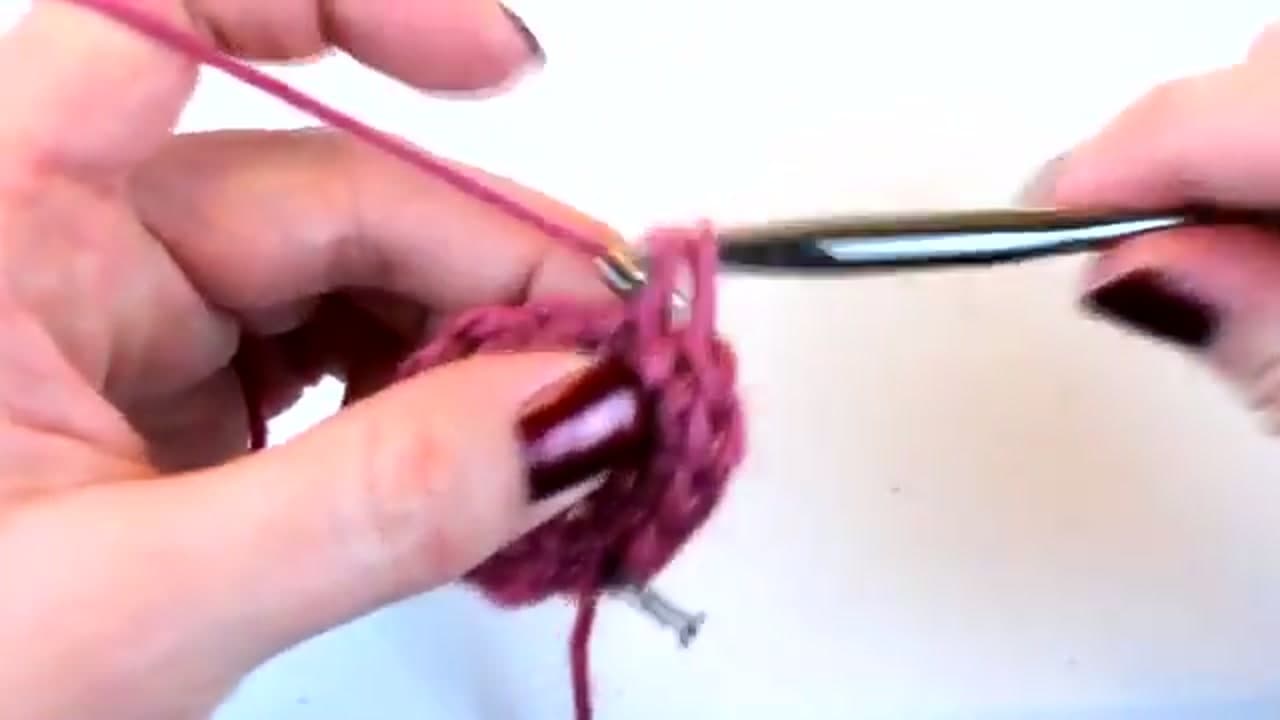
Tip

Keep the chains loose enough that you can fit the hook back into the first one without fighting the yarn.

2

Step 2: Close the ring with a slip stitch

1:15
Step 2: Step 2: Close the ring with a slip stitch

Find the very first chain you made (the one furthest from your hook) and insert the hook into it. Yarn over, then pull the yarn through both the chain and the loop already on your hook. That joining stitch closes the chain into a ring.

You will see a small hole in the middle of the work. That hole is fine for projects where a visible center is part of the look, like a granny round or an open-center motif.

Tip

If the joining feels too tight to pull through, you chained too snug. Pull the work out and chain again with a looser hand.

3

Step 3: Work six single crochets into the ring

2:05
Step 3: Step 3: Work six single crochets into the ring

Chain one to anchor the first round. Then put six single crochets into the center of the ring. Insert the hook through the ring opening (not into a single chain), yarn over, pull up a loop, yarn over, pull through both loops. Repeat five more times until you have six stitches sitting shoulder-to-shoulder around the ring.

Six is the starting count this video uses. Some patterns ask for eight or twelve. Whatever your pattern calls for, work that many stitches into the ring before you move on.

Tip

Crowd the stitches together. They should look like beads on a bracelet, not spaced out around the ring.

4

Step 4: Try the chain-two method for a closed center

2:55
Step 4: Step 4: Try the chain-two method for a closed center

Method two skips the chain-four ring. Start with a slipknot and chain two. Then place all six single crochets into that first chain (the one furthest from your hook).

When you finish the round, give the tail end of the yarn a gentle pull. The center cinches shut and you are left with a closed circle - no visible hole in the middle. That is the look most amigurumi patterns are after, but without the slipperiness of a magic ring.

Tip

An alternative starting method some patterns prefer is the magic ring. Once this technique feels comfortable, try the magic ring for the cleanest closed center.

5

Step 5: Mark the end of the round

4:10
Step 5: Step 5: Mark the end of the round

Crochet in the round usually spirals - there is no obvious seam telling you where round one ends and round two begins. A stitch marker fixes that.

Drop a marker (a bobby pin, a strand of contrasting yarn, or a locking stitch marker) into the last stitch you just made. When you spiral around and come back to the marker, you know you have finished a round. Move the marker up into the last stitch of each new round as you go.

Tip

Locking stitch markers are easier to move and harder to lose than yarn scraps. Worth keeping a pack in your project bag.

6

Step 6: Round two - two single crochets in every stitch

5:20
Step 6: Step 6: Round two - two single crochets in every stitch

Round two doubles the stitch count. Work two single crochets into the first stitch, then two into the second, then two into the third, and so on around the whole circle. When you come back to your stitch marker, you should have twelve stitches.

That doubling is what keeps the disc flat. Six stitches in round one became twelve in round two. The rule for a flat circle: each round adds the same number of stitches you started with in round one. We started with six, so every round adds six.

Tip

If your disc starts to cup like a bowl, you are not increasing enough. If it ruffles around the edge, you are increasing too much.

7

Step 7: Round three - alternate one and two single crochets

7:00
Step 7: Step 7: Round three - alternate one and two single crochets

Round three keeps adding six stitches but spaces the increases out. The pattern is: one single crochet in the next stitch, then two single crochets in the stitch after, then one, then two, and so on around. By the end of round three you should have eighteen stitches.

Each new round follows the same idea, just with more single stitches between each increase. Round four adds another six (24 total) with increases spaced every three stitches. Round five spaces them every four. The disc keeps growing flat. When you are ready to fasten off, cut the yarn, pull it through the last loop, and weave in the ends.

Tip

This same foundation is what builds an octopus, a mushroom, and any other amigurumi project. Master the round and the toys follow.

Products Used

☐ The Checklist

How to Crochet in the Round: Foundational Technique

Tools
4
Materials
1
Steps
7
Video
9 min

Your Guide

Crochet Guru

As an Amazon Associate we earn from qualifying purchases. Links on this page may be affiliate links - clicking them and buying doesn't change your price, but helps support ShowMeStepByStep.

Tags

What's next

Related collections

Curated theme pages that include this tutorial.

Weekly Digest

Liked this crochet tutorial?

Pick the categories you want to hear about. Weekly digest of new step-by-step tutorials. No spam, easy unsubscribe.

Send me tutorials about

We only email about new tutorials. Easy unsubscribe anytime.