Basic Embroidery Techniques for Beginners

By CraftingStepByStepPublished Updated

Based on a video by Craftsy.

Hand embroidery uses a handful of basic stitches combined in different ways. Learn four of them and you can make flowers, text, borders, and filled shapes. That covers most beginner projects.

Craftsy walks through each stitch slowly with close-up shots so you can see exactly where the needle goes. The video uses different colored thread for each stitch so they are easy to tell apart.

Step-by-Step Guide

1

Separate the Floss Strands

0:00
Step 1: Separate the Floss Strands

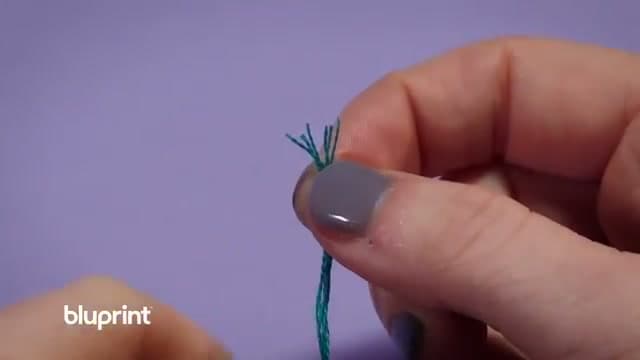
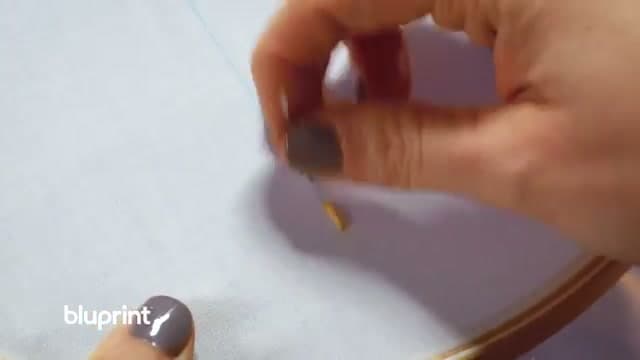
Embroidery floss comes as six strands twisted together. For most beginner work, you use two or three strands at a time. Hold the end of the floss and gently pull three strands to one side.

Go slowly as you separate them. If you rush, the strands twist around each other and knot up. Thread your needle with the separated strands and tie a knot at the other end.

2

Running Stitch

0:41
Step 2: Running Stitch

The simplest stitch. Come up through the back of the fabric, go back down a stitch length away, then come back up another stitch length further. You are making evenly spaced dashes along a line.

Keep your stitch lengths consistent for a clean look. This stitch is used for outlines, borders, and dashed line effects.

Products used in this step

3

Back Stitch

1:41
Step 3: Back Stitch

Start like a running stitch. Come up, go back down one stitch length. Then come up one stitch length ahead, but go back down into the same hole where the previous stitch ended. This creates a solid continuous line with no gaps.

Back stitch is the most used outline stitch in embroidery. It makes clean, defined lines for text, shapes, and borders.

4

Chain Stitch

2:50
Step 4: Chain Stitch

Come up through the back and go back down right next to where you came up, leaving a small loop on the front. Bring the needle back up through the loop and pull snug. That is one chain link.

Repeat by going back down next to where you just came up, leaving a loop, and coming up through it again. To end the chain, make a small stitch over the last loop to lock it in place.

5

Satin Stitch

4:22
Step 5: Satin Stitch

Satin stitch fills in a shape with smooth parallel lines. Come up at one edge of the shape, go down at the opposite edge, then come back up right next to your first stitch. Keep the stitches tight and parallel.

For a polished look, outline the shape with back stitch first, then fill it with satin stitch. You can also save thread by coming up right next to where you went down instead of crossing behind the fabric each time.

Products used in this step

Products Used

☐ The Checklist

Basic Embroidery Techniques for Beginners

Tools
3
Materials
2
Steps
5
Video
6 min

Your Guide

Craftsy

As an Amazon Associate we earn from qualifying purchases. Links on this page may be affiliate links - clicking them and buying doesn't change your price, but helps support ShowMeStepByStep.

Tags

Test your knowledge

Did the lesson stick? Find out in 2 minutes.

5 quick questions covering what you just read. No signup, no score saved — just a gut check.

Quick reference

Key takeaways from Basic Embroidery Techniques for Beginners

5 questions, answers, and one-line explanations. Tap to expand.

  1. 1.Embroidery floss comes as six strands twisted together. For most beginner work, how many strands do you use at a time?

    Answer: Two or three strands

    Two or three is the standard for most beginner work.

  2. 2.What's the simplest embroidery stitch - a series of evenly-spaced dashes along a line?

    Answer: Running stitch

    Running stitch is the simplest - just evenly spaced dashes.

  3. 3.Which stitch creates a SOLID continuous line with no gaps - the most-used outline stitch?

    Answer: Back stitch

    Back stitch fills the gap between running-stitch dashes by going BACK into the previous stitch's hole.

  4. 4.Which stitch is used to FILL IN a shape with smooth parallel lines?

    Answer: Satin stitch

    Satin stitch fills shapes; outline first with back stitch, then fill with satin.

  5. 5.How do you make a chain stitch?

    Answer: Come up, go back down right next to where you came up leaving a loop, then come up through the loop and pull snug

    Chain stitch creates linked loops - each new loop comes up through the previous one.

What's next

Related collections

Curated theme pages that include this tutorial.

Weekly Digest

Liked this crafts tutorial?

Pick the categories you want to hear about. Weekly digest of new step-by-step tutorials. No spam, easy unsubscribe.

Send me tutorials about

We only email about new tutorials. Easy unsubscribe anytime.