1
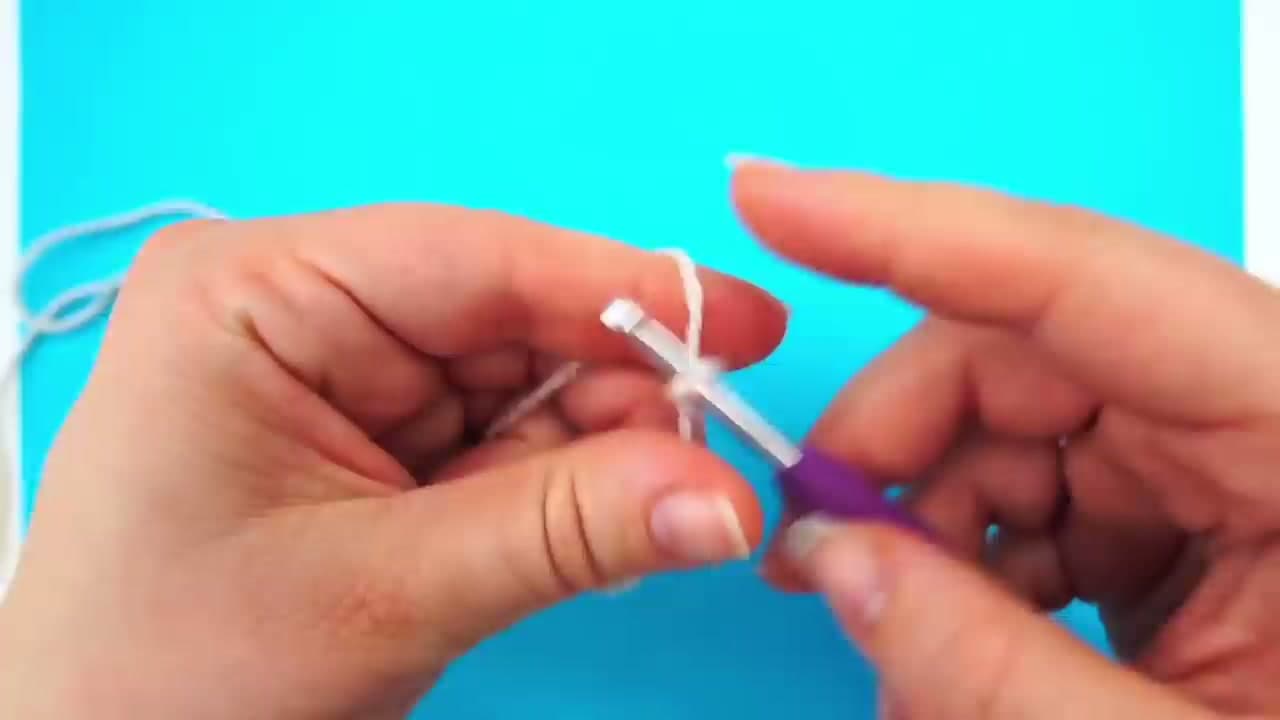
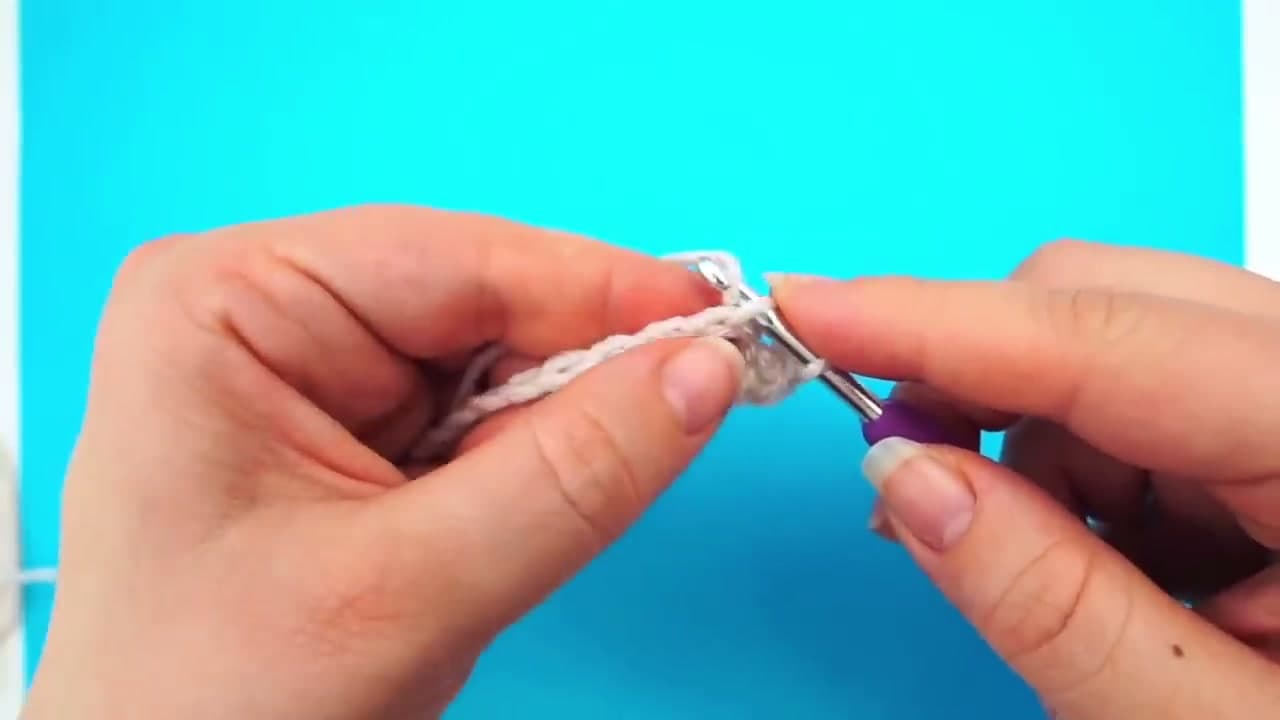
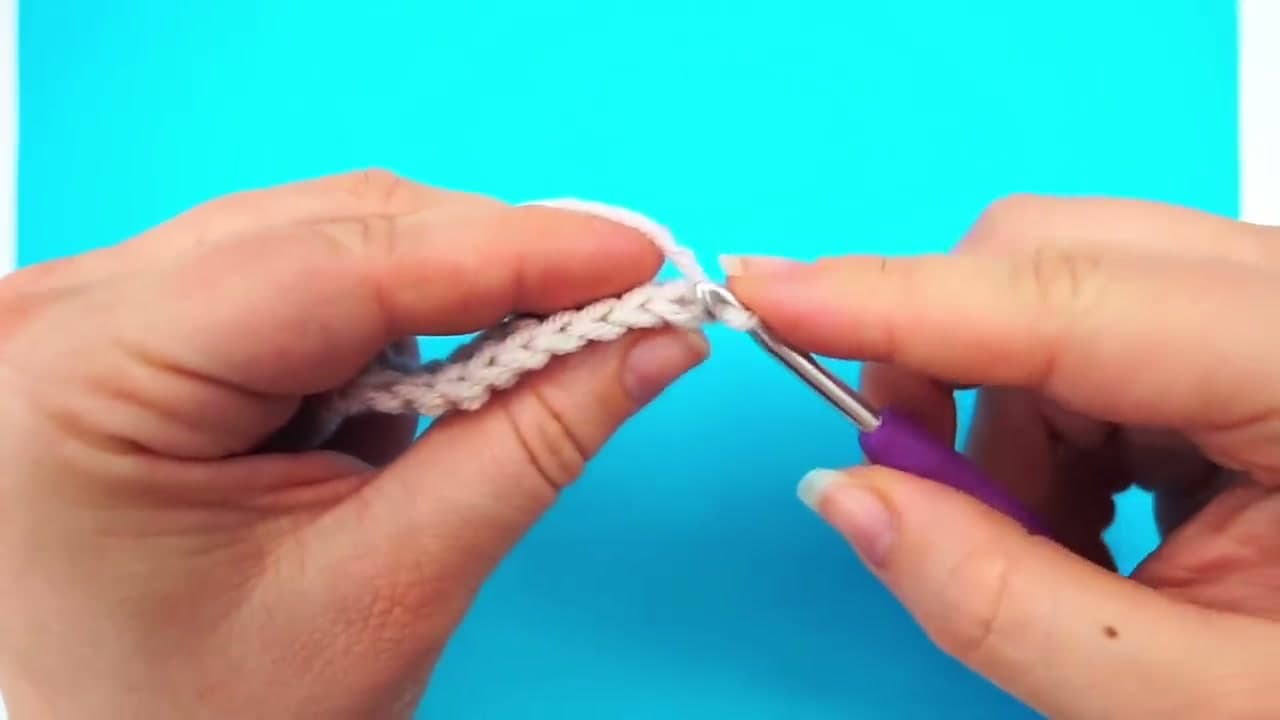
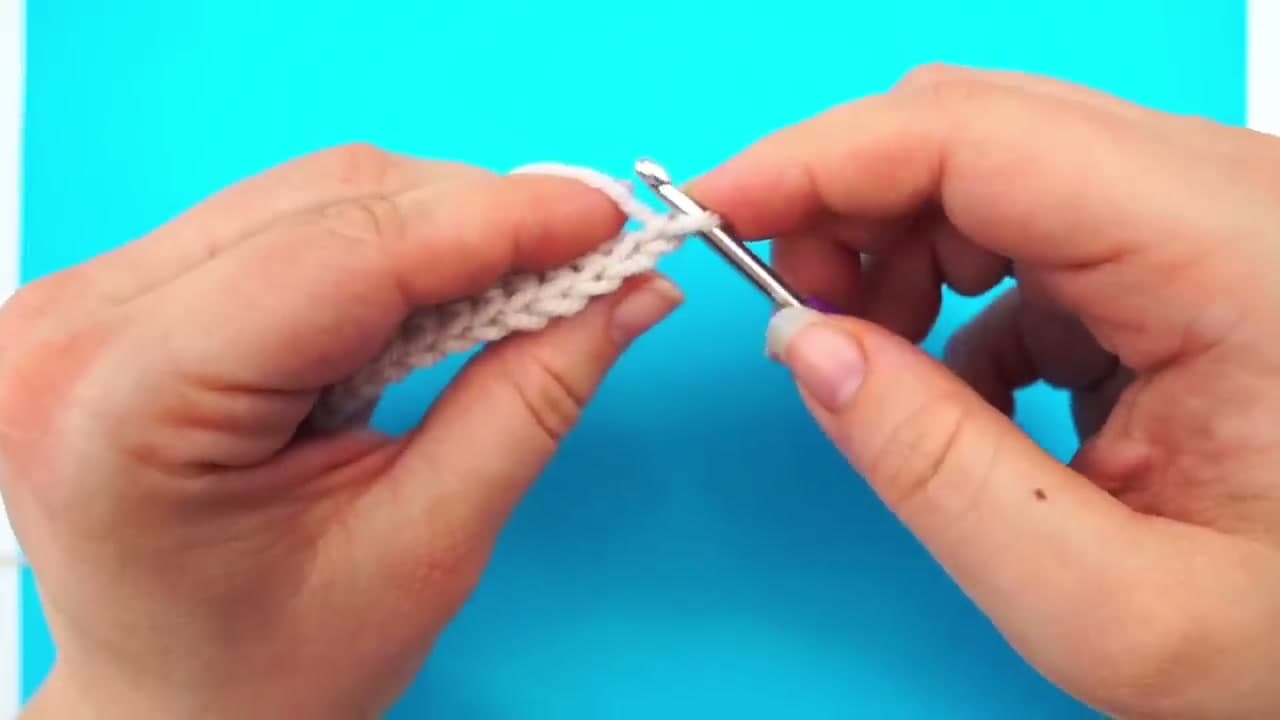
Step 1: Gather your supplies
0:32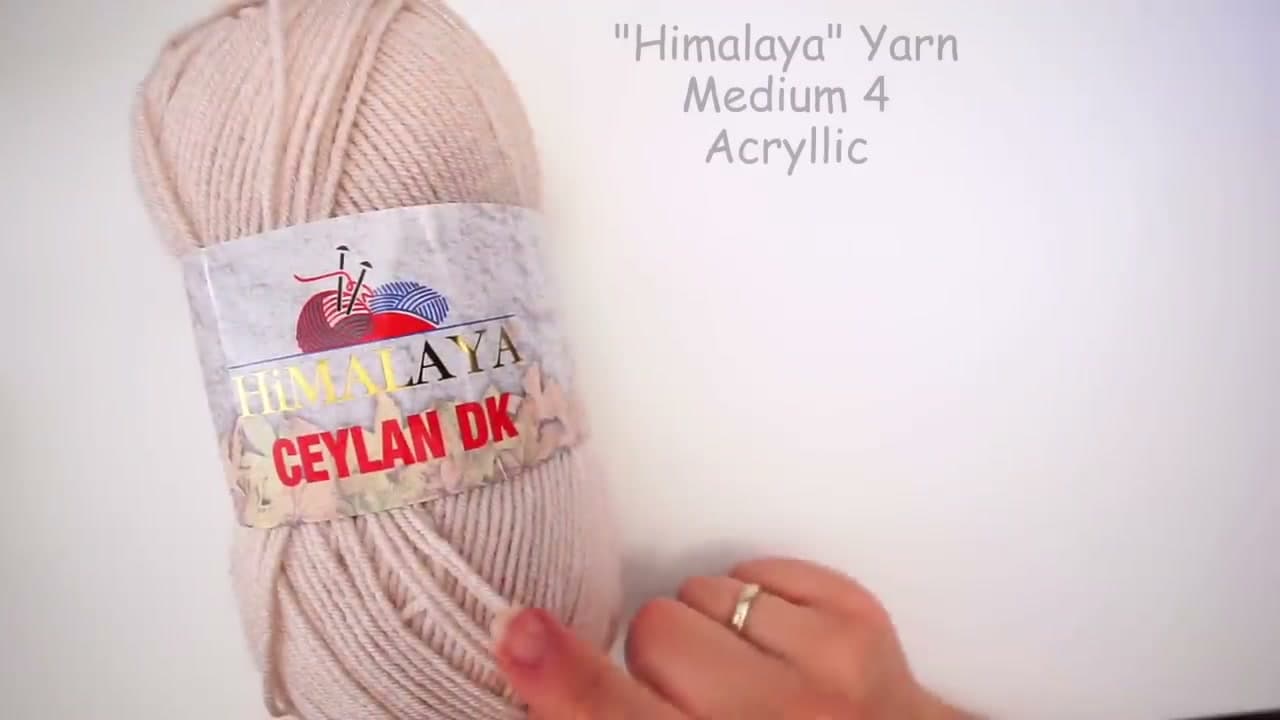
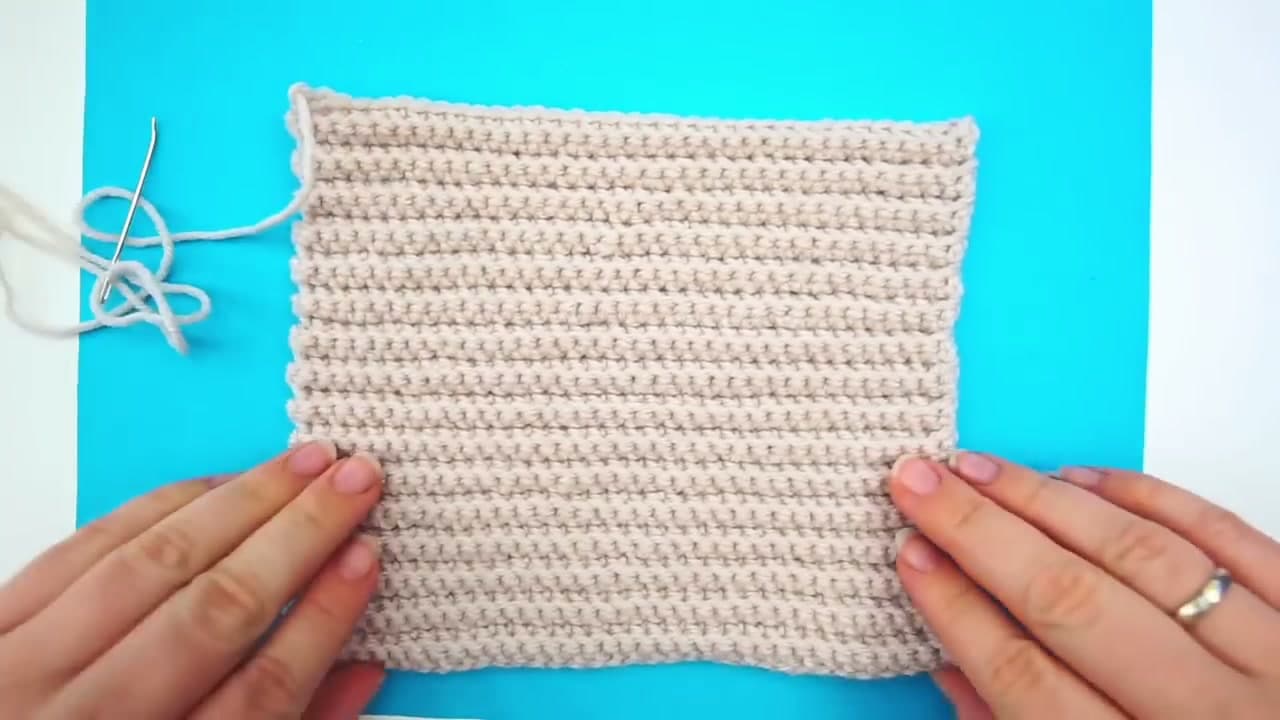
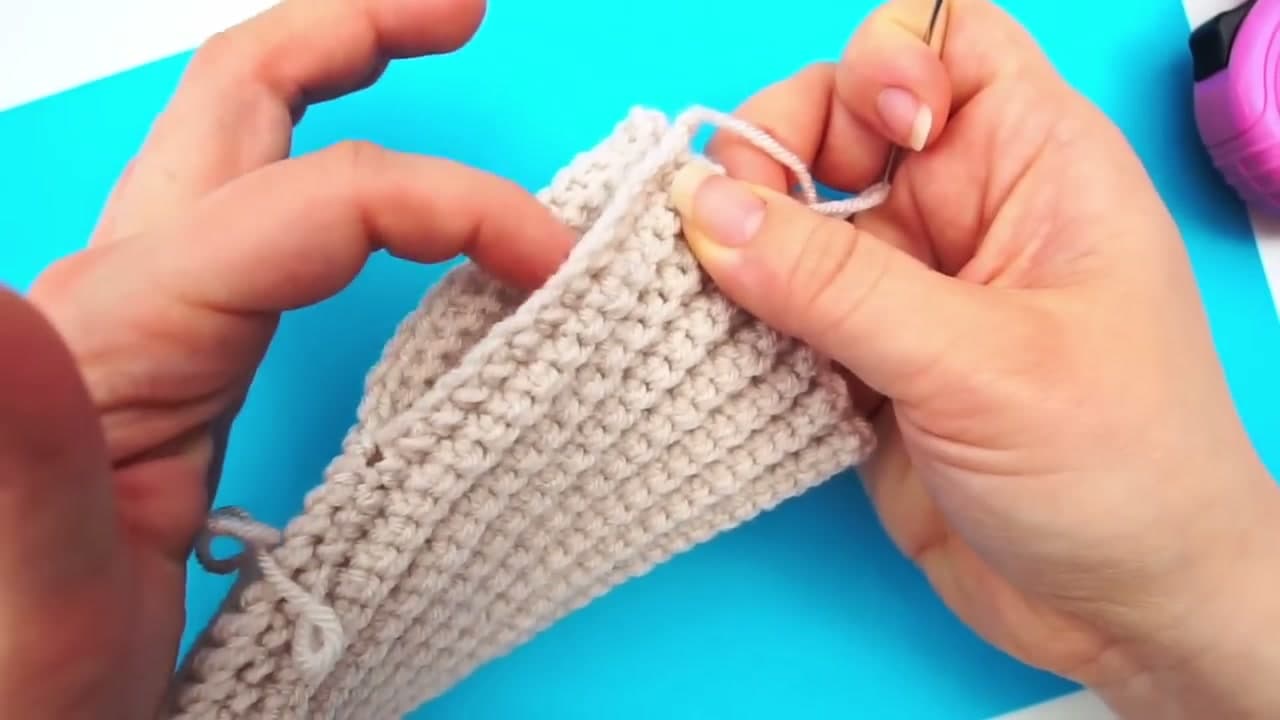
You will need worsted-weight yarn (medium 4 on the yarn label), a 4mm crochet hook, scissors, and a tapestry needle for finishing. The video uses Himalaya Ceylan DK, but any soft acrylic, wool, or wool blend in a medium-4 weight will work.
One ball is enough for both mitts. Pick a colour you actually want to wear - this project is fast enough that you might make three pairs before you put the hook down.
Tip
If your gauge tends to run tight, go up to a 4.5mm hook. The rectangle should feel soft and stretchy, not stiff.