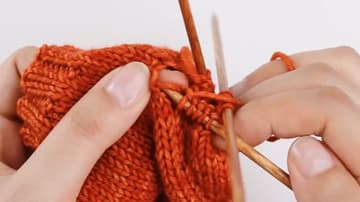
How to Knit Fingerless Gloves: Beginner Pattern in 7 Steps
Source: Sheep & Stitch • Full tutorial: www.craftingstepbystep.com/knitting/how-to-knit-fingerless-gloves
- Difficulty
- Medium
- Hands-on time
- About 5 hours
- Cost
- About $10 to $18
- Makes
- 1 pair of fingerless gloves
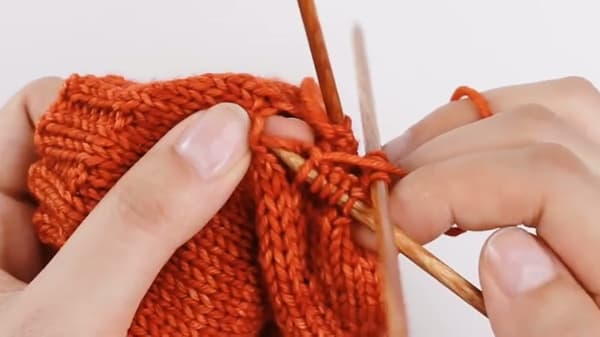
Tools
- 3.25mm double-pointed needles (set of 5)
- 3.75mm double-pointed needles (set of 5)
- tape measure
- stitch markers
- tapestry needle
- scissors
Materials
- 1 hank sport-weight yarn (~50-100g, like Malabrigo Arroyo)
- scrap yarn for holding thumb stitches
Steps
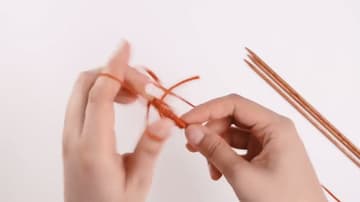
1. Cast On with the Smaller Needles
Pick your size first - measure around your fingers just below the knuckles, keep your hand relaxed, and match the number to the finished sizes in the pattern. Davina's hand measures 6.1 inches, which slots into size small.
Tip: If joining in the round feels fiddly, pull the first stitch extra tight. You can hide any residual ladder when you weave in ends later.
2. Work the Ribbed Cuff
Now work 2x2 rib - knit two, purl two, repeat - for two inches on the smaller needles. The smaller gauge keeps the ribbing tight and stretchy, which is exactly what you want at the wrist so the mitt actually stays on.
Tip: Move the yarn to the front when you switch from knit to purl, and to the back when you switch from purl to knit. The yarn position is what makes the stitch a knit or a purl.
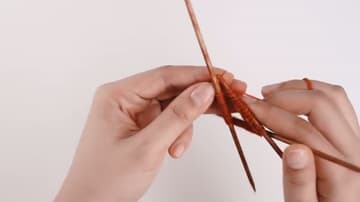
3. Work the Setup Round with Larger Needles
Switch to your larger 3.75mm DPNs by knitting your next round directly onto them. You are transferring stitches as you knit, not swapping needles all at once.
Tip: The yarn tail from your cast on marks the start of the round. When you see it dangling, you know you have come full circle.
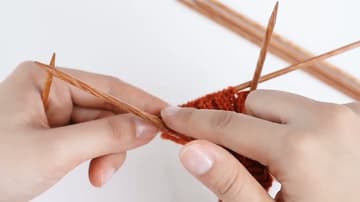
4. Increase for the Thumb Gusset
This is where the tube becomes a mitten. Knit to the first marker, slip it to the right needle, then M1L (make one left) by picking up the running thread between the stitches from front to back and knitting into the back loop.
Tip: If M1L and M1R are scrambling your brain, pick one and use it for every increase.
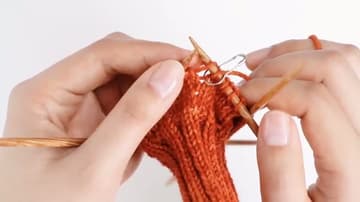
5. Divide for the Thumb
Knit to the first marker, then remove it. The 16 stitches between the markers (18 for size large) come off the needle and onto a strand of scrap yarn - thread a tapestry needle, run it through each stitch, and pull the yarn through.
Tip: Tuck the scrap yarn inside the mitten while you knit the body so it does not flap around. The held stitches will stay put for hours.
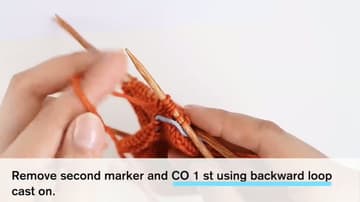
6. Knit the Body, Decrease, and Bind Off
Knit straight in stockinette for 8 rounds (10 rounds for size large) above the thumb opening. This is the body of the mitten - the part that covers your knuckles.
Tip: If the bind off still feels tight against your hand, go up another needle size. A loose bind off is the difference between a mitten you love and one you never wear.
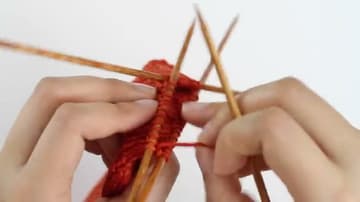
7. Knit the Thumb and Finish
Slide the held thumb stitches off the scrap yarn and back onto your larger DPNs. Distribute them across three needles, then pick up two extra stitches across the gap where you did the backward loop cast on - this closes any holes.
Tip: The little gap at either end of the thumb is normal. Use your yarn tail to stitch it closed when you weave in - it will look like it was there all along.