How to Make Terrazzo

CraftsAdvanced10:2610 stepsBrowse more →
The finished result: How to Make Terrazzo

By CraftingStepByStepPublished

Based on a video by Grey Element Projects.

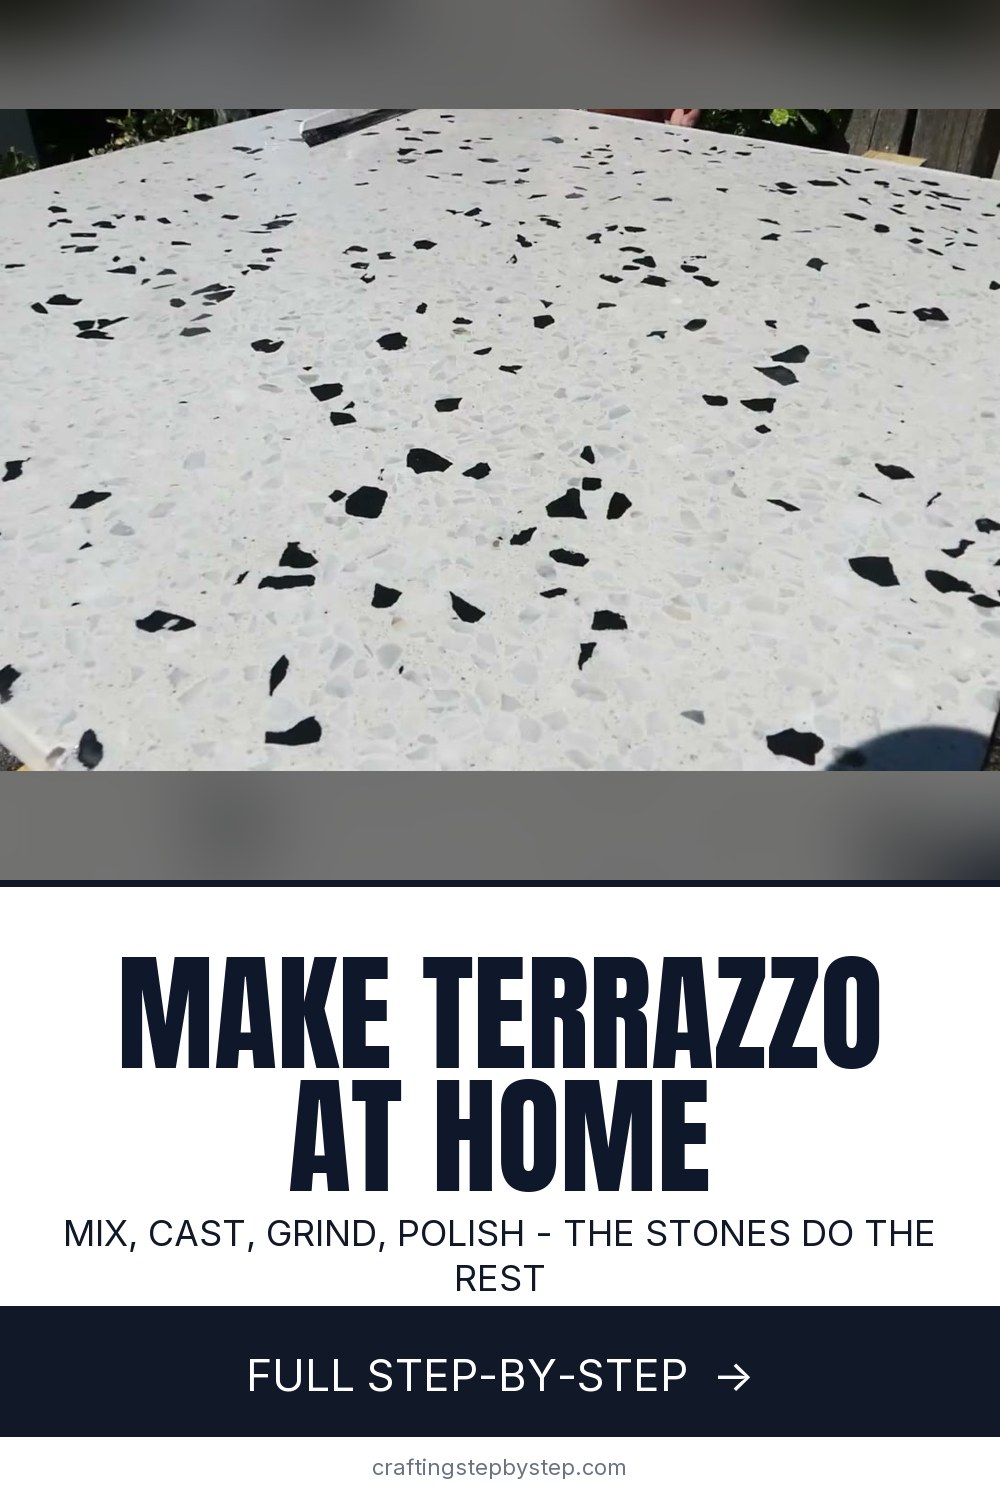
Terrazzo is stone chips set in cement, ground flat until the chips show through. That is genuinely the whole idea, and it is why you can make it at home rather than buying it by the square metre.

This walkthrough from Grey Element Projects covers the full run: mixing a white base, folding in the aggregate, casting the slab, then the grinding and polishing that actually creates the terrazzo look. Skip the grinding and you just have concrete with rocks in it.

Be honest with yourself about the tools before you start. You need a grinder with a diamond cup, and for a proper gloss you need wet polishing pads. An angle grinder with the right disc will do it. Bare hands will not.

Plan on two days. The slab needs to set before grinding, and the pore-filling mortar needs overnight before the final polish.

If you want to start smaller in the same material, try concrete coasters or a concrete planter first.

Step-by-Step Guide

10 steps · about 10 minutes.Check off each step as you go and your progress saves automatically.

1

Step 1: Choose Your Cement, Sand and Aggregate

1:28
Step 1: Choose Your Cement, Sand and Aggregate - How to Make Terrazzo

Three components decide how the finished slab looks. White cement for a white base. Marble sand at 0 to 2 mm for the fine fill. And decorative chippings as the aggregate you actually see.

The marble sand is not fussiness. Ordinary sand carries dark specks, and because terrazzo gets ground right down, those specks surface and turn a white slab a dirty grey. White sand keeps the background white.

The aggregate is where the look comes from. Different stone, different colours, different sizes, mixed however you like. This build uses white chippings with black for contrast.

Tip

Buy more aggregate than you think you need. Running out mid-mix means a visible colour break in the finished slab.

2

Step 2: Mix the Base

2:05
Step 2: Mix the Base - How to Make Terrazzo

Three parts sand to one part cement by weight. Add a little microsilica, which makes the concrete harder, more flowable and generally easier to work with.

Water goes in at roughly 400 ml per kilo of cement. Mix it through with a drill and paddle. A concrete mixer works too, but for a batch this size cleaning the mixer afterwards costs more time than the mixing saves.

3

Step 3: Add the Plasticizer

2:38
Step 3: Add the Plasticizer - How to Make Terrazzo

Mix plasticizer with water first, then add it to the batch.

It drops the surface tension in the mixing water, so the concrete turns fluid and compacts almost on its own. The difference is obvious the moment it goes in, and it is what saves you fighting the mix at the pour.

Used in this stepConcrete plasticizer
4

Step 4: Fold In the Aggregate

3:05
Step 4: Fold In the Aggregate - How to Make Terrazzo

Tip the chippings in and mix them through. Coarse aggregate makes the batch noticeably harder to stir, which is normal.

One rule matters here: every stone must be smaller than the thickness of your slab. Oversized stones bridge the formwork, refuse to settle, and make a level top surface impossible.

Tip

Stop mixing once the chips are evenly spread. Over-mixing just wears you out and starts breaking the softer stones.

5

Step 5: Build and Release-Coat the Formwork

3:25
Step 5: Build and Release-Coat the Formwork - How to Make Terrazzo

Coated chipboard screwed together makes a good form. The coating gives a smooth face and survives contact with wet concrete.

Brush release agent over every surface the concrete will touch. This is what lets the slab come out cleanly instead of taking the form apart around it.

6

Step 6: Pour, Compact and Level

4:05
Step 6: Pour, Compact and Level - How to Make Terrazzo

Pour the terrazzo mix in and compact it by hand as you go. Stop about a centimetre below the top edge.

Then mix a plain sand-and-cement batch with no stones in it and fill that last centimetre. This is the step people skip and regret. Coarse stones at the very top cannot move downward, so they fight compaction and you never get a level face.

Strike the fine layer off with a straight edge or trowel.

Tip

The fine cap gets ground away later, so it does not affect the pattern. It only exists to give you a flat surface to grind.

7

Step 7: Demold the Slab

5:10
Step 7: Demold the Slab - How to Make Terrazzo

Take the form apart and lift the slab out once it has set.

The face does not need to be flawless. Every bit of it is about to be ground away, so small blemishes at this stage genuinely do not matter.

One timing note: do not let the concrete cure too hard first. Grinding is significantly easier while it is still green, and waiting only adds work.

8

Step 8: Grind the Surface

5:45
Step 8: Grind the Surface - How to Make Terrazzo

A diamond cup wheel takes the cement skin off and exposes the stones. A dedicated concrete grinder with dust extraction is the comfortable option, but a cup disc on any angle grinder does the same job.

Keep the cup flat on the surface. Tipping it cuts grooves that are painful to grind back out. Work with even pressure so the whole face comes down uniformly.

This is dusty, slow work. Wear a mask.

Tip

Wet the surface to check progress. Dry ground concrete hides the aggregate; water makes the pattern show as it will look polished.

9

Step 9: Fill the Pinholes

7:00
Step 9: Fill the Pinholes - How to Make Terrazzo

Grinding opens up air pockets across the face. Left alone they stay as visible pits.

Mix a very fine mortar, two parts marble powder to one part white cement, and work it over the whole surface to push it into every pore. Marble powder is just finely ground marble sand, so it matches the background colour and leaves no patchiness.

Wipe back with a damp cloth and let it harden overnight.

10

Step 10: Wet-Polish to a Gloss

8:50
Step 10: Wet-Polish to a Gloss - How to Make Terrazzo

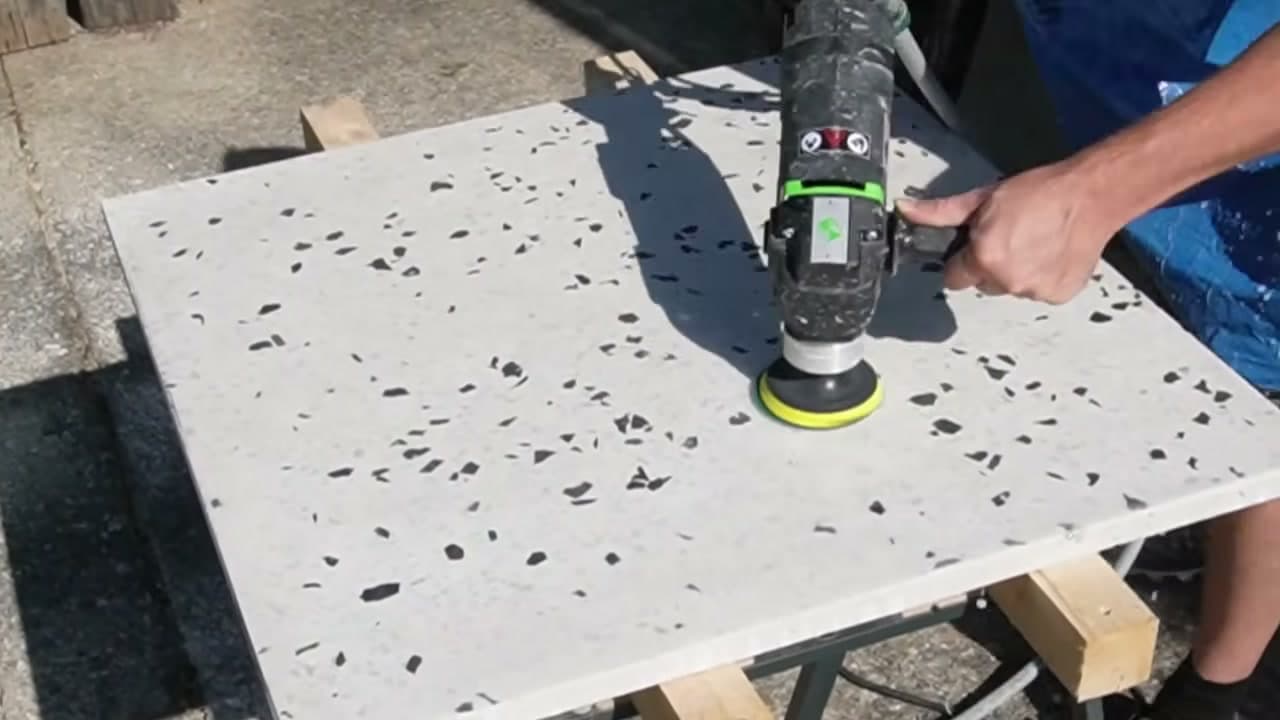
Polishing is the step that turns a flat grey slab into terrazzo.

Use a wet polisher and work through diamond pads from about 50 grit up to 3000, roughly doubling the grit each pass. Working wet cuts the dust and gives a better finish.

Do this outside if you can, and use a splash guard. Wet polishing throws slurry a surprising distance.

Tip

Do not skip grits. Each pass removes the scratches left by the one before, and jumping ahead leaves marks that show up under the gloss.

Keep going

How to Make a Snow Globe

Products Used

The Checklist

How to Make Terrazzo

Tools
12
Materials
9
Steps
10
Video
10 min

Tools we recommend

Your Guide

Grey Element Projects

As an Amazon Associate we earn from qualifying purchases. Links on this page may be affiliate links - clicking them and buying doesn't change your price, but helps support CraftingStepByStep.

Tags

Sunday How-To

New crafts tutorials, every Sunday

One short email with the week's best step-by-step guides. Free, no spam, unsubscribe anytime.

Did this work for you?

What's next

Related collections

Curated theme pages that include this tutorial.

Weekly Digest

Liked this crafts tutorial?

Pick the categories you want to hear about. Weekly digest of new step-by-step tutorials. No spam, easy unsubscribe.

Send me tutorials about

We only email about new tutorials. Easy unsubscribe anytime.