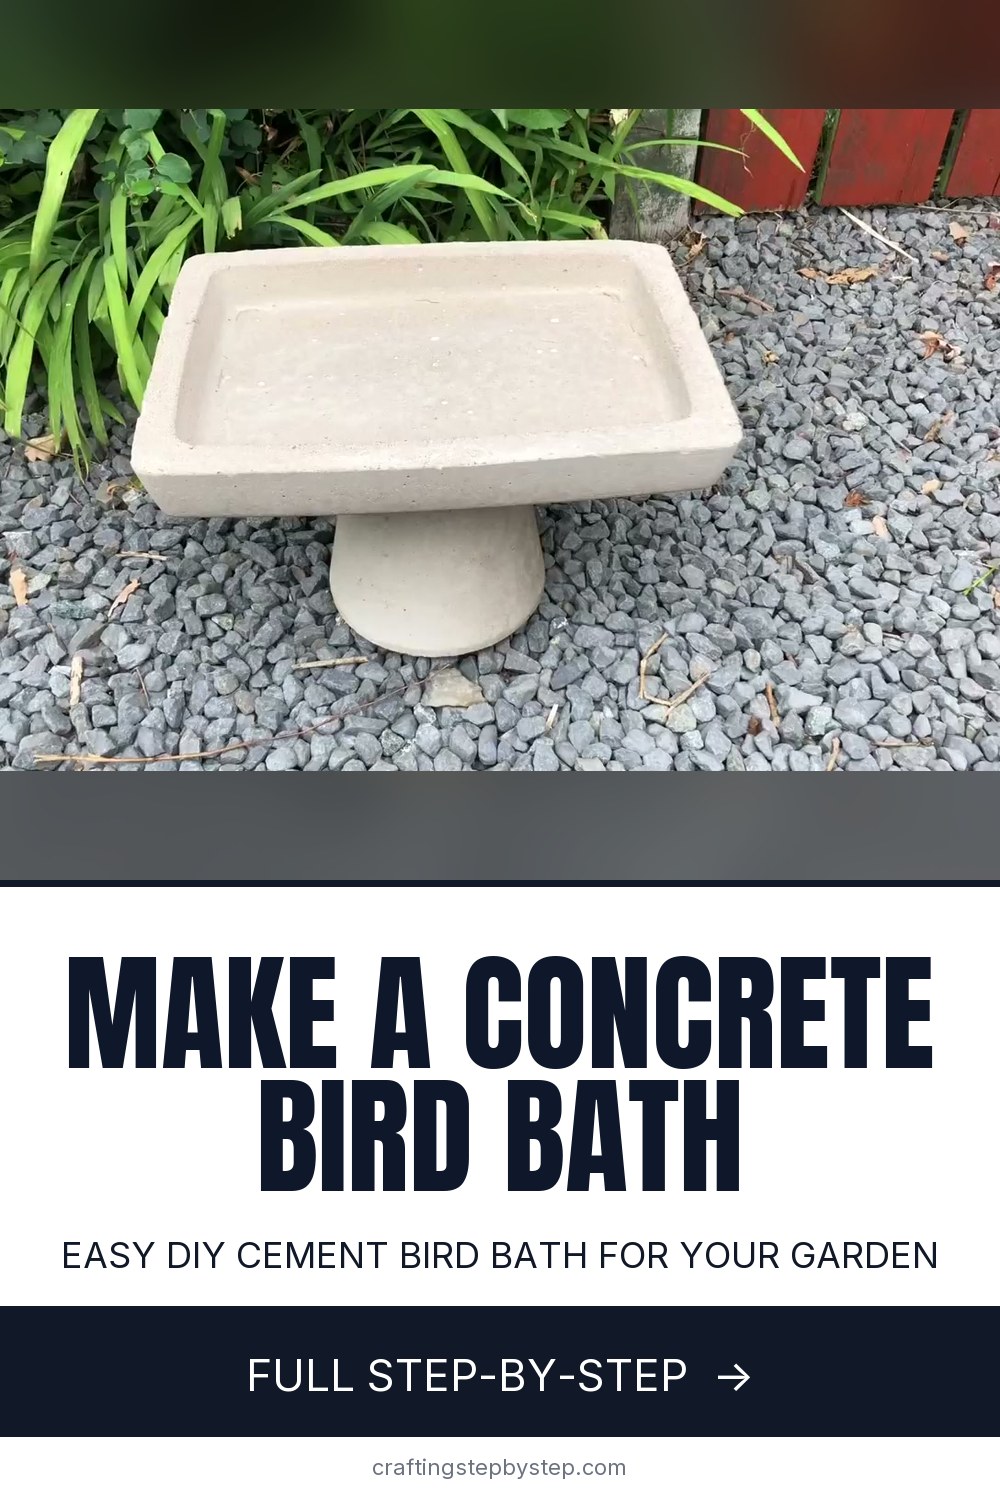
How to Make a Concrete Bird Bath (DIY, Step by Step)

CraftsMedium17:017 stepsBrowse more →
Also in:Gardening

By CraftingStepByStepPublished

Based on a video by Grow With Kit.

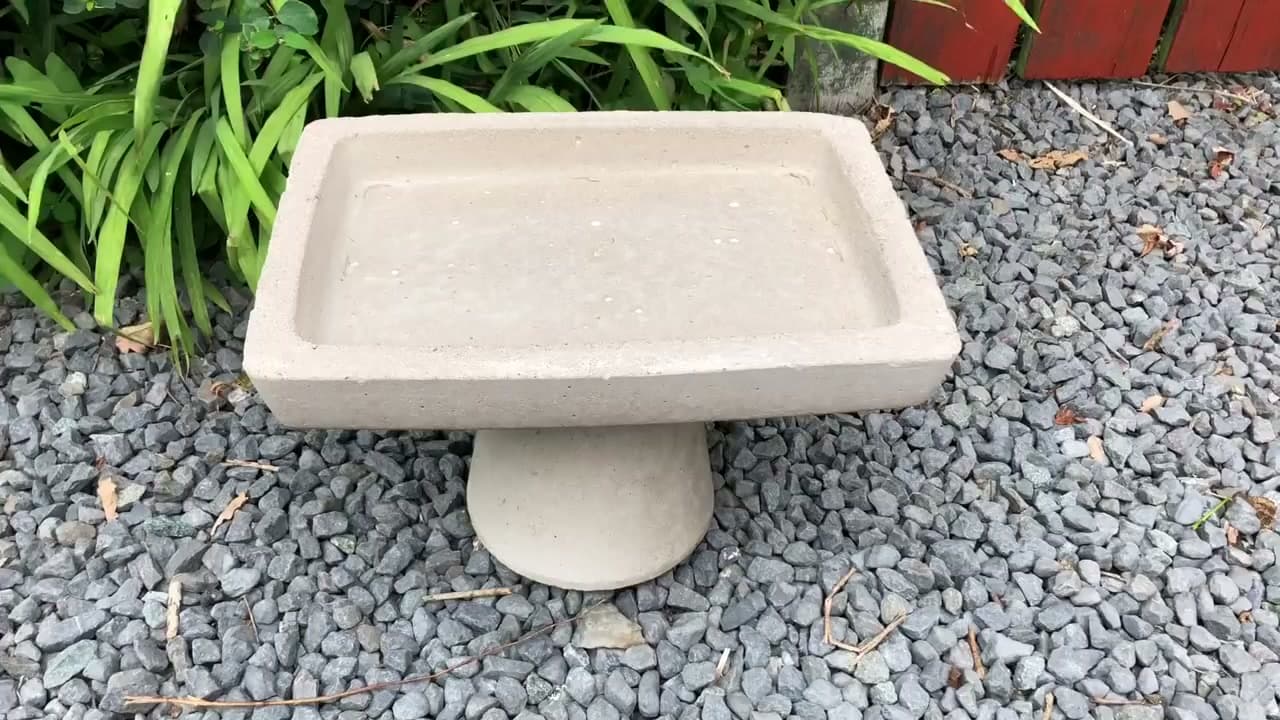
A concrete bird bath sounds like a big job and turns out to be one of the cheapest things you can cast in an afternoon. On his channel Grow With Kit, Kit makes this one from a couple of plastic trays, an old bucket, and about a pound's worth of cement and sand. The birds get a low, sturdy water dish and you get a solid garden piece that will outlast anything plastic.

The build is two simple casts. The wide basin comes from pressing one plastic tray into a second tray packed with concrete, which leaves a shallow dish for the water. The pedestal is just concrete set in a bucket. If you have not mixed a small batch before, read how to mix concrete for crafts first, since the one-to-two cement and sand ratio here is the same one behind our concrete planter.

Kit's trick is WD-40 wiped inside every mold so the cured pieces slide straight out. Give the concrete a full 48 hours, demold, then knock the rough edges off with a wire brush while it is still green. For a bath that lives outside all year, brush on a sealer once it has hardened - here is how to seal concrete crafts. Want to feed as well as water your visitors? The same trays make a great bird feeder.

Step-by-Step Guide

7 steps · about 17 minutes.Check off each step as you go and your progress saves automatically.

1

Step 1: Line the Molds

4:30
Step 1: Step 1: Line the Molds

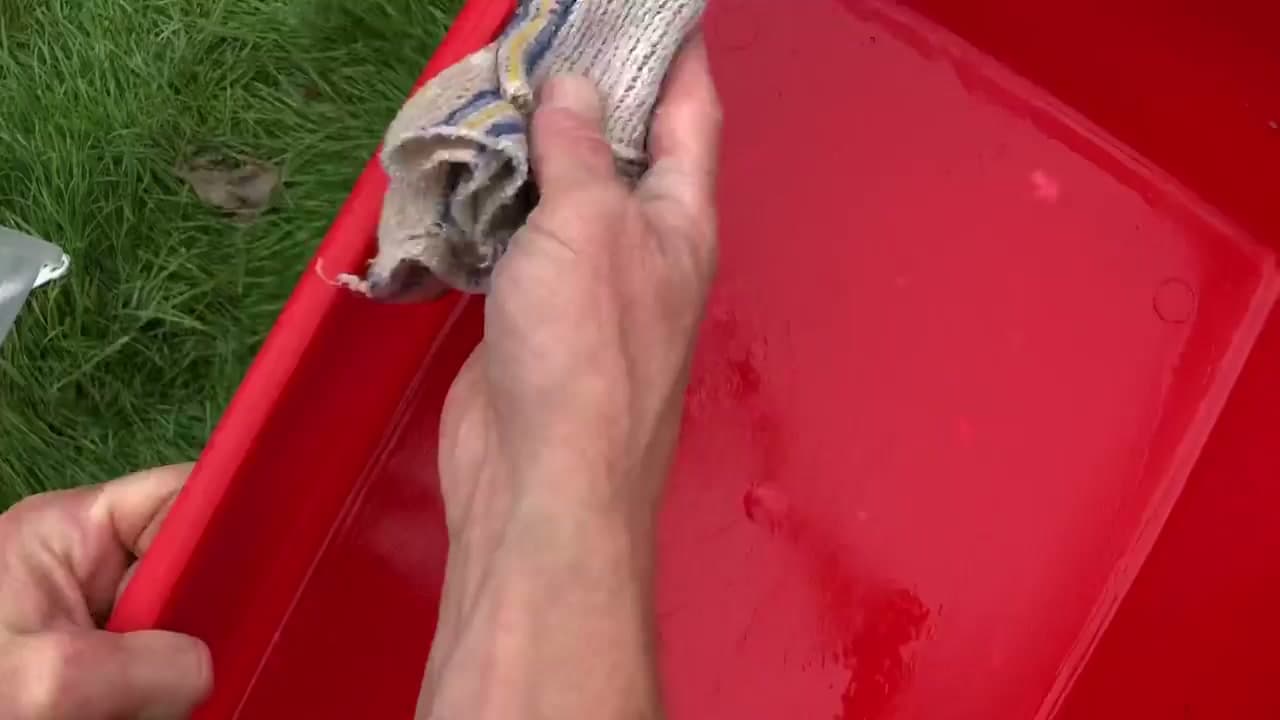
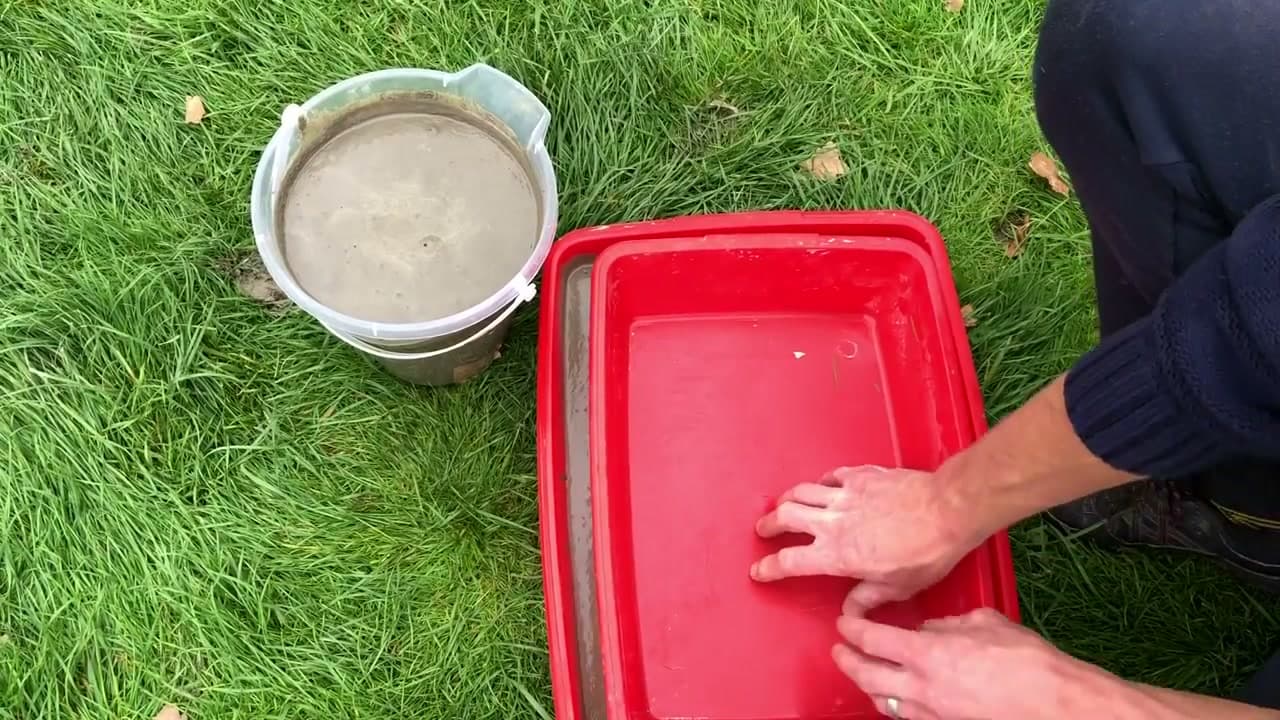
Kit builds the basin from two plastic trays that nest together and the pedestal from an old bucket. Before any concrete goes in, the inside of each mold needs a release coat so the cured pieces come out clean.

Spray WD-40 over every surface the concrete will touch, then wipe it around with a rag until there is a thin, even film. Cooking oil or a proper mould release works too. Do not skip this - it is the difference between the pieces sliding out and cracking on the way.

Tip

Watch this step Wipe off the excess so it does not pool. You want a film, not a puddle, or it can mark the surface of the concrete.
2

Step 2: Mix the Concrete

6:00
Step 2: Step 2: Mix the Concrete

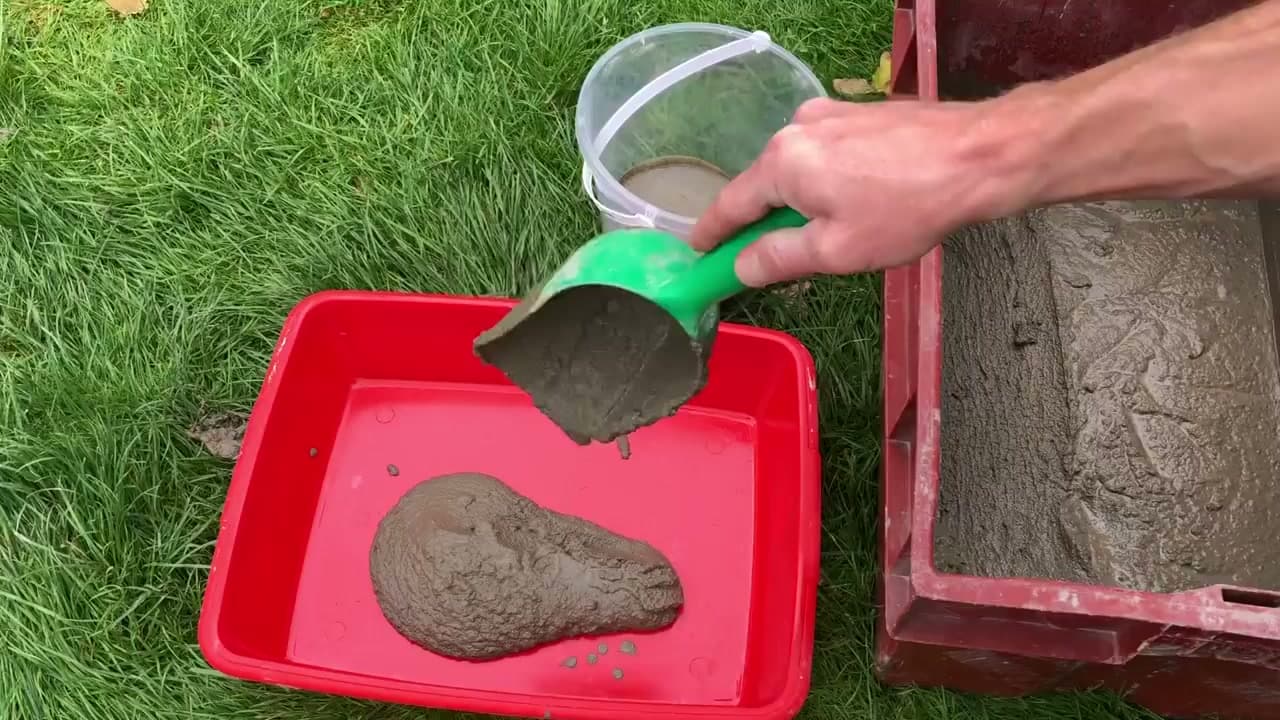
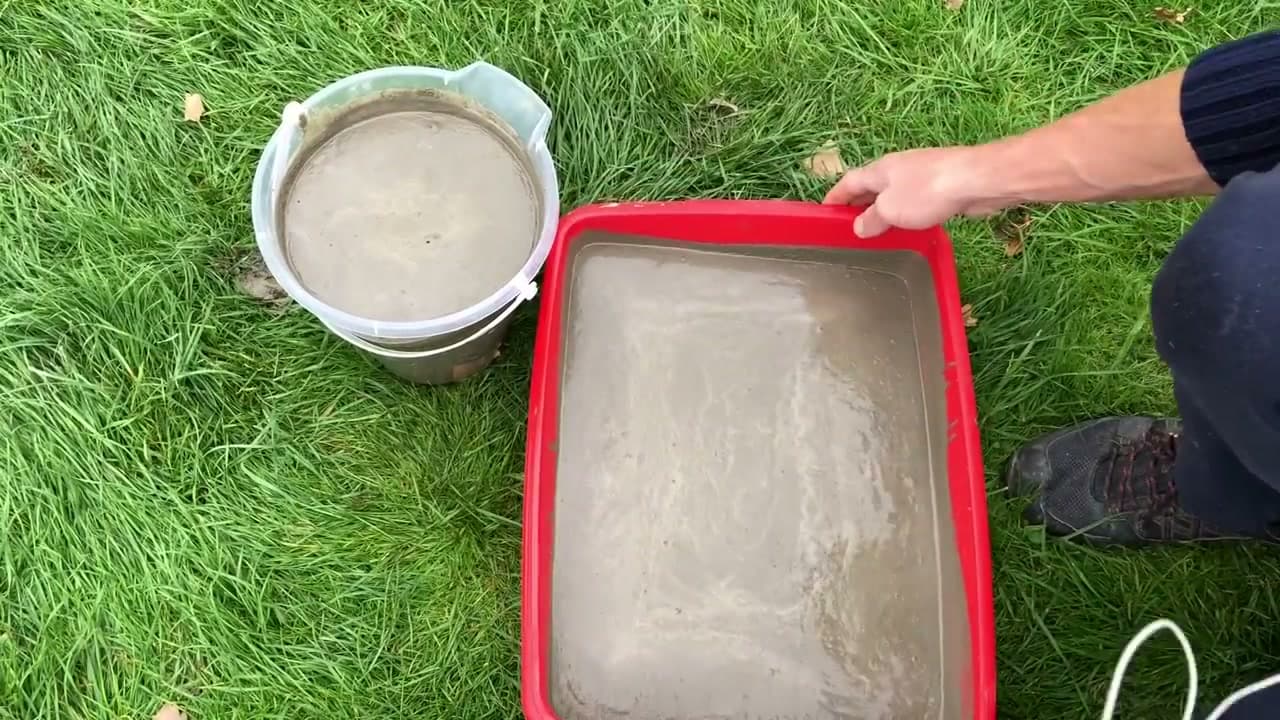
Tip your cement and sand into a big tub and mix it dry first so the color is even. Kit uses one part cement to two parts sand, which came out to six scoops of cement and twelve of sand for a couple of baths.

Add water in small splashes and turn it over with a trowel or a gloved hand. Stop when it looks like thick porridge, wet enough to pour and settle but stiff enough to hold a peak on the scoop. Too runny and it will end up weak and full of shrinkage cracks.

Tip

Watch this step Wear a dust mask while the cement is dry. The powder is harsh on your lungs, and it only takes a second to put one on.

3

Step 3: Fill the Molds

6:40
Step 3: Step 3: Fill the Molds

Start with the pedestal bucket and pack it right to the top. Then load concrete into the larger basin tray, filling it about halfway since the second tray still has to press down into it.

As you fill, tap the sides and give each mold a good shake. Air pockets rise up and pop at the surface, and getting them out now means fewer holes in the finished piece. Level the top off with the back of your scoop.

Tip

Watch this step Drop the whole mold flat onto the ground a few times. The jolt shakes trapped air loose better than poking at it.

4

Step 4: Shape the Basin and Weigh It Down

7:20
Step 4: Step 4: Shape the Basin and Weigh It Down

Push the second tray straight down into the half-filled basin mold. It squeezes the concrete up and around the sides, which forms the shallow dish the birds will drink from. Center it by eye and wiggle it to chase out any last bubbles.

Pour water into the top tray to weigh it flush and stop it floating up as the concrete sets. Check it is sitting level, then walk away. Leave both molds untouched for at least 48 hours, because a single day is not enough and the concrete tears when you demold.

Tip

Watch this step More water in the inner tray means more weight and a flatter, more even dish. Fill it close to the brim.

5

Step 5: Demold the Pieces

11:00
Step 5: Step 5: Demold the Pieces

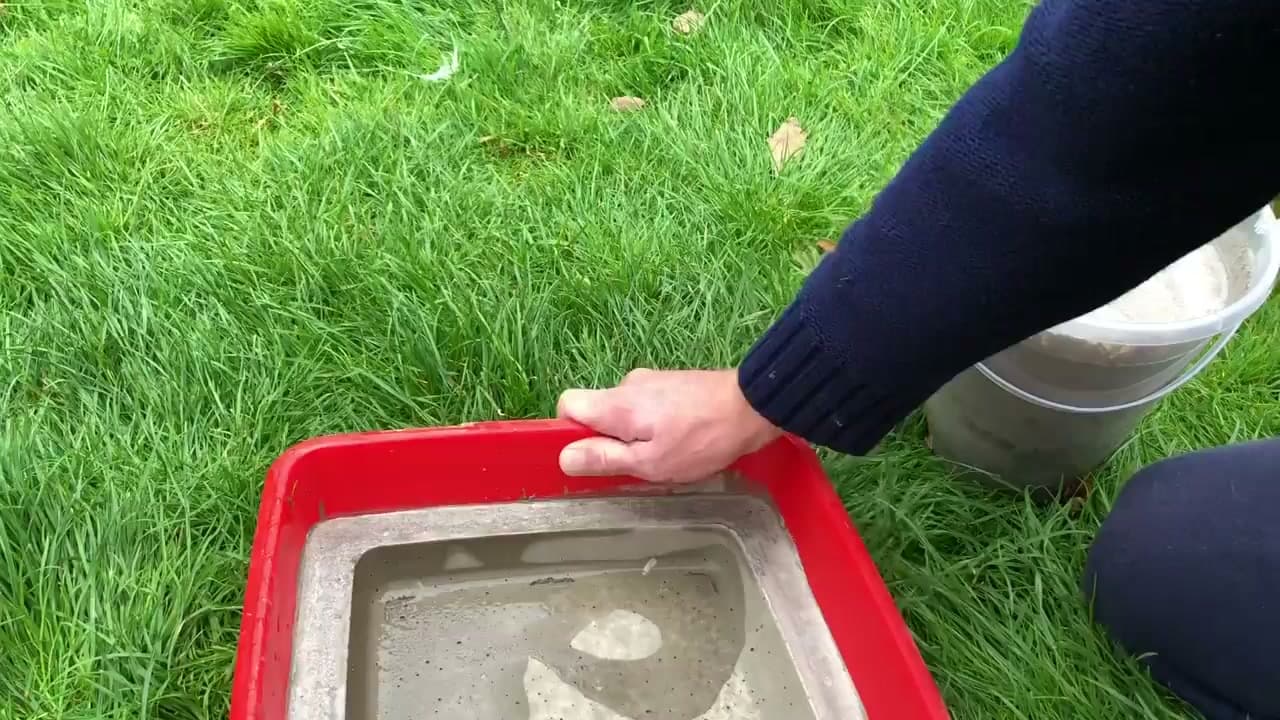
After a couple of days the concrete is hard enough to handle. Tip the water out of the basin, then work your fingers around the rim to break the grip between the plastic and the stone.

Flex the tray and ease each piece free. The WD-40 does the heavy lifting here and most pieces drop straight out. The pedestal sits deeper in its bucket, so tip it and coax it rather than yanking, and do not worry about a hairline crack on the hidden underside.

Tip

Watch this step If a piece is stubborn, leave it another day. Green concrete chips at the edges, but a fully cured piece pops much more willingly.

Products used in this step

6

Step 6: Smooth the Edges

12:00
Step 6: Step 6: Smooth the Edges

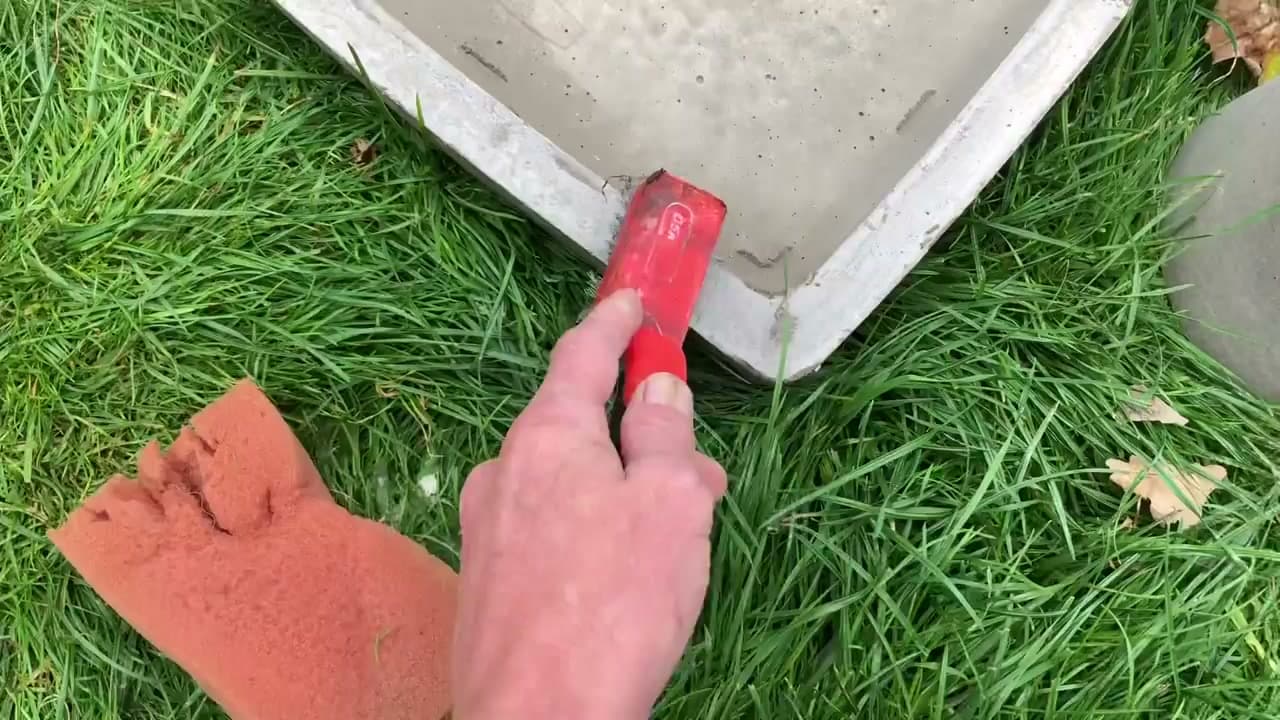
Fresh concrete is still soft enough to shape. Run a wire brush over the rim and down any ridge left by the seam between the two trays, knocking off the gritty high spots until the edges feel kind to the touch.

Rinse the dust away with water and a sponge as you go so you can see what you are doing. Get it done in the first day or two, because within a week the surface sets rock hard and the brush just skates over it.

Tip

Watch this step To weatherproof it for years outside, brush on an exterior concrete sealer once it has fully cured for a week.

7

Step 7: Set It in the Garden

16:18
Step 7: Step 7: Set It in the Garden

Rest the basin on top of the pedestal. Its own weight holds it in place, or you can bed it down with a dab of exterior adhesive. Carry the pair to a spot with a little cover nearby so birds feel safe stopping in.

Sit it level on gravel or grass and fill the dish with clean water. Keep it shallow, top it up every few days, and tip it out to rinse now and then. Give it a week or so and the regulars will find it.

Tip

Watch this step A few pebbles or a flat stone in the dish gives bees and small birds a safe place to perch while they drink.

Products Used

☐ The Checklist

How to Make a Concrete Bird Bath (DIY, Step by Step)

Tools
8
Materials
7
Steps
7
Video
17 min

Tools we recommend

Your Guide

Grow With Kit

As an Amazon Associate we earn from qualifying purchases. Links on this page may be affiliate links - clicking them and buying doesn't change your price, but helps support ShowMeStepByStep.

Tags

Sunday How-To

New crafts tutorials, every Sunday

One short email with the week's best step-by-step guides. Free, no spam, unsubscribe anytime.

Did this work for you?

What's next

Related collections

Curated theme pages that include this tutorial.

Weekly Digest

Liked this crafts tutorial?

Pick the categories you want to hear about. Weekly digest of new step-by-step tutorials. No spam, easy unsubscribe.

Send me tutorials about

We only email about new tutorials. Easy unsubscribe anytime.