How to Make a Concrete Pumpkin (Fall Decor)

CraftsMedium10:358 stepsBrowse more →

By CraftingStepByStepPublished

Based on a video by FLEA MARKET RESCUE.

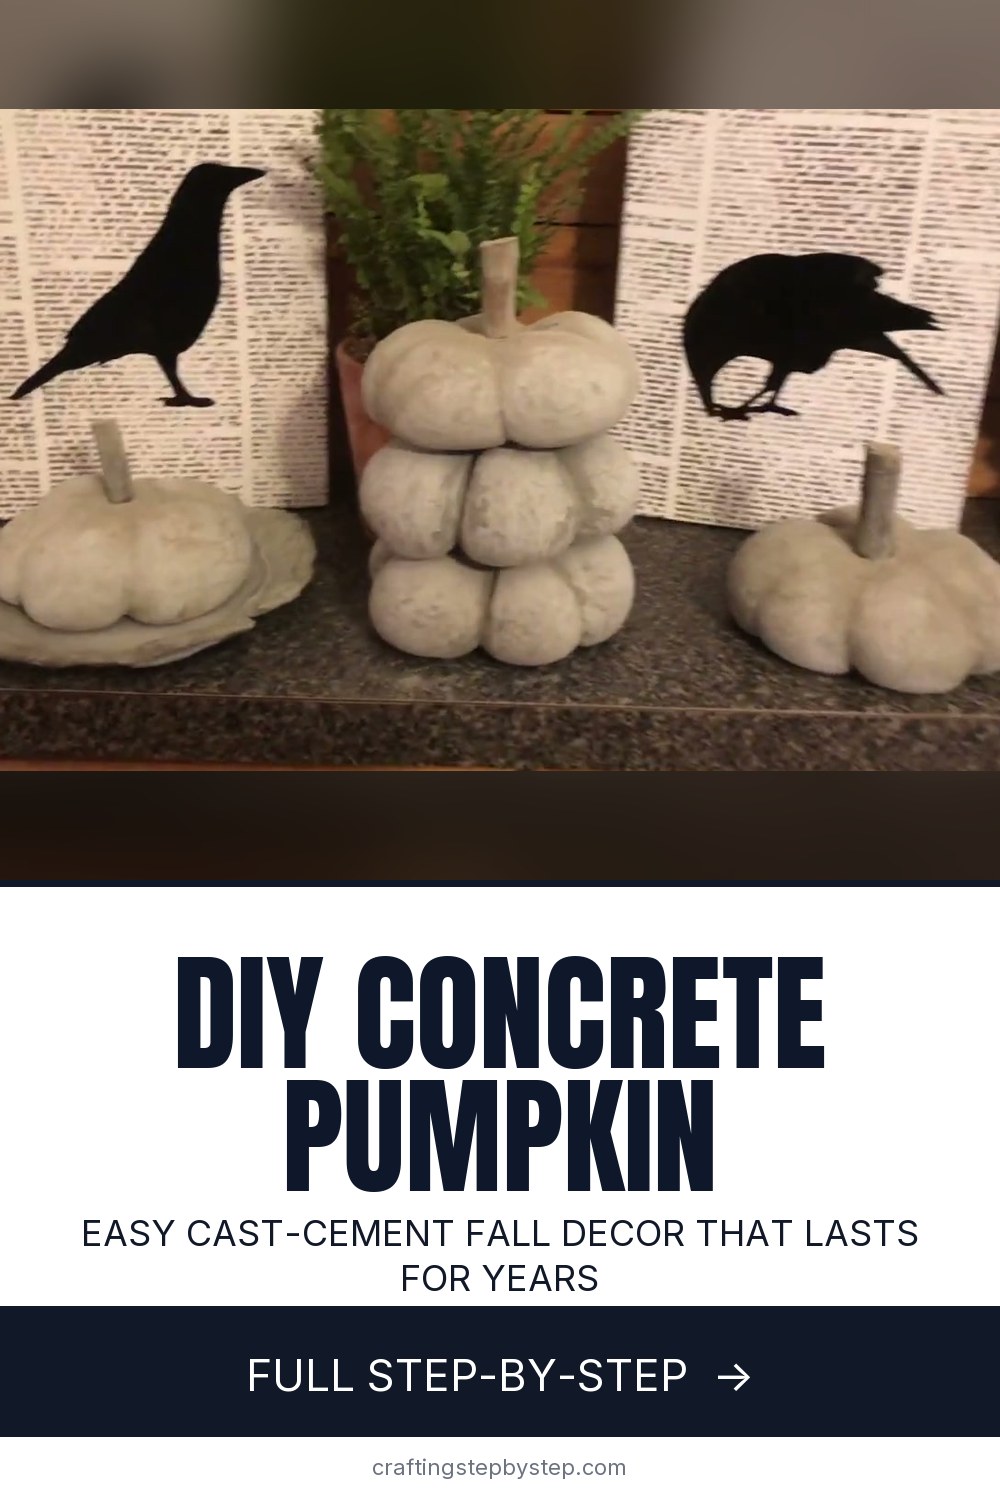
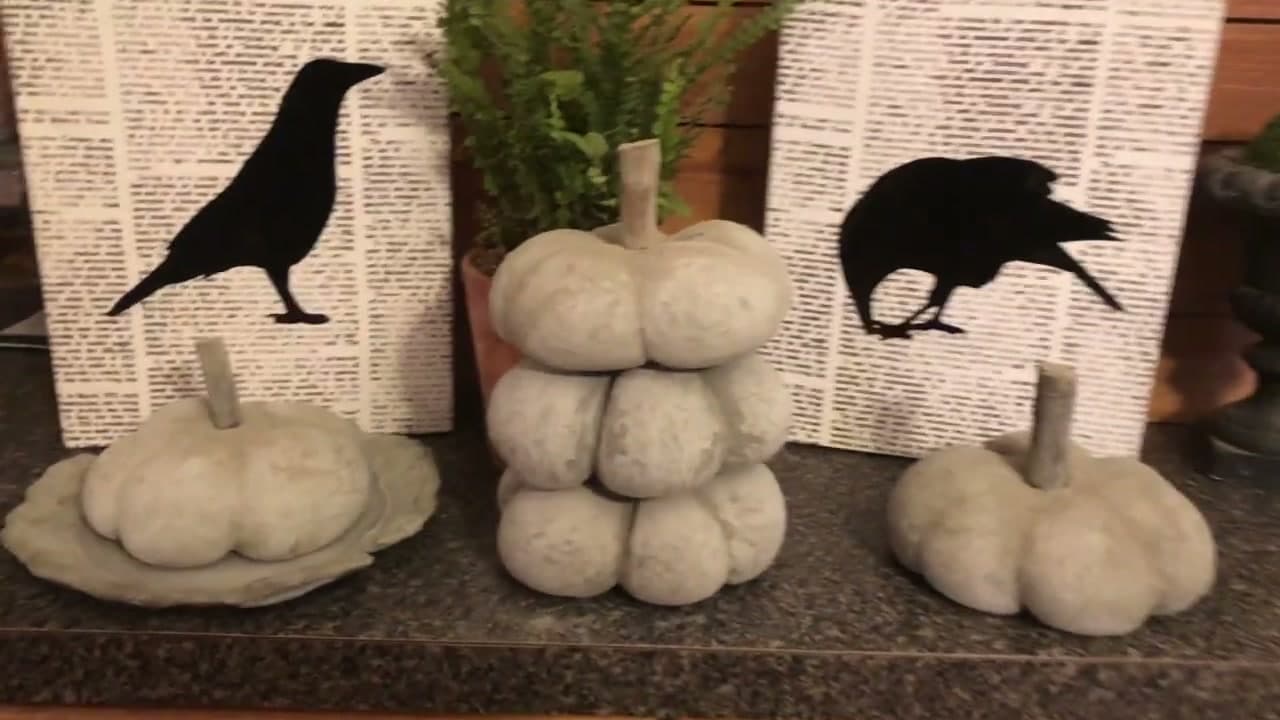
Concrete pumpkins have that heavy, stony look you can leave out on the porch all season and not worry about. Flea Market Rescue makes a batch here with nothing fancier than a bag of cement and some old rags, and the result looks like it came from a garden shop.

This is a cast concrete pumpkin, not a carved or crocheted one. You soak fabric in a cement slurry, gather it into a round pumpkin shape, and let it cure hard. Once it sets you trim the base, push in a twig for the stem, and you are done. Each one comes out a little different, which is the whole charm.

Plan for a messy hour of hands-on work and then a day of curing. Gloves are not optional here since wet cement is rough on skin. If you like working with cement, try the concrete planter, the concrete soap dish, or the concrete trinket dish next.

Step-by-Step Guide

8 steps · about 11 minutes.Check off each step as you go and your progress saves automatically.

1

Step 1: Mix the Concrete

1:35
Step 1: Step 1: Mix the Concrete

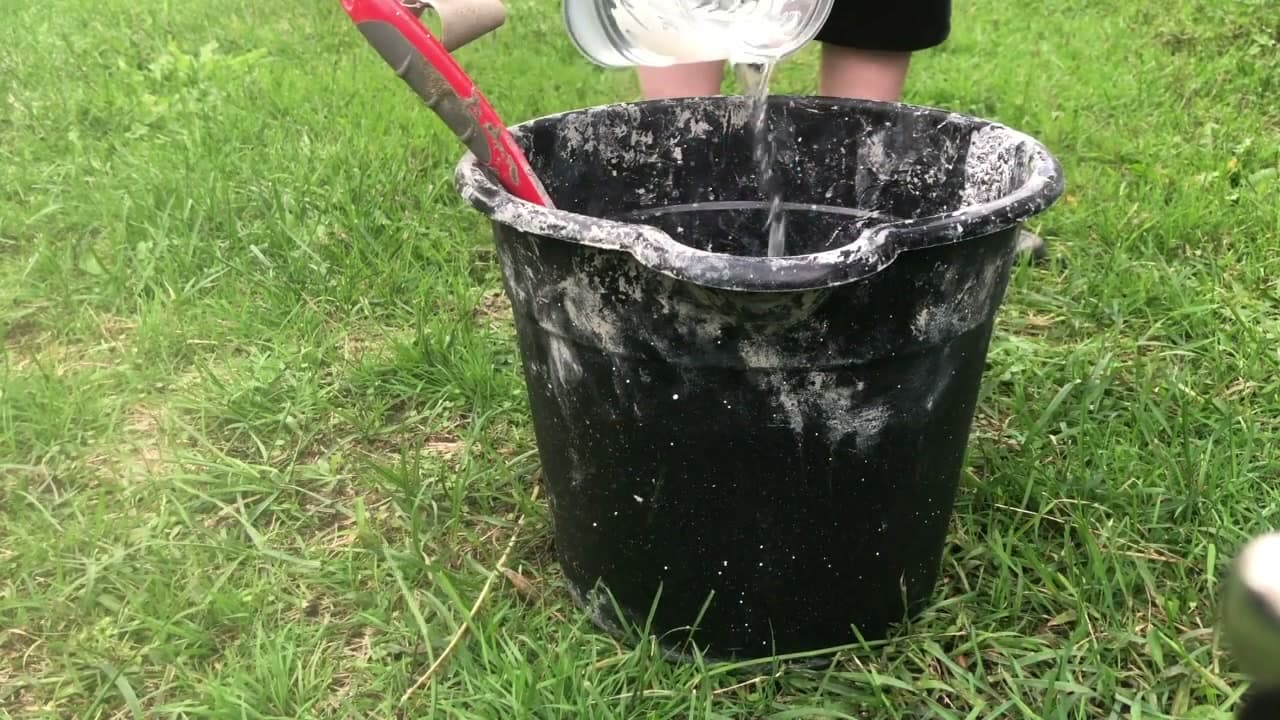
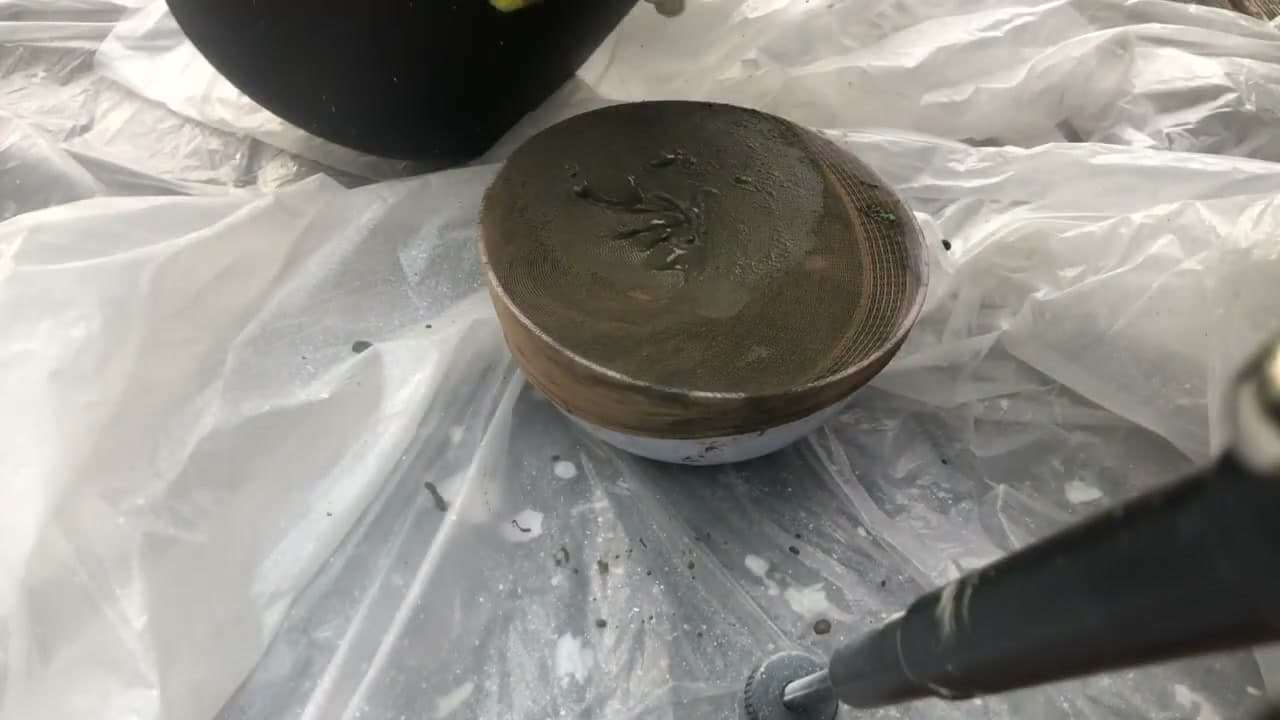
Start by mixing your cement outdoors where the mess does not matter. Add water to the dry cement a little at a time and stir until it holds together like a thick batter. You want it wet enough to coat fabric but not so soupy that it runs off. Work in a sturdy bucket and keep the water handy so you can adjust as you go. A batch this size will make two or three pumpkins.

Tip

Watch this step and add the water slowly. It is easy to overshoot and end up with a runny mix you cannot thicken back up without more dry cement.
2

Step 2: Prepare the Slurry

3:20
Step 2: Step 2: Prepare the Slurry

Pour some of the mixed cement into a bowl and thin it slightly so fabric can soak it up. The slurry in the bowl should be looser than the bucket batch, closer to a thick pancake batter. This is what carries the cement into every fiber of the cloth. If it looks too stiff to dip into, work in a splash more water until a spoon drags through it smoothly.

Tip

Watch this step to gauge the pour consistency. A wide bowl gives you room to work the fabric around without slopping cement over the edge.

3

Step 3: Soak the Fabric

4:30
Step 3: Step 3: Soak the Fabric

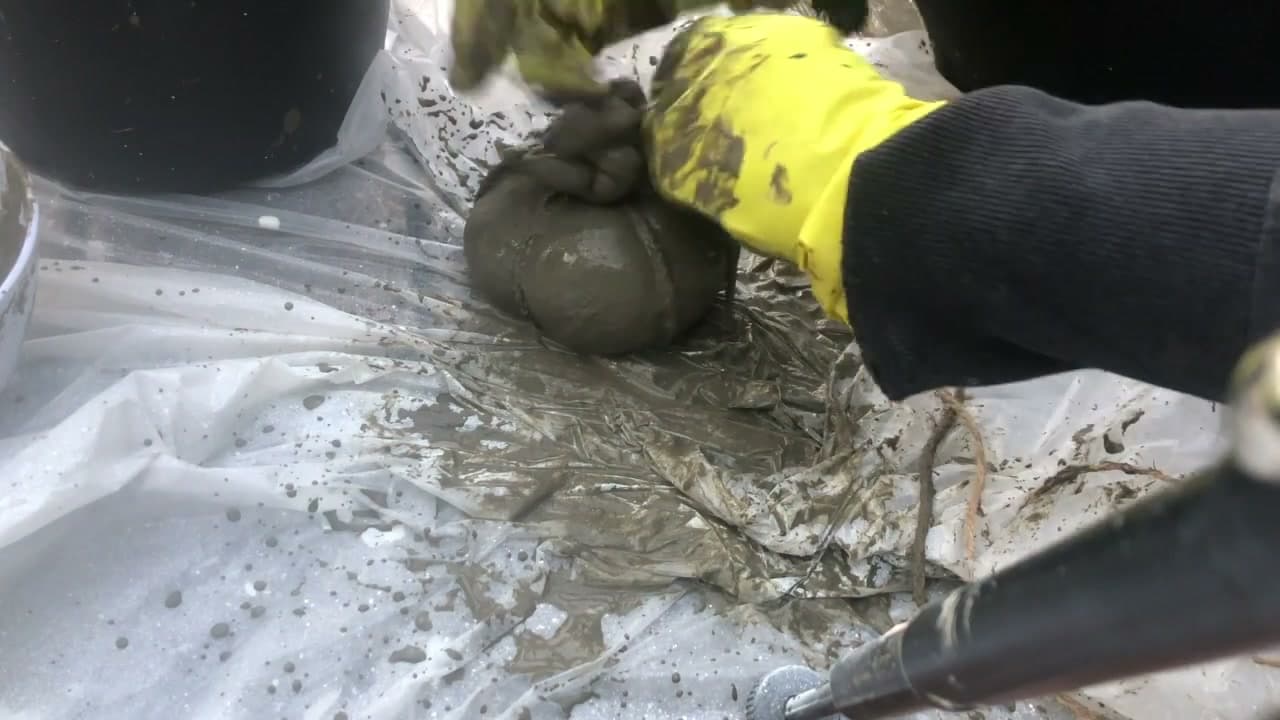
Lay an old cloth or a nylon stocking into the slurry and press it down until it is fully soaked through. Squeeze the fabric so the cement works into the weave rather than sitting on top. A T-shirt scrap, a rag, or a knee-high nylon all work, and each texture leaves a slightly different surface on the finished pumpkin. Get every part of the cloth heavy and grey before you lift it out.

Tip

Watch this step and take your time saturating the cloth. Dry spots turn into weak spots that crack once the pumpkin cures.

4

Step 4: Shape the Pumpkin Body

5:00
Step 4: Step 4: Shape the Pumpkin Body

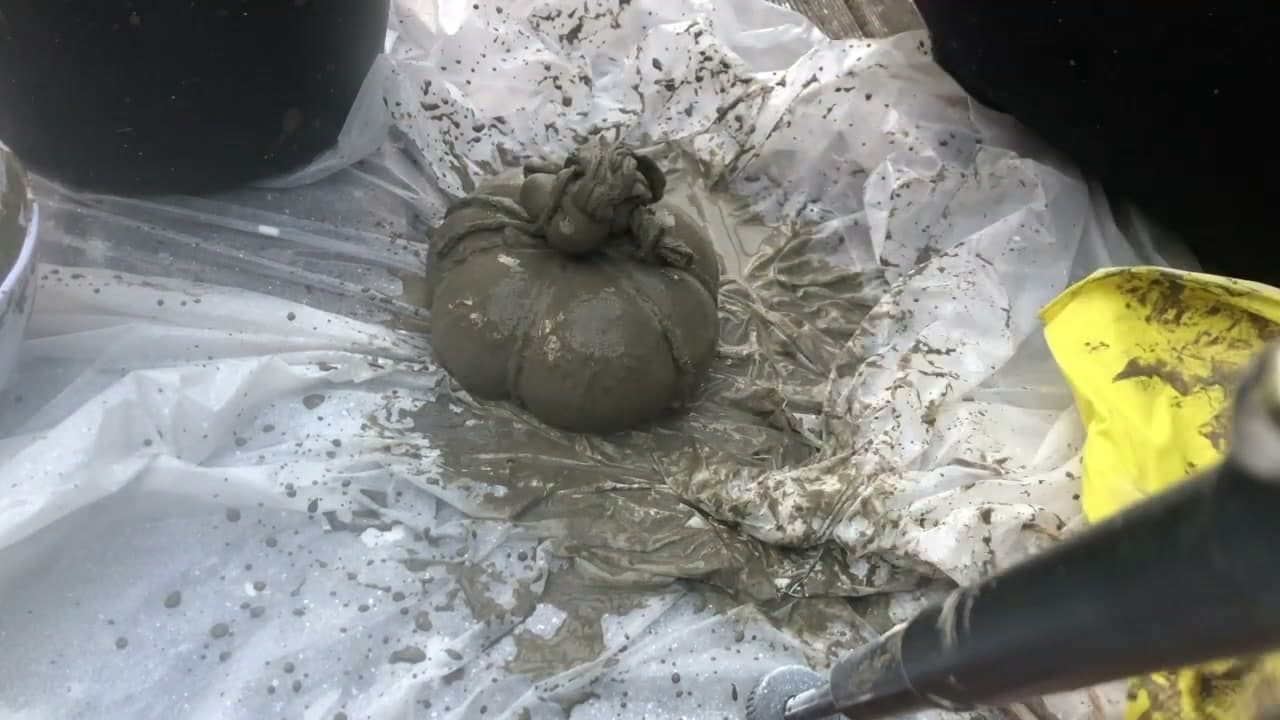
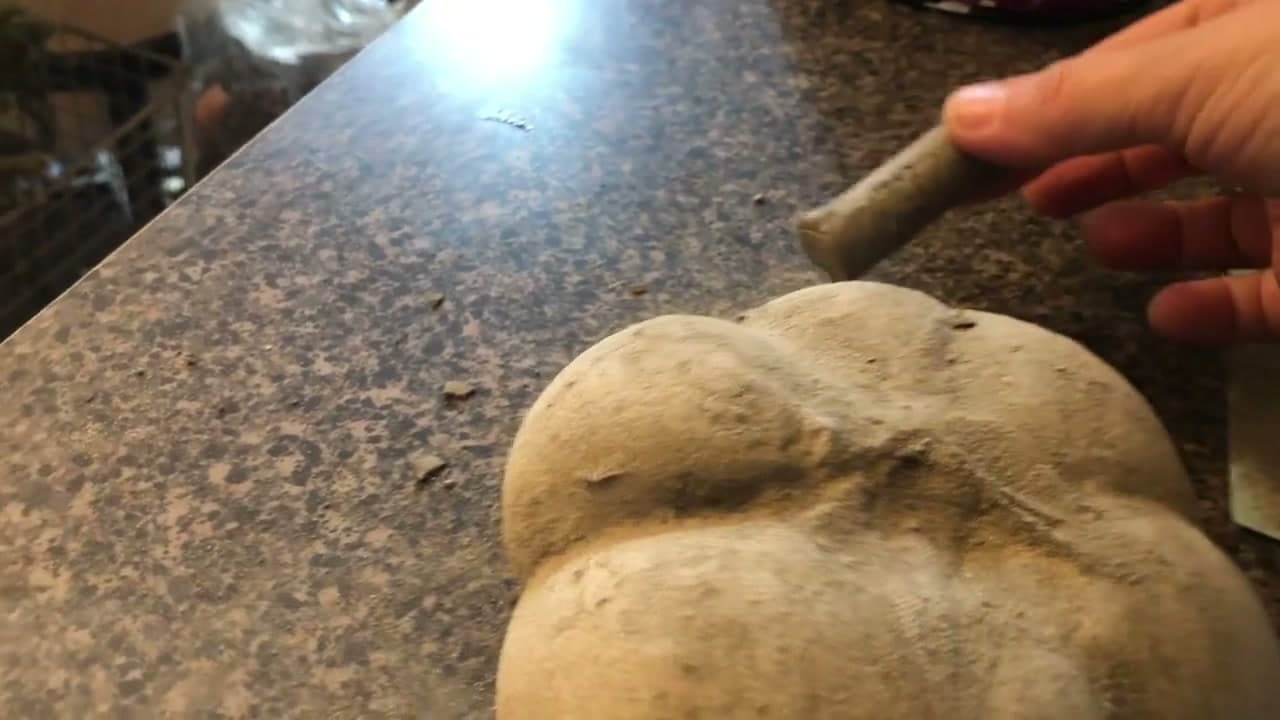
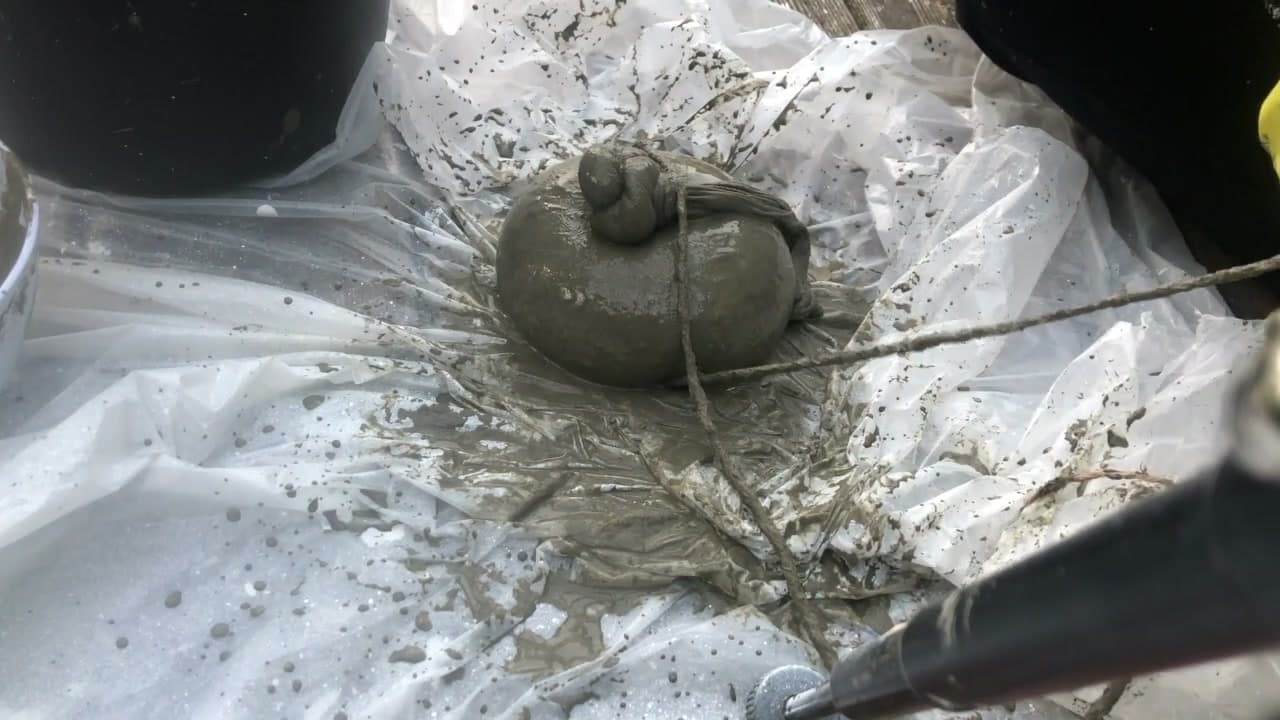
Gather the soaked fabric around a filler, like a wadded plastic bag or a foam ball, and pull it into a rounded shape. Cup it in your gloved hands and pat it into a squat, slightly flattened dome. Real pumpkins are wider than they are tall, so keep pressing it down and out. Smooth the outside as you go and let the cement start to firm up under your hands.

Tip

Watch this step to see how firm the shape gets before it holds. A crumpled plastic bag inside keeps the pumpkin light and saves cement.

5

Step 5: Form the Ribs

6:00
Step 5: Step 5: Form the Ribs

Pinch the fabric from the top down to the base to create the vertical ridges that make it read as a pumpkin. Some people wrap a string around and cinch it into segments, others just press grooves in with their fingers. Space the ribs evenly around the body and press them deep enough to show. This is the step that turns a grey lump into something you recognize, so fuss with it until you are happy.

Tip

Watch this step for the rib spacing. An odd number of ribs, five or seven, tends to look more natural than an even count.

6

Step 6: Cure and Trim

7:30
Step 6: Step 6: Cure and Trim

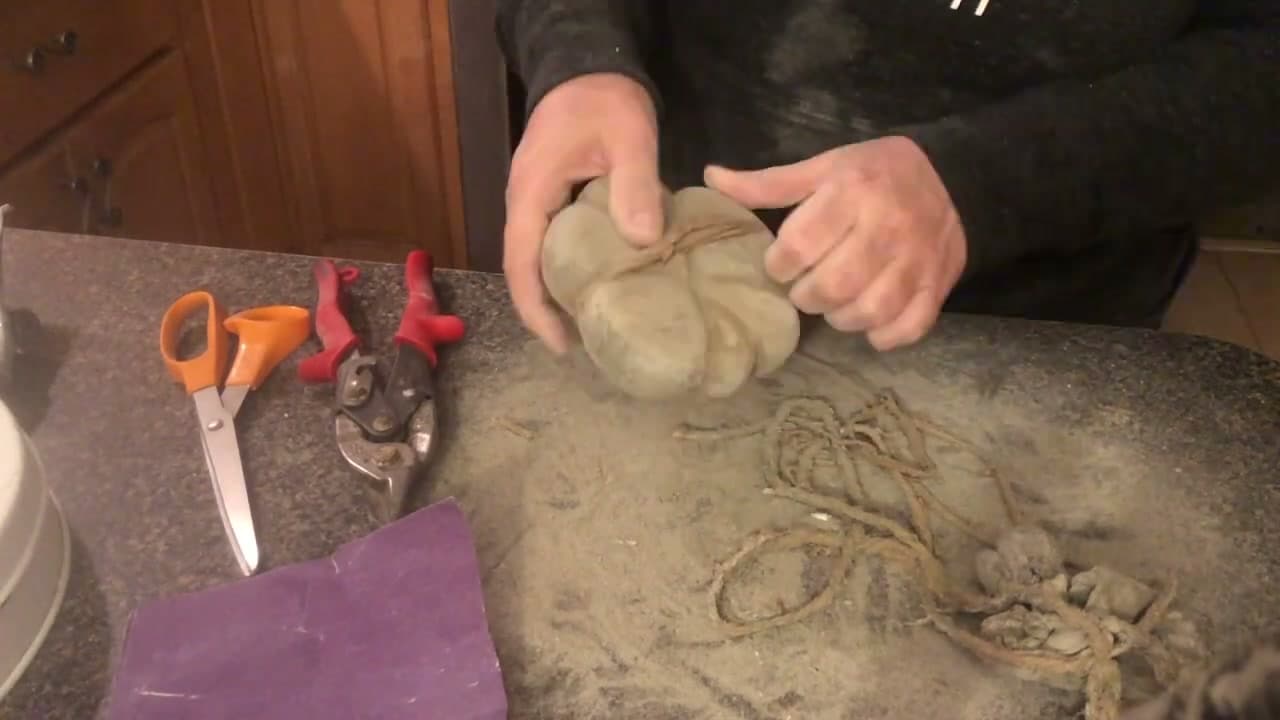
Set the pumpkin somewhere out of the sun and leave it alone until it is rock hard, usually overnight or a full day. Once cured, the excess fabric at the bottom will be stiff and easy to snip away. Trim it flush so the pumpkin sits flat and steady. Handle it gently at first since fresh concrete keeps gaining strength for a few days after it feels dry.

Tip

Watch this step to see how clean the trimmed base looks. Sharp scissors cut cured cement fabric better than dull ones, which just fray it.

7

Step 7: Add the Stem

9:00
Step 7: Step 7: Add the Stem

Push a real twig, a piece of a branch, or a craft stick into the top for the stem. A found twig with a little curve to it looks the most convincing. If the top has already hardened, dab on a bit of leftover cement or hot glue to hold the stem in place. Let that set, then decide if you want to seal the pumpkin or paint it. A clear concrete sealer keeps it weatherproof for the porch.

Tip

Watch this step for the stem placement. Collect a few twigs of different thicknesses so you can match the stem to the size of each pumpkin.

8

Step 8: Style Your Fall Display

10:20
Step 8: Step 8: Style Your Fall Display

Group your finished concrete pumpkins together for the full effect. Vary the sizes and stack a couple if you want height. The raw grey stone look is great on its own, or you can brush on white or cream acrylic paint for a limewashed farmhouse feel. Set them on a mantel or porch step with a few sprigs of greenery and they will hold up all through fall and winter.

Tip

Watch this step to see the styled display. A foam brush and a dry-brush motion give the paint a mottled, aged look instead of a flat coat.

Products Used

☐ The Checklist

How to Make a Concrete Pumpkin (Fall Decor)

Tools
5
Materials
6
Steps
8
Video
11 min

Tools we recommend

Your Guide

FLEA MARKET RESCUE

As an Amazon Associate we earn from qualifying purchases. Links on this page may be affiliate links - clicking them and buying doesn't change your price, but helps support ShowMeStepByStep.

Tags

Sunday How-To

New crafts tutorials, every Sunday

One short email with the week's best step-by-step guides. Free, no spam, unsubscribe anytime.

Did this work for you?

What's next

Related collections

Curated theme pages that include this tutorial.

Weekly Digest

Liked this crafts tutorial?

Pick the categories you want to hear about. Weekly digest of new step-by-step tutorials. No spam, easy unsubscribe.

Send me tutorials about

We only email about new tutorials. Easy unsubscribe anytime.