How to Make Concrete House Numbers (DIY Address Sign)

CraftsMedium19:098 stepsBrowse more →

By CraftingStepByStepPublished

Based on a video by Proper DIY.

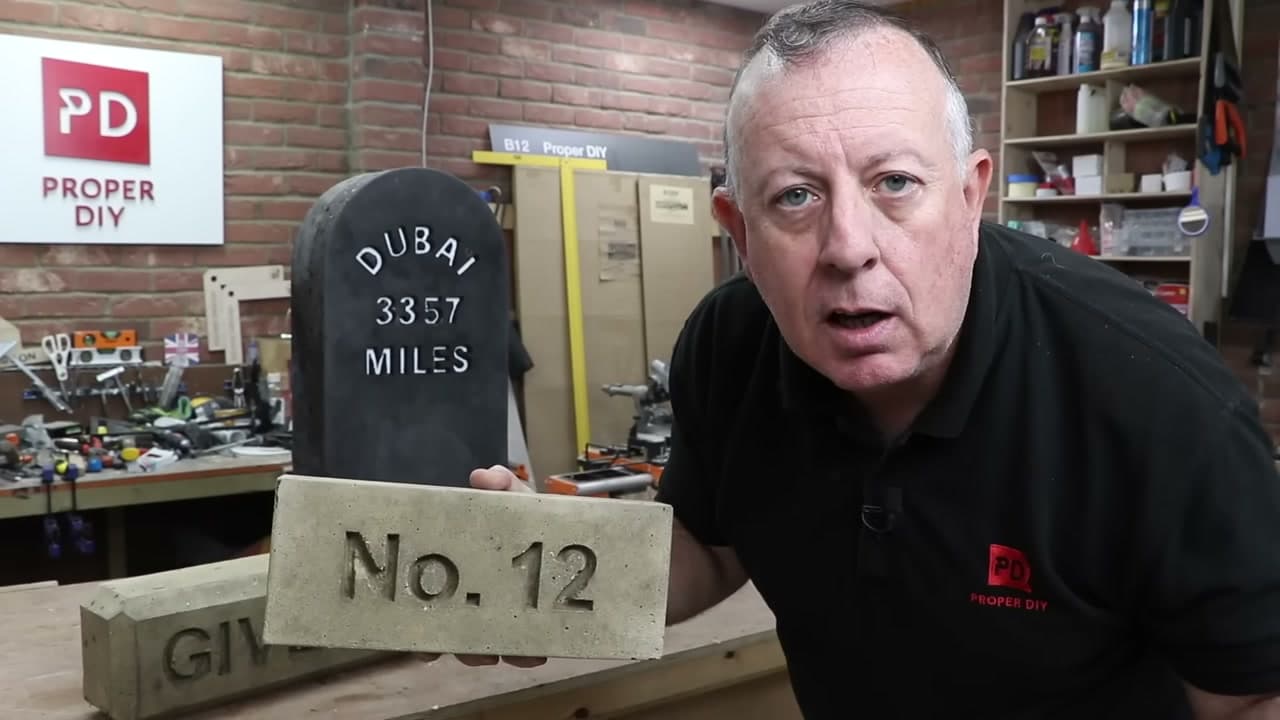
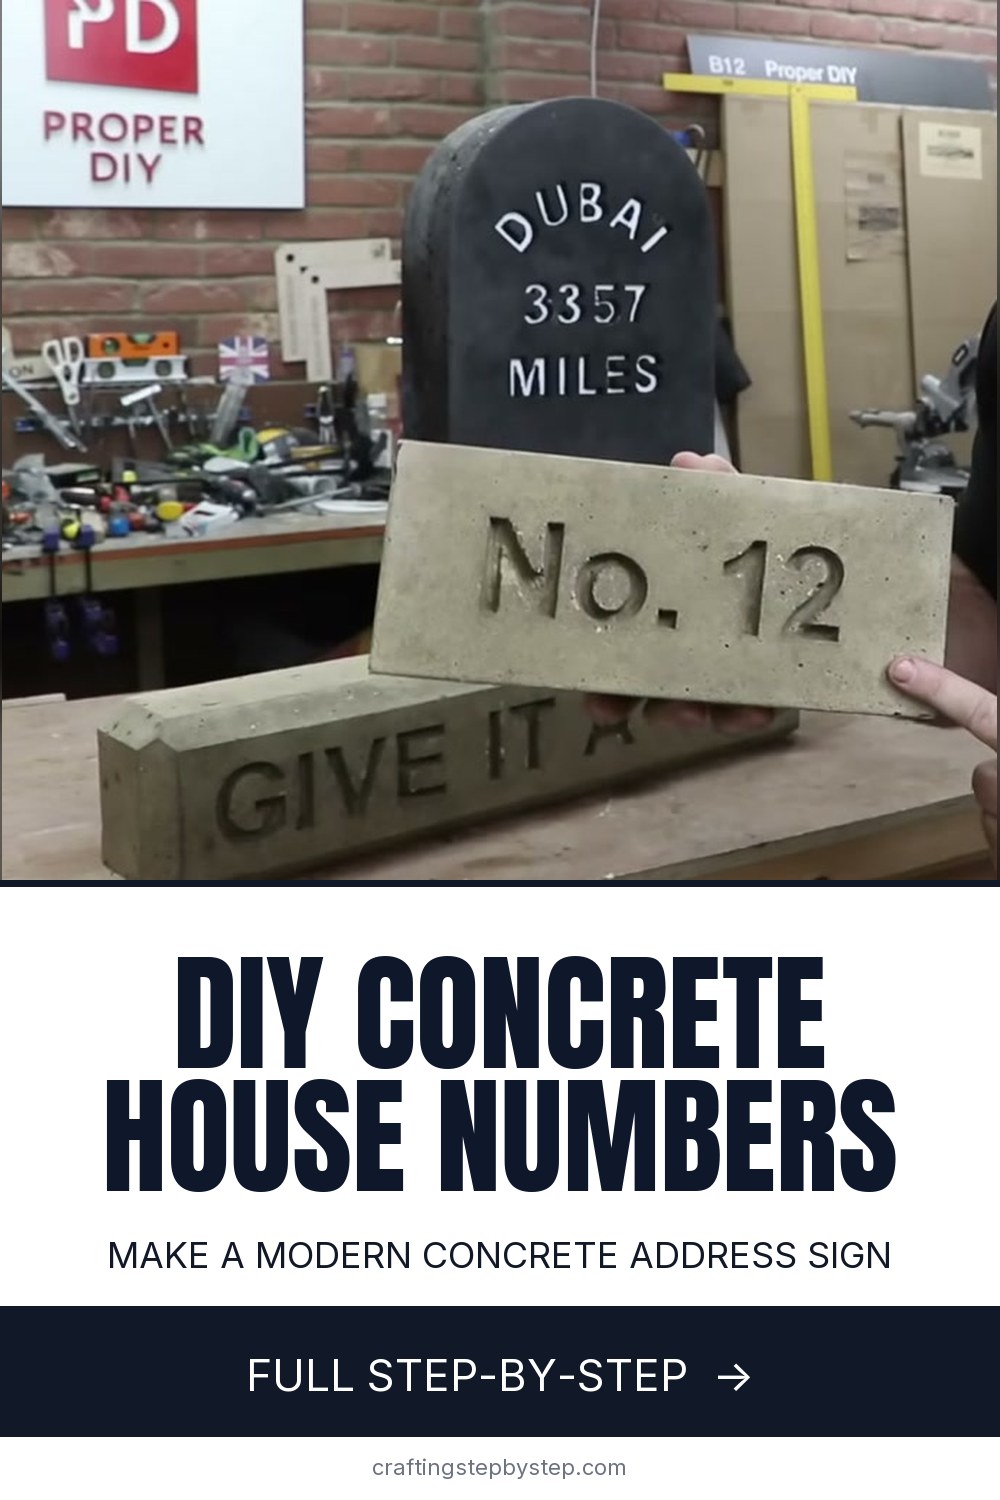
A set of cast concrete house numbers costs a few pounds to make and will still be on the wall long after a shop-bought plaque has faded. Steve from Proper DIY casts three signs in his workshop - a house number, a mile marker and a catchphrase block - and the number plaque is the one most people will want to copy for their own front door or gatepost.

The whole thing comes down to a reversed mould. You cut your digits out of plywood, glue them face-up in a shallow melamine box, then pour concrete over the top. When it cures and you strip the box away, the numbers are left as clean recessed figures in the face of the slab. If you have not batched a craft-sized load before, read how to mix concrete for crafts first, since the 4-to-1 ratio and the water you add decide how sharp those numbers turn out.

Two details lift the finish: a bevelled edge cast straight into the mould, and a proper vibrate to chase the air bubbles out from around the numbers. Once it is cured you can seal it for the weather - see how to seal concrete crafts for the indoor-versus-outdoor sealer choice. The same box-mould method scales to plenty of other pours, like concrete bookends or a concrete catchall tray.

Step-by-Step Guide

8 steps · about 19 minutes.Check off each step as you go and your progress saves automatically.

1

Step 1: Print and Cut Out Your Numbers

6:04
Step 1: Step 1: Print and Cut Out Your Numbers

Pick a font and print your house number at the size you want. Spray-mount the printout onto 12mm plywood so it sits flat, then take it to the band saw. Tilt the table to about 10 degrees so each digit is cut with sloped sides - that taper is what lets the wooden number pull cleanly out of the set concrete later.

Sand right up to your line on a disc sander for crisp edges. For closed numbers like 6, 8 or 0, drill a hole in the middle and thread a fret saw blade through to cut the centre out.

Tip

Watch this step A 10-degree taper on every digit is the trick - straight-sided numbers lock into the concrete and chip the edges when you force them out.

2

Step 2: Build a Melamine Mould

3:12
Step 2: Step 2: Build a Melamine Mould

Your mould is a shallow open box the size of the finished plaque. Cut the base and sides from glossy melamine board, because the shiny face barely sticks to concrete and strips away clean. Screw the sides down into the base from underneath so no fixings show on the casting face.

Want a rounded top like a traditional marker? Drop in a curved hardboard former. Run a thin silicone fillet along each inside corner, or tape in a 45-degree bevel strip, to give the front edge a chamfer instead of a sharp arris.

Tip

Watch this step Screw the sides on from the outside face so you can back them off easily at demould time without wrecking the casting.

3

Step 3: Fix the Numbers Inside the Mould

9:48
Step 3: Step 3: Fix the Numbers Inside the Mould

Lay the wooden numbers face-down on the base of the mould and shuffle them around until the spacing looks right against your printed guide. Remember the layout reads back-to-front in the mould, so check it in a mirror if that helps.

Stick each digit down with a thin smear of silicone. You want them anchored so they do not float when the concrete goes in, but not so glued that they will not release when you demould. They sit proud now and leave the recess later.

Tip

Watch this step Dry-fit the whole number before any silicone goes down. Once it cures you cannot nudge a digit over.

4

Step 4: Oil the Mould and Mix the Concrete

10:36
Step 4: Step 4: Oil the Mould and Mix the Concrete

Brush mineral or butcher-block oil over the whole mould and the numbers. This release agent is what stops the concrete bonding to the melamine and tearing when you strip it.

Mix a 4-to-1 sand-and-cement batch. Stir the dry ingredients first, add a pigment if you want a colour, then drop in a handful of reinforcing fibres to cut down cracking. Add water slowly until it is thick and spreadable, like stiff porridge, not soupy.

Tip

Watch this step Oil every surface, especially inside the numbers. A missed spot is exactly where the concrete grabs and tears on the way out.

5

Step 5: Pour and Vibrate Out the Air

14:36
Step 5: Step 5: Pour and Vibrate Out the Air

Trowel the concrete into the mould and push it firmly down into every number so it fills each impression. Build it up to the top of the box and screed the back flat.

Now get the trapped air out. Hold a vibrating sander against the mould walls, or dip a concrete poker into the mix for a few seconds at a time. Bubbles left around the numbers show up as ugly pits, so work all the way round until the surface settles.

Tip

Watch this step A cheap orbital sander held flat against the side of the mould is the best bubble-buster most home workshops already own.

6

Step 6: Cure, Then Strike the Mould

17:48
Step 6: Step 6: Cure, Then Strike the Mould

Leave the cast flat, out of direct sun, and give it a few days to cure hard. A slow cure is stronger than a fast one, so do not rush it.

When it has set, back the screws out and gently prise the melamine sides away, then lift the slab off the base. Work slowly around the wooden numbers so the edges of each recess stay crisp. The digits usually stay locked in the concrete and leave clean sunken figures.

Tip

Watch this step If a number is stubborn, tap it from the back with a soft mallet rather than levering the front, which can spall the recess.

7

Step 7: Clean Up and Fit the Wall Fixings

16:54
Step 7: Step 7: Clean Up and Fit the Wall Fixings

Rub the faces down with a sanding block to knock off any sharp arrises, and vacuum the grit out of the number recesses. If the surface has a few small voids, fill them with a slurry of the same mix and wipe it back.

For hanging, set two screws into a steel plate cast or fixed into the back, or drill fixing holes now while the plaque is flat on the bench. Doing it here is far easier than drilling it once it is up on the wall.

Tip

Watch this step Set the fixing plate flush and slightly below the surface so the screw heads sit inside the plaque, not proud of the wall.

8

Step 8: Seal, Then Mount Your Numbers

0:04
Step 8: Step 8: Seal, Then Mount Your Numbers

If you want the digits to stand out, paint or stain the recesses and wipe the excess off the flat face. Then brush a coat of exterior concrete sealer over the whole plaque so rain and frost cannot get into it.

Screw it to the wall or a gatepost, or sink a taller garden marker a few inches into the ground. Sealed and mounted, a concrete number will happily outlast the house it is nailed to.

Tip

Watch this step Two thin coats of sealer beat one thick coat - the second soaks into the first and gives better weather protection on outdoor signs.

Products Used

☐ The Checklist

How to Make Concrete House Numbers (DIY Address Sign)

Tools
9
Materials
12
Steps
8
Video
19 min

Tools we recommend

Your Guide

Proper DIY

As an Amazon Associate we earn from qualifying purchases. Links on this page may be affiliate links - clicking them and buying doesn't change your price, but helps support ShowMeStepByStep.

Tags

Sunday How-To

New crafts tutorials, every Sunday

One short email with the week's best step-by-step guides. Free, no spam, unsubscribe anytime.

Did this work for you?

What's next

Related collections

Curated theme pages that include this tutorial.

Weekly Digest

Liked this crafts tutorial?

Pick the categories you want to hear about. Weekly digest of new step-by-step tutorials. No spam, easy unsubscribe.

Send me tutorials about

We only email about new tutorials. Easy unsubscribe anytime.