How to Make Concrete Coasters with Gold Leaf Edges

CraftsEasy4:478 stepsBrowse more →

By CraftingStepByStepPublished

Based on a video by Hannah Somerville's Crafty Tutorials.

These concrete coasters look like something off a boutique shelf, but they cost almost nothing to make. Hannah Somerville walks you through the whole thing using Rapid Set Cement All, which sets fast, so you are not waiting days between steps.

You will mix a small batch of cement, pour it into flat rounds on parchment, and let it cure. Once the coasters are solid, you sand the edges smooth and add a strip of gold leaf around each one for that crisp metallic line.

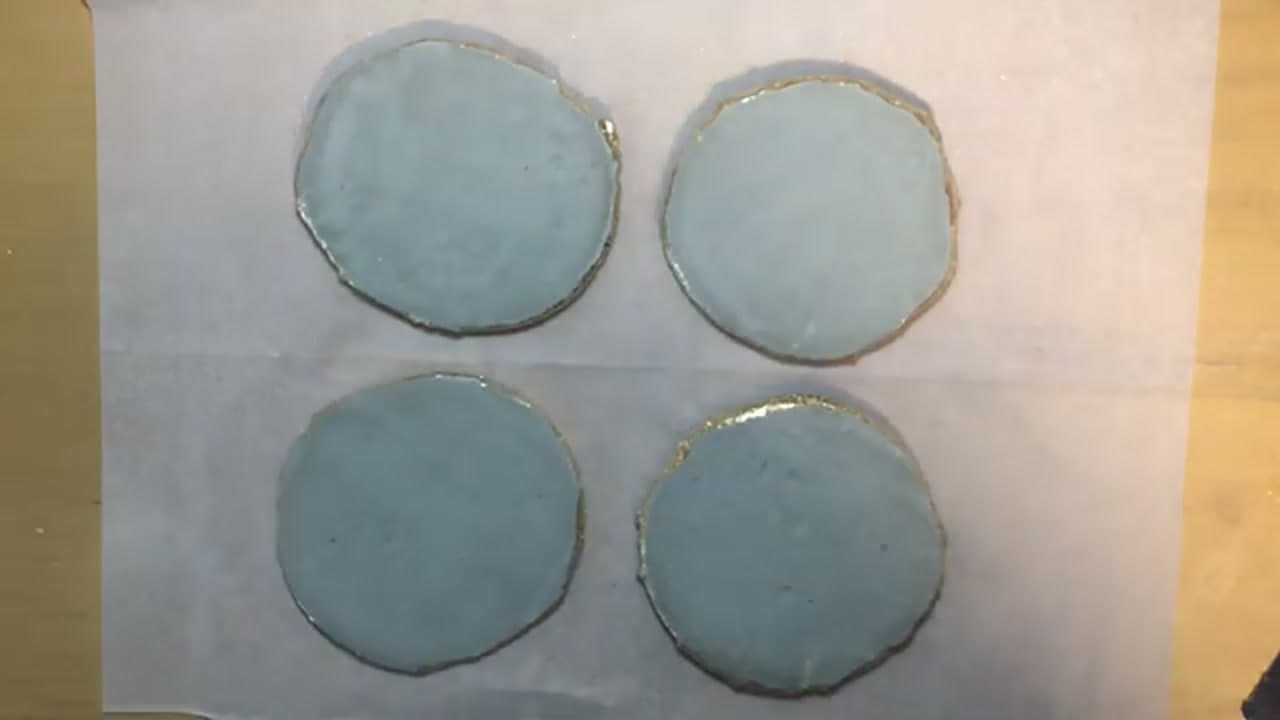
The result is a set of four coasters with a raw concrete face and a shiny gold rim. They make a great handmade gift, or keep them for your own table.

Step-by-Step Guide

1

Step 1: Mix the Concrete

1:08
Step 1: Step 1: Mix the Concrete

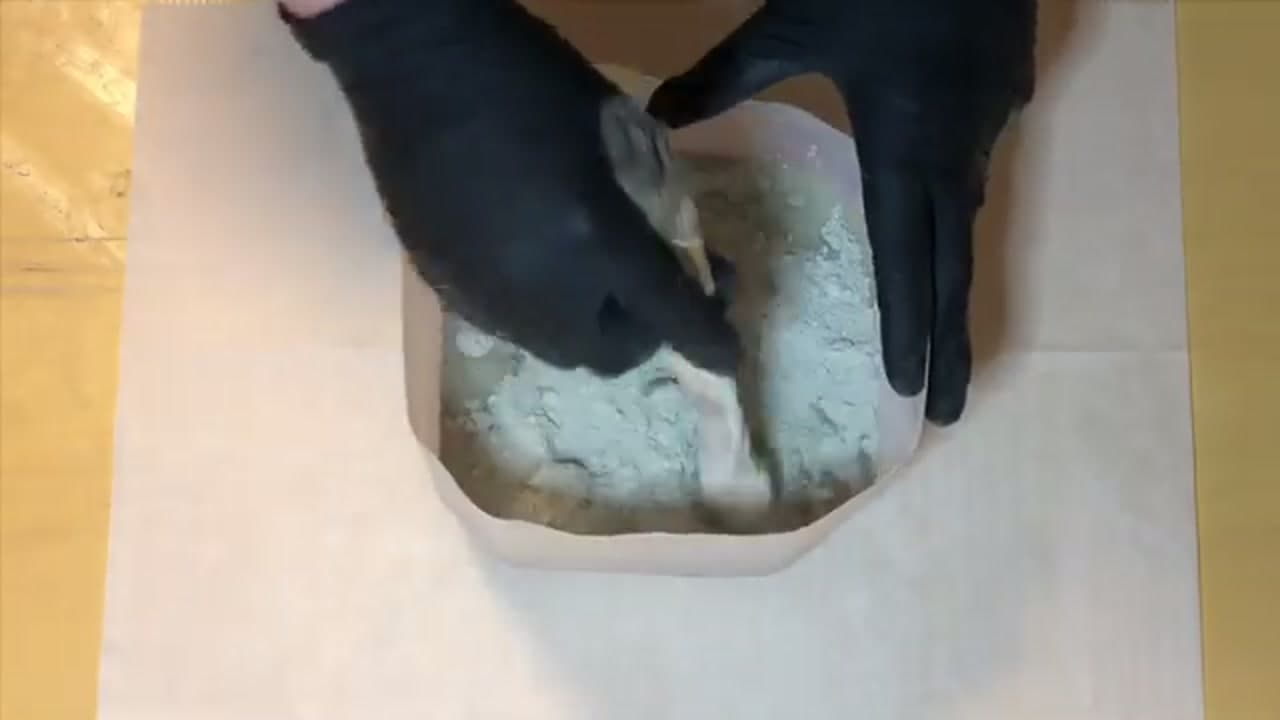
Put on rubber gloves and add about two and a half cups of Cement All to your mixing container. Pour in tap water slowly, a little at a time, and mix as you go. You are aiming for roughly a four-part cement to one-part water ratio. Keep mixing until it looks like a thick, smooth batter with no dry pockets. This takes about five minutes. Let the mix sit for two minutes before you pour.

Tip

Cement All sets fast, so mix only what you can pour in a few minutes. Add water bit by bit - it is much easier to loosen a stiff mix than to fix a runny one.
2

Step 2: Pour the Coasters

1:40
Step 2: Step 2: Pour the Coasters

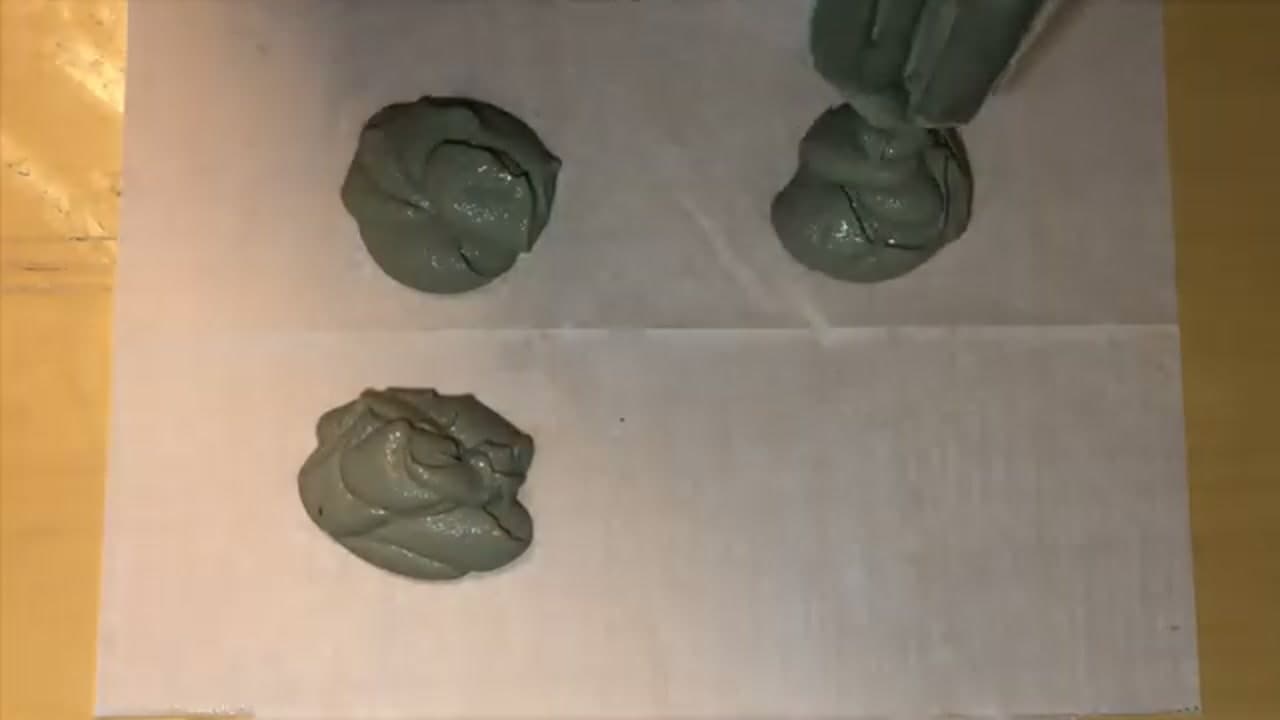
Pour the wet cement onto a sheet of nonstick parchment paper in equal blobs, one per coaster. Try to keep them close in size so your finished set matches. Do not worry about the shape yet, you will flatten them in the next step. Work quickly here since the mix is already starting to firm up.

Products used in this step

3

Step 3: Flatten and Cure

2:00
Step 3: Step 3: Flatten and Cure

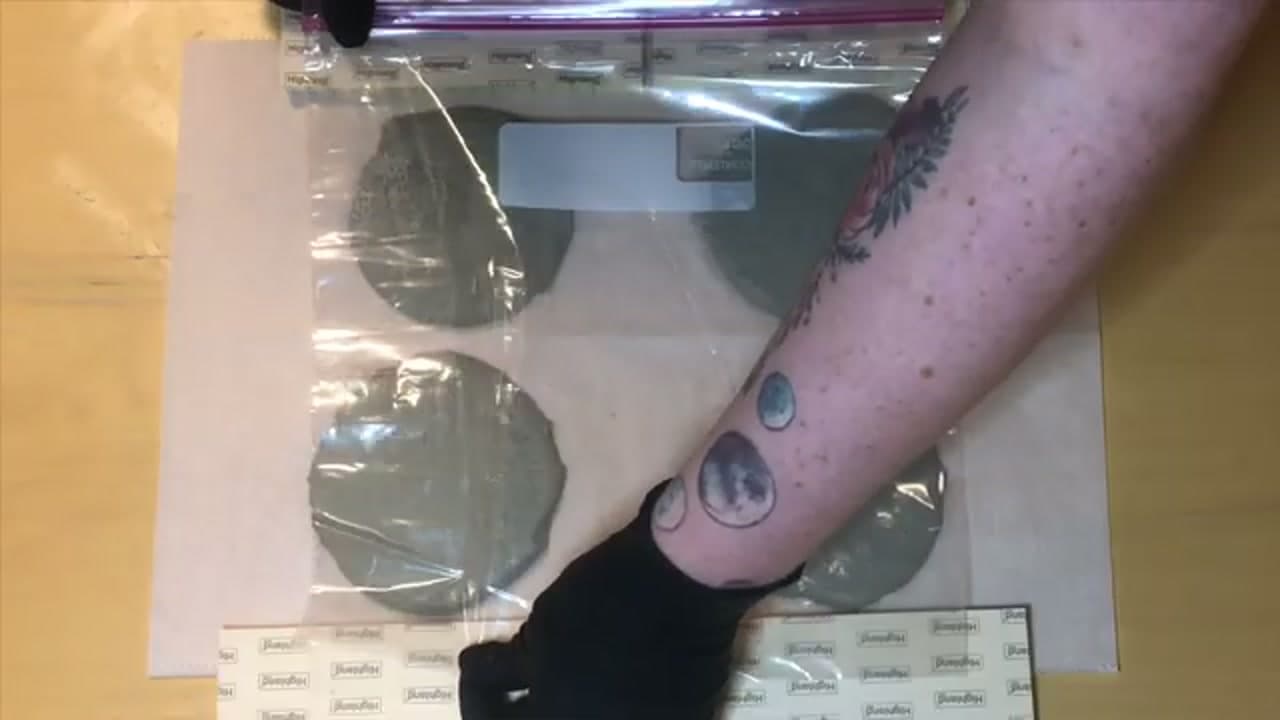
Flatten each blob out a little, then let them dry for no more than five minutes since this mix moves fast. Lay a few items of equal height around the edges, drop a nonstick sheet over the top, and press down with a flat placemat so every coaster ends up the same thickness. Leave the whole thing to set overnight so the concrete fully hardens.

Tip

The overnight cure matters. You have messed with the bonding a bit by flattening, so give it the full night before you handle the coasters.

4

Step 4: Peel and Demold

2:35
Step 4: Step 4: Peel and Demold

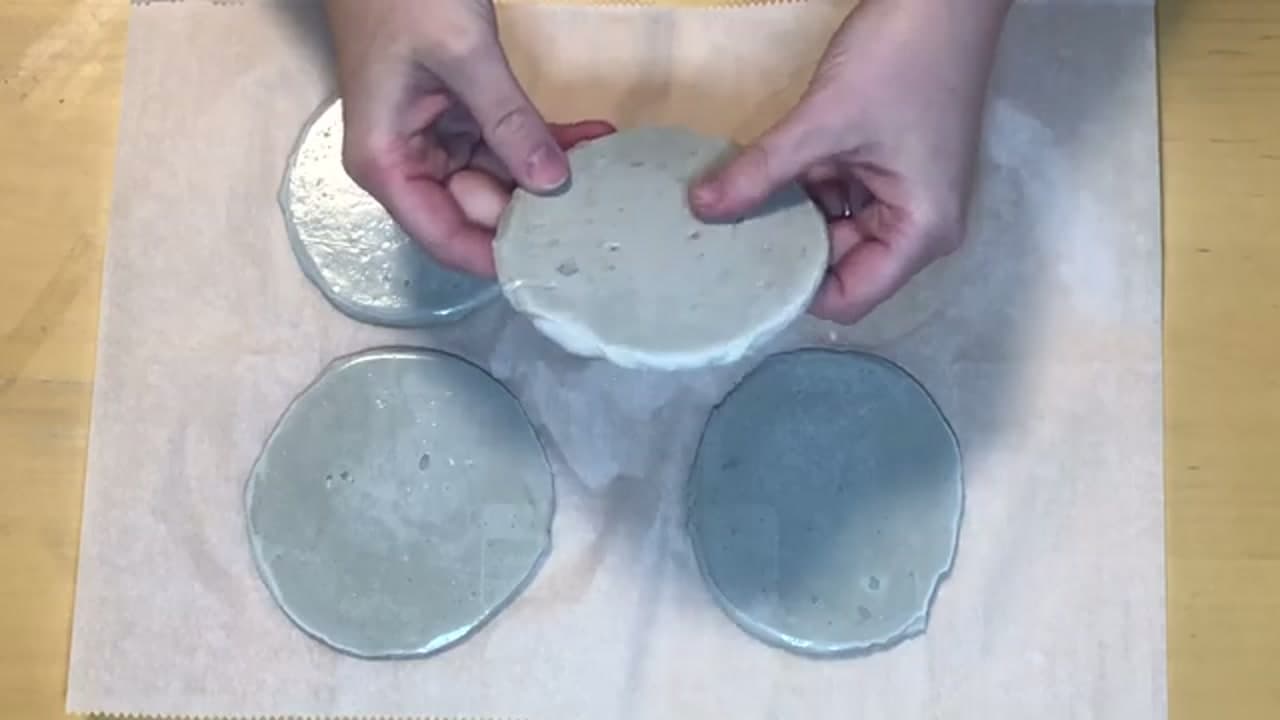
The next day, lift off the placemat and gently peel away the top nonstick sheet. Then carefully lift each coaster off the bottom paper. They may stick a little from the bonding process, so go slow and support the whole coaster as you free it. You now have four solid concrete rounds ready to finish.

5

Step 5: Sand the Edges

2:50
Step 5: Step 5: Sand the Edges

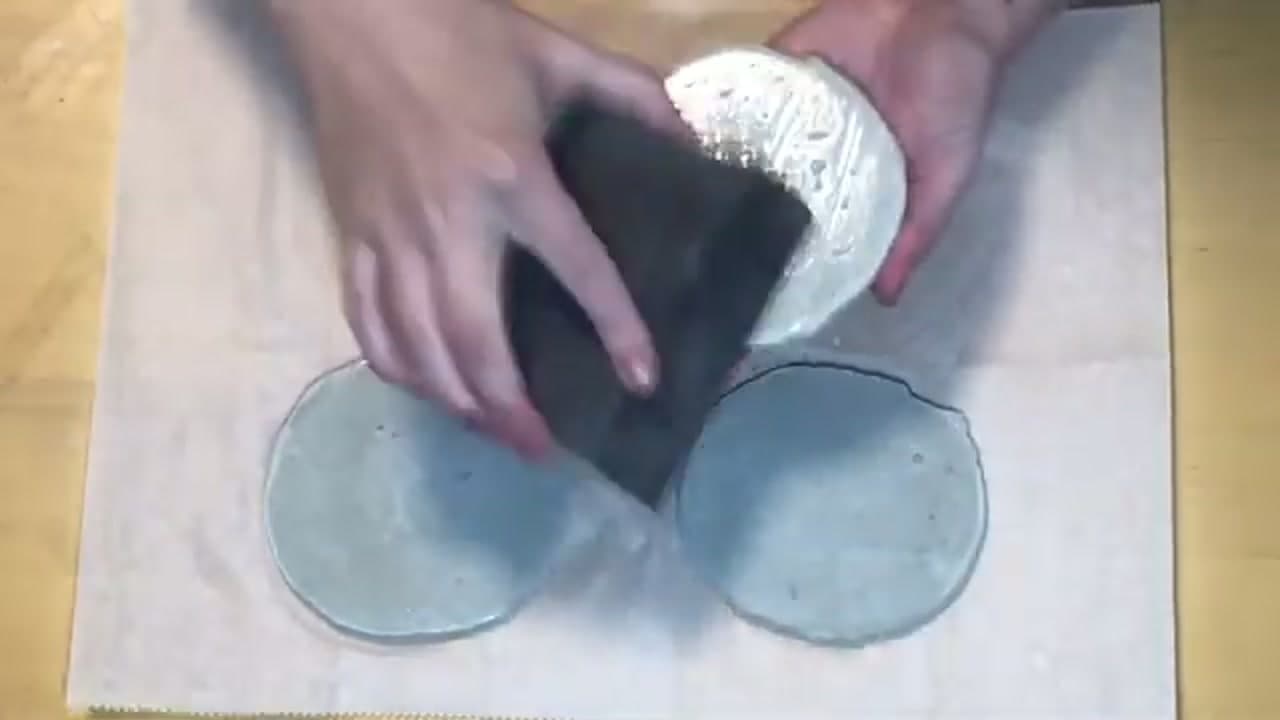
Run a fine sanding block around the edges of each coaster to knock off any rough spots and even out the shape. If the top has a shiny film and you do not like it, buff that away too. A little sanding here gives you a clean matte concrete surface and a smooth rim for the gold leaf to sit against.

Products used in this step

6

Step 6: Glue the Edges

3:30
Step 6: Step 6: Glue the Edges

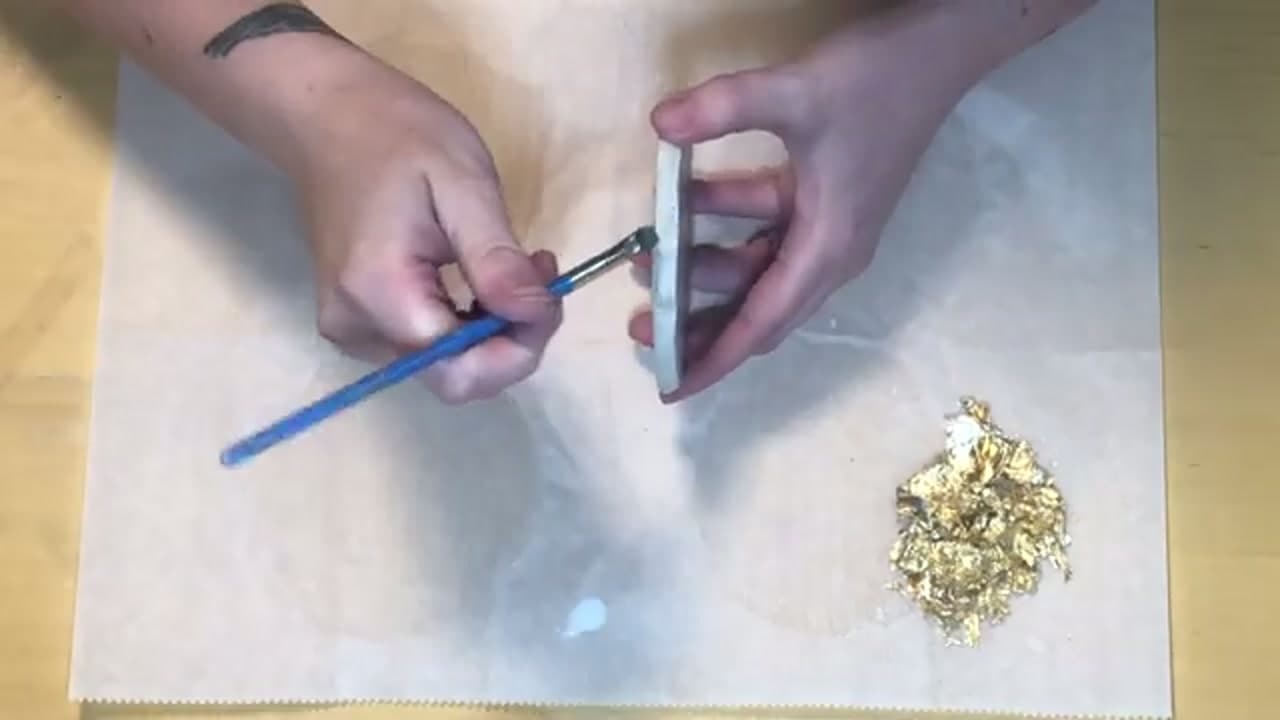
Grab a small paintbrush and brush a thin layer of PVA glue around the outer edge of each coaster. Keep the layer even and stay off the flat top face unless you want gold there too. The glue is what the gold leaf grabs onto, so cover the whole rim you want gilded.

Products used in this step

7

Step 7: Apply the Gold Leaf

3:45
Step 7: Step 7: Apply the Gold Leaf

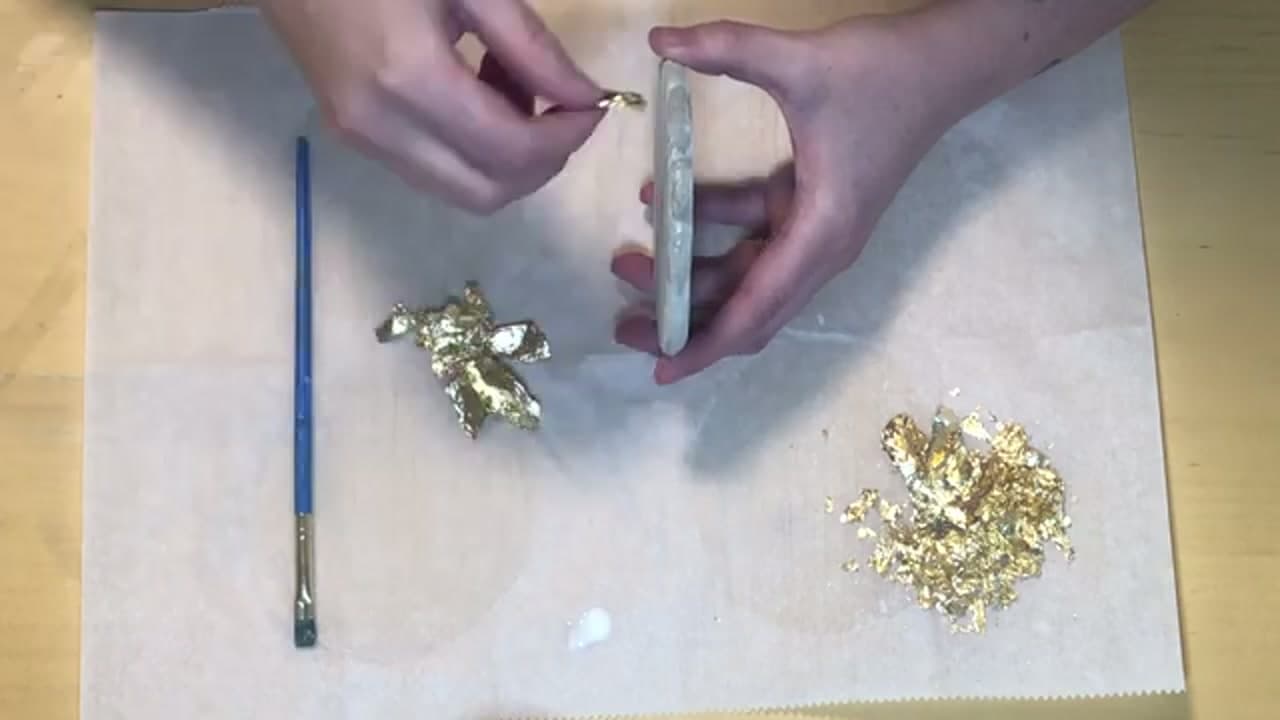
Decant a small amount of gold leaf so it is easier to handle. Lay pieces onto the glued edges and press them into place with the tip of your finger, working all the way around. Repeat on every coaster. The leaf is delicate and will tear, but that is fine, small overlaps blend into one gold line.

Tip

Once the edges are dry, buff off any loose leaf with a clean dry brush to get a crisp gold line and clear away stray flecks.

Products used in this step

8

Step 8: Finish and Style

4:28
Step 8: Step 8: Finish and Style

Buff off the last of the loose gold and brush away any dust for a clean edge. Stick a few felt feet on the bottom of each coaster so they do not scratch your table. That is it. You have a set of four concrete coasters with gold rims, ready to give as a gift or keep for yourself.

Products used in this step

Products Used

☐ The Checklist

How to Make Concrete Coasters with Gold Leaf Edges

Tools
5
Materials
5
Steps
8
Video
5 min

Your Guide

Hannah Somerville's Crafty Tutorials

As an Amazon Associate we earn from qualifying purchases. Links on this page may be affiliate links - clicking them and buying doesn't change your price, but helps support ShowMeStepByStep.

Tags

Did this work for you?

What's next

Related collections

Curated theme pages that include this tutorial.

Weekly Digest

Liked this crafts tutorial?

Pick the categories you want to hear about. Weekly digest of new step-by-step tutorials. No spam, easy unsubscribe.

Send me tutorials about

We only email about new tutorials. Easy unsubscribe anytime.