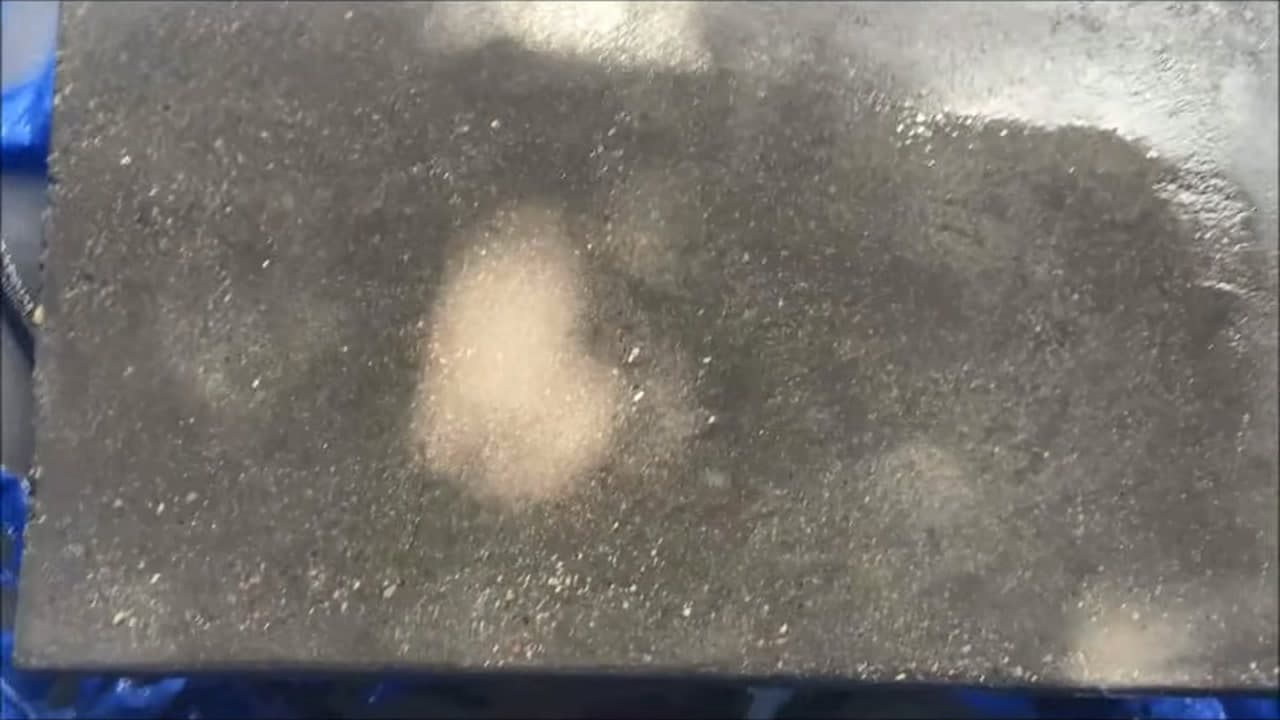
How to Sand and Polish Concrete Crafts

CraftsMedium6:139 stepsBrowse more →

By CraftingStepByStepPublished

Based on a video by Montana Made.

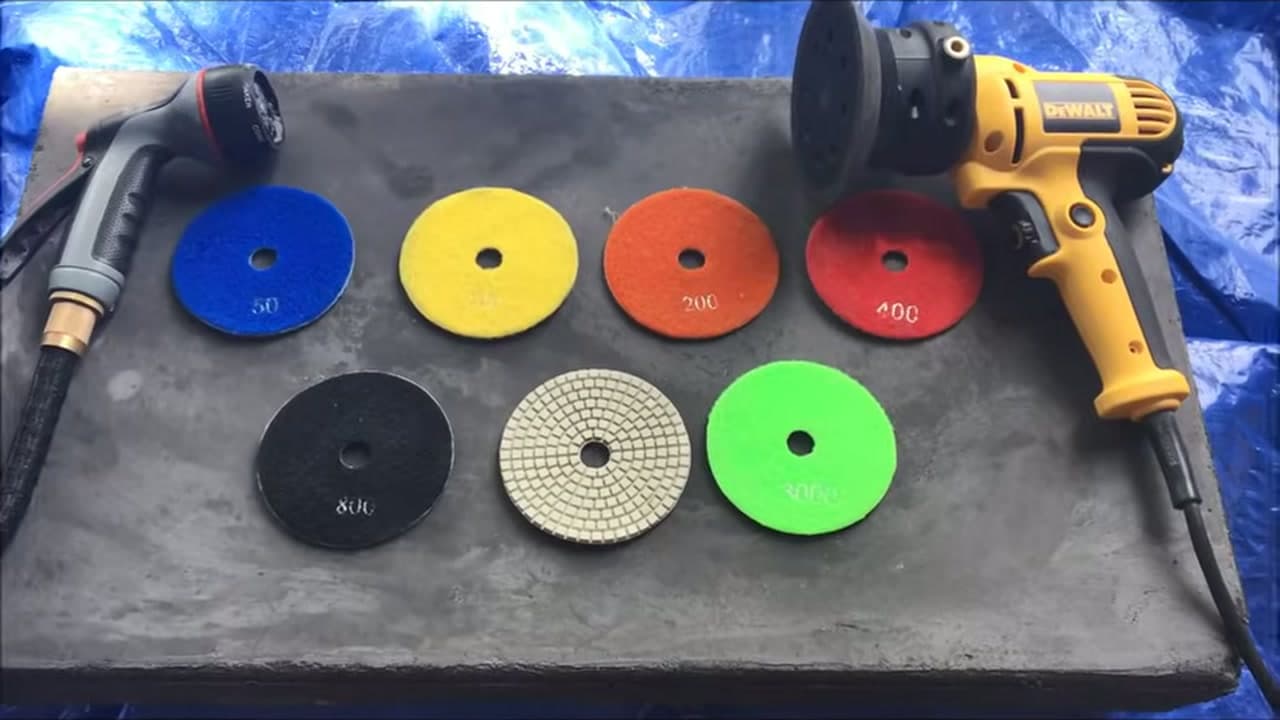
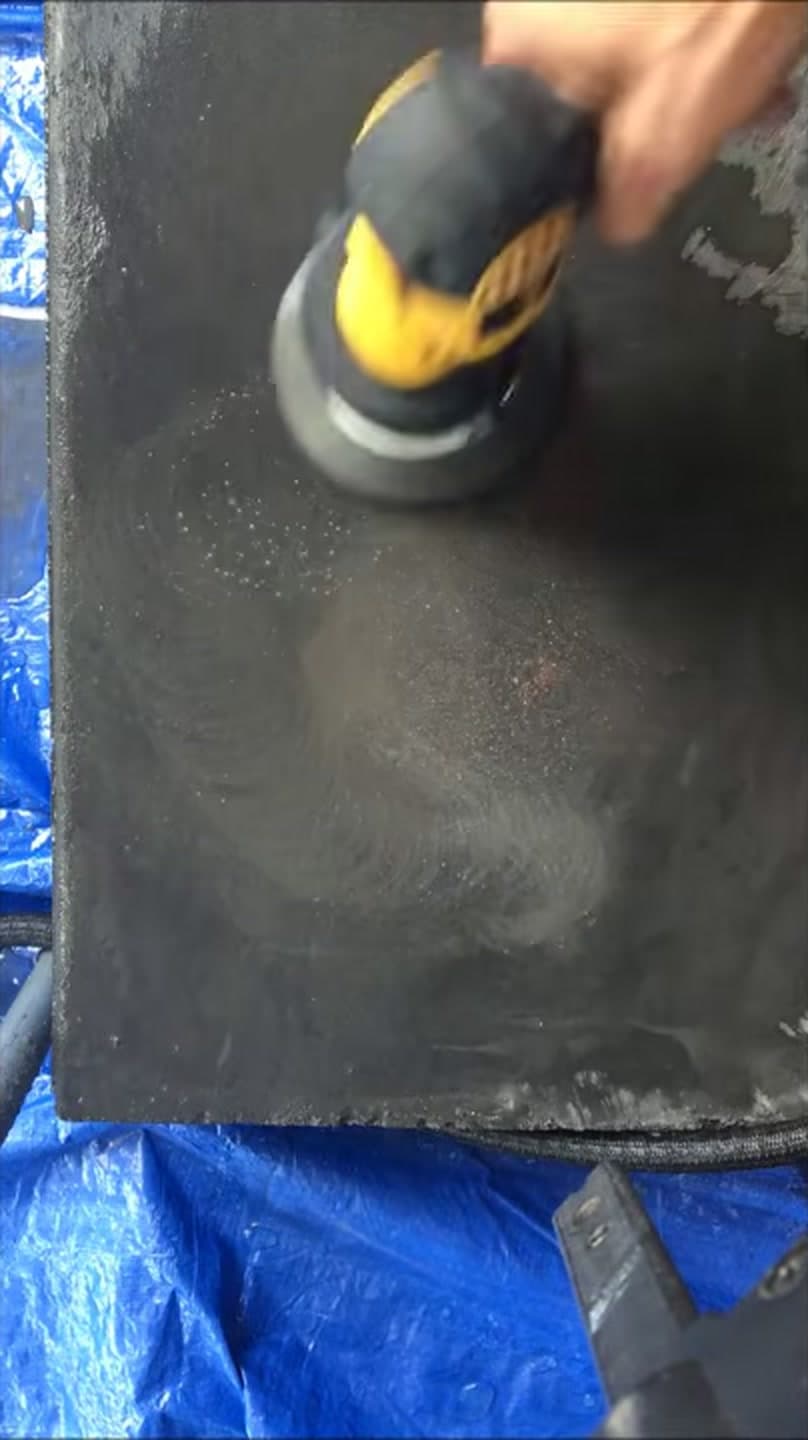
Luke at Montana Made polishes a concrete countertop in this video with a random orbital sander, a garden hose and a $13 set of diamond pads. His slab is big. Your coaster is not. The method scales down with almost nothing lost: same pads, same grit order, same wet-sanding rule. Swap the hose for a spray bottle, and on anything smaller than a serving tray, run the pads in your hand instead of on the tool.

Water is the whole trick. It carries cut concrete away as a grey slurry rather than throwing silica dust into the air, and it keeps the diamond grit from loading up and glazing over. Dry sand a cast coaster and you get a dull scratched face and a shop full of dust. Wet sand the same piece and it goes from demold roughness to a soft stone sheen in about twenty minutes of real work.

Do this after the piece has cured hard. A week is a fair minimum for anything you plan to grind on. If you are still fighting craters and voids, run the air bubble fixes before you start, because sanding will open up more of them. Newer to casting? Build molds from household containers, then pour a set of concrete coasters or a concrete planter. Once the polish is where you want it, seal the piece so it stays that way.

Step-by-Step Guide

9 steps · about 6 minutes.Check off each step as you go and your progress saves automatically.

1

Step 1: Lay Out the Full Grit Ladder

1:10
Step 1: Step 1: Lay Out the Full Grit Ladder

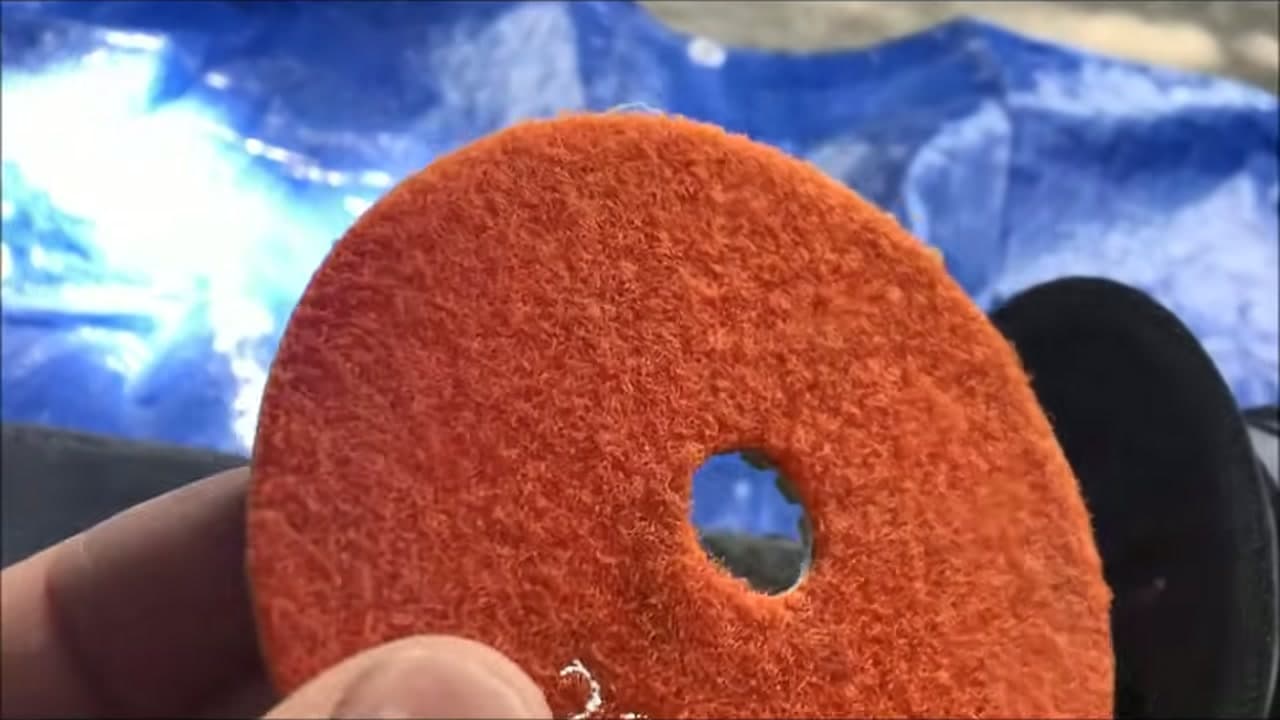
Seven pads cover the whole job: 50, 100, 200, 400, 800, 1500 and 3000. Luke picked his set up for around $13. Budget sets hold up fine on craft-scale work because you are removing a fraction of a millimeter, not leveling a slab.

Set them out in grit order before you turn anything on. Once your hands are wet and coated in slurry you will not want to go hunting for the next pad, and skipping a grit leaves scratches the finer pads cannot clear. Where you start depends on the piece. A rough demolded planter wants 50. A coaster that came out of a silicone mold already smooth can begin at 200 or 400.

Tip

A cheap eBay or Amazon set is the right call for a first project. Watch this step
2

Step 2: Scale the Method Down for Small Pieces

2:00
Step 2: Step 2: Scale the Method Down for Small Pieces

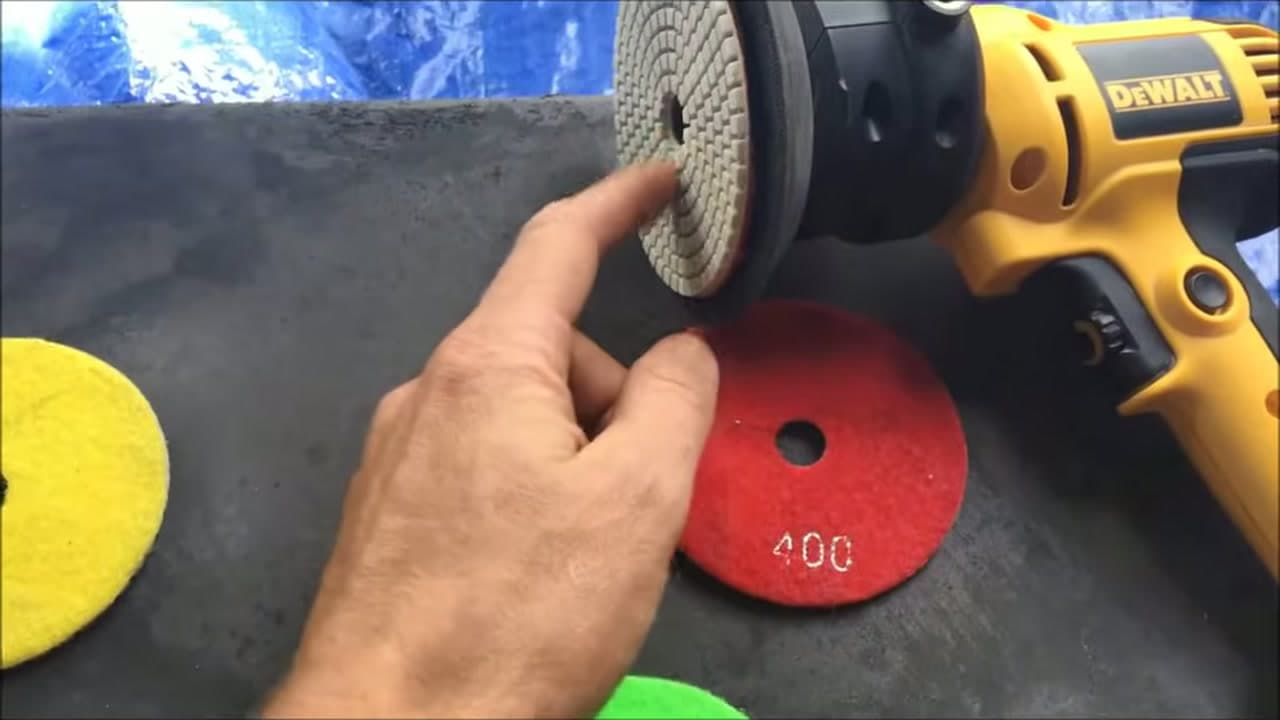
Every pad in the set has a fuzzy hook-and-loop back. That backing grips a sander's pad, and it also gives your fingers something to hold. On a coaster, a trinket dish or a small tray, hold the pad in your hand and work it in tight circles.

Hand work wins on small castings for two reasons. You feel the surface change under your fingers, and you are not chasing a 5-inch disc around a 4-inch piece. Save the orbital sander for anything larger than a placemat: big trays, table tops, paver-sized slabs. The pads themselves do not change.

Tip

Fold a pad over a wooden block to get into a sharp inside corner. Watch this step

3

Step 3: Mount the Coarse Pad on the Sander

2:18
Step 3: Step 3: Mount the Coarse Pad on the Sander

Press the pad onto the sander's backing plate and line the center holes up. Hook-and-loop grips hardest when both faces are dry, so mount the pad before you wet anything down.

Power tools and running water in the same square foot need a little thought. Use a GFCI outlet, keep the cord up out of the puddle, and do not soak the tool body. Luke runs a corded DeWalt DWE6401DS here. A cordless random orbital takes the mains cable out of the picture entirely, which is worth the swap if you are working over a wet bench.

Tip

Run the sander on its lowest speed setting. High speed flings slurry across the room and does not cut any faster. Watch this step

4

Step 4: Flood the Surface Before You Cut

4:46
Step 4: Step 4: Flood the Surface Before You Cut

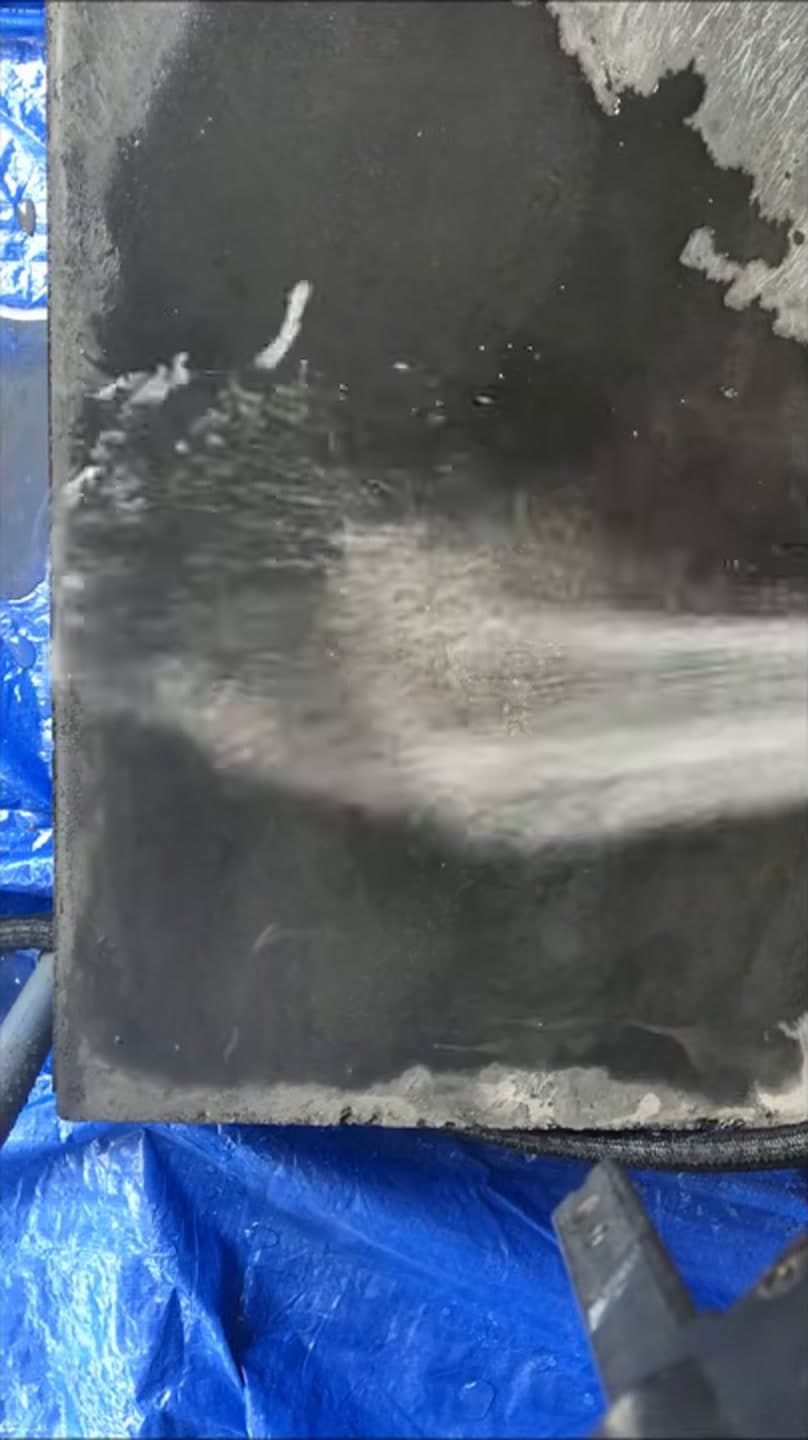
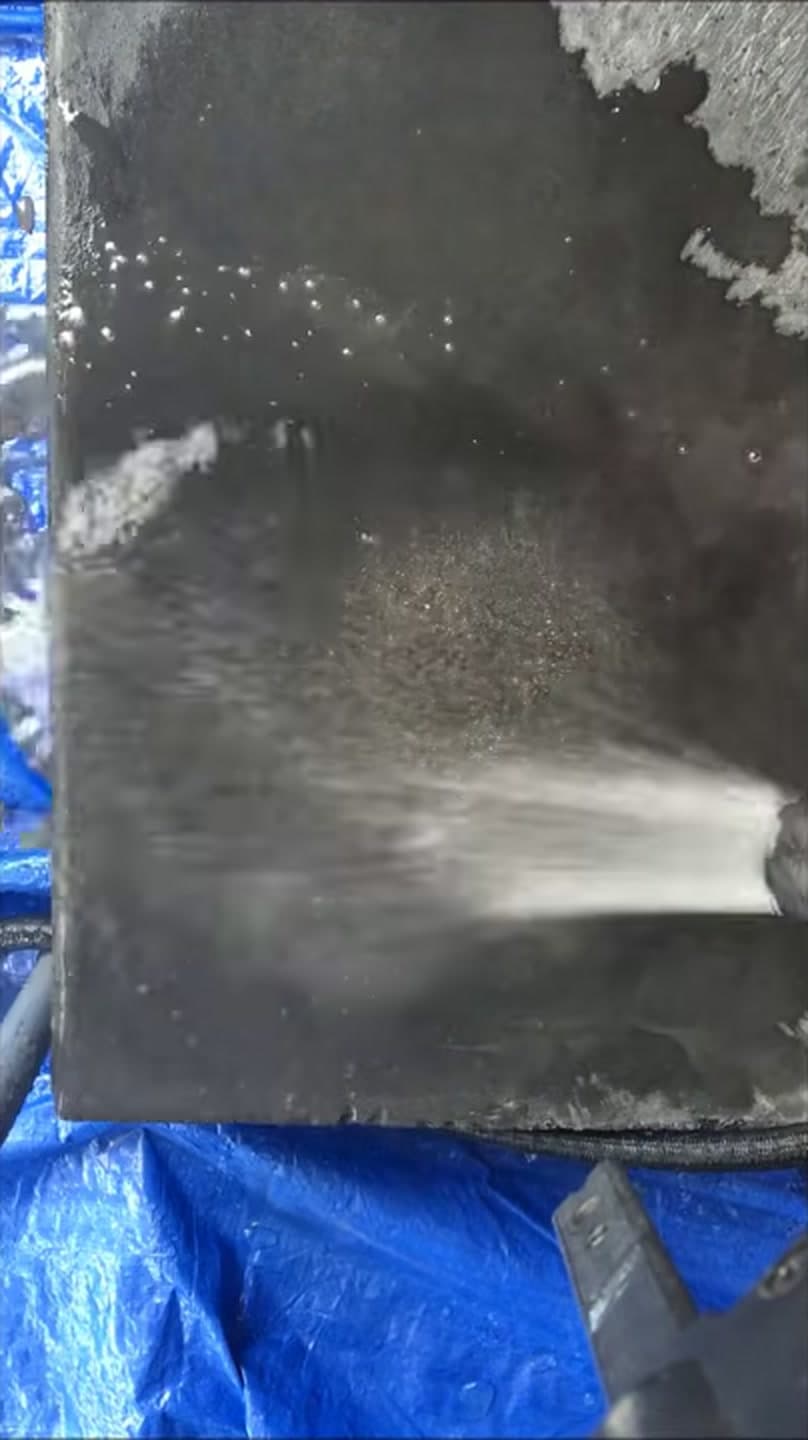
Water goes on first and stays on. On a countertop that means a hose trickling across the slab. On a coaster it means a spray bottle in your off hand, or a shallow tray of water you dunk the piece into every thirty seconds. Set the work over a bucket, a laundry sink or a tarp on the grass, because the grey runoff stains anything porous and should never go down a drain.

Two things happen once the surface is wet. Cut concrete washes off as slurry instead of hanging in the air as silica dust, and the diamonds stay clear instead of clogging. A dry pad glazes over inside a minute and stops cutting. Wet sanding handles most of the dust risk, but put a mask on anyway for the sweeping-up afterwards, when the slurry has dried to powder.

Tip

If the surface turns matte and dusty while you are working, you have run out of water. Stop and re-wet it. Watch this step

5

Step 5: Set the Pad Flat and Let It Cut

4:50
Step 5: Step 5: Set the Pad Flat and Let It Cut

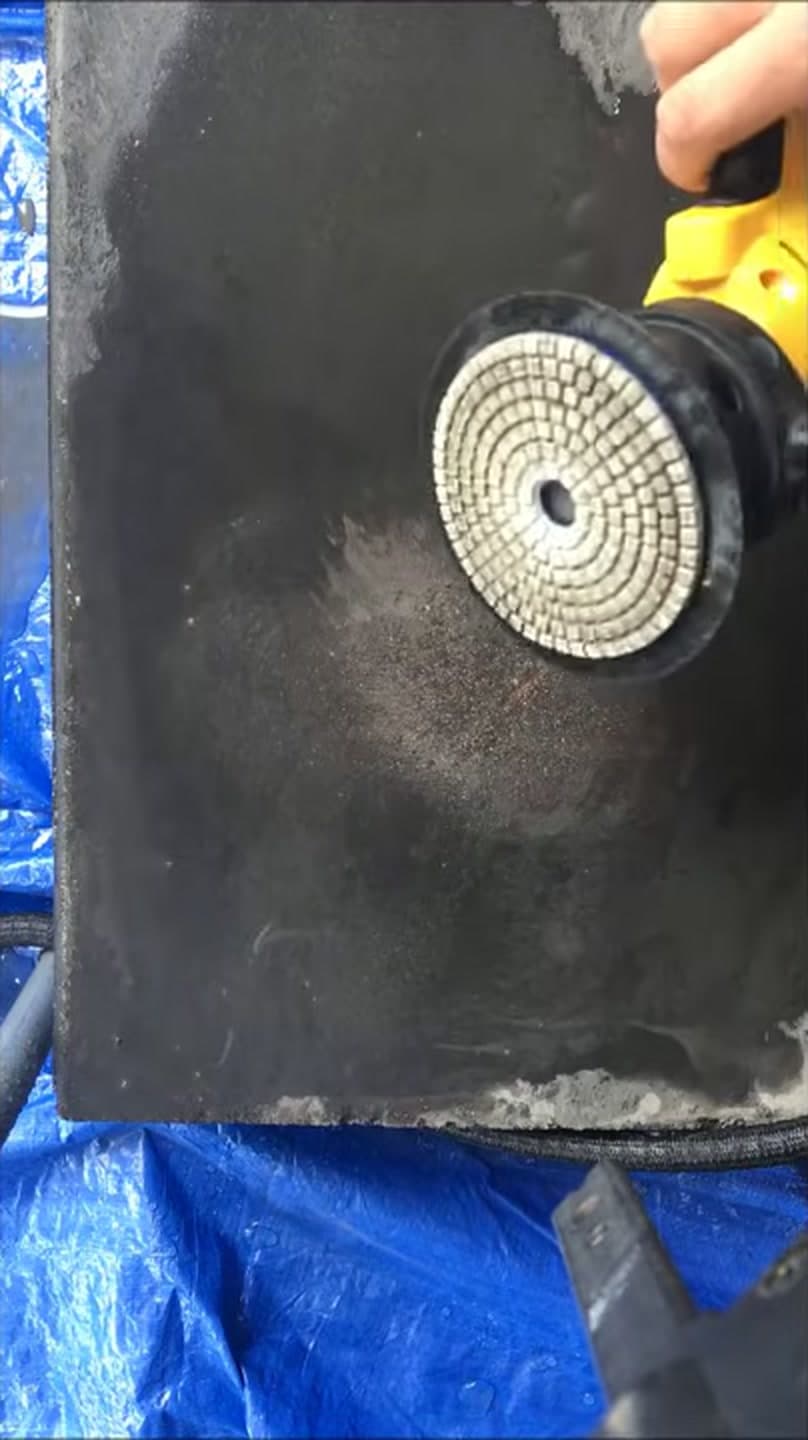
Lay the pad down flat on the wet surface and start the tool once it is already in contact. Starting it in the air and dropping it on leaves a gouge you will chase for three grits. Let the weight of the sander do the cutting. Leaning on it does not speed anything up, it dishes the surface and cooks the pad.

By hand the rule is identical. Flat palm, even pressure, small overlapping circles. The second you tip a pad onto its edge you are grinding a groove instead of a face.

Tip

Round the sharp cast edges of a coaster with the 50 pad before you flatten the face. A chipped corner ruins the piece faster than a scratch does. Watch this step

6

Step 6: Move Slow and Read the Slurry

5:05
Step 6: Step 6: Move Slow and Read the Slurry

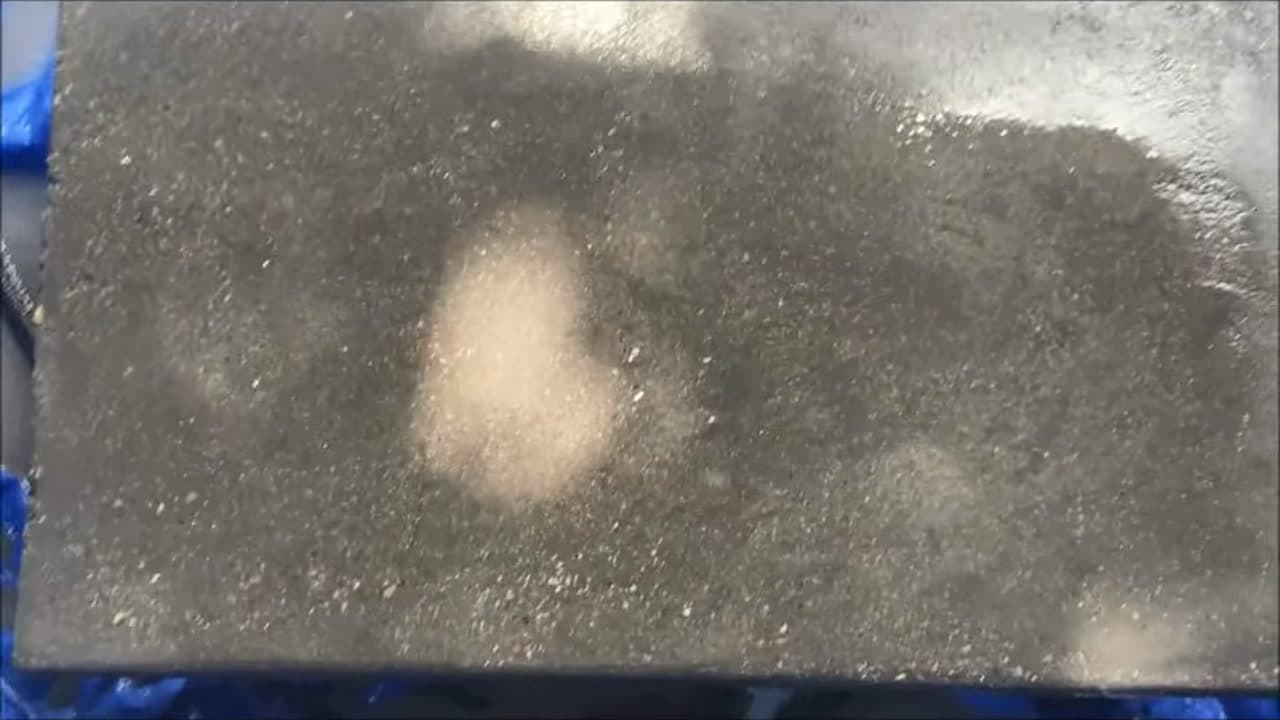
Slow, overlapping passes. The grey slurry under the pad is your progress meter. Thick and milky means the pad is still cutting. Thin and watery means that area has gone as far as this grit will take it.

Keep an eye on the aggregate as well. At 50 and 100 you are cutting through the cement skin, and sand and small stones start to surface. That exposed-aggregate look is a finish in its own right, so stop there if you like it. Otherwise carry on up the ladder, spending a couple of minutes per grit on a coaster and longer on a tray.

Tip

Change direction 90 degrees with each new grit. The scratch pattern from the last pad becomes obvious the moment you cross it. Watch this step

7

Step 7: Rinse Between Grits and Check Your Work

5:08
Step 7: Step 7: Rinse Between Grits and Check Your Work

Rinse the whole piece before you change pads. Slurry left sitting on the surface carries old coarse grit straight into the next pad, and one stray 50-grit particle will drag a scratch across a 3000-grit face.

Squeegee the water off and look across the surface at a low angle with the light behind it. Scratches from the previous pad show up as parallel lines. If you can still see them, go back to the grit you were on rather than pushing forward and hoping the finer pad hides them. It will not.

Tip

Rinse the pad itself too, not only the piece. Grit hides in the hook-and-loop backing. Watch this step

Products used in this step

8

Step 8: Fill the Pinholes That Open Up

5:36
Step 8: Step 8: Fill the Pinholes That Open Up

Sanding opens pinholes. Air bubbles that were sealed under the cement skin get cut into and turn into visible pits, and there are always more of them than you expected. This is normal on a hand-mixed craft pour and it is not a sign you did anything wrong.

Mix a thin slurry of Portland cement and water to a sour-cream consistency, work it into the holes with a gloved finger, and squeegee the excess back off before it sets. Give it a few hours, then return to the grit you were on. Tint the slurry to match if the piece is colored. Budget for doing this twice on a first casting.

Tip

Fill pinholes after the 200 pad, not at the end. A patch applied over a 3000-grit face never blends in. Watch this step

9

Step 9: Dry It Completely, Then Seal

5:59
Step 9: Step 9: Dry It Completely, Then Seal

Wet concrete lies to you. A soaked piece reads dark and glossy and looks like it is done. Leave it a full day and the color lightens, the sheen drops back, and every spot you missed shows itself.

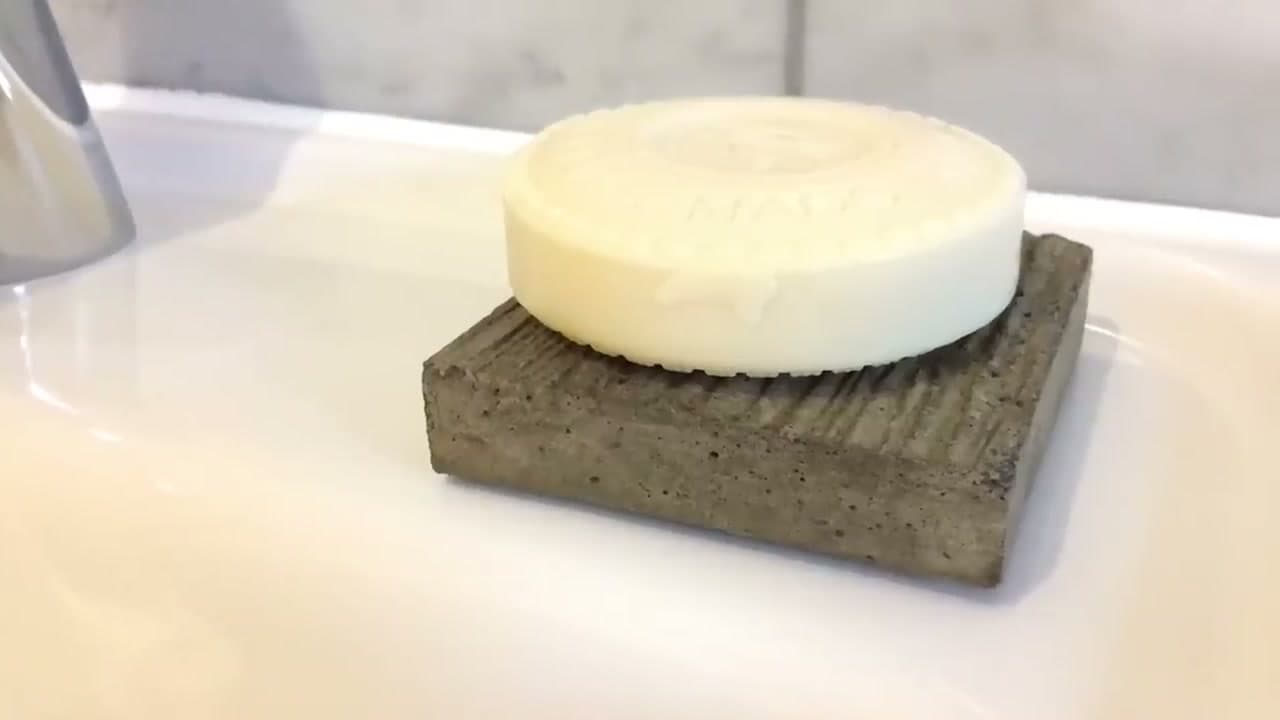
Judge the finish dry, fix what needs fixing, then seal. A penetrating sealer keeps the natural matte stone look and soaks in rather than sitting on top. A topical sealer brings the wet-look gloss back and adds stain resistance, which is what you want on coasters and trays that will meet coffee and wine. Either one needs the piece bone dry first or it will haze.

Tip

Give it 24 to 48 hours in a warm room before sealing. A piece that feels dry on top can still be damp in the core. Watch this step

Products used in this step

Products Used

☐ The Checklist

How to Sand and Polish Concrete Crafts

Tools
10
Materials
5
Steps
9
Video
6 min

Tools we recommend

Your Guide

Montana Made

As an Amazon Associate we earn from qualifying purchases. Links on this page may be affiliate links - clicking them and buying doesn't change your price, but helps support ShowMeStepByStep.

Tags

Sunday How-To

New crafts tutorials, every Sunday

One short email with the week's best step-by-step guides. Free, no spam, unsubscribe anytime.

Did this work for you?

What's next

Related collections

Curated theme pages that include this tutorial.

Weekly Digest

Liked this crafts tutorial?

Pick the categories you want to hear about. Weekly digest of new step-by-step tutorials. No spam, easy unsubscribe.

Send me tutorials about

We only email about new tutorials. Easy unsubscribe anytime.