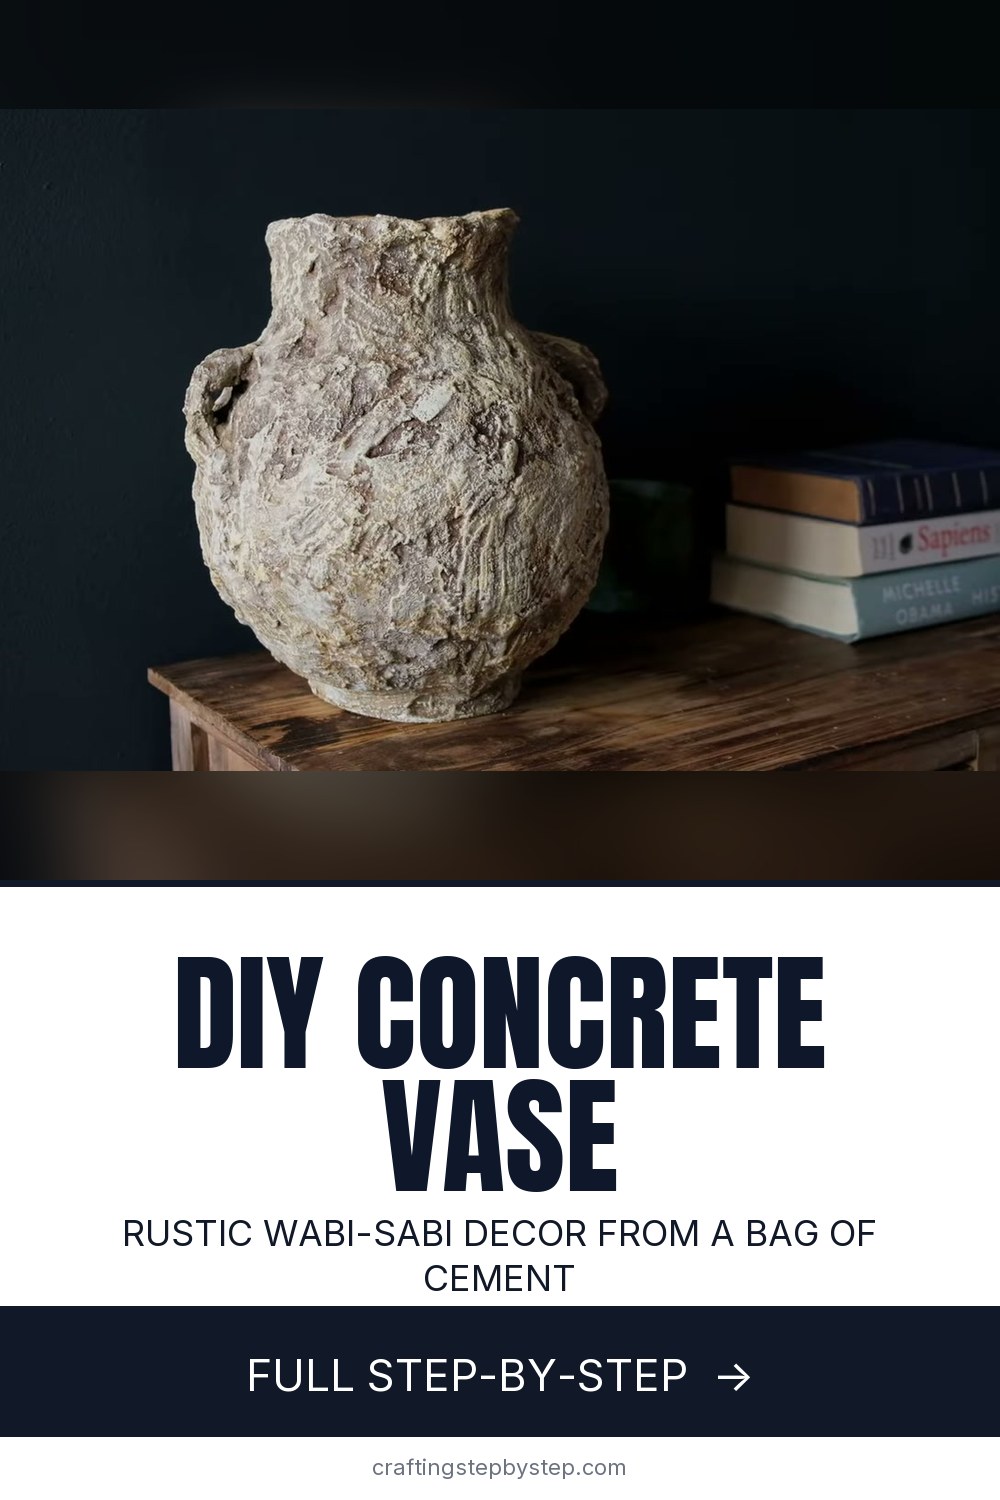
How to Make a Concrete Vase (Wabi-Sabi Style, Step by Step)

CraftsMedium4:567 stepsBrowse more →

By CraftingStepByStepPublished

Based on a video by craftedart.

A wabi-sabi vase is meant to look old, uneven, and handmade, which makes concrete the perfect material for it. There is no wheel, no kiln, and no fancy mold. craftedart builds the whole thing over an inflated balloon, wraps it in mesh so the cement has something to grab, and lets the lumps and gouges become the whole point. If you have ever wanted a heavy, aged-stone pot for dried stems without paying gallery prices, this is the make.

The method is forgiving. You mix cement with sand and water, press it onto the balloon in patches, then build a second thicker coat and drag it around with your fingers until it reads like weathered rock. Once the body sets you pop the balloon, form a neck with a mesh collar and a cup, add two small handles, and age the surface with a dry brush and a little pigment. Nothing here needs to be neat. If you have poured concrete before, this uses the same feel as making a concrete planter, just shaped by hand instead of cast in a container.

Give yourself two sessions with a curing day in between. The cement does most of the work while you sleep. When you are done you will have a solid statement piece that looks like it came off a shelf in an old farmhouse. Once you have this one down, the same mix-and-shape approach carries straight over to a concrete candle holder or a small concrete trinket dish for the same shelf.

Step-by-Step Guide

7 steps · about 5 minutes.Check off each step as you go and your progress saves automatically.

1

Step 1: Wrap the Balloon Mold in Mesh

0:26
Step 1: Step 1: Wrap the Balloon Mold in Mesh

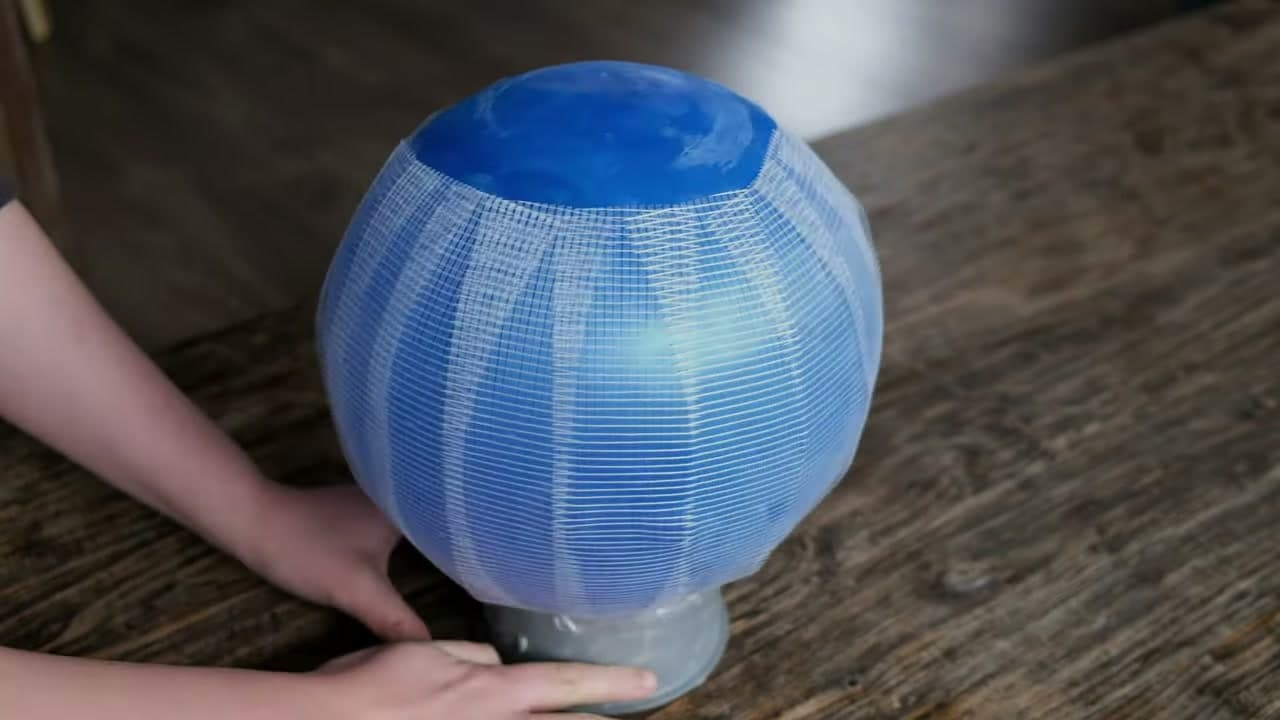
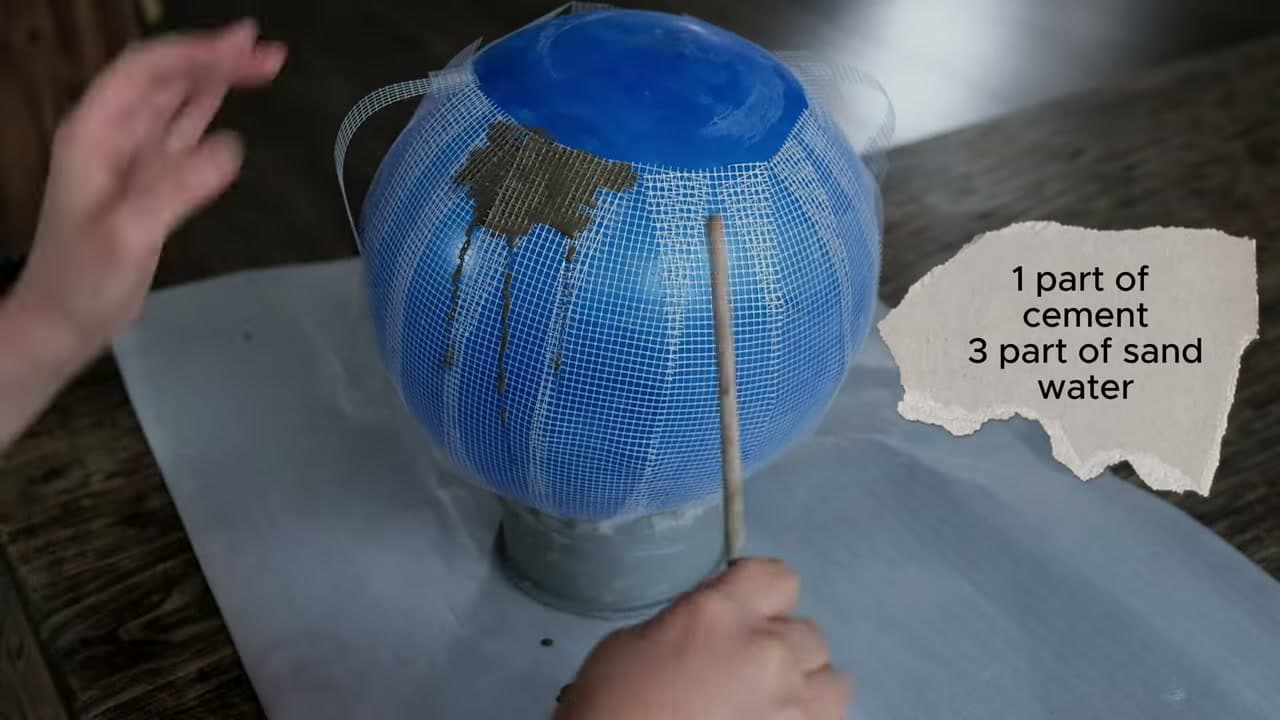
Inflate a round balloon to the size you want the vase body to be, then set it neck-down in a cup so it stands still. This balloon is your mold. It gets popped later, which is how you end up with a hollow pot instead of a solid lump.

Wrap the whole balloon in a layer of fiberglass mesh scrim and smooth it around the curve. The mesh is what the cement clings to, and it stops the shell from cracking as it dries. Cover the ball all the way down to where it meets the cup.

Tip

Watch this step Use a firm, evenly round balloon. A lopsided one gives you a lopsided vase, and not in the charming way.
2

Step 2: Mix the Cement and Apply the First Coat

0:50
Step 2: Step 2: Mix the Cement and Apply the First Coat

Mix your cement by hand using one part cement to three parts sand. Add water a splash at a time and stir until it holds together like thick peanut butter. Too wet and it slides off the balloon, so keep it on the stiff side.

Scoop the mix onto the mesh and press it into the weave with gloved fingers. Work in patches around the balloon until the blue rubber disappears under a grey coat. This first layer just needs to grip the mesh, so do not worry about smoothing it.

Tip

Watch this step Wear a dust mask while you scoop dry cement. The powder is rough on your lungs before you add water.

3

Step 3: Build the Textured Wabi-Sabi Body

2:00
Step 3: Step 3: Build the Textured Wabi-Sabi Body

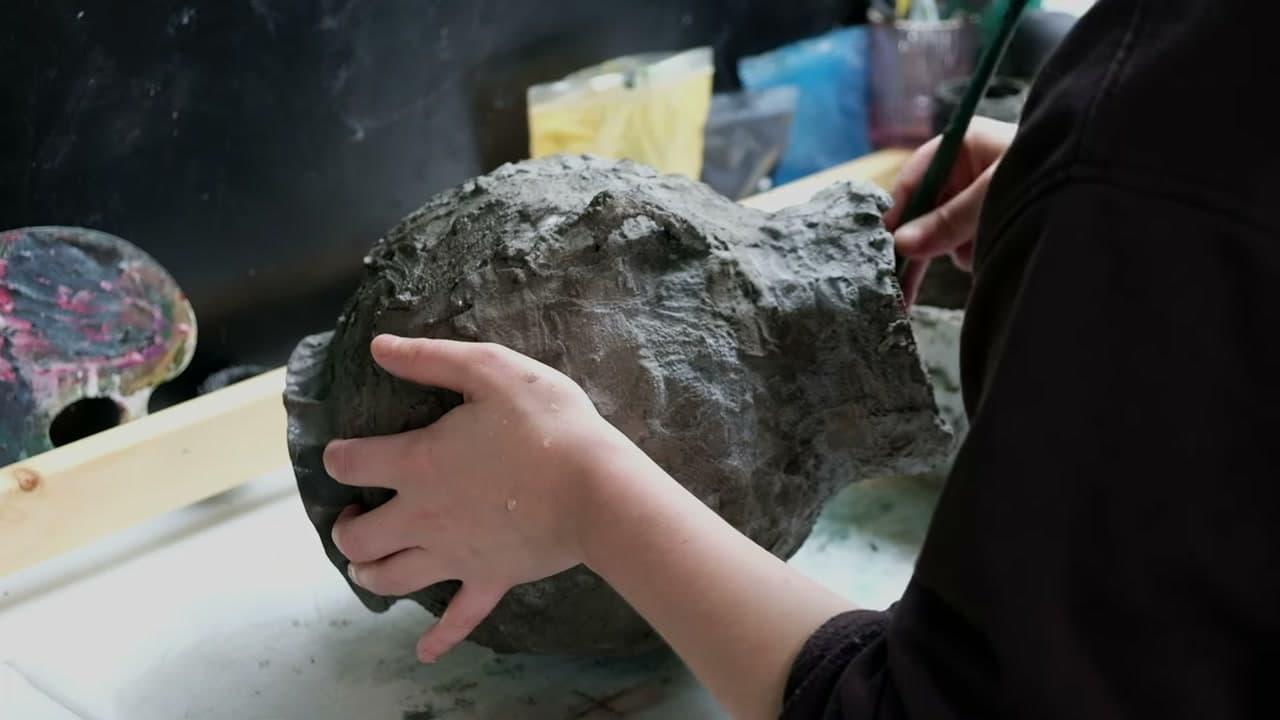
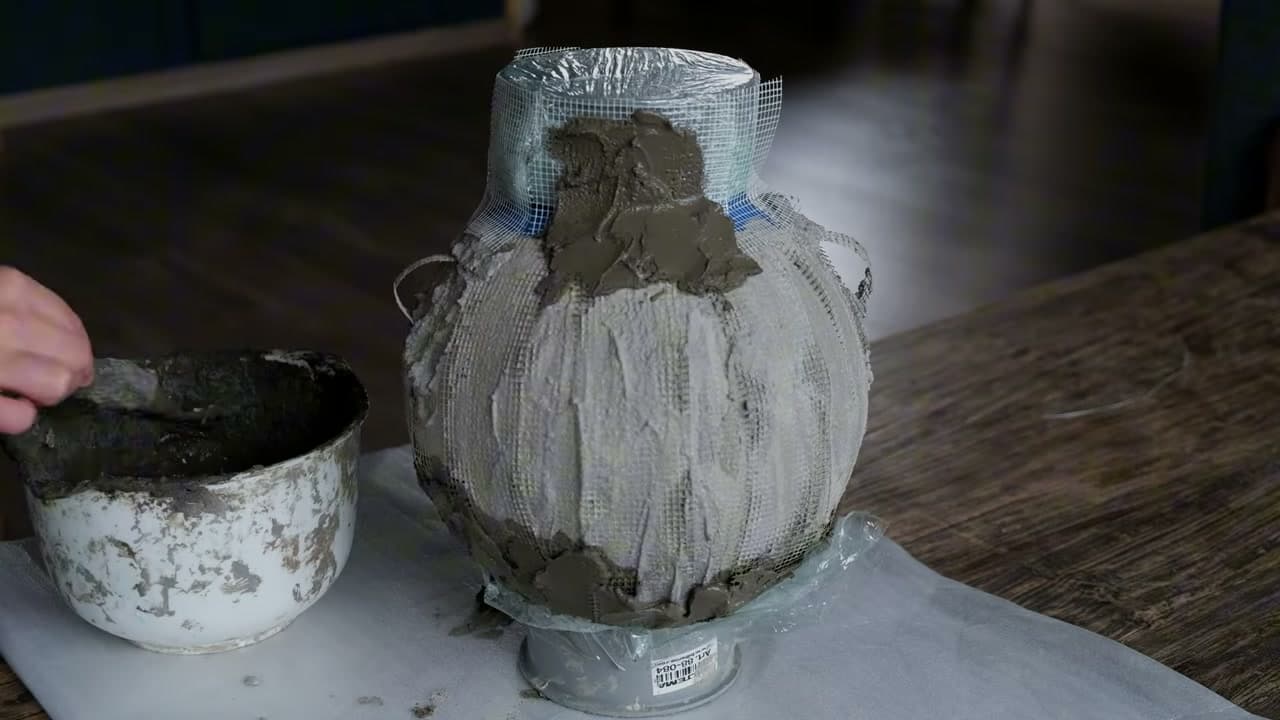
Once the base coat grabs, pile on a second, thicker layer of cement. Drag it around with your fingers to build the rough, weathered surface that gives the vase its wabi-sabi look. Ridges, gouges, and uneven patches are exactly what you want.

Push cement up toward the top of the ball but leave a round opening where the neck will go. Keep turning the vase as you work so the texture wraps all the way around instead of building up on one side.

Tip

Watch this step Mix cement in small batches. It starts stiffening within twenty minutes, so a fresh batch is easier to work than a tub that has been sitting.

4

Step 4: Form the Neck with a Cup and Mesh Collar

2:26
Step 4: Step 4: Form the Neck with a Cup and Mesh Collar

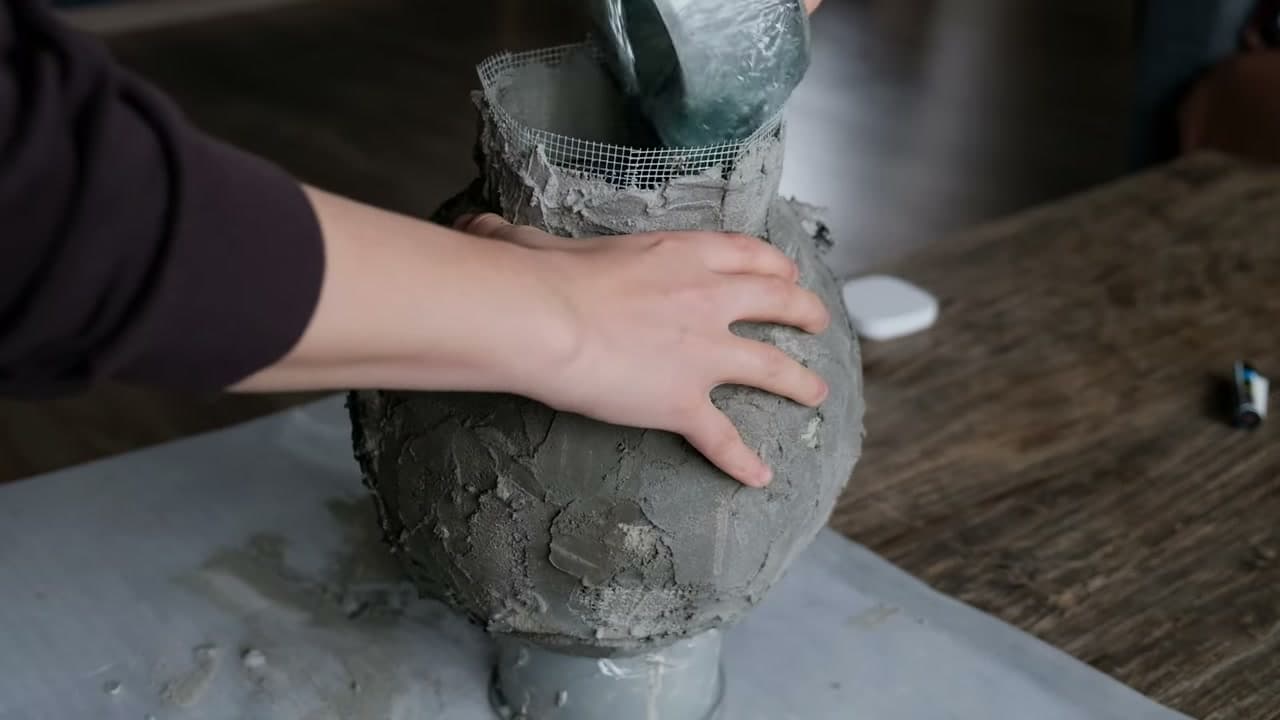
When the body sets enough to hold its shape, build the neck on top. Cover a plastic cup in plastic wrap so cement will not stick to it, wrap a mesh collar around the opening, and press the cup in to act as a form for the inner wall of the neck.

Pack cement around the collar and smooth it down into the shoulders. The goal is a neck that grows straight out of the ball rather than sitting on top like a lid. Blend the join so there is no hard seam between the neck and the body.

Tip

Watch this step The plastic wrap is what lets the cup slide out cleanly once the neck firms up. Skip it and the cup cements itself in place.

5

Step 5: Reinforce and Smooth the Rim

2:46
Step 5: Step 5: Reinforce and Smooth the Rim

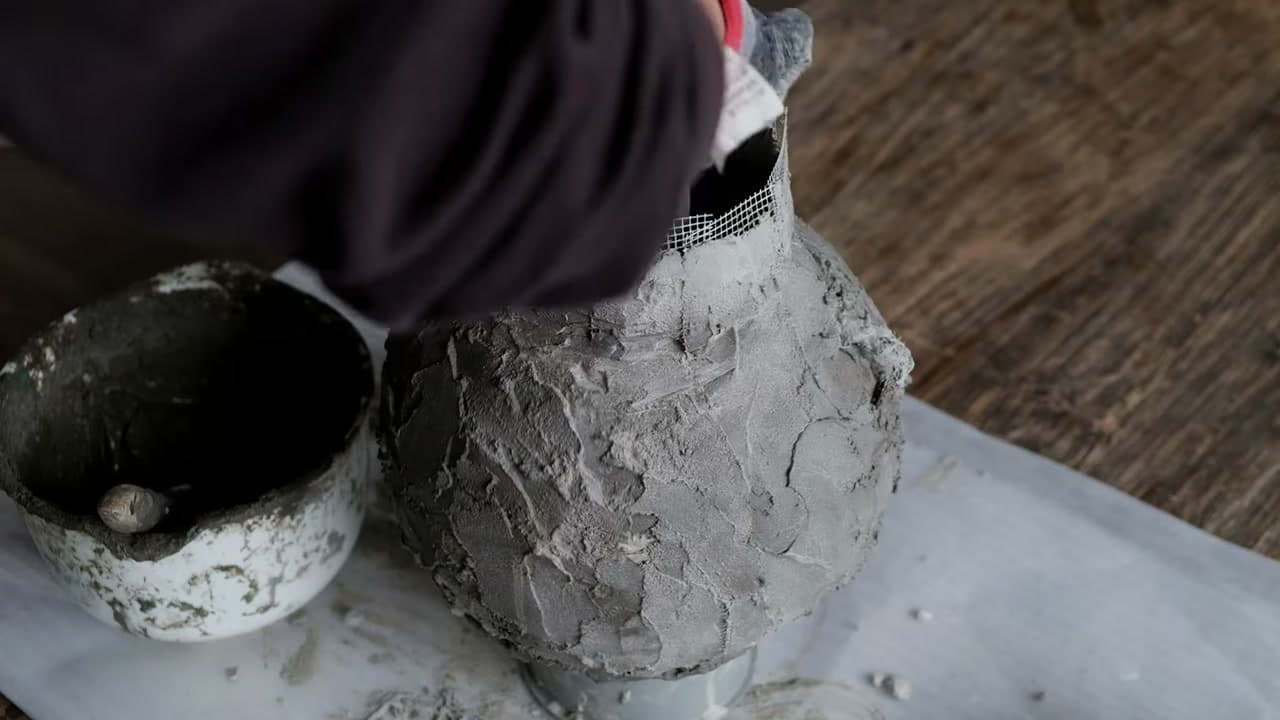
The rim is the fragile part, so give it some extra care. Load a stiff brush with a wet cement slurry and stipple it over the mesh collar and around the mouth of the vase. This works the cement into the weave and locks the neck to the body.

Brush slurry over any thin spots on the shoulders too. Where the surface looks pale or you can still see mesh, a coat of slurry ties it all together and hides the grid.

Tip

Watch this step Keep a bowl of slurry a bit looser than your building mix. A thin, brushable consistency fills pinholes the thick mix skips over.

6

Step 6: Add the Handles

3:35
Step 6: Step 6: Add the Handles

Handles turn a plain pot into something that looks like an old amphora. Roll two short sausages of cement over strips of mesh, then press one to each shoulder of the vase where the body meets the neck.

Hold each handle in place until it grabs, then pack a little extra cement into the joins so they do not snap off later. Set the vase aside to cure fully, handles and all, before you move on to the finish.

Tip

Watch this step Make the handles chunky. Thin concrete handles look elegant but crack at the join, and a heavier one reads as more authentically old anyway.

7

Step 7: Age the Surface and Seal

4:04
Step 7: Step 7: Age the Surface and Seal

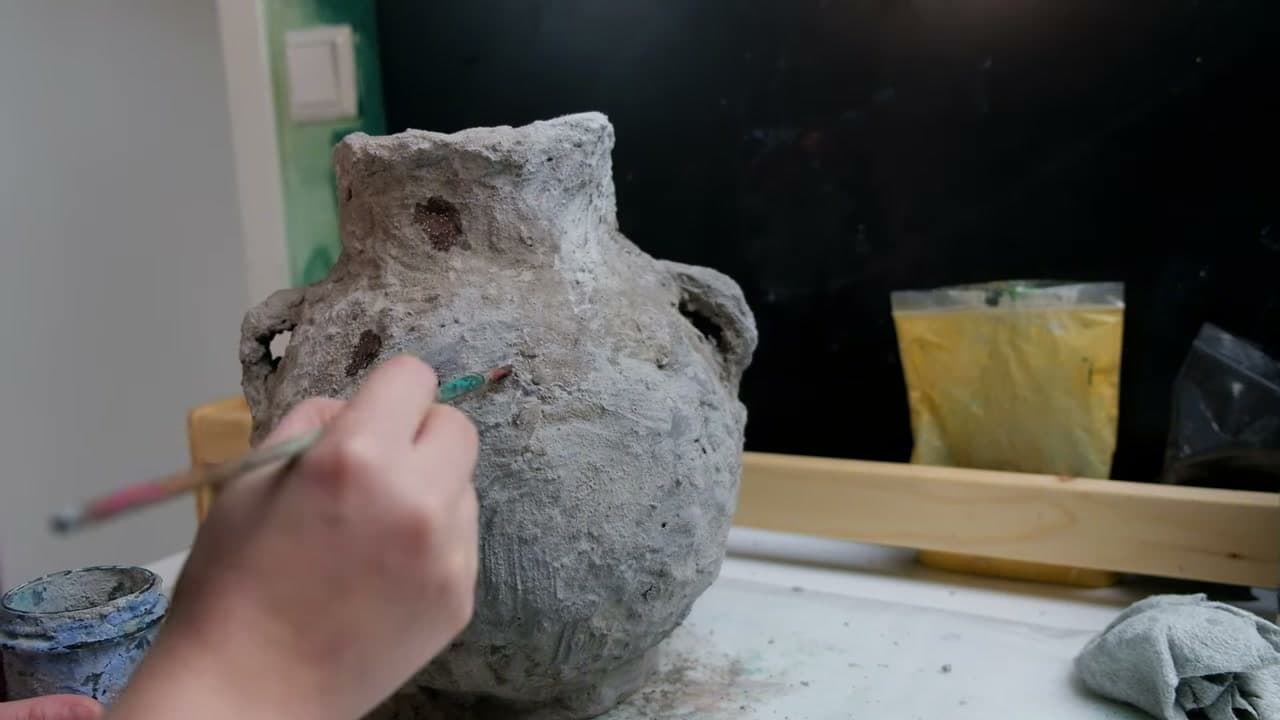
Now give the vase its old-stone look. Dip a dry brush into ochre and black pigment powder and drag it lightly over the high spots of the texture. Then wipe a pale wash into the low spots so the ridges catch the color and the crevices stay light, which is what makes stone read as aged.

Sand off any sharp edges that could scratch a shelf, then brush on a concrete sealer so the surface holds up. Your wabi-sabi vase is done and ready for dried stems.

Tip

Watch this step Build the aging up in thin layers. It is easy to add more pigment and hard to take it back off, so go light and check it in daylight.

Products Used

☐ The Checklist

How to Make a Concrete Vase (Wabi-Sabi Style, Step by Step)

Tools
6
Materials
8
Steps
7
Video
5 min

Tools we recommend

Your Guide

craftedart

As an Amazon Associate we earn from qualifying purchases. Links on this page may be affiliate links - clicking them and buying doesn't change your price, but helps support ShowMeStepByStep.

Tags

Sunday How-To

New crafts tutorials, every Sunday

One short email with the week's best step-by-step guides. Free, no spam, unsubscribe anytime.

Did this work for you?

What's next

Related collections

Curated theme pages that include this tutorial.

Weekly Digest

Liked this crafts tutorial?

Pick the categories you want to hear about. Weekly digest of new step-by-step tutorials. No spam, easy unsubscribe.

Send me tutorials about

We only email about new tutorials. Easy unsubscribe anytime.