How to Color Concrete for Crafts

CraftsMedium8:429 stepsBrowse more →

By CraftingStepByStepPublished

Based on a video by Cool Hand Robyn.

Painting concrete is one way to get color. Mixing the color in is a better one. The pigment becomes part of the material, so a chip or a scuff shows the same shade underneath instead of bare grey.

Robyn of Cool Hand Robyn runs a small business casting concrete crafts, and this walkthrough is the version she teaches to people who are just starting. It is built around small pieces like pots and trinket dishes, but the same rules scale up to pavers, countertops and patios.

The whole thing turns on one number: the max loading rate. Every pigment has one, it is measured against cement weight rather than total mix weight, and going over it costs you strength. Get that right and the rest is mixing.

Step-by-Step Guide

9 steps · about 9 minutes.Check off each step as you go and your progress saves automatically.

1

Step 1: Pick Your Pigment Type

0:40
Step 1: Step 1: Pick Your Pigment Type

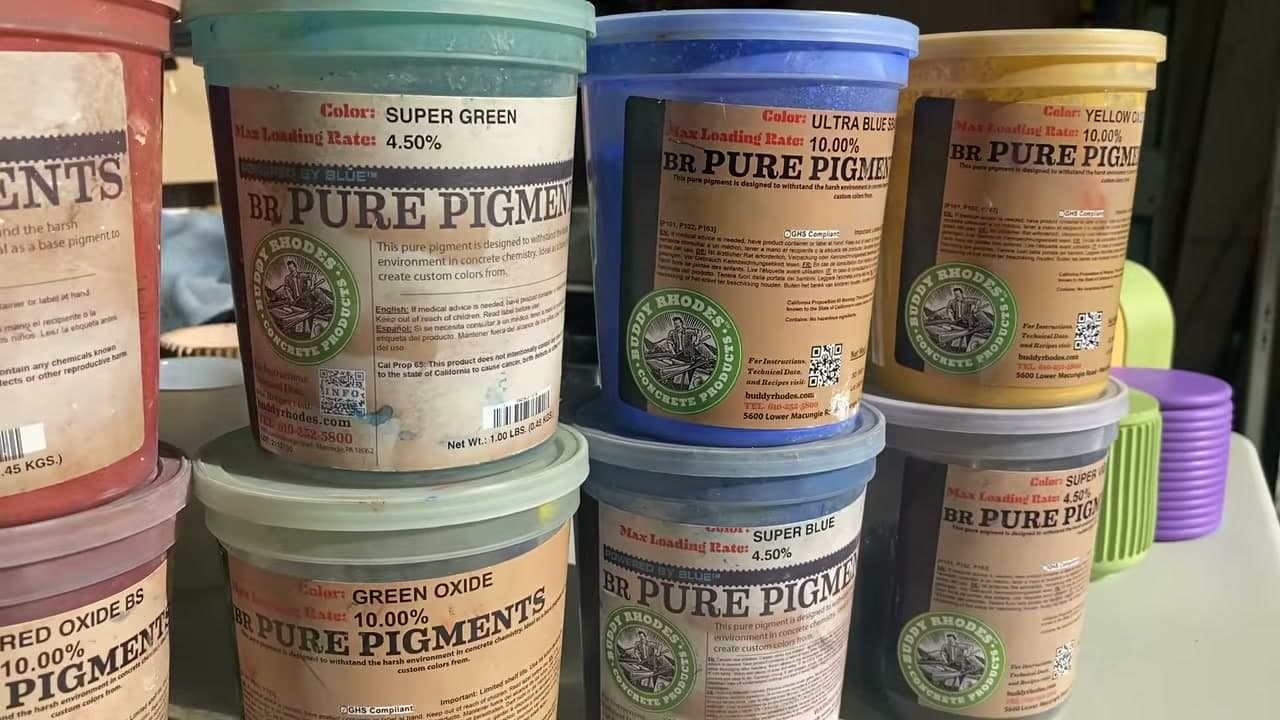
Three families do this job. Oxides are where most people should start, because they are cheap, forgiving, and your set time and workability barely change from an uncolored batch. Natural minerals like mica and cobalt are the other earth-based route. Synthetics are the third family and they come with their own rules.

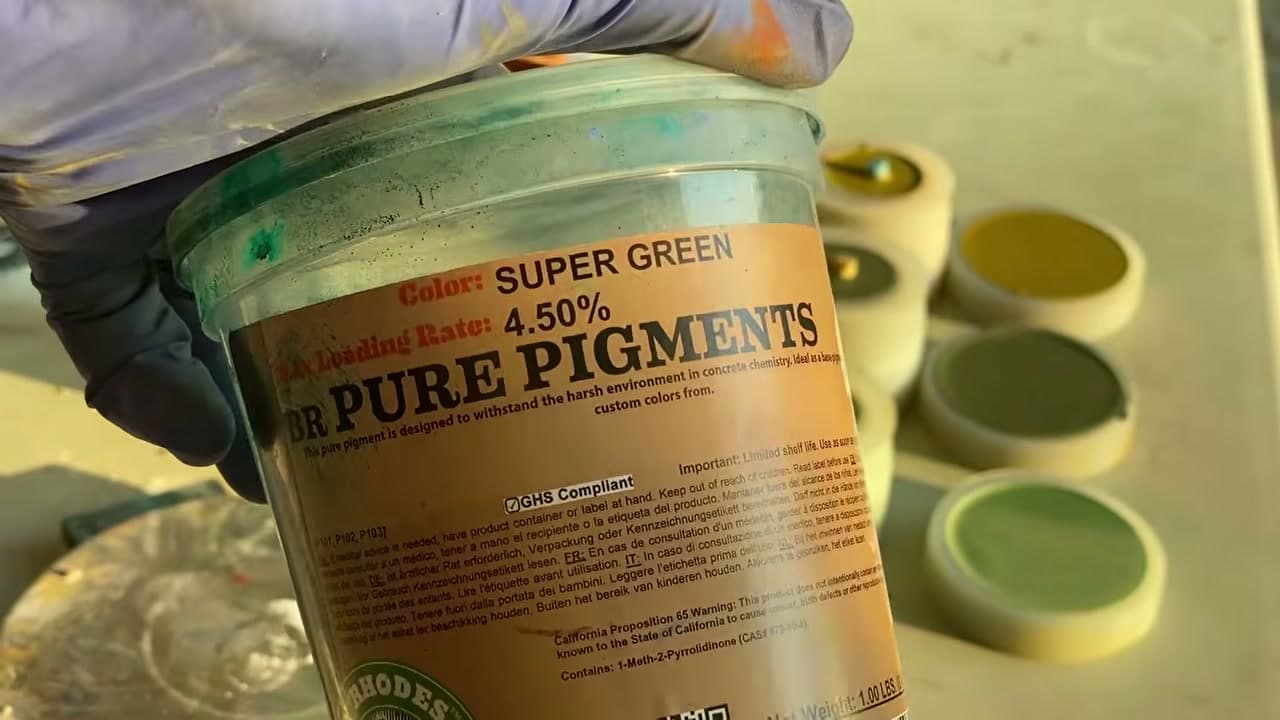
Look at the tubs and you can see the difference already. The oxides here are rated to 10 percent. The synthetics next to them are rated to 4.5. That number matters more than the color on the lid.

Tip

Buy small. Pigment goes a long way and a sample-size tub will outlast several projects while you work out which shades you actually reach for.
2

Step 2: Weigh Your Cement and Find Your Pigment Ceiling

2:41
Step 2: Step 2: Weigh Your Cement and Find Your Pigment Ceiling

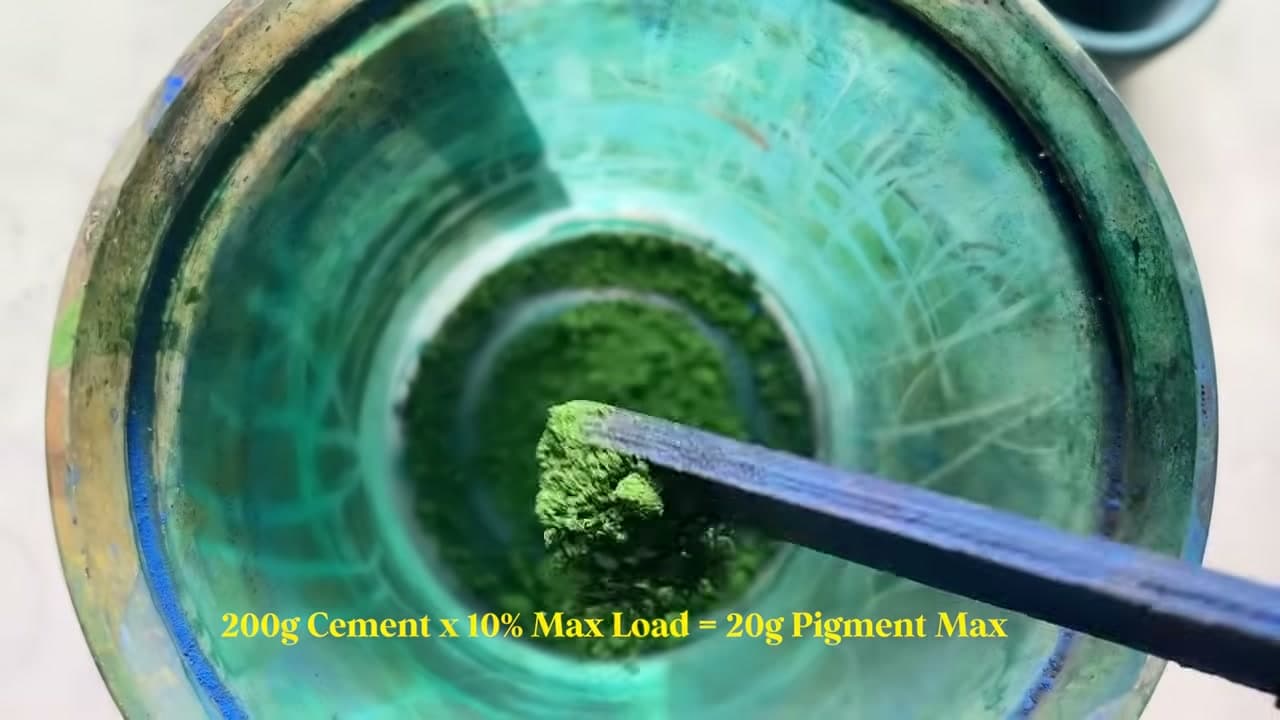
The max loading rate is a percentage of cement weight. Not sand, not water, not the whole batch. Cement.

This mix uses 200 grams of white Portland. The oxide is rated to 10 percent. That puts the ceiling at 20 grams of pigment, and the on-screen math is worth pausing on. Work your own number out before you open anything, because guessing here is how people end up with a piece that never fully cures.

Tip

White Portland is a specialty product and your local hardware store may only carry grey. Grey works fine. It just gives you a darker starting point, so pastels and light shades are harder to hit.

3

Step 3: Dissolve the Pigment Into Your Mix Water

2:52
Step 3: Step 3: Dissolve the Pigment Into Your Mix Water

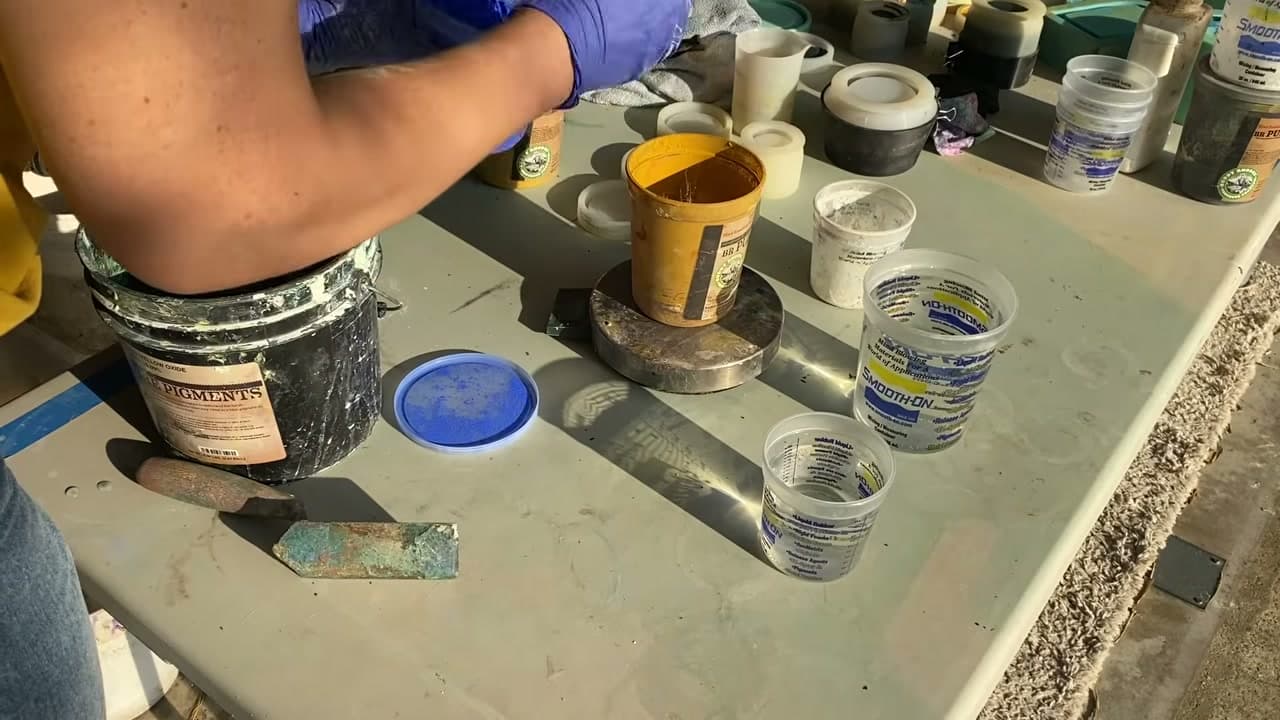
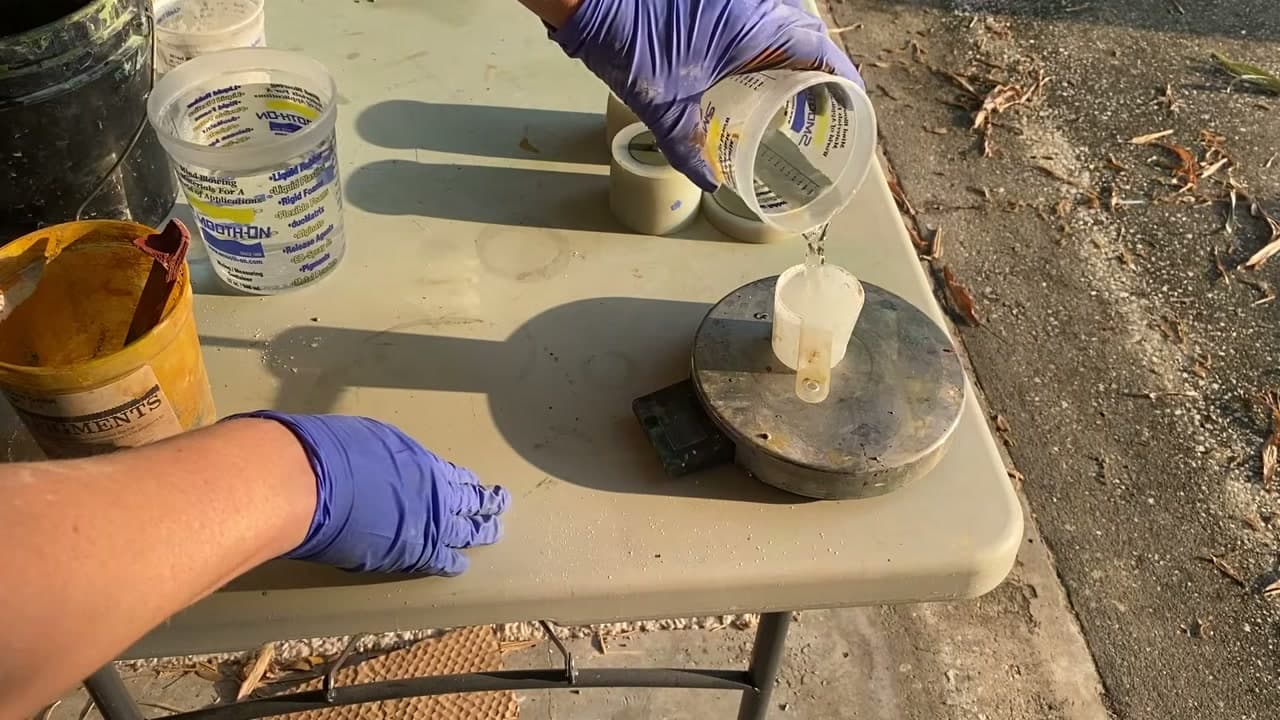
Pigment goes into the water first, before it meets anything dry. Measure out your one part water, pour it onto the powder, and add your water reducer at the same time.

This is the step that decides whether your color comes out even or streaky. Dumping dry pigment into dry cement leaves you chasing pockets of concentrated color through the whole mix.

4

Step 4: Stir Until Nothing Is Left on the Bottom

3:02
Step 4: Step 4: Stir Until Nothing Is Left on the Bottom

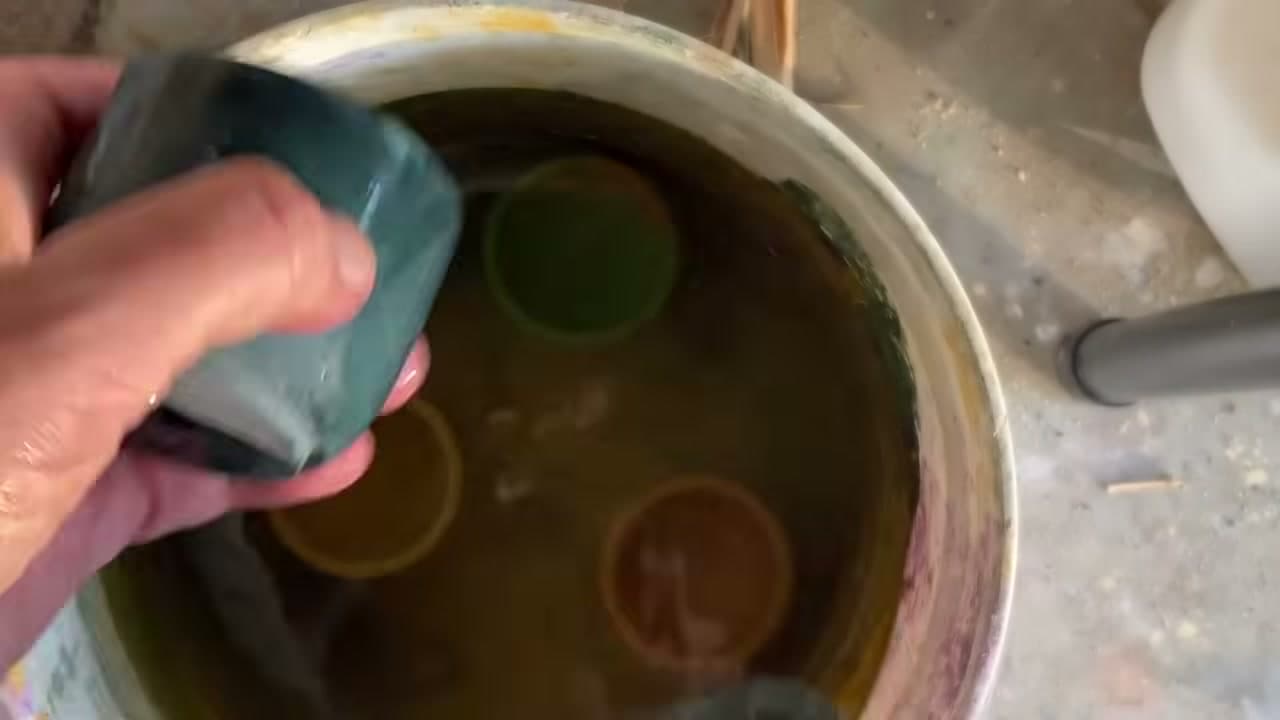
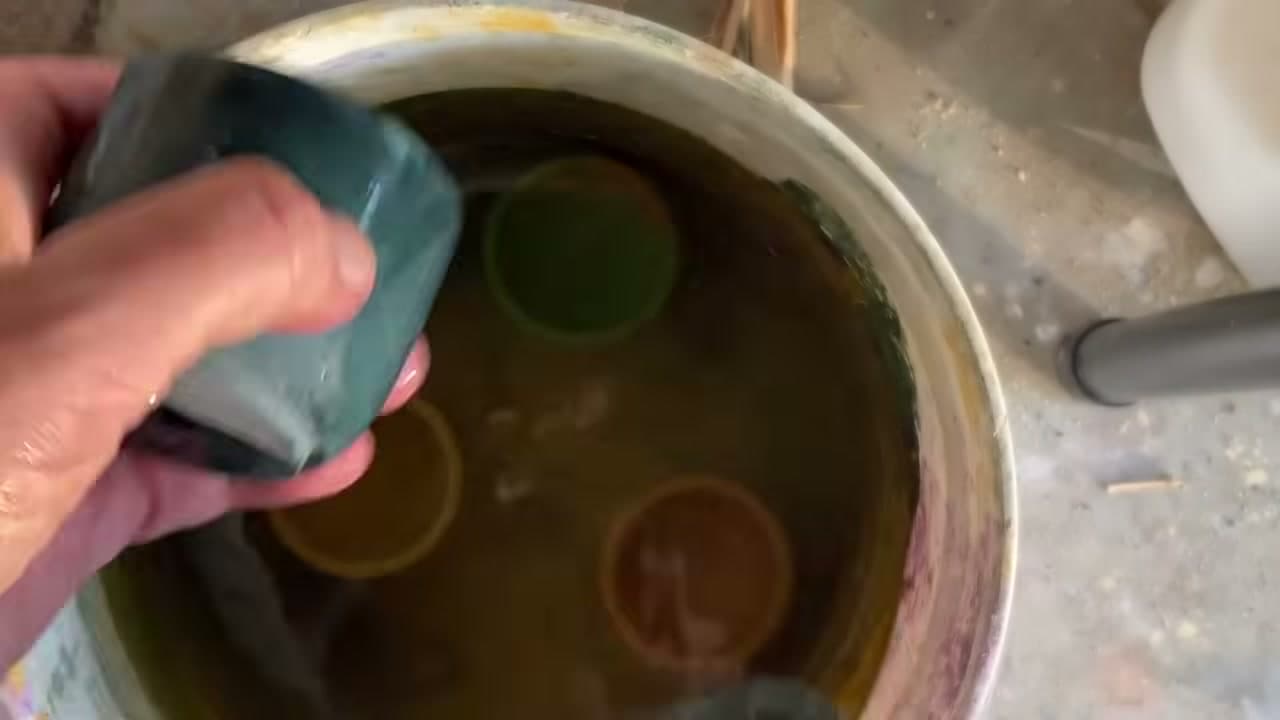
Pigment settles. Tip the cup, chase the corners, and keep going until the liquid is uniform and there is no grit sitting underneath.

Anything still down there will not disperse later. It shows up in the finished piece as a dark fleck.

Products used in this step

5

Step 5: Fold the Colored Water Into Your Dry Mix

3:20
Step 5: Step 5: Fold the Colored Water Into Your Dry Mix

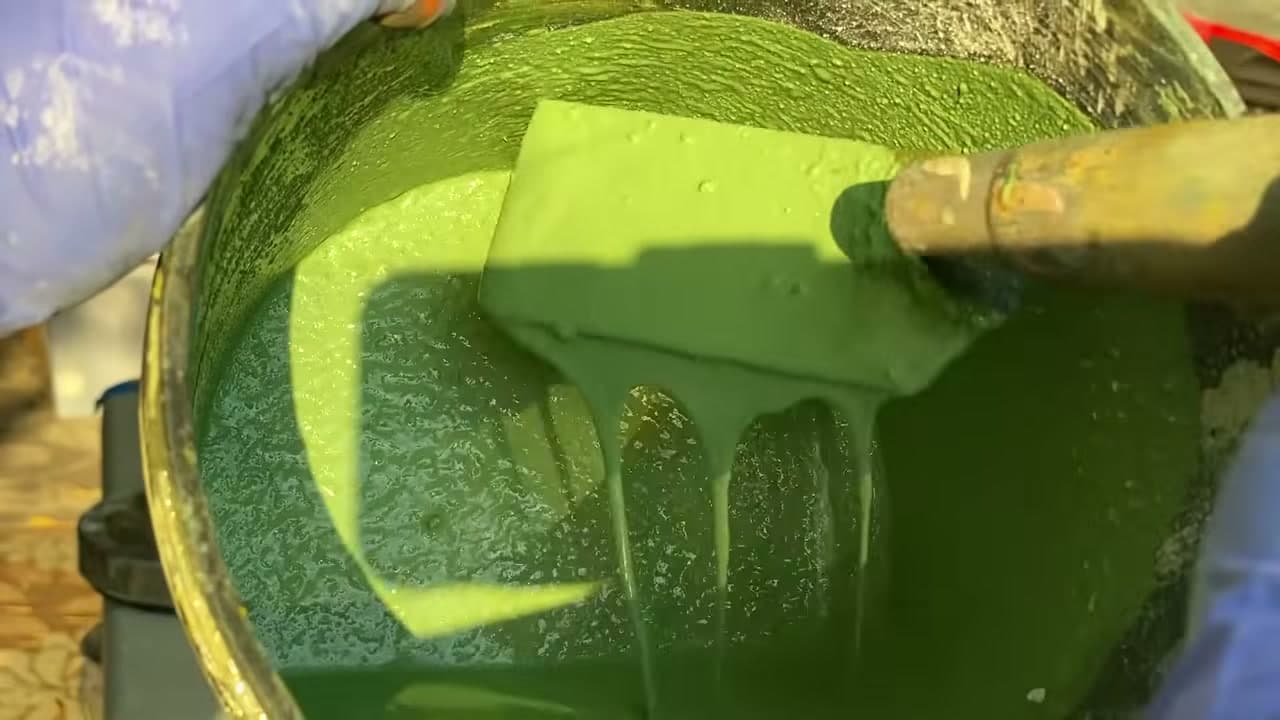
Now combine it the way you normally would. The mix here is three parts sand, two parts cement, one part water, with a little water reducer.

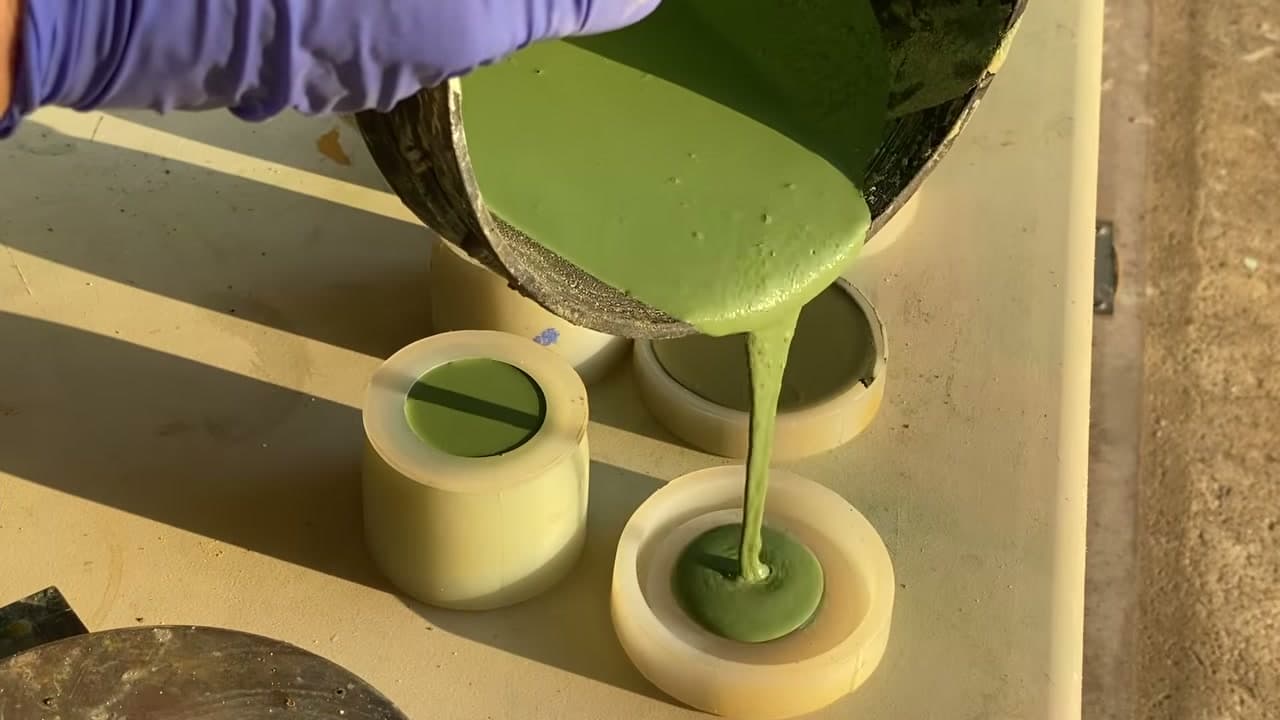
That reducer earns its place on small castings. It loosens the mix so it flows into tight mold corners without you adding extra water, and extra water is what weakens concrete.

Tip

Aim for thick oatmeal. Too wet and you lose strength. Too dry and the mix will not settle into the detail of the mold.

6

Step 6: Check the Color and Decide If You Want More

3:25
Step 6: Step 6: Check the Color and Decide If You Want More

This batch used about half the maximum and landed on a soft sage. You have room to keep going up to your ceiling if you want it deeper and more saturated.

One thing to hold in your head while you judge it: wet concrete reads darker than cured concrete. What you are looking at will lighten. If it looks exactly right now, it will probably end up a shade paler than you wanted.

Products used in this step

7

Step 7: Blend Two Pigments for a Custom Shade

4:10
Step 7: Step 7: Blend Two Pigments for a Custom Shade

When the color you want is not in any single tub, mix. Yellow oxide and ultra blue at 10 grams each gives a yellow-leaning desert green. Shift the ratio to 75 percent blue and 25 percent yellow and the same two powders give you something mossy and muted instead.

Oxides stay earthy no matter how you combine them. That is the nature of the material, and it is why a genuinely vivid violet is not reachable this way.

Products used in this step

8

Step 8: Switch to Synthetic for Bright Colors

4:52
Step 8: Step 8: Switch to Synthetic for Bright Colors

Synthetics are what you reach for when you want saturation that oxides cannot reach. Purple is the obvious case, since violet barely exists in the natural pigment catalog.

The trade is a lower ceiling and a learning curve. This one maxes at 4.5 percent. Anything above a 1 percent loading rate needs considerably longer drying time, and blending it with an oxide helps stabilize the batch.

Tip

Skip the acrylic paint and fabric dye. They are not formulated for the harsh alkaline environment inside concrete, so the color will not hold up to weather or UV the way a proper pigment does.

Products used in this step

9

Step 9: Seal the Piece and Handle Efflorescence

8:10
Step 9: Step 9: Seal the Piece and Handle Efflorescence

Efflorescence is the ashy film that turns up on concrete that has been in contact with water. Darker pieces show it worst, and anything living outdoors unsealed will get there eventually.

It comes off with a mild vinegar and water solution and a fair bit of scrubbing. Fine sandpaper handles whatever is left. Then seal with something rated for outdoors, which is what stops it coming back in the first place.

Products Used

☐ The Checklist

How to Color Concrete for Crafts

Tools
7
Materials
8
Steps
9
Video
9 min

Tools we recommend

Your Guide

Cool Hand Robyn

As an Amazon Associate we earn from qualifying purchases. Links on this page may be affiliate links - clicking them and buying doesn't change your price, but helps support ShowMeStepByStep.

Tags

Sunday How-To

New crafts tutorials, every Sunday

One short email with the week's best step-by-step guides. Free, no spam, unsubscribe anytime.

Did this work for you?

What's next

Related collections

Curated theme pages that include this tutorial.

Weekly Digest

Liked this crafts tutorial?

Pick the categories you want to hear about. Weekly digest of new step-by-step tutorials. No spam, easy unsubscribe.

Send me tutorials about

We only email about new tutorials. Easy unsubscribe anytime.