Two panels of fabric change a room faster than a coat of paint. Christina Dennis sewed the floral drapes in this tutorial for her own breakfast nook, and there is not a curved seam in the project. Every stitch runs in a straight line down a pressed hem.
What makes them read as bought rather than homemade is pleater tape, a stiff woven strip with rows of small pockets. Stitch it behind the top hem, push a four-prong hook into the pockets, and the fabric folds itself into a pinch pleat. No pleat math. No hand tacking.
What you need
Drapery weight fabric does the heavy lifting. Christina bought 12 yards for four eight-foot panels, with enough left for a pillowcase or two. Quilting cotton hangs limp, so look for a cotton linen blend or anything labelled decor weight.
- Decor weight or cotton linen blend fabric
- Pleater tape, enough for the full width of every panel
- Pin-on pleater hooks, plus curtain rings with clips
- A long quilting ruler or a carpenter's square
- Measuring tape, fabric scissors, stick pins, a marking pen
- Iron, ironing board, sewing machine, cotton thread
Measure the window before you buy fabric
Decide how tall you want the panels first. A rod hung close to the ceiling with fabric dropping to the floor makes a window look taller than it is. Christina left a one inch gap at the bottom so she could sweep underneath.
Take that finished height and add seven inches. That covers the deep fold at the top, the double fold at the bottom, and the gap between the hook and the top edge. For width, multiply your window width by two. The extra width is what the pleats eat up.
How to sew curtains with pleater tape
Sewing order matters. Press both long sides under half an inch, then half an inch again, and stitch them down. The top gets the same treatment with a four inch second fold, since that deep hem is what the tape is stitched to. The bottom folds half an inch, then one inch.
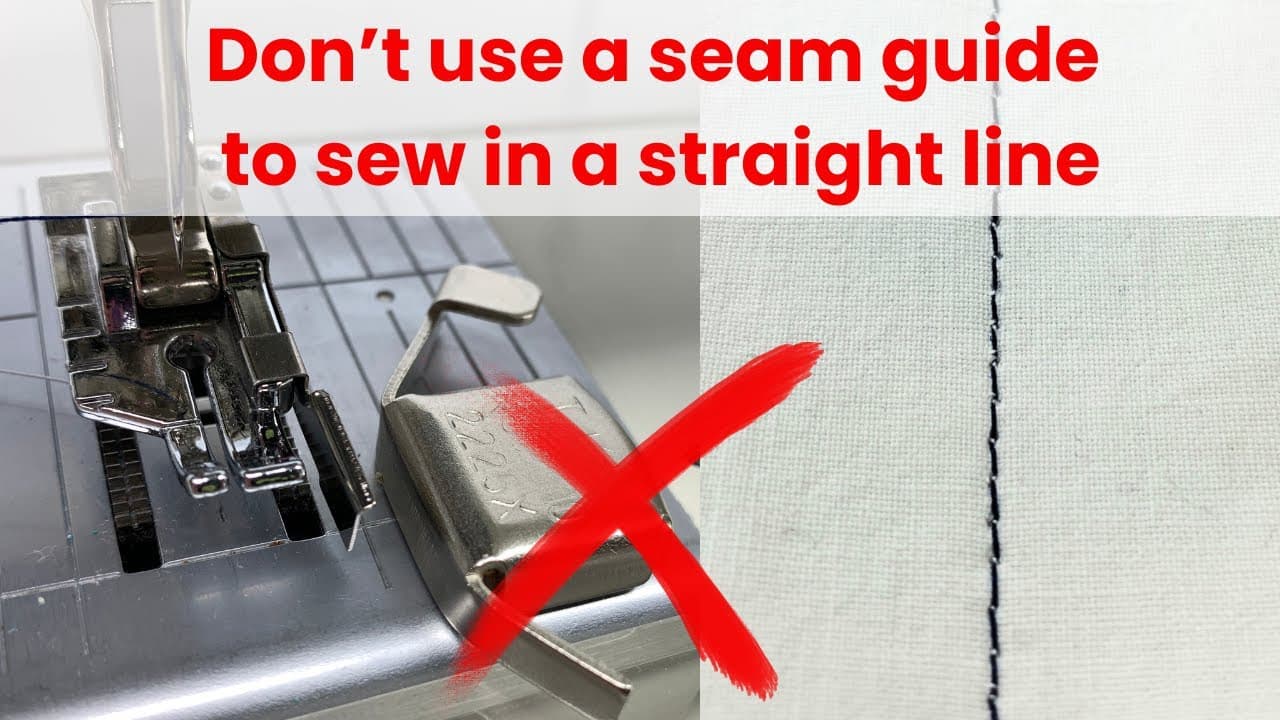
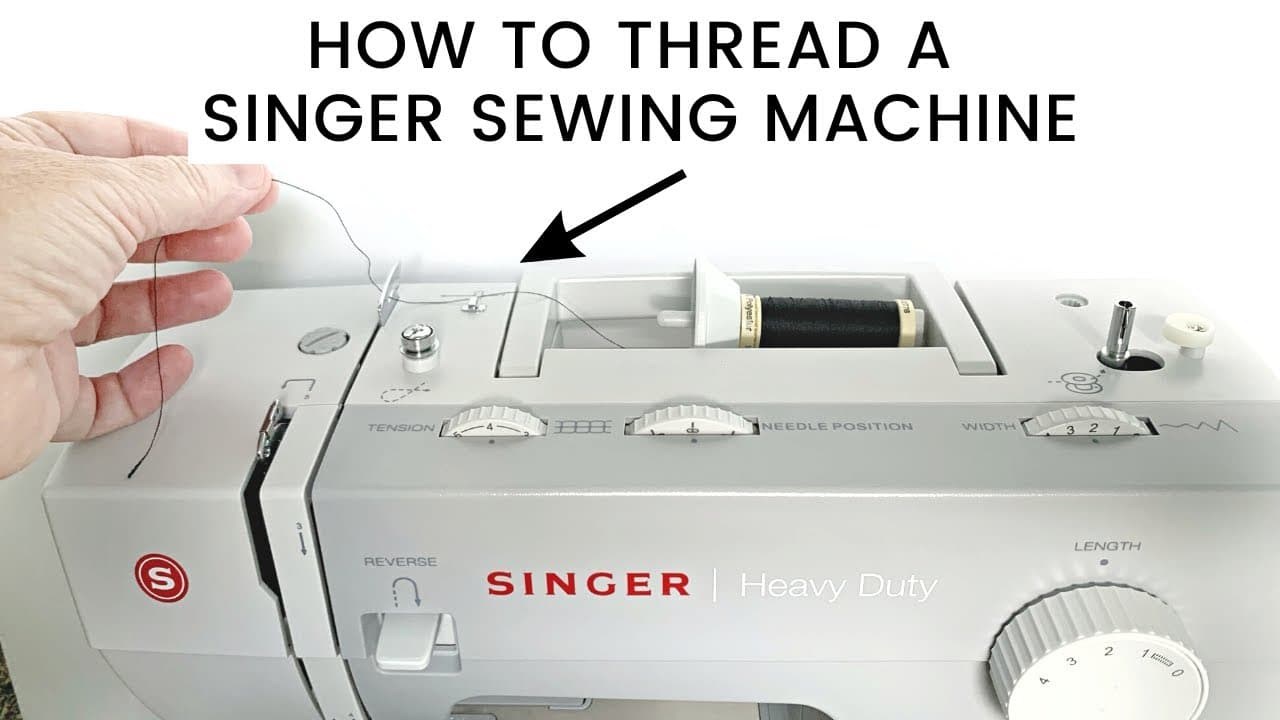
Use a long stitch, number four on most dials, and backstitch at the start and end of every seam or the hem creeps open the first time you drag the panel across the rod. If the machine is new to you, walk through how to use a sewing machine first.
Check which way is up before you press the top hem. Most decor fabric prints an UP arrow along the selvedge. If yours does not, decide which way the pattern should point.
Hook spacing controls the pleat
Put one leg of a hook into the first pocket, count five pockets along, and put the other leg in. Leave one pocket free, then start the next hook. Fewer pockets between the legs gives a shallow, casual gather. More gives a deep, formal pinch.
Clip a ring onto each hook, slide the rings onto the rod, and run your hand down every pleat to train it. A steamer sharpens the folds if you want the formal version.
Pleater tape or a rod pocket
A rod pocket is the simpler build. Fold the top hem wide enough for the rod to pass through and skip the tape, hooks and rings. It costs less and it works, but the fabric bunches at the rod instead of pleating and the panels drag when you pull them closed.
Common mistakes
Cutting without squaring the line is the big one. Mark the cut at three points and join them with a hard ruler, the same way you would when cutting quilt fabric. A line that drifts half an inch over eight feet shows badly once the panel hangs.
Sewing the tape on upside down comes second. The pockets have a direction. Slide a hook in before you pin the whole strip down.
Leaving the bottom hem until the end is worth thinking about. Hang the panels unhemmed, mark where they land, then take them down and finish, the same way you would go about hemming pants at home.