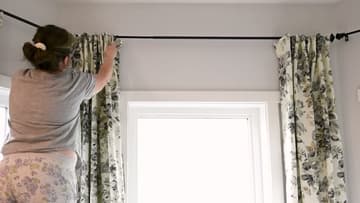
How to Make Curtains
Source: Cozy DIY Home • Full tutorial: www.craftingstepbystep.com/sewing/how-to-make-curtains
- Difficulty
- Easy
- Hands-on time
- About 2 hours
- Cost
- About $50 to $120
- Makes
- 1 curtain panel

Tools
- sewing machine
- steam iron
- ironing board
- fabric scissors
- quilting ruler
- carpenter's square
- measuring tape
- fabric marking pen
Materials
- decor weight drapery fabric
- pleater tape
- pin-on pleater hooks
- curtain rings with clips
- cotton sewing thread
- stick pins
- curtain rod
Steps
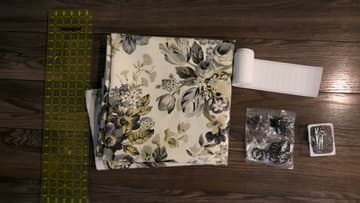
1. Lay Out the Drapery Fabric, Pleater Tape and Hooks
Get everything in one place before you cut anything. You need the fabric, a roll of pleater tape, pin-on hooks, rings with clips, and a long ruler.
Tip: Take the rings out of the bag and count them against your hooks before you start sewing. Running short halfway through is a trip back to the store.
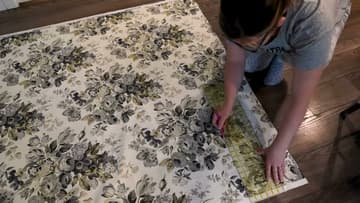
2. Mark the Cut Line on the Curtain Fabric
Spread the fabric out flat on the floor. Measure your finished height plus seven inches, then mark that point at three places across the width.
Tip: A chalk pencil or a water-soluble marking pen both wash out. Pick one and test it on a scrap first if the fabric is pale.
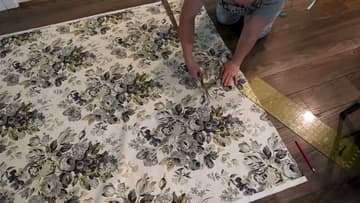
3. Cut the Curtain Panel Along the Marked Line
Cut along the line with sharp fabric scissors, keeping the blades tight against the ruler edge. Long steady cuts beat lots of short snips, which leave a jagged edge that is harder to fold under later.
Tip: Keep these scissors for fabric only. One pass through paper dulls them enough to chew the edge of a cotton print.
4. Press the Side Hems of the Curtain Panel
Turn one long edge under half an inch and press. Turn it under another half inch and press again.
Tip: A sharp crease here is what keeps your stitching line straight later. The iron is doing half the sewing for you.
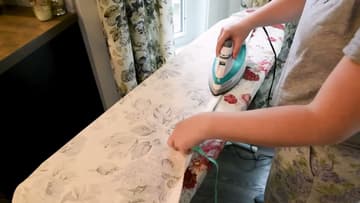
5. Fold and Press the Top and Bottom Hems
Find the top of the panel first. Decor fabric often prints an UP arrow on the selvedge; if yours does not, check which way the pattern should hang.
Tip: Pin the hems down with stick pins if the fabric is thick. Heavy cotton has a habit of springing back open between the ironing board and the machine.
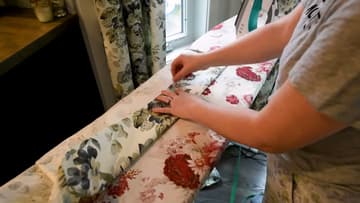
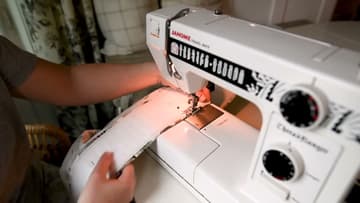
6. Sew the Curtain Hems on the Sewing Machine
Stitch down both side hems, then the top hem, sewing about a quarter inch in from the folded edge. Use a longer stitch than you would on clothing, number four on most dials.
Tip: Cotton thread suited to drapery is worth the extra dollar. Thin all-purpose thread shows more on a heavy weave.
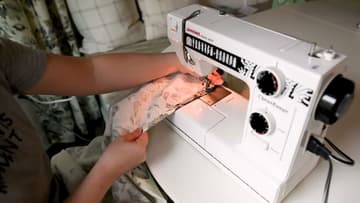
7. Pin the Pleater Tape to the Back of the Top Hem
Roll the pleater tape out along the back of the top hem. Fold the raw end under about half an inch, or to wherever the first open pocket sits, and centre the tape inside the hem so it does not peek over the top edge.
Tip: Slide a hook into one pocket before you pin the whole strip. It takes five seconds and it tells you the tape is the right way up.
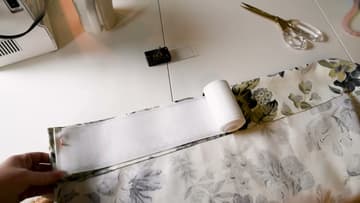
8. Sew the Pleater Tape Onto the Curtain
Stitch the tape down following the guide lines printed along it, usually one row near the top edge and one near the bottom. Keep the pockets clear of your stitching or the hooks will not slide in.
Tip: Go slowly over the woven tape. It is stiffer than the fabric and the needle can wander if you push the panel through too fast.
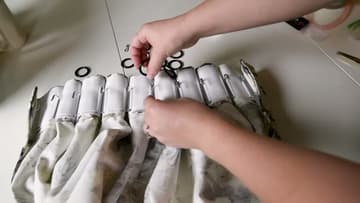
9. Push the Pleater Hooks In and Clip On the Rings
Slide one leg of a four-prong hook into the first pocket, count five pockets along, and slide the other leg in. Leave one pocket empty, then repeat with the next hook.
Tip: Change the pleat depth by counting more or fewer pockets between the legs of each hook. Five is a good middle setting for a casual room.
10. Hang the Curtains and Train the Pleats
Lift the rod out of its brackets, thread the rings on, and set the rod back in place. Check where the hem lands.
Tip: Give the pleats a day or two to settle before you decide they are wrong. A steamer sharpens them if you want a more formal drape.