How to Sew a Pillowcase with the Burrito Method

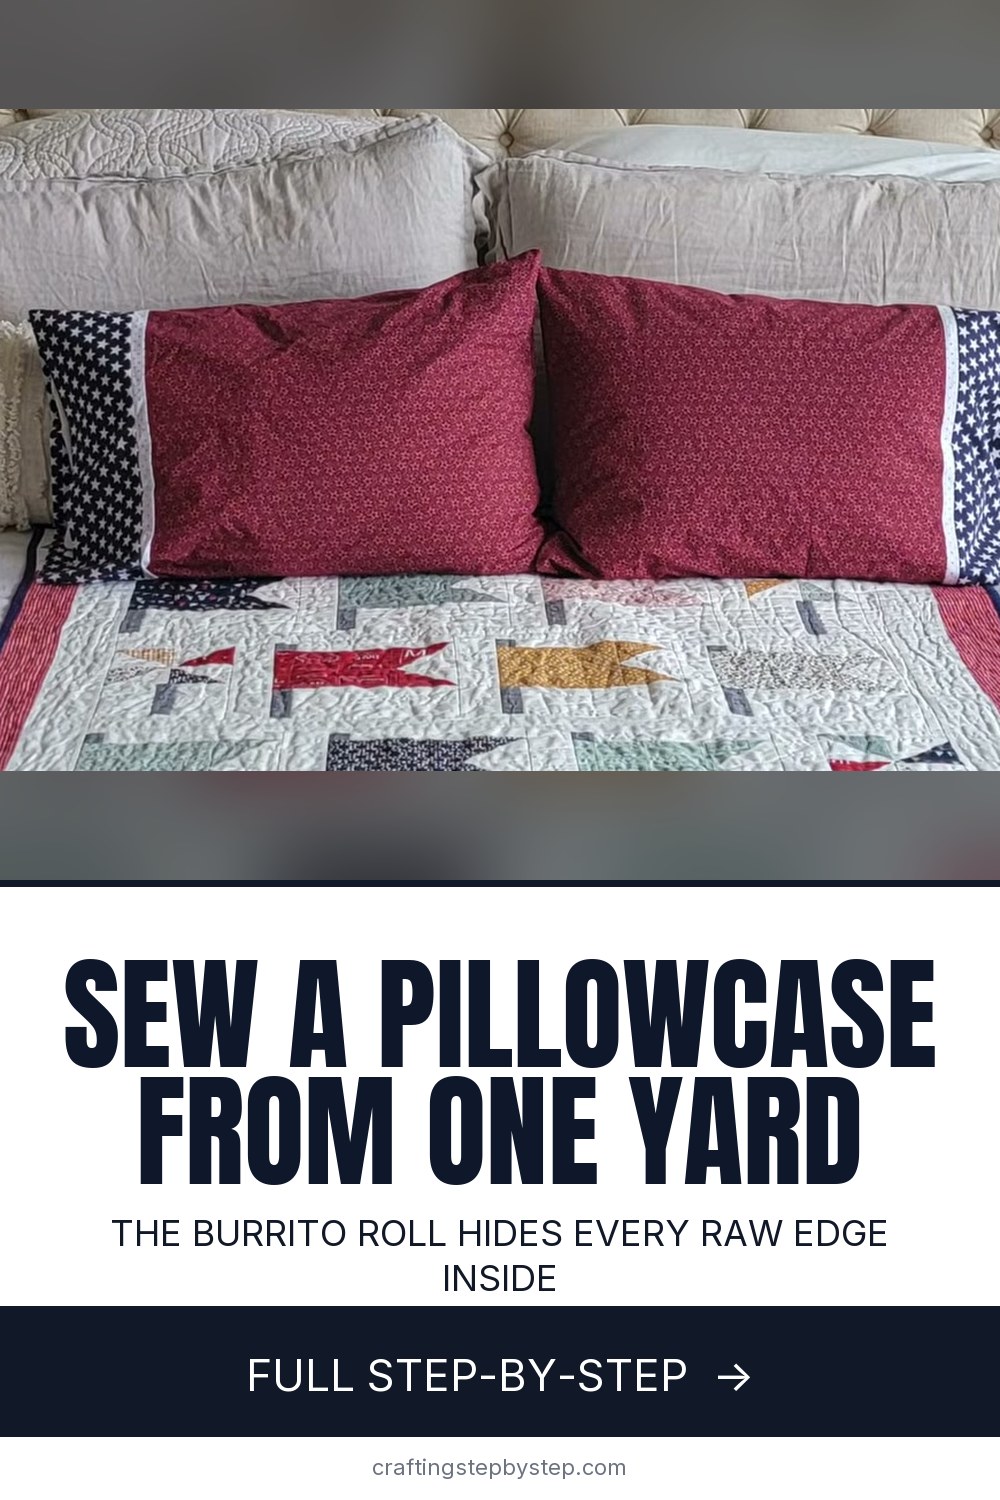
The finished result: How to Sew a Pillowcase with the Burrito Method
  • Difficulty: Easy
  • About 1 hour 15 minutes
  • 8 steps

You tapped Save

Save this project for later

We'll email you a link, no password.

How to Sew a Pillowcase with the Burrito Method

  • Your saved projects in one list
  • Your ticked steps on any device

Check your inbox for an email from us. Not there? Look in your spam folder.

Print

Steps written out by Crafting Step by Step from Pickin Stitches Kelly Aulson's video (opens YouTube) (18:15). Published .

Also in:Crafts

A pillowcase takes about a yard of fabric and three seams. Kelly Aulson of Pickin Stitches sews the version most quilters use: a main body, a deep cuff and a thin accent strip, rolled into what she calls a burrito so the cuff seam finishes itself inside the fabric. No serger, no zigzag, no raw edges anywhere.

The cut list is the part worth writing down. Main body 24 inches by the width of the fabric. Cuff 12 inches by the width of the fabric. Accent strip 2 inches by the width of the fabric, and that one is optional. Those three numbers give a standard pillowcase, and Kelly Aulson says you can add length to the body for a king size or an oversized case without changing anything else.

The other half of the method is the French seam down the side and bottom. Sew the case wrong sides together at a quarter inch, trim the allowance back, turn it inside out and sew the same seam again. The second pass swallows the raw edge. That is what keeps the inside clean after a hundred trips through the wash.

New to the machine? Start with how to use a sewing machine and winding a bobbin. The cuff seam here is one long straight line, so sewing a straight line is worth ten minutes of practice first, and the ruler work in cutting quilt fabric is the same habit you need for the three strips.

Cut sizes for common pillows

PillowBodyCuff
Standard24 in x WOF12 in x WOF
Queen27 to 28 in x WOF12 in x WOF
King30 to 32 in x WOF12 in x WOF

WOF is width of fabric, about 42 inches on quilting cotton. These are common starting sizes. Measure your own pillow before you cut, because they vary more than the labels suggest.

What the burrito method does

A cuffed pillowcase is one with a separate band of fabric across the open end, usually a contrast print. The burrito (or roll) method is how you attach it without a single raw edge on show. Rolling the body up inside the cuff means one seam catches every layer, and pulling the body back out turns that seam to the inside of the band. One seam, two finished sides.

Why a French seam

A pillowcase gets washed every week or two. A plain seam with raw edges frays a little every cycle until threads tangle in the drum. The French seam traps the raw edge inside a narrow tube of fabric, so there is nothing loose to fray. It needs a little more allowance than you think: trim too close after the first pass and the frayed edge pokes through the second.

Fabric and gift ideas

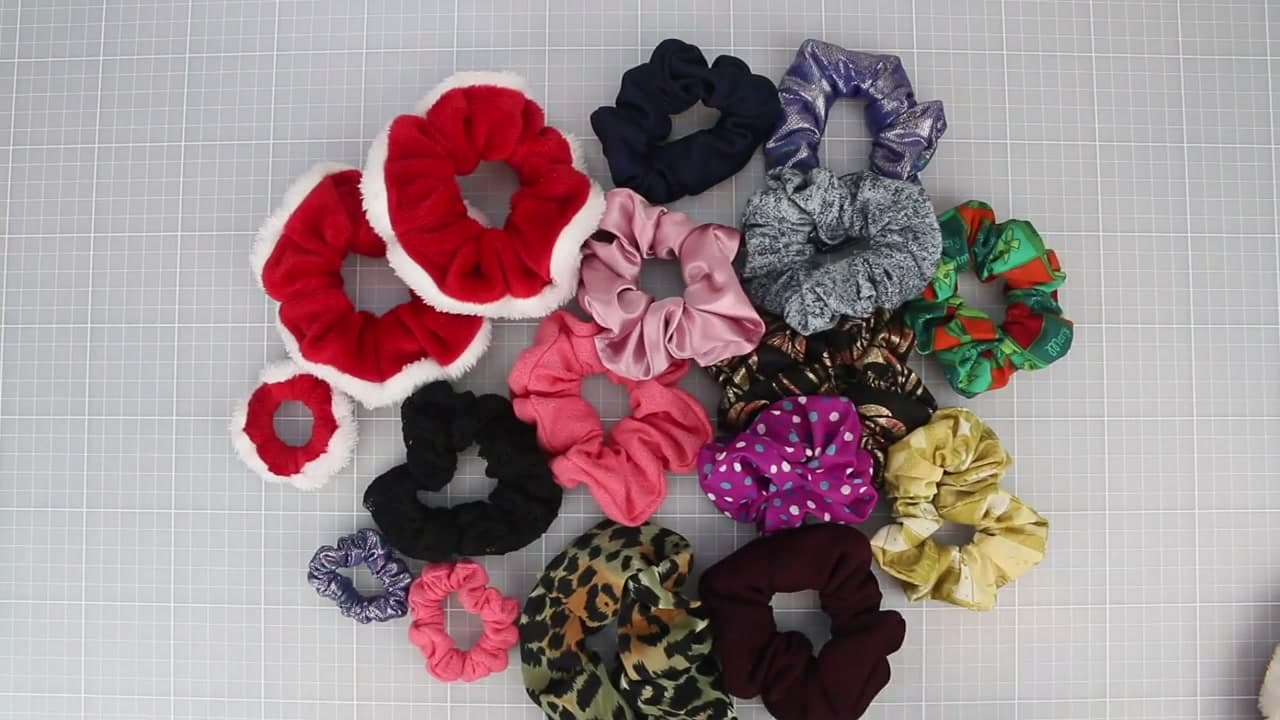
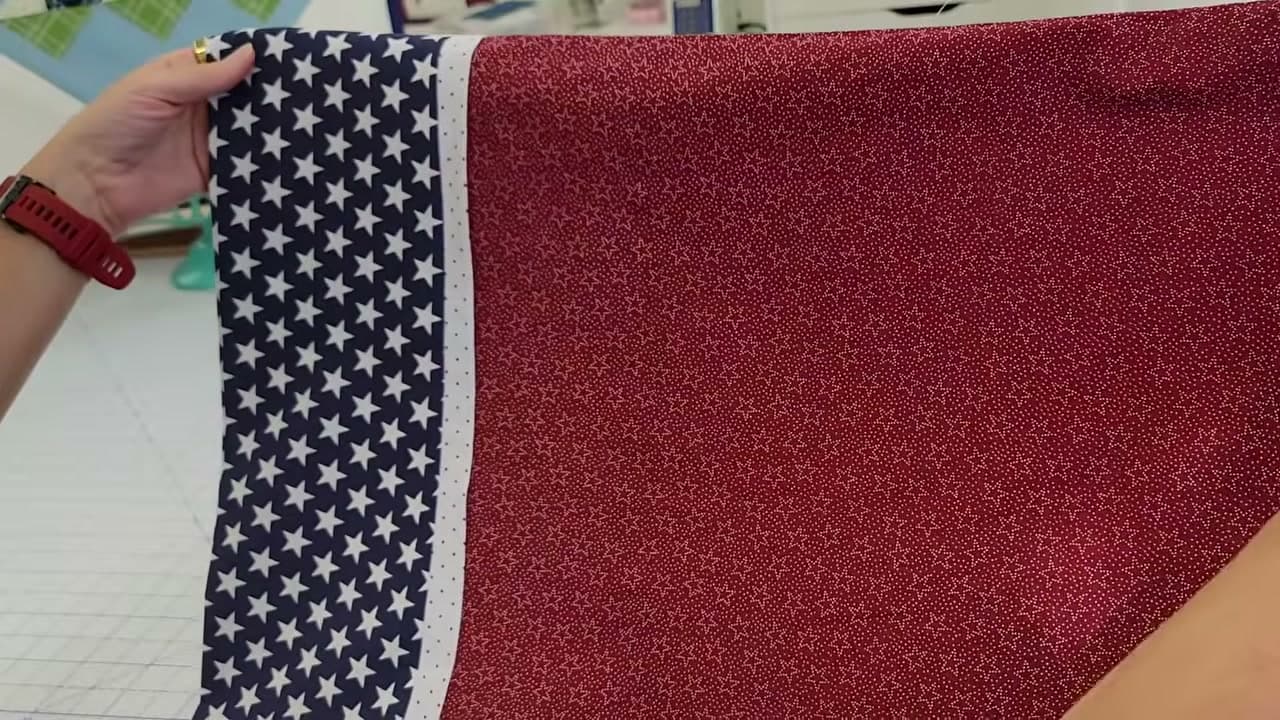
Quilting cotton is the easy choice. It presses crisp, it doesn't slide, and it comes in endless prints. Prewash it before cutting so the cuff and body shrink together. Holiday prints make a good Christmas Eve pillowcase, and charity pillowcase drives often ask for this exact cuffed style. The leftover strips are about the right size for a matching scrunchie.

Common pillowcase mistakes

  • Twisted cuff. The cuff wrapped around the roll at an angle. Check the edges line up along the full length before you clip.
  • Upside-down print. With a directional print, the design should run toward the cuff. Check it before the first cut.
  • French seam breaks through. The first seam was too narrow or trimmed too close. Keep a full quarter inch and trim to an eighth.

Free printable

Print the steps and supply list for this project

One page you can take to the table. Free with a free account, no password.

Get the free printable

What you'll need

Free, for this project

Get this checklist by email

  • All 11 tools and materials, with tick boxes
  • A link to print all 8 steps on paper, to keep by you while you craft

No password. The whole tutorial stays free on this page.

Quick answer

Sew a standard pillowcase from one yard of fabric. An easy project: about 1 hour 15 minutes. Materials cost about $12 to $25. You need 11 things, including All-purpose sewing thread, Rotary cutter and Self-healing cutting mat. The 8 steps start with cut the Body, Cuff and Accent Strips from One Yard of Fabric, stack the Body, Accent Strip and Cuff and Clip the Long Edge and roll the Body Into a Burrito and Wrap the Cuff Around It.

Step-by-step guide

8 steps, about 18 minutes. Tap a picture to jump to that step. Your progress saves automatically.

Tick each step off as you go.

  1. Step 1: Cut the Body, Cuff and Accent Strips from One Yard of Fabric

    Watch this step · 2:08

    Fold the fabric the way it came off the bolt, selvage to selvage, and lay it on the cutting mat. Line the ruler up on the 24 inch mark and cut the main body straight across the full width of the fabric. Move the ruler to 12 inches and cut the cuff the same way. The accent strip is 2 inches across the width.

    All three pieces come out of roughly a yard. Those numbers give a standard pillowcase. For a king size, add six to eight inches to the body strip and leave the cuff and accent alone.

    Tip:

    Cutting with your off hand is slower but it saves walking around the table. Kelly Aulson swaps hands rather than repositioning the fabric, which keeps the fold square against the mat.

    Back to all steps

  2. Step 2: Stack the Body, Accent Strip and Cuff and Clip the Long Edge

    Watch this step · 4:06

    Fold the accent strip in half down its length, wrong sides together, and press it. Open the main body out on the table, pretty side up, a selvage at each end. Lay the folded accent strip along the top raw edge with the fold pointing down into the body, then lay the cuff face down over both.

    Line every raw edge up along that one long edge. Clip through all the layers working right to left, not feeding clips in toward the seam. You are about to roll this whole stack, and clips set that way come off without fighting you.

    Tip:

    Wonder Clips hold four layers of quilting cotton flatter than pins do and nothing snags when you roll the fabric up. Straight pins work if that is what is in the drawer.

    Back to all steps

  3. Step 3: Roll the Body Into a Burrito and Wrap the Cuff Around It

    Watch this step · 5:42

    Push the cuff away from you and start rolling the main body up toward the clipped edge. Roll it tight and stop when the roll reaches the seam line. You end up with a long compact tube sitting right below the clipped edge.

    Bring the free edge of the cuff down over that tube, around the back and up to meet the clipped edge, then grab all the layers together. Kelly Aulson calls the result a weird little burrito, which is what it looks like. Clip it closed along the whole length, edge square, no wrinkles caught underneath.

    Tip:

    Check the tube before you clip. A pleat folded into the edge gets sewn into the cuff seam, and the only way out of that is a seam ripper.

    Back to all steps

  4. Step 4: Sew the Long Cuff Seam Through Every Layer

    Watch this step · 7:24

    Carry the roll to the machine and sew a quarter inch seam down the clipped edge. You are stitching through the cuff, the accent strip, the body and the wrapped cuff again, so hold a steady speed and let the feed dogs pull instead of tugging the fabric along.

    Take each clip off as it comes up to the presser foot. Keep the raw edges against your seam guide the whole way. This is the only seam holding the cuff on, so a straight line here is what makes the finished band lie flat.

    Tip:

    Backstitch at both ends. The cuff seam takes the strain every time somebody drags a pillow out of the case.

    Back to all steps

  5. Step 5: Pull the Body Back Out Through the Cuff

    Watch this step · 8:12

    Reach into one open end of the tube, find the rolled body fabric and pull it back out through the cuff. It comes a few inches at a time with a bit of tugging, until the whole case is right side out.

    Look at the cuff seam once it is through. The accent strip sits between the cuff and the body with no raw edge showing on either side, and the seam itself is trapped inside the cuff where nothing can fray it.

    Tip:

    If it feels stuck, the body was rolled too tight or caught in the seam. Work it loose from the other end rather than pulling harder.

    Back to all steps

  6. Step 6: Trim Both Sides Even with a Rotary Cutter and Ruler

    Watch this step · 10:12

    Lay the case out flat and press the whole length, cuff seam included. Fold it in half so the two sides stack, which makes it far easier to handle on the mat.

    The selvages are still on both ends and they are rarely the same length. Line one ruler line up on the cuff seam so the cut stays square to it, then trim with the rotary cutter far enough in that no selvage is left in the case. Repeat on the other side. Selvage caught in a seam puckers after the first wash.

    Tip:

    Cut inside the selvage, not along it. That printed white edge is woven tighter than the rest of the cotton and shrinks at its own rate.

    Back to all steps

  7. Step 7: Sew the French Seam Down the Side and Bottom

    Watch this step · 14:32

    Fold the case wrong sides together, the way it would sit on a pillow. It feels backwards, and that is the point. Match the cuff seam on one side to the cuff seam on the other, pin it, and sew a quarter inch seam down the open side and across the bottom.

    Trim that allowance back to about an eighth of an inch, turn the case inside out and press the seam open. Sew the same side and bottom again a quarter inch in, using the presser foot edge as the guide. The second pass shuts the raw edge inside.

    Tip:

    Slow right down where the two cuff seams meet. Four layers of cotton plus a pair of seam allowances is real bulk and the needle wants to walk off the line.

    Back to all steps

  8. Step 8: Turn the Pillowcase Right Side Out

    Watch this step · 17:22

    Turn the case right side out one last time and press the cuff flat. Run a finger around the inside seams. There is no raw edge at the side, at the bottom or at the cuff, and none of it needed a serger or a zigzag.

    Kelly Aulson topstitched the accent strip down on her second case, which holds the strip against the body instead of letting it flip up. That is a preference rather than a step, so make one each way and see which you keep.

    Tip:

    Press the cuff while it is still slightly damp out of the dryer if you want a crisp band. The rest of the case needs nothing.

    Back to all steps

How to Sew a Zipper Pouch

Keep going

How to Sew a Zipper Pouch

8 steps · about 16 minutes

Keep going with sewing

More on this topic, picked for this pillowcase with the burrito method.

You reached the last step

Save this project to come back to it

Your ticked steps, the free printable and your other saved makes, together in My Projects. Free, no password.

You tapped Save

Save this project for later

We'll email you a link, no password.

How to Sew a Pillowcase with the Burrito Method

  • Your saved projects in one list
  • Your ticked steps on any device

Check your inbox for an email from us. Not there? Look in your spam folder.

Free printable

Printable sheet and shopping list for this project

The bonus is hidden until you sign up.

Free with a free account, no password. Every step above stays open to everyone.

Products Used

The Checklist

How to Sew a Pillowcase with the Burrito Method

Tools
6
Materials
5
Steps
8
Video
18 min

Tools we recommend

As an Amazon Associate we earn from qualifying purchases. Links on this page may be affiliate links - clicking them and buying doesn't change your price, but helps support Crafting Step by Step.

Tags

The Crafter's Weekly

New sewing tutorials, every Sunday

One short email with the week's best step-by-step guides. Free, no spam, unsubscribe anytime.

Test your knowledge

Did the lesson stick? Start with this one.

5 questions covering what you just read. No signup, no score saved, and you can stop after this one.

Question 1 of 5

What are the three cut widths for body, cuff and accent strip?

Quick reference

Key takeaways from How to Sew a Pillowcase with the Burrito Method

5 questions, answers, and one-line explanations. Tap to expand.

  1. 1.What are the three cut widths for body, cuff and accent strip?

    Answer: 24 inches, 12 inches and 2 inches

    Body 24, cuff 12 and accent 2, each cut across the full width of the fabric.

  2. 2.How is the accent strip prepared before it joins the stack?

    Answer: Folded in half lengthwise and pressed

    It goes in doubled, so no raw edge of it ever shows in the finished seam.

  3. 3.What does the burrito roll actually accomplish?

    Answer: It wraps the cuff so its seam ends up enclosed

    Rolling the body and wrapping the cuff around it hides the cuff seam inside.

  4. 4.Why are the sides trimmed before the side seam goes in?

    Answer: Trimming removes the selvages, which sit uneven

    Selvages are rarely the same length, so squaring them off keeps the case true.

  5. 5.How does a French seam start out?

    Answer: Wrong sides together, then trimmed and turned

    It begins wrong sides together, which feels backwards and is exactly the point.

Did this work for you?

What's next

Related collections

Curated theme pages that include this tutorial.

Similar tutorials

Hand-picked next reads based on the one you just finished.

Liked this sewing tutorial?

Pick the crafts you want to hear about. One email every Sunday with new step-by-step tutorials. No spam, easy to unsubscribe.

Get more like this in your inbox

Weekly digest. Pick the categories you want. Unsubscribe anytime.

Send me tutorials about

We only email about new tutorials. Easy unsubscribe anytime.