Most elastic waistbands are made the slow way: sew a channel, then fight a safety pin through it for ten minutes. Nick Coman of Dragonfly Dye Works in Los Angeles shows Threads Magazine a faster method with no casing at all. The elastic goes straight onto the raw edge with a zigzag, the edge folds over once, and one row of straight stitching finishes it. The result lies flat against your body with no seam allowance bunching up inside.
You need a sewing machine, knit elastic, a garment with an unfinished waist, a few pins and a steam iron. Plan on about 30 minutes.
Casing or no casing?
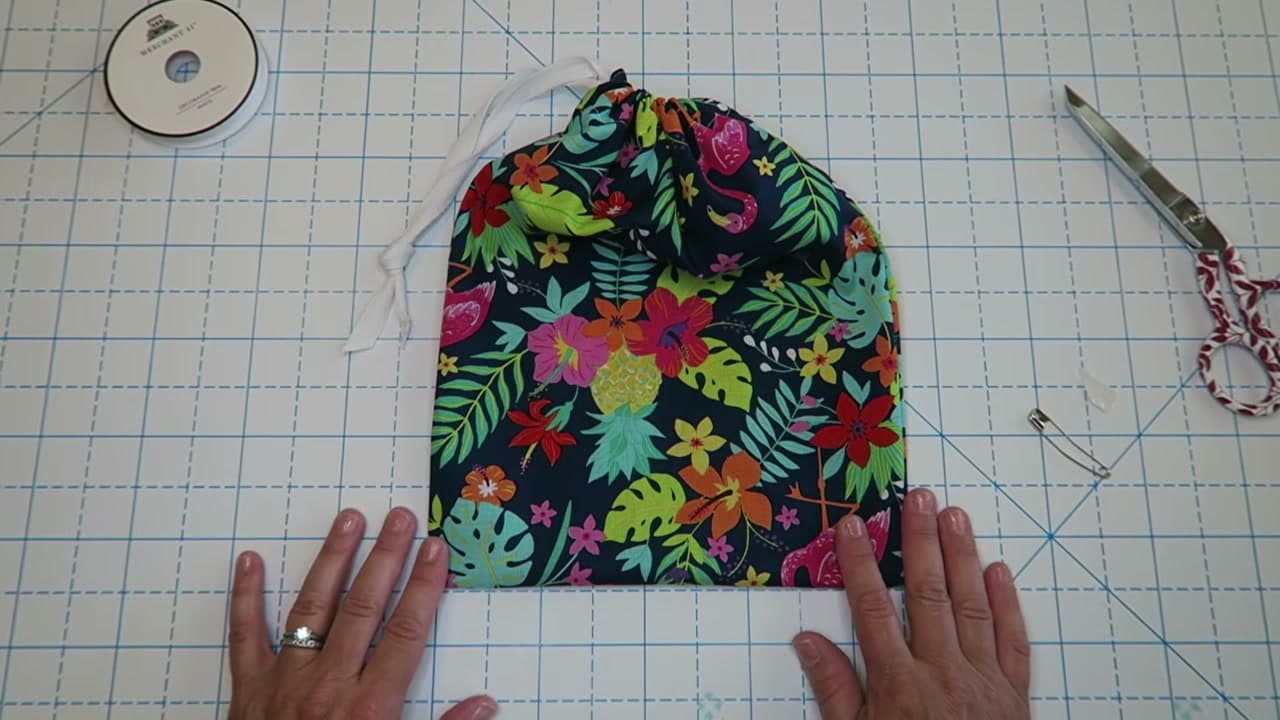
A casing is a folded tunnel with the elastic loose inside. It is easy to swap the elastic later, which is why pyjama patterns love it, and it is the same idea as the channel on a drawstring bag. The trade-off is bulk and a waistband that twists in the wash.
The no-casing method stitches the elastic to the fabric along its full length. It cannot roll or flip, and it looks like a ready-to-wear waistband. The catch: once it is sewn, changing the size means unpicking two rows of stitching. Measure carefully.
Choosing the right elastic
Nick uses anything from 1/4 inch up to 1 1/2 inches wide. Narrow elastic suits skirts and children's clothes. For trousers and lounge pants, 3/4 inch to 1 inch is the comfortable middle. Wider than that, buy non-roll elastic, which has ribs that stop it folding over on itself when you sit down.
Knit elastic stays the same width when stretched and takes needle holes well, so it is the safest pick here. Braided elastic narrows as it stretches and can lose grip once stitched through. Save it for casings.
How much elastic to cut
Patterns print a length, but Nick prefers a personal measurement. Pre-stretch the elastic, wrap it round your waist so it is snug but not tight, mark where it meets, then cut about 2 inches shorter. Before you sew, pull the loop over your hips. If it will not go, add an inch back.
Sewing for someone else? Measure them, not the pattern. Two people who wear the same size can need elastic several inches apart.
Which fabrics this works on
Knits are the natural match: jersey pyjama pants, leggings, lounge shorts, a pull-on knit skirt. Use a ballpoint needle, which slips between knit fibres instead of piercing them. Lightweight wovens like rayon challis or cotton lawn also work for a gathered skirt. The rule from the video holds for both: stretch the elastic to full length and the fabric edge should pull flat with it. If fabric is left over, the waist is too big for this method.
Troubleshooting
- Skipped stitches: swap to a fresh ballpoint or stretch needle.
- Wavy, rippled edge: you stretched the fabric, not the elastic. Hold tension on the elastic only and let the feed dogs move the fabric.
- Popped stitches when you pull it on: the second pass was sewn without stretching. Keep the elastic taut on both rows.
- Fabric left over at the end: your quarter marks drifted. Re-pin at every quarter and stretch to the next pin only.
Before you start
New to the machine? Get comfortable with using a sewing machine and wind a full bobbin first (here is how), because running out halfway round a stretched waistband is miserable. If you want an easy elastic warm-up, a scrunchie uses the same stretch-and-sew feel in a ten minute project.