How to Sew a Buttonhole That Fits Your Button Exactly

SewingEasy4:498 stepsPart of DIY Crafts for BeginnersBrowse more →
The finished result: How to Sew a Buttonhole That Fits Your Button Exactly
Also in:Crafts

By CraftingStepByStepPublished

Based on a video by Sewing Parts Online.

A buttonhole looks like the fiddly part of a shirt, and on an old machine it was. You stitched one bead, pivoted, stitched back and guessed at the length. Any machine built in the last twenty years does the lot in one pass, and the foot sizes the hole off the button you are using.

Sewing Parts Online walks through it on a Brother in under five minutes. The part people miss is not the stitching. It is a small lever behind the needle bar that nobody notices until the buttonhole comes out wrong.

What you need

An automatic buttonhole foot: the long clear one with a sliding tray at the back. It probably came in the accessory box with your machine. Replacements are sold by brand and shank type, so match it to your make.

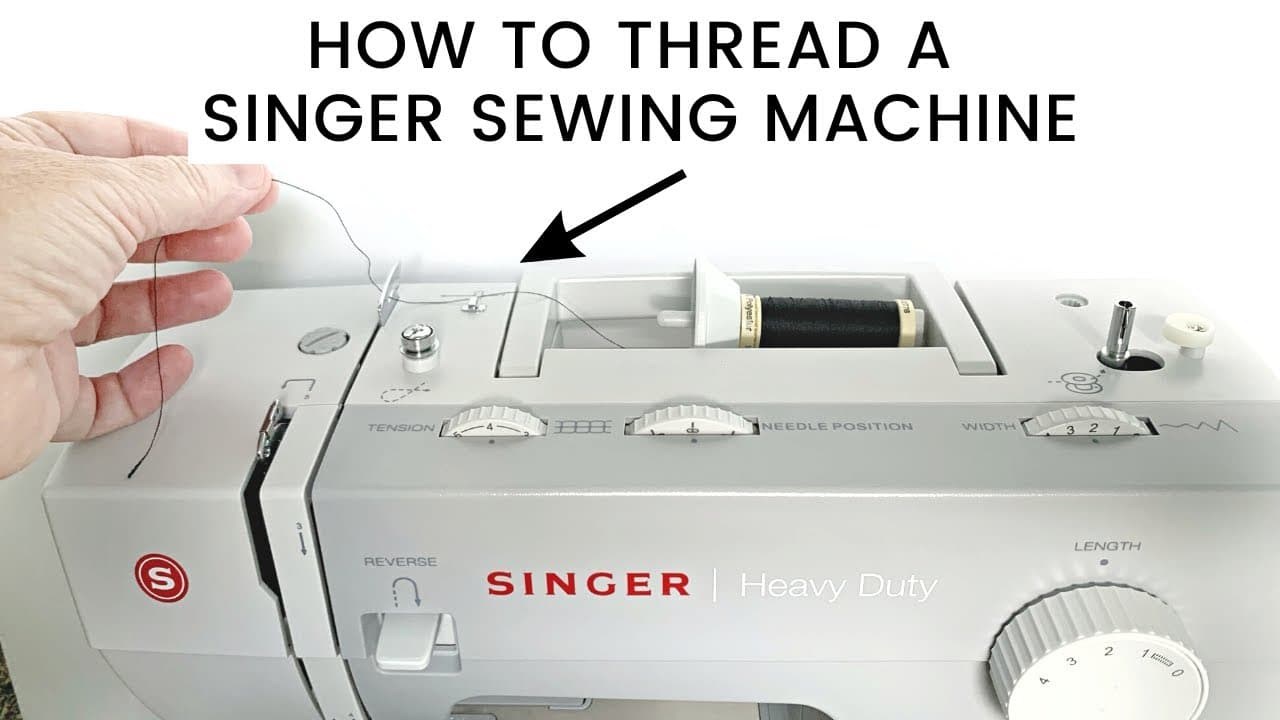
Past that: the button itself, thread that matches the fabric, a seam ripper, and a scrap to test on. Interfacing or tear-away stabilizer is optional on quilting cotton and close to mandatory on anything thin or stretchy. Get the machine threaded and drop in a full bobbin first. A buttonhole eats thread, and running out mid-bead means unpicking the lot.

The button goes in the foot, not on the fabric

That sliding tray at the back of the foot is a measuring jig. Clamp your button into it and the machine reads the length and stitches a hole to match. Big button, long buttonhole. Small button, short one. You never type in a number.

Use the button off the garment, or one from the same card. A near-enough button is how you end up with a hole a shank button will not pass through.

The lever is the step people skip

Behind the needle bar sits a lever that pulls straight down. Pull it as far as it goes, then push it back so it rests behind the white tab on top of the foot. That is what tells the foot when to turn around and come back.

Leave it up and the machine stitches one side of a buttonhole until you stop it. A long bead with no bar tacks is the lever, every time.

Where the buttonhole sits on the garment

The foot stitches away from you and comes back, so put the needle at the front end of the hole. On a shirt placket that means measuring down from the collar and dropping the needle at the top of each mark.

Sew a test hole on a scrap of the same fabric, same layers, same interfacing. Two minutes of testing saves the shirt. New to the machine? The machine basics walkthrough covers stitch selection and foot pressure.

Buttonholes on knits and thin fabric

Knit stretches under the foot and the bead comes out wavy. Two fixes, and they stack. Double the fabric or back it with stabilizer, then swap to a topstitch needle so the thread has a bigger eye to travel through. Embroidery thread lays down a denser bead that hides a lot.

Woven fabric rarely needs that. If it frays badly, a square of fusible interfacing behind the buttonhole stops the cut edges unraveling six washes later.

Cutting it open without wrecking it

Seam ripper, not scissors. Come in at one bar tack, run toward the middle, then do the same from the other end. Stick a pin across the hole just inside each bar tack first and a ripper that skids hits the pin instead of your stitching.

Common buttonhole problems and fixes

Thin, gappy bead: shorten the stitch length, or slow down so the fabric feeds evenly. Puckering: foot pressure is too high, or the piece wants stabilizer. Second hole a different size from the first: the size memory reset when the lever got lifted, so run a whole row before you touch anything. Stitches a little then stops dead: the tray is not pushed back against the button.

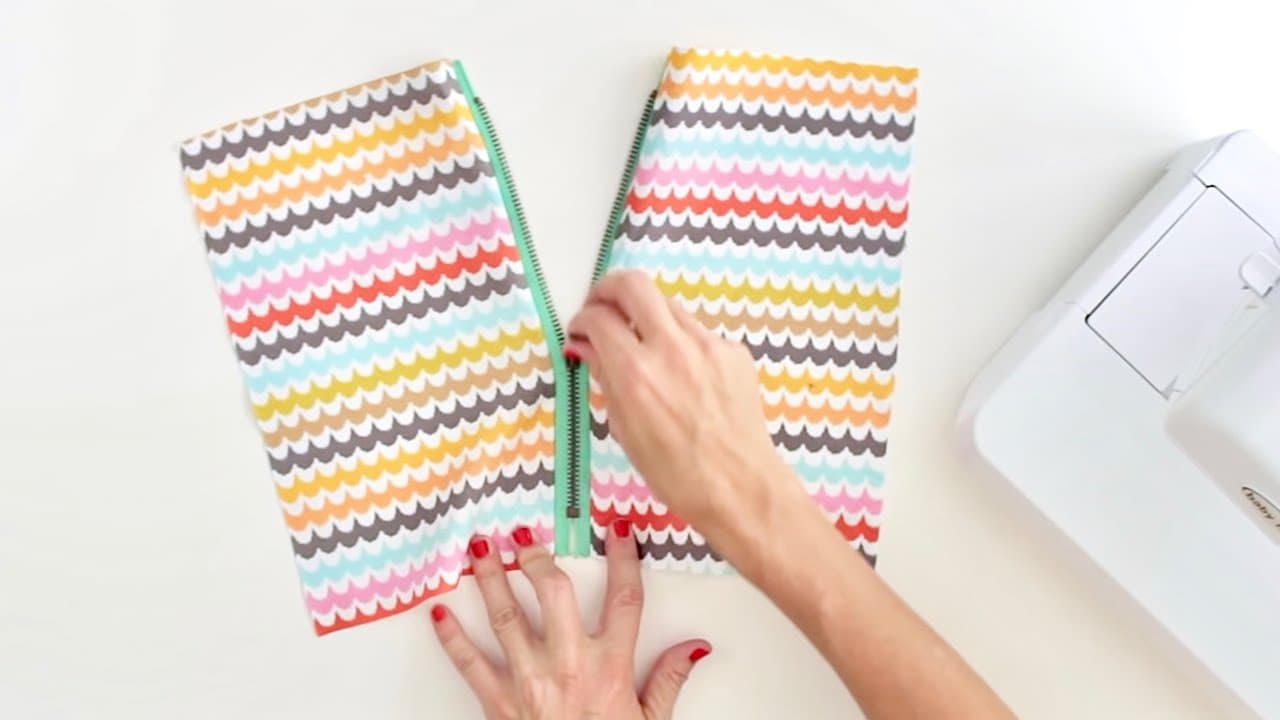
Once the holes are cut, sew the buttons on by hand, positioning each against the finished buttonhole rather than the original mark. Buttonholes are handy with no button in sight, too: run a drawstring or a ribbon through one and you have a tidy casing opening, the same job a zipper does the hard way.

What you'll need

Step-by-Step Guide

8 steps · about 5 minutes.Check off each step as you go and your progress saves automatically.

1

Clamp Your Button Into the Back of the Buttonhole Foot

0:32
Step 1: Clamp Your Button Into the Back of the Buttonhole Foot - How to Sew a Buttonhole That Fits Your Button Exactly

Pull the sliding tray at the back of the buttonhole foot open and drop your button in, then push the tray closed until it grips. A large button pushes the tray wide open. A small one barely moves it.

That gap is the measurement. The machine reads it off the foot and stitches a hole long enough for the button to pass through, with a little ease built in. Nothing to calculate.

Tip

Use the button that is going on the garment. A lookalike from the button jar is how you end up cutting a hole your button will not go through.

2

Slide the Buttonhole Foot Under the Presser Bar

0:44
Step 2: Slide the Buttonhole Foot Under the Presser Bar - How to Sew a Buttonhole That Fits Your Button Exactly

Take your regular presser foot off the way you normally would, then lay the buttonhole foot on the bed and slide it under the presser bar. Line the bar up over the little groove in the shank so it drops straight into place.

Lower the presser bar and it clamps on. The foot is long, so it will hang off the front of the bed. That is correct and it stays that way.

Tip

If it will not seat, the bar is probably sitting on the edge of the shank instead of in the groove. Lift, nudge the foot back a hair and try again.

3

Pull the Buttonhole Lever Down Behind the Needle

1:16
Step 3: Pull the Buttonhole Lever Down Behind the Needle - How to Sew a Buttonhole That Fits Your Button Exactly

Look behind the needle bar for a slim lever hanging off the machine head. Pull it down as far as it goes, then push it back so it rests behind the white tab on top of the foot.

This is the sensor that tells the machine where the foot is in the cycle. With it seated, the machine stitches one side, the bar tack, the return side and the second bar tack, then stops on its own.

Tip

A buttonhole that never turns around means this lever was up, or was not sitting behind the tab. It is the single most common buttonhole mistake.

4

Line the Fabric Up Under the Buttonhole Foot

1:36
Step 4: Line the Fabric Up Under the Buttonhole Foot - How to Sew a Buttonhole That Fits Your Button Exactly

Slide the fabric under the foot with your mark where you want the buttonhole to start, and drop the needle there by hand so you can see it land. The rest of the hole stitches back away from that point.

Lower the presser foot onto the fabric and check the fabric is lying flat, not stretched. On anything lightweight, slip a piece of stabilizer or fusible interfacing underneath first.

Tip

Think of the needle as marking the front end of the hole, not the center of it. That one shift stops buttonholes landing half an inch low all the way down a placket.

5

Let the Machine Stitch the Buttonhole in One Pass

2:34
Step 5: Let the Machine Stitch the Buttonhole in One Pass - How to Sew a Buttonhole That Fits Your Button Exactly

Select the buttonhole stitch, hold the tail of the top thread out of the way and start the machine. It runs down one side in a tight satin stitch, lays a bar tack across the end, comes back up the other side and finishes the second bar tack.

Keep your hands off the fabric and let the foot feed it. Steering here is what makes one bead fatter than the other.

Tip

Run at a moderate, even speed rather than flat out. A satin bead stitched too fast comes out thin and gappy.

6

Check the Finished Buttonhole Before You Move the Fabric

2:48
Step 6: Check the Finished Buttonhole Before You Move the Fabric - How to Sew a Buttonhole That Fits Your Button Exactly

The machine stops on its own. Raise the needle, lift the presser foot and pull the fabric back so you can look at the hole.

Both beads should be the same width, both bar tacks solid, and the length should match the button with a whisker to spare. Test it by sliding the button alongside. If it comes up short, check that the button seated properly in the tray.

Tip

Sewing several buttonholes? Do not lift the lever between them. The machine holds the size in memory and repeats it exactly.

7

Cut the Buttonhole Open With a Seam Ripper

3:02
Step 7: Cut the Buttonhole Open With a Seam Ripper - How to Sew a Buttonhole That Fits Your Button Exactly

Push the point of the seam ripper through the fabric just inside one bar tack, then run it toward the middle of the hole. Turn the work around and do the same from the other end so the two cuts meet in the center.

Cutting from both ends keeps a slipping ripper away from the bar tacks. Trim the thread tails once it opens.

Tip

Lay a pin across the buttonhole just inside each bar tack before you cut. If the ripper runs, it hits the pin instead of your stitching.

Used in this stepseam ripper
8

Sew a Buttonhole on Knit Fabric With a Topstitch Needle

4:22
Step 8: Sew a Buttonhole on Knit Fabric With a Topstitch Needle - How to Sew a Buttonhole That Fits Your Button Exactly

The same foot handles knits, it just needs help. Double the knit over or back it with a tear-away stabilizer so it cannot stretch while the bead builds up.

Fit a topstitch needle and thread it with embroidery thread. The bigger eye handles the heavier thread without shredding it, and the bead comes out dense and glossy. Cut it open the same way.

Tip

Test on a doubled scrap of the same knit. Single-layer jersey will ripple no matter how careful you are.

Keep going

How to Sew by Hand

7 steps · about 6 minutes

Products Used

The Checklist

How to Sew a Buttonhole That Fits Your Button Exactly

Tools
7
Materials
7
Steps
8
Video
5 min

Tools we recommend

Your Guide

Sewing Parts Online

As an Amazon Associate we earn from qualifying purchases. Links on this page may be affiliate links - clicking them and buying doesn't change your price, but helps support CraftingStepByStep.

Tags

Sunday How-To

New sewing tutorials, every Sunday

One short email with the week's best step-by-step guides. Free, no spam, unsubscribe anytime.

Did this work for you?

What's next

Related collections

Curated theme pages that include this tutorial.

Weekly Digest

Liked this sewing tutorial?

Pick the categories you want to hear about. Weekly digest of new step-by-step tutorials. No spam, easy unsubscribe.

Send me tutorials about

We only email about new tutorials. Easy unsubscribe anytime.