How to Paint Poppies in Acrylics (Step by Step)

PaintingEasy16:078 stepsBrowse more →

By CraftingStepByStepPublished

Based on a video by PaintyKat - painting lessons with soul.

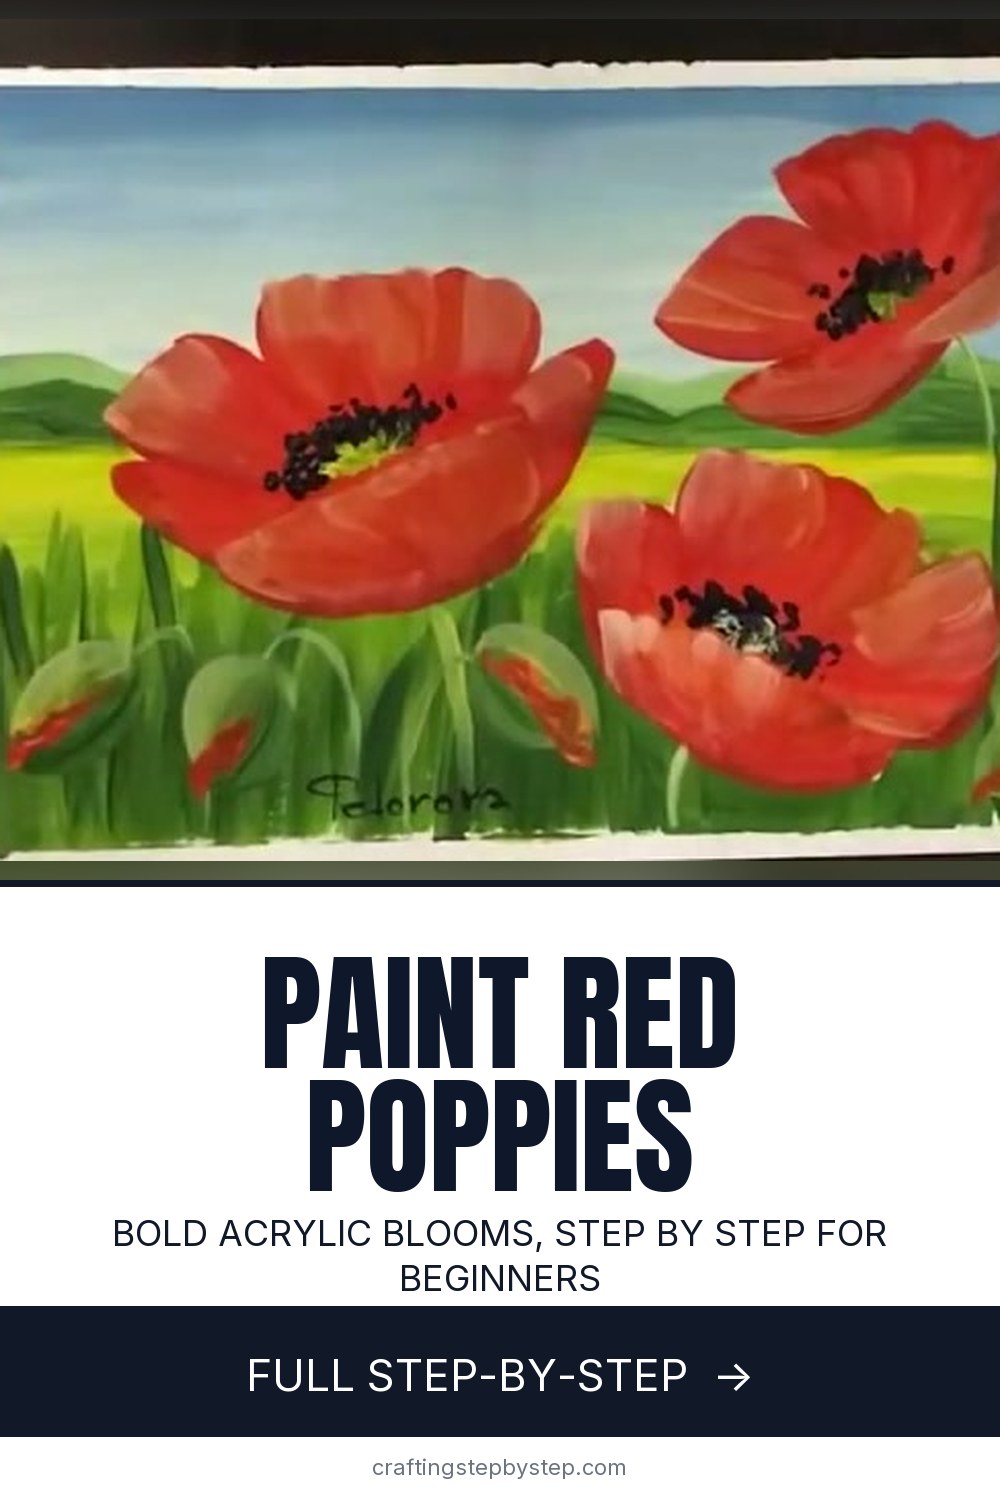
Poppies are one of the friendliest first flowers to paint. The shapes are loose, the color is loud, and a wobbly petal still reads as a poppy - which is exactly why this scene works for beginners. PaintyKat builds the whole thing in acrylic over about sixteen minutes, and the same steps carry over to oil or gouache if that is what you have on the table.

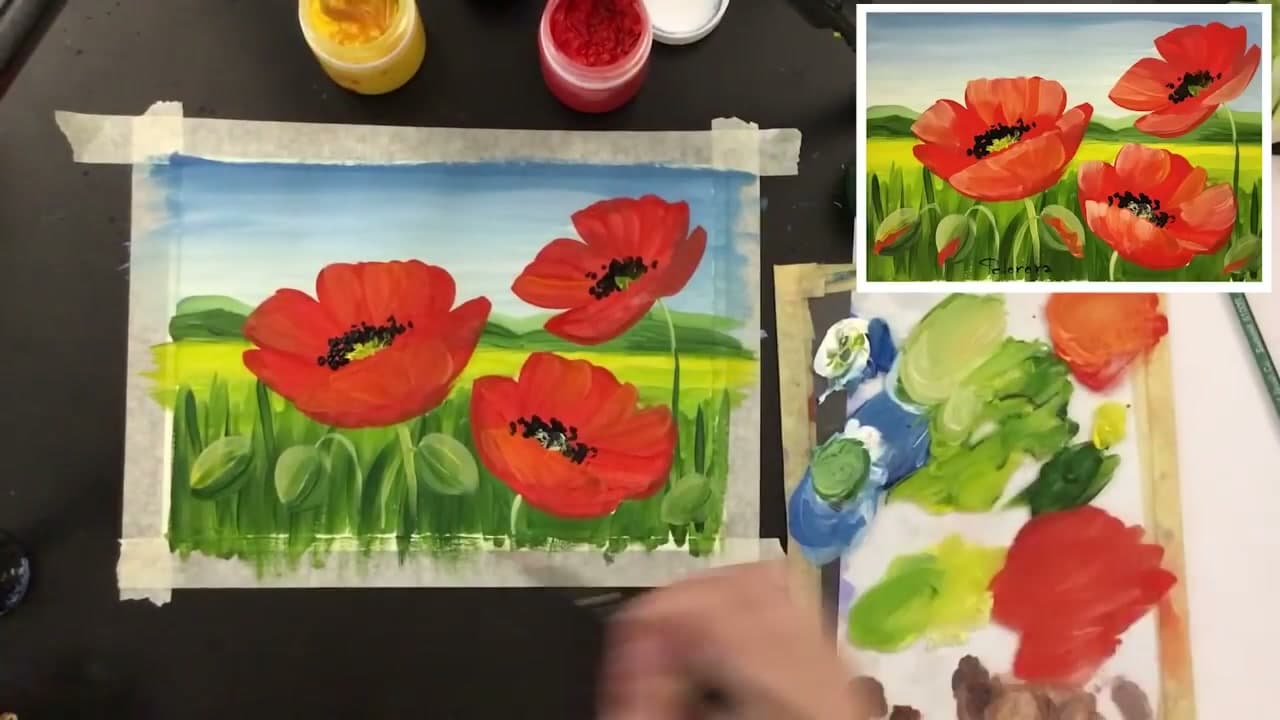
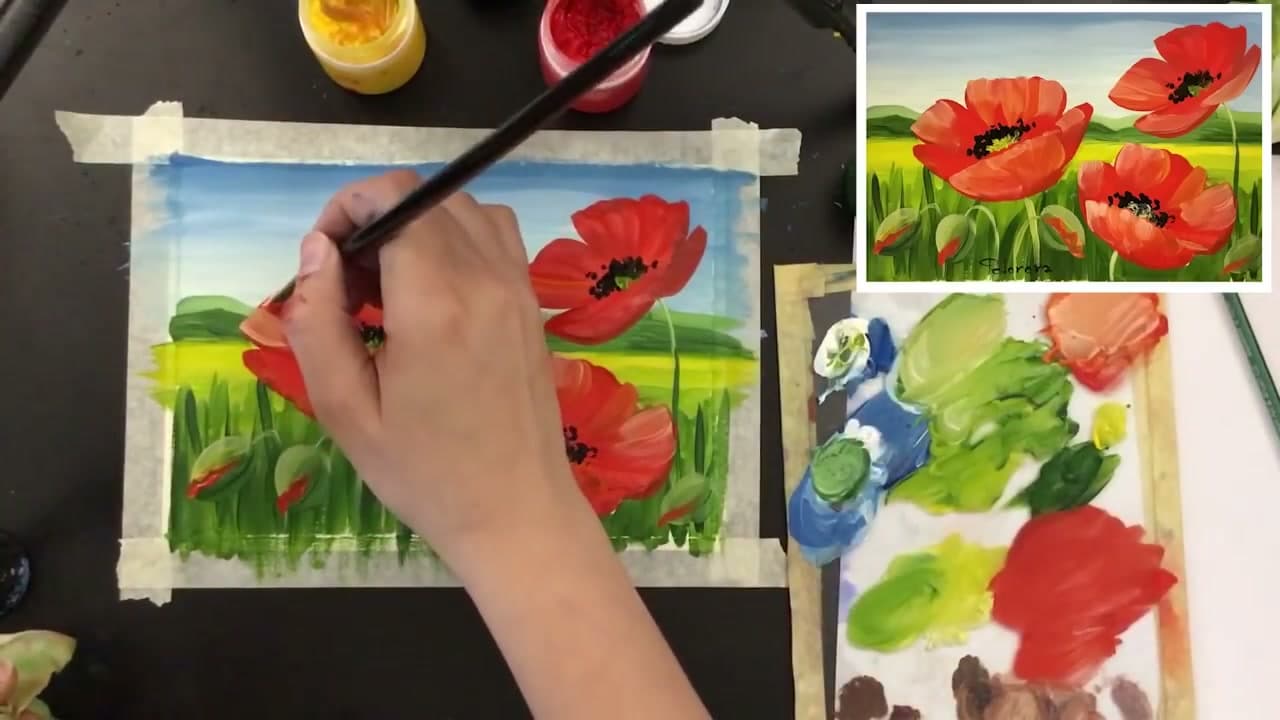
The scene comes together back to front. You lay the sky and the far green hills first, then a band of sunlit field, then a wall of grass across the front. Only after that background is dry do the three red poppy heads go in - blocked flat, then modeled with darker creases and lighter edges until the petals look cupped instead of stamped on. The black stamen centers and a few buds in the grass are the last touches that make it feel finished.

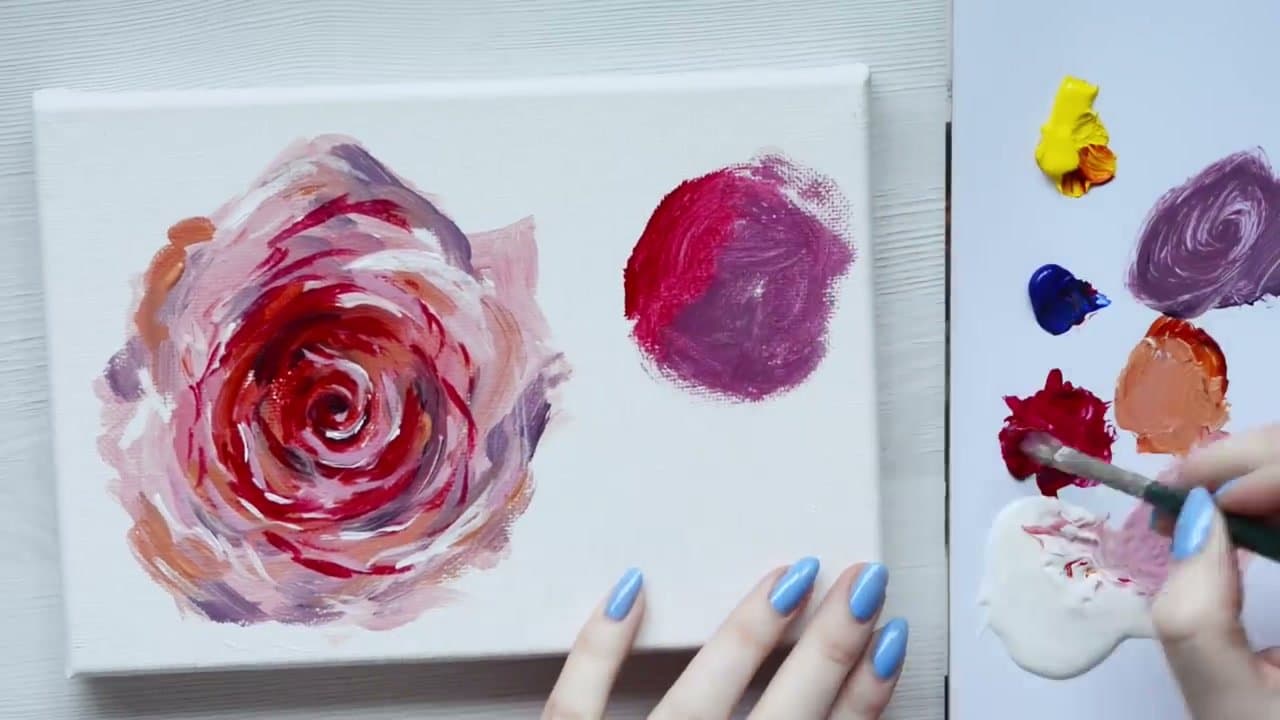
If you are brand new to the medium, run through acrylic painting for beginners first so brush loading and blending feel less foreign. From there, poppies pair naturally with the rest of the flower set - try painting a single flower, work up to roses, or go delicate with cherry blossoms. Want a landscape without flowers next? The waterfall scene uses the same back-to-front layering you learn here.

Step-by-Step Guide

8 steps · about 16 minutes.Check off each step as you go and your progress saves automatically.

1

Step 1: Sketch the Poppies

0:30
Step 1: Step 1: Sketch the Poppies

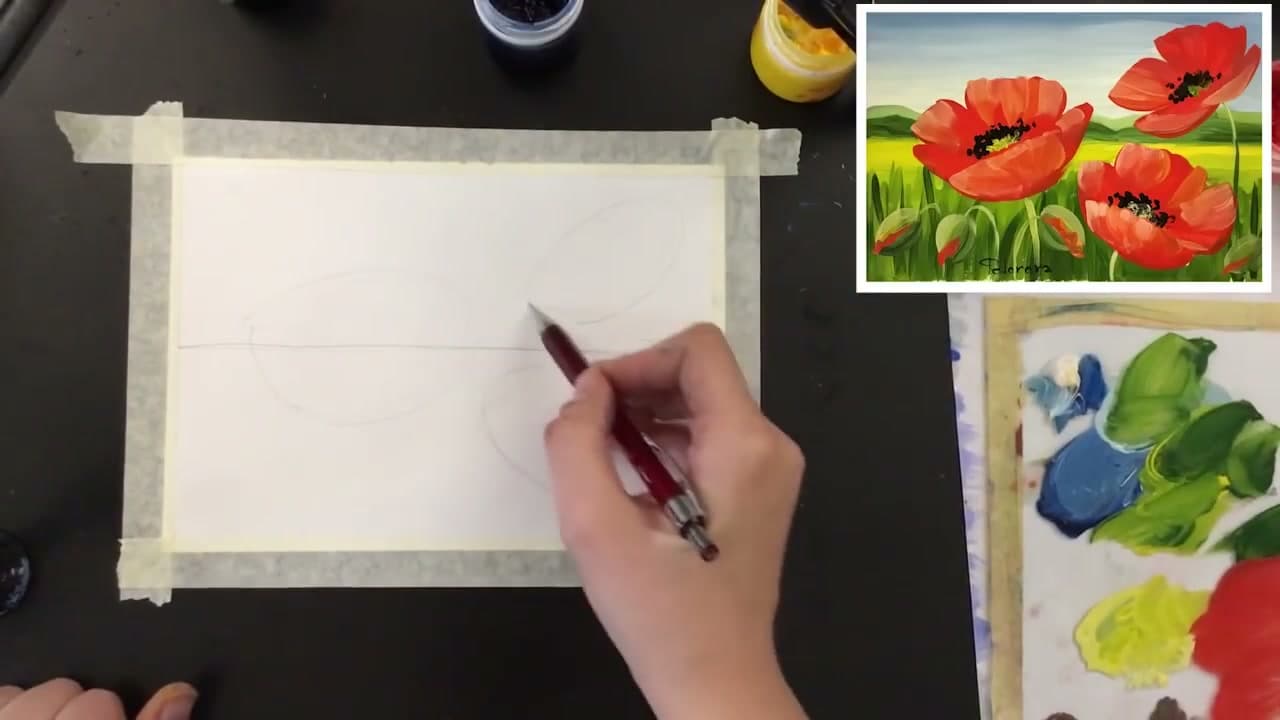
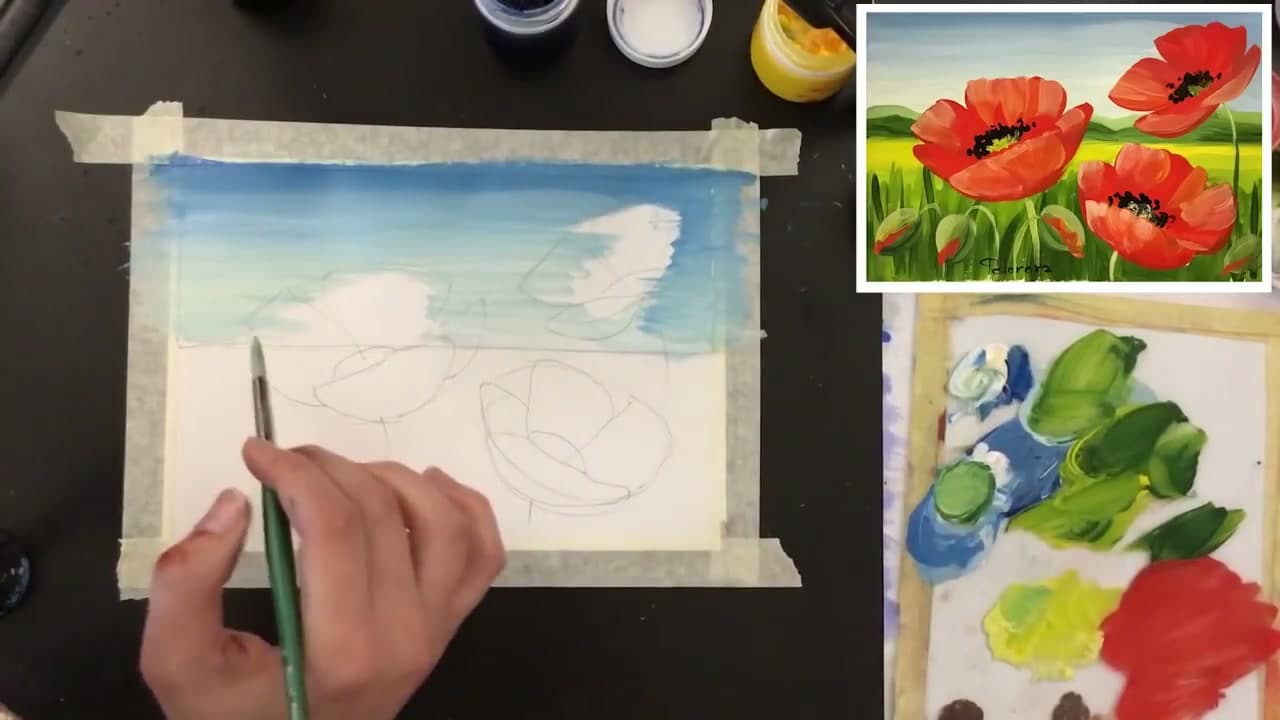
Tape your paper down on all four sides first. The tape holds it flat and gives you that clean white border once you peel it off at the end. Then take a pencil and draw a light horizon line across the middle of the sheet.

Rough in three overlapping poppy heads across the lower half - simple circles with a few petal shapes coming off them. Keep the lines faint. They are only there to guide you, and you want them to vanish under the paint rather than show through.

Tip

Watch this step Stagger the three flower heads at different heights so they do not sit in a straight row. An uneven cluster looks more like a real patch of poppies.
2

Step 2: Paint the Sky

3:40
Step 2: Step 2: Paint the Sky

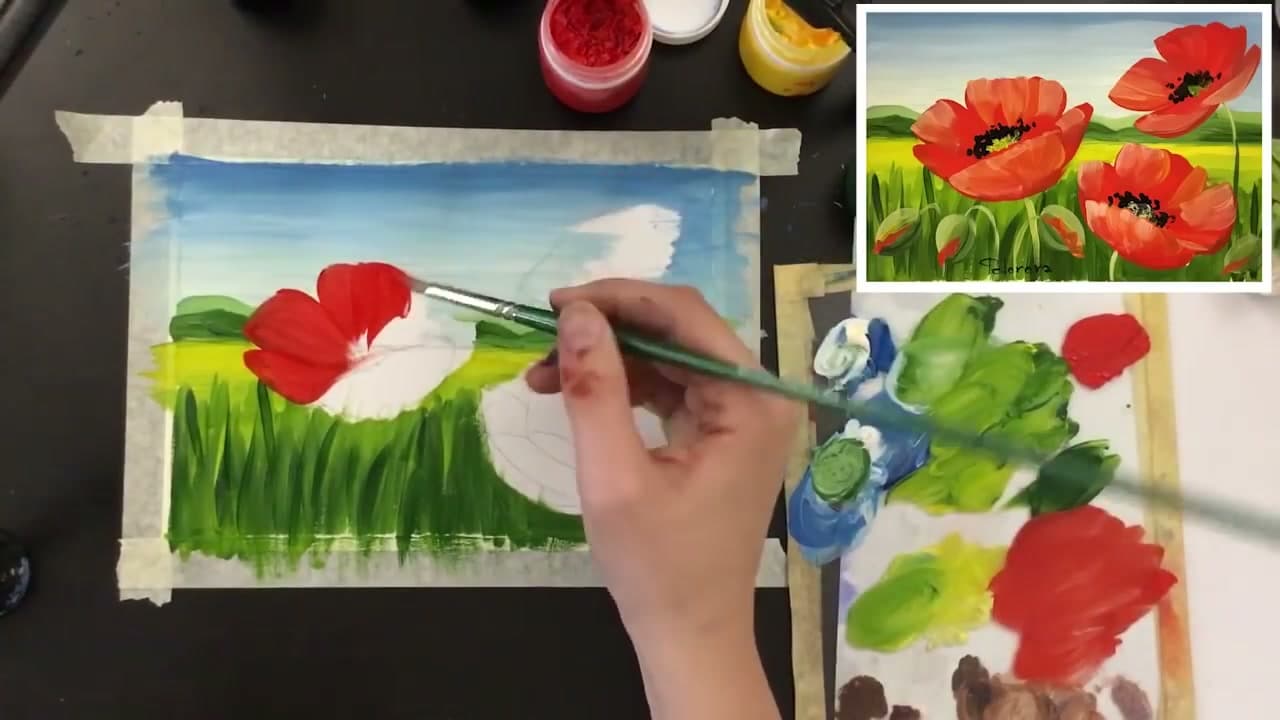
Start at the very top with a flat brush loaded with blue and a touch of white. Pull it side to side in long horizontal strokes, and as you work down toward the horizon, add a little more white so the sky lightens near the field. That gradient gives the scene depth.

Leave a few soft white gaps up high for clouds and blend their edges while the paint is still wet. Acrylic dries fast, so move quickly - if it sets before you blend, the join turns into a hard line.

Tip

Watch this step A flat brush covers the sky faster and leaves fewer streaks than a round one. Reload often so you never drag a dry, patchy stroke across the blue.

3

Step 3: Paint the Hills and Field

5:40
Step 3: Step 3: Paint the Hills and Field

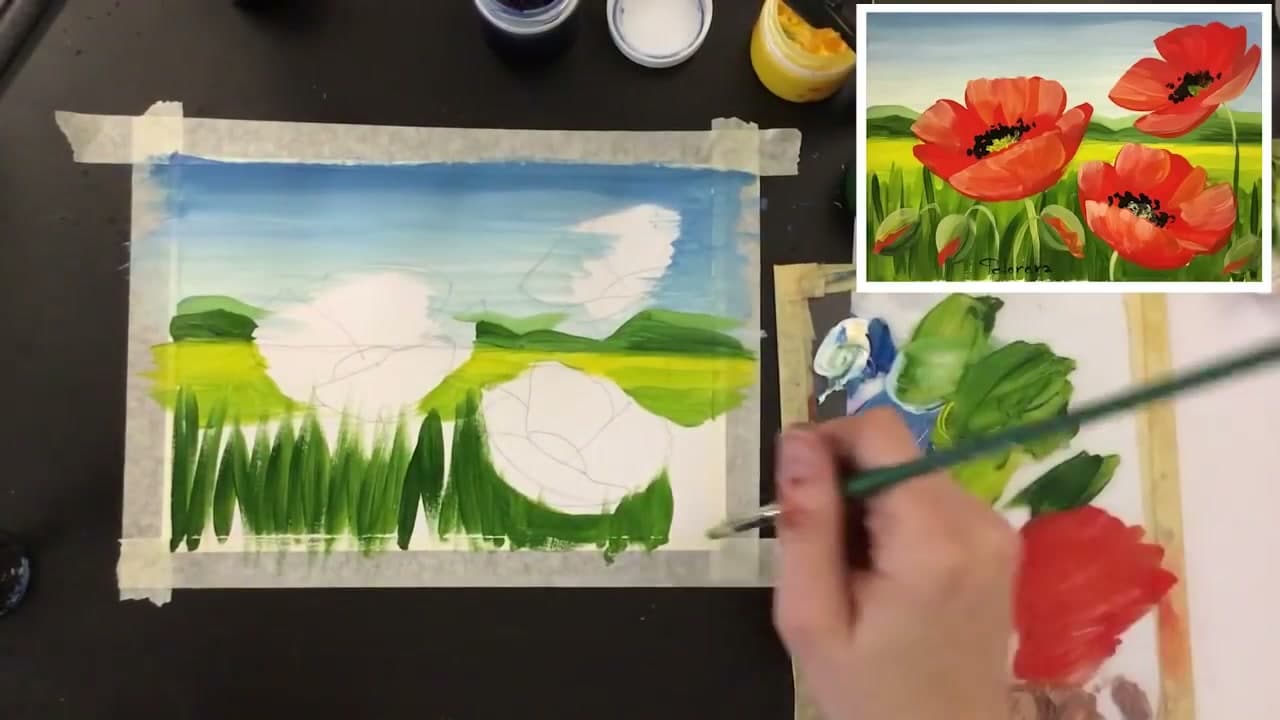
Below the horizon, lay in a row of low green hills. Keep them muted and a touch grey-green so they read as distance. Under that, paint a band of brighter yellow-green for the sunlit field running toward the front.

Blend where the hills meet the field so the two fade into each other. If you leave a hard edge there, the eye stops at the stripe. A soft transition keeps the background feeling far away behind the flowers you will add later.

Tip

Watch this step Add a little of the sky blue into the far hills. Distant greens carry a hint of blue in real life, and it makes them sit back behind the field.

4

Step 4: Add the Grass

7:10
Step 4: Step 4: Add the Grass

Now bring the foreground forward. Switch to a smaller round brush and flick upward strokes of green from the bottom edge of the paper. Layer a couple of shades so the grass right at the front reads darker and richer than the pale field behind it.

Vary the height and spacing of the blades as you go. A few taller strokes here, a cluster of short ones there. Grass that is all the same length looks combed, and you want this patch to feel wild and a little overgrown.

Tip

Watch this step Flick the brush upward and lift off at the top of each stroke. That taper gives the blade a pointed tip instead of a blunt club end.

5

Step 5: Block In the Red Poppies

7:50
Step 5: Step 5: Block In the Red Poppies

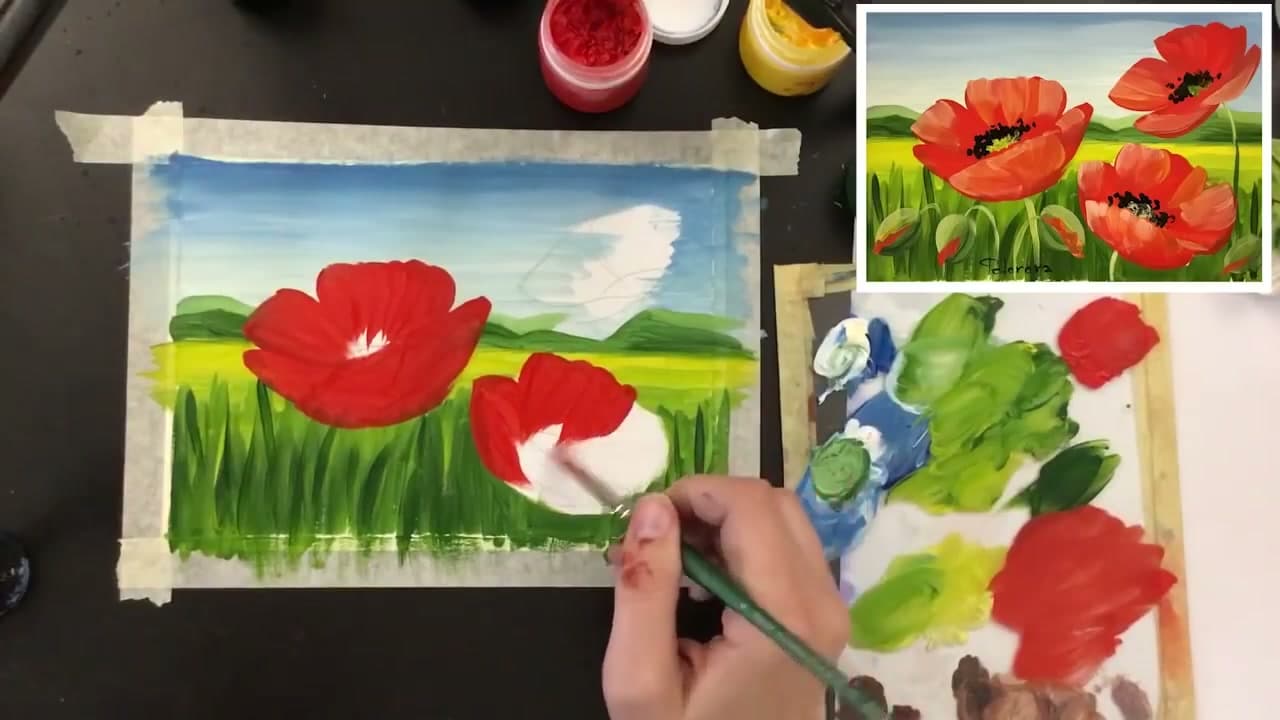
Time for the color everyone came for. Fill each poppy shape with flat red - a cadmium or bright warm red - so all three heads sit as bold masses against the green background. Work around the petal edges you sketched and keep the paint solid and opaque.

Do not chase detail here. You are just getting the base color down and making sure the flower shapes read clearly. The shading and shine come next, and they go on much easier over a clean, even red than over a patchy one.

Tip

Watch this step If the red looks thin or streaky over the green, let the first coat dry and lay a second one. Red is a weak coverer and often needs two passes to sing.

6

Step 6: Shape the Petals with Light and Shadow

10:10
Step 6: Step 6: Shape the Petals with Light and Shadow

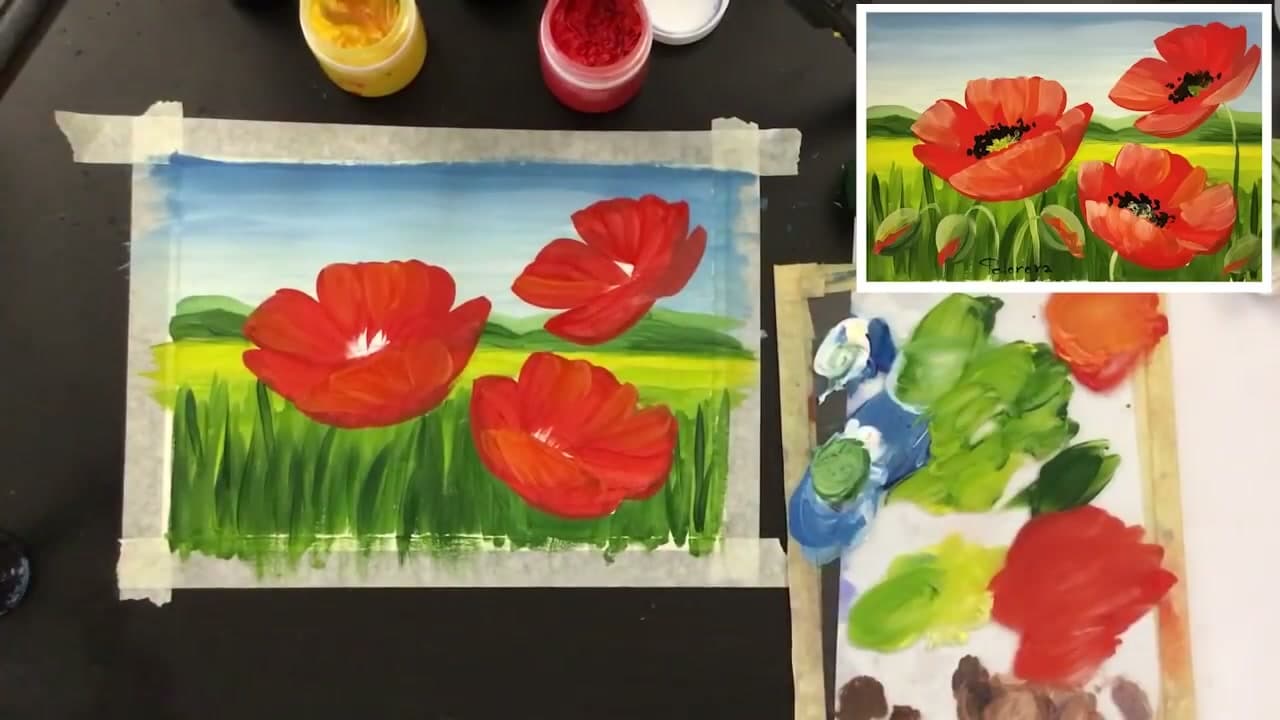
This is where the poppies come alive. Drop a darker red - or a hint of blue mixed into the red - into the creases between petals and wherever one petal tucks behind another. Those shadows push the back petals down and the front ones forward.

Then load a lighter red with a little white and sweep it along the outer edges and the curled lips of the petals. The dark-to-light contrast turns each flat red disc into a cupped, ruffled bloom that looks like it could catch a breeze.

Tip

Watch this step Follow the curve of the petal with your brush, not straight across it. Strokes that echo the petal shape read as folds rather than flat stripes of color.

7

Step 7: Add the Black Centers

12:40
Step 7: Step 7: Add the Black Centers

Every poppy needs its dark heart. Dab a small green-yellow circle right in the center of each open flower to sit as the seed pod. Then switch to the tip of a round brush loaded with black and tap short marks in a rough ring around that center for the stamens.

Keep the black loose and a little uneven. A neat, evenly spaced ring looks stamped and stiff. A scattered, slightly messy one looks like real stamens and gives the flower its signature spotted middle.

Tip

Watch this step Use just the very tip of the brush and barely any pressure. The stamens should be little dots and dashes, not solid blobs, so a light touch matters here.

8

Step 8: Paint Buds and Final Details

13:40
Step 8: Step 8: Paint Buds and Final Details

Fill out the patch with a couple of closed poppy buds down in the grass - a small red tip peeking out of a green casing on a slim stem. They add a story to the scene, showing the flowers at different stages.

Tuck in a few extra grass blades and small leaves around the stems to knit everything together, then let the whole painting dry before you peel the tape. That reveal - clean white border against the finished scene - is the best part.

Tip

Watch this step Peel the tape slowly and at a low angle, pulling it back on itself. Ripping it straight up can lift a strip of paint or tear the paper edge.

Products Used

☐ The Checklist

How to Paint Poppies in Acrylics (Step by Step)

Tools
6
Materials
4
Steps
8
Video
16 min

Tools we recommend

Your Guide

PaintyKat - painting lessons with soul

As an Amazon Associate we earn from qualifying purchases. Links on this page may be affiliate links - clicking them and buying doesn't change your price, but helps support ShowMeStepByStep.

Tags

Sunday How-To

New painting tutorials, every Sunday

One short email with the week's best step-by-step guides. Free, no spam, unsubscribe anytime.

Did this work for you?

What's next

Related collections

Curated theme pages that include this tutorial.

Weekly Digest

Liked this painting tutorial?

Pick the categories you want to hear about. Weekly digest of new step-by-step tutorials. No spam, easy unsubscribe.

Send me tutorials about

We only email about new tutorials. Easy unsubscribe anytime.