How to Paint Daisies in Acrylics

PaintingEasy18:027 stepsBrowse more →

By CraftingStepByStepPublished

Based on a video by Katie Jobling Art.

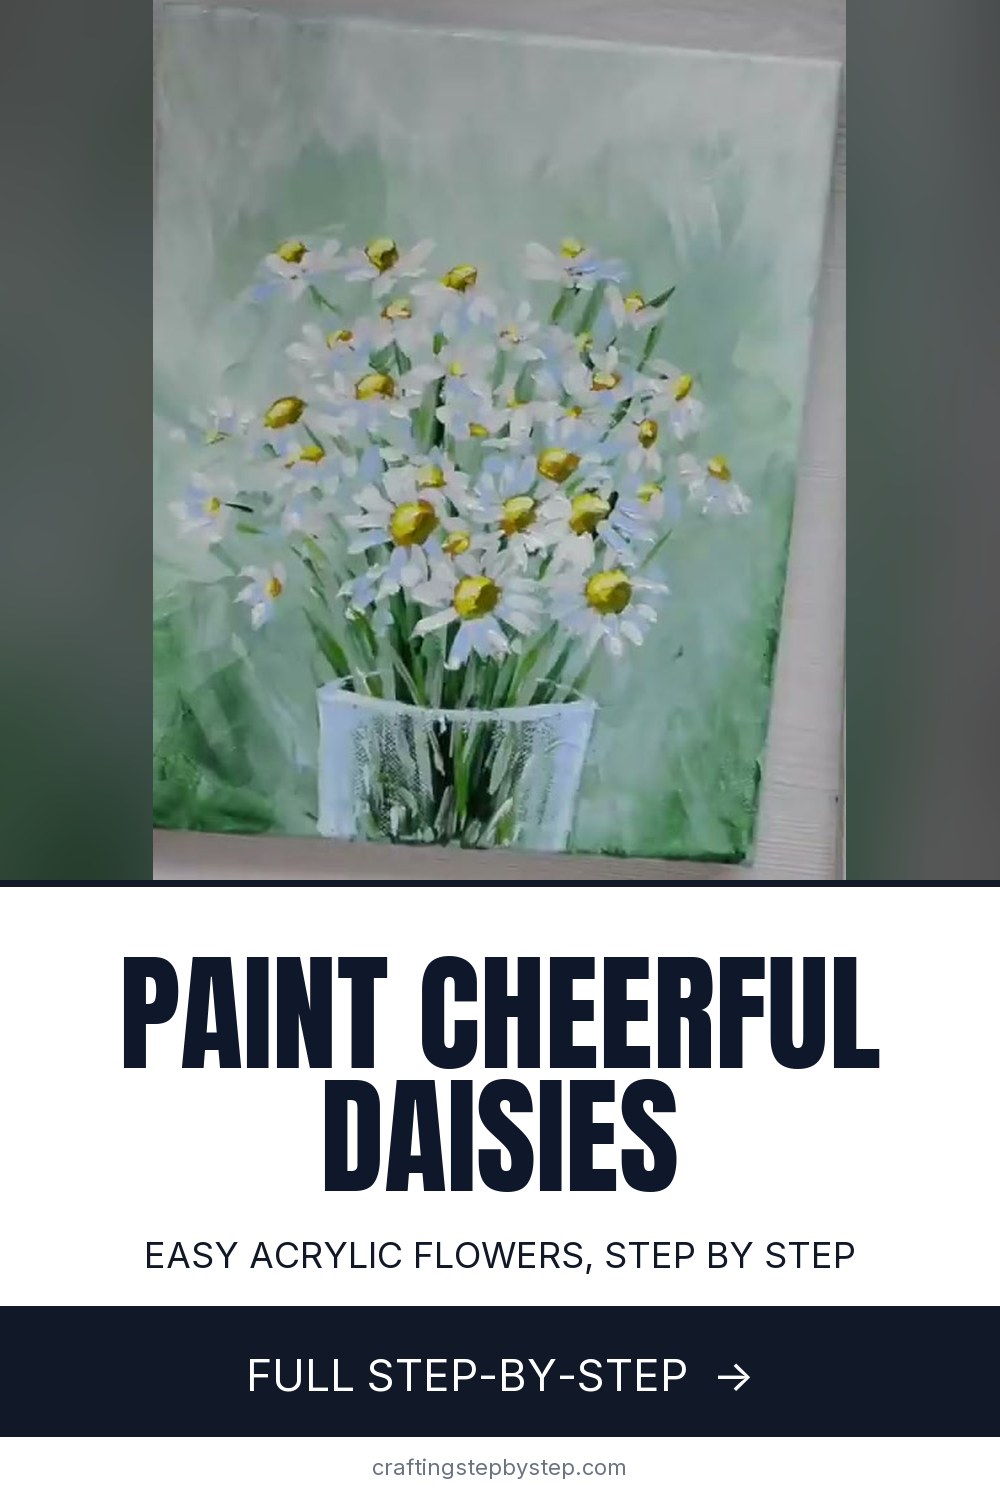
Daisies are one of the friendliest flowers to paint. They are forgiving, a little wonky by nature, and they look best when you keep your hand loose. This tutorial follows artist Katie Jobling, who paints a full bunch of white daisies in soft acrylics and makes the whole thing feel calm and doable, even if you have never touched a brush.

The approach here is layered and loose. You start with a hazy green background, drop in stems and grass, tap out the yellow centers, and then build the white petals on top. Because you work from back to front, mistakes hide under the next layer. There is no drawing first and no fussing over exact shapes. If a petal lands crooked, it just adds to the wildflower feel.

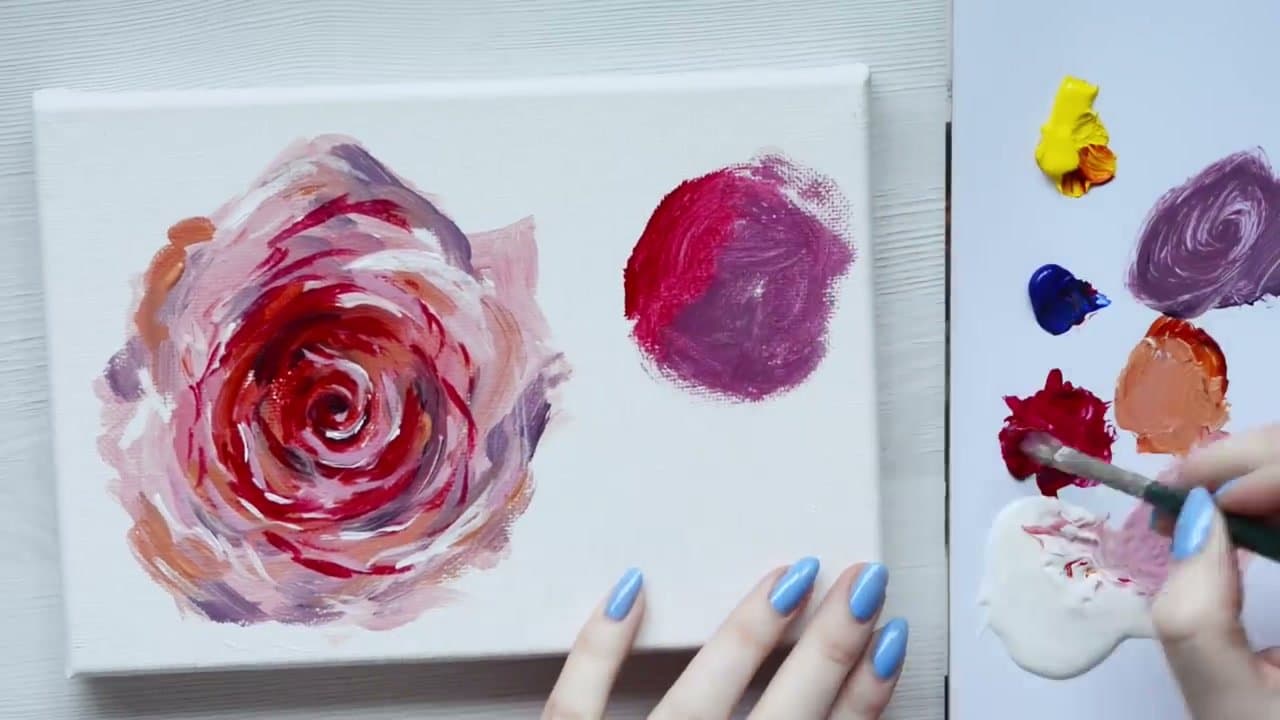
Katie paints impressionistic florals for a living, so her daisies read as soft and full rather than stiff and diagrammed. If this style clicks with you, it carries straight over to her other flowers. Try the same layering logic on poppies or roses next, and if you are brand new to the medium, start with acrylic painting for beginners to get comfortable with the paint before you tackle a whole bouquet.

Step-by-Step Guide

7 steps · about 18 minutes.Check off each step as you go and your progress saves automatically.

1

Step 1: Block In the Green Background

1:36
Step 1: Step 1: Block In the Green Background

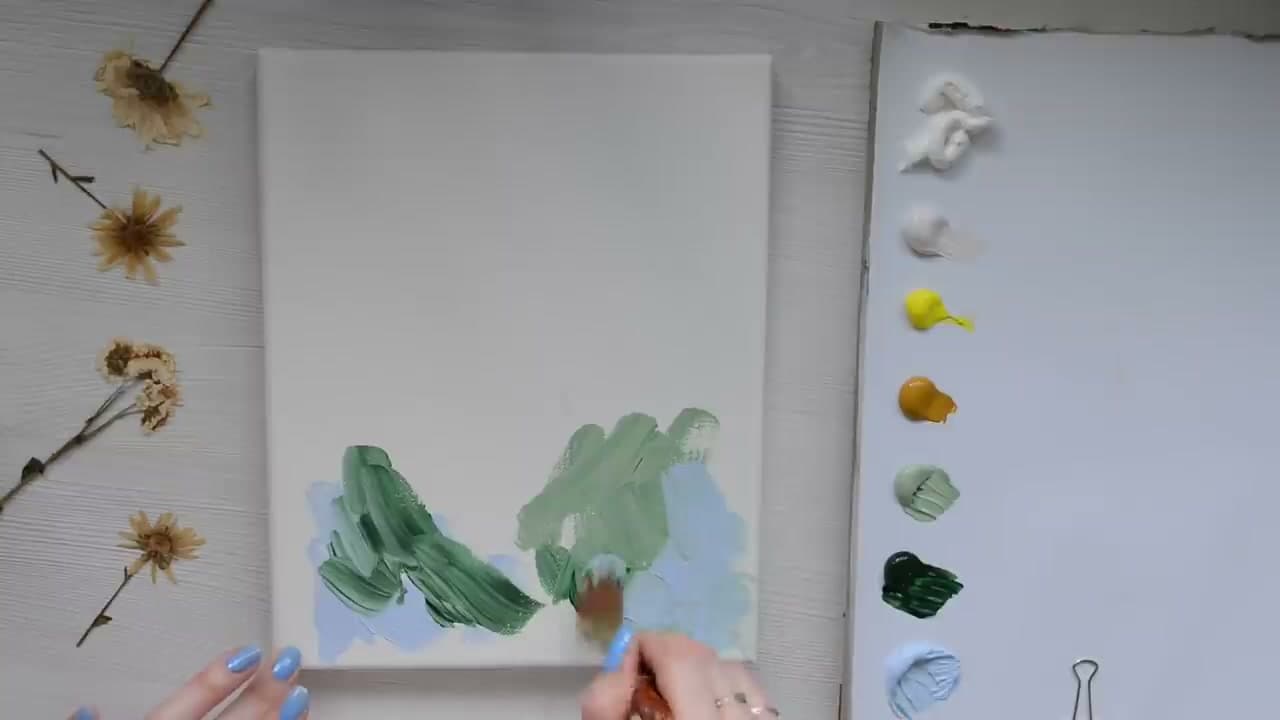
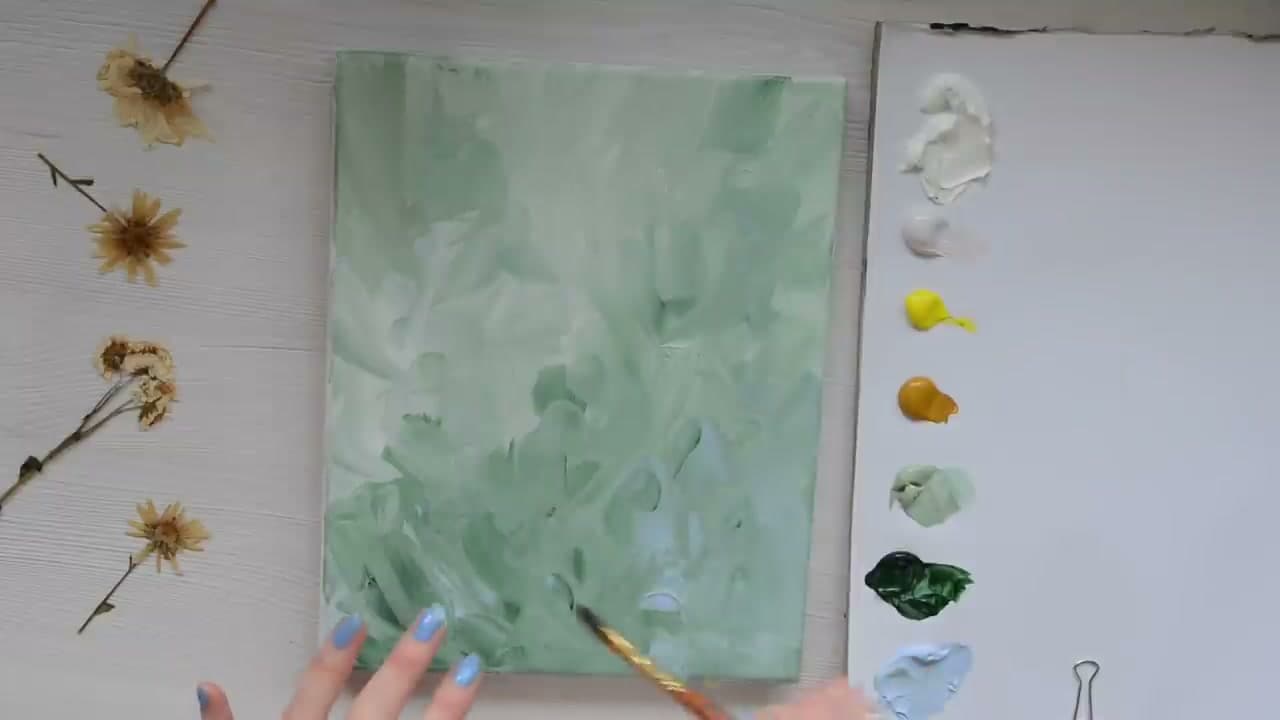
Start with the whole background before you think about a single flower. Load a flat brush with titanium white, pale olive green, and a touch of powder blue, then sweep loose vertical strokes across the entire canvas. Let the colors stay a little separate so the surface has movement.

You want variation, not a flat wall of one green. Keep the strokes streaky and soft, like an out-of-focus meadow sitting behind the flowers. This layer sets the mood, so lean into pale, airy greens rather than anything dark or heavy.

Tip

Watch this step Work fast while the paint is wet. Acrylics dry quickly, and a wet background is far easier to blend into a soft haze than a dry one.
2

Step 2: Blend the Background Soft

3:00
Step 2: Step 2: Blend the Background Soft

With the whole canvas covered, go back over it while the paint is still wet and soften every edge. Cross-hatch light and darker greens into each other with the flat brush so the strokes melt together instead of sitting as separate marks.

The goal is a hazy, out-of-focus backdrop with no hard lines anywhere. A gentle, muted background is what makes the crisp white daisies read so clearly once you add them. If any spot looks too busy or too dark, dab a little more pale green over it and blend it back down.

Tip

Watch this step Wipe your brush on a rag between blends. A clean, barely-damp brush feathers the greens together far better than one loaded with wet paint.

3

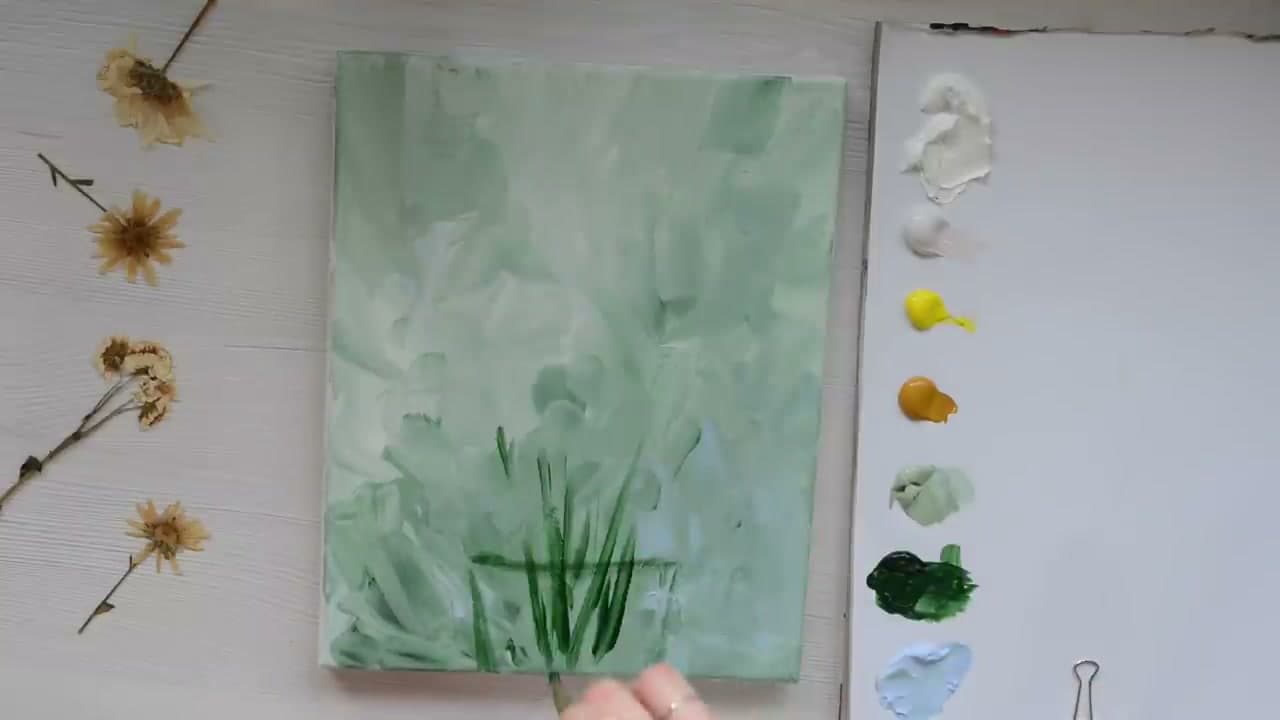
Step 3: Paint the Stems and Leaves

3:48
Step 3: Step 3: Paint the Stems and Leaves

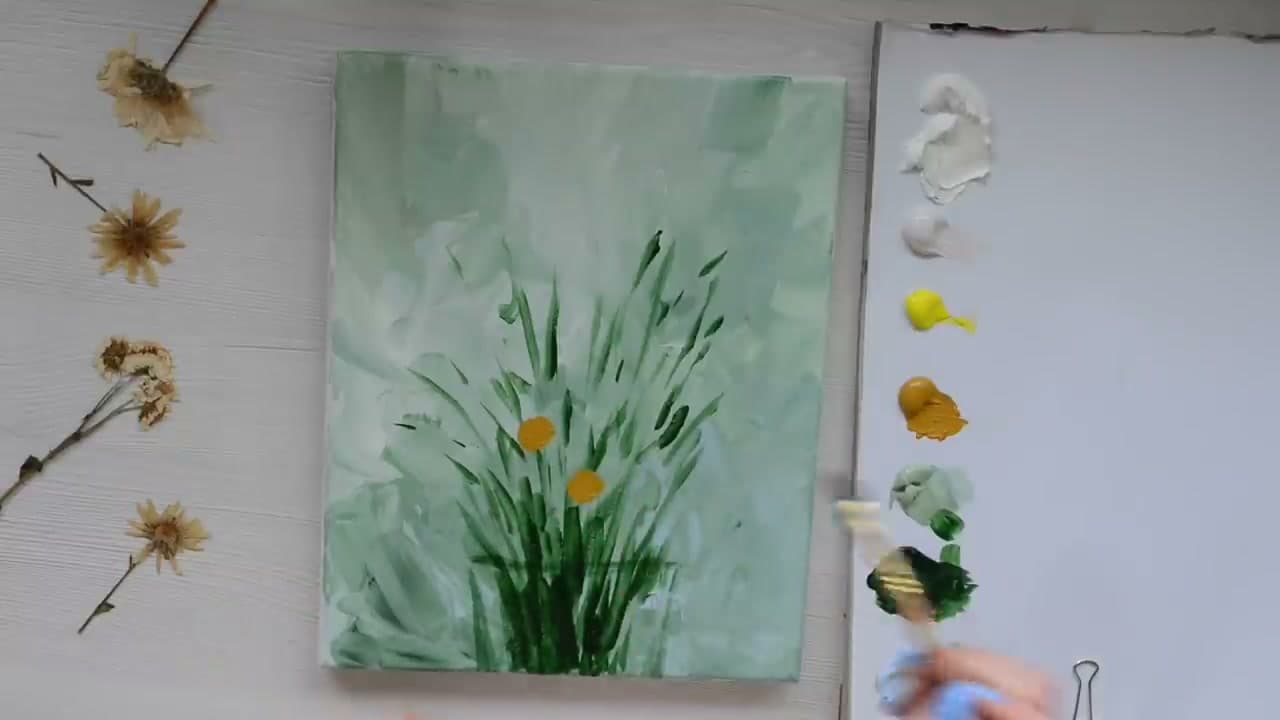
Now switch to a thin liner or detail brush and mix up an olive and dark green for the stems. Pull long upward strokes that fan out from a single point near the bottom, the way a hand-tied bunch of flowers would sit in a vase.

Vary the height and lean of each stem. Some tall, some short, a few crossing over each other. Add a few blade-like leaves along the way. Keeping them uneven is what makes the bunch look picked from a field instead of drawn with a ruler.

Tip

Watch this step Thin the green with a little water so it flows off the liner brush in one smooth pull. A dry, stiff brush drags and breaks the stem line.

4

Step 4: Dot In the Flower Centers

4:48
Step 4: Step 4: Dot In the Flower Centers

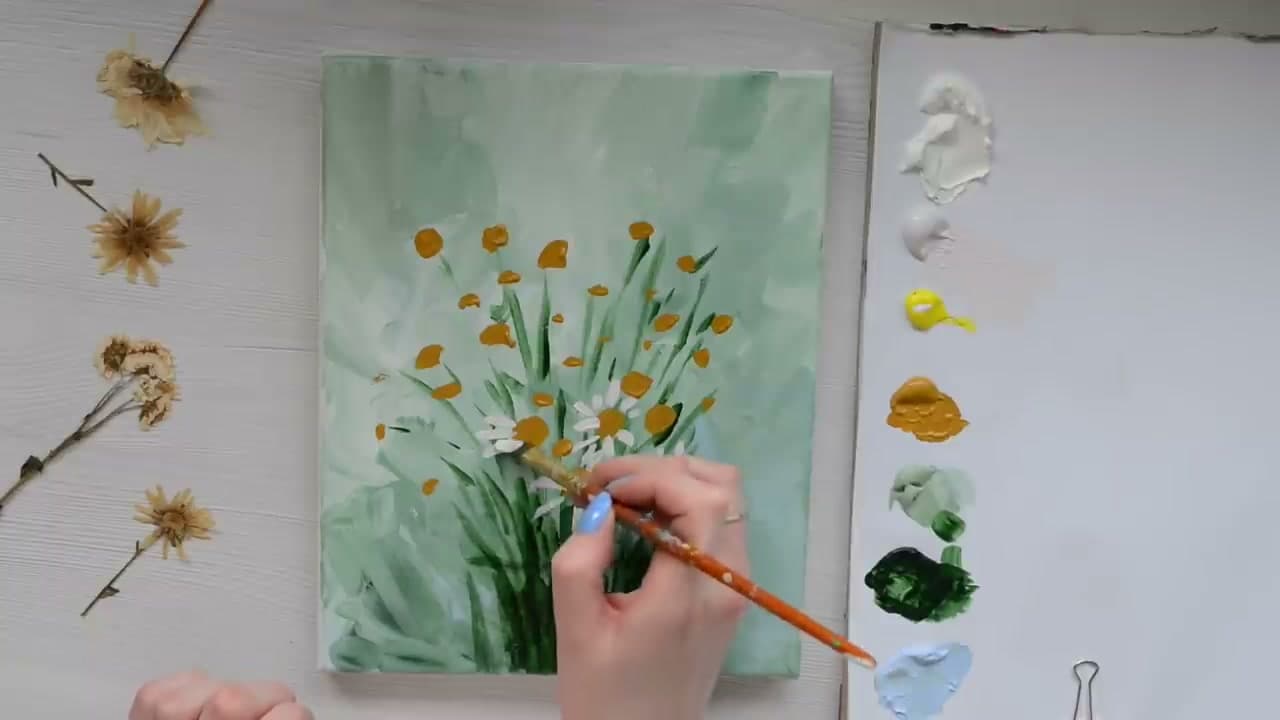
Before any petals, place the yellow centers. Load a round brush with yellow ochre and tap small round blobs across the top of the bunch, one for each daisy you plan to paint. Scatter them at different heights so the flowers will fall naturally.

These dots act as your map. Space them the way you want the finished daisies to sit, leaving a little breathing room between each one. Some can cluster together, others can sit off on their own stem. This is the moment you set the whole layout of the bouquet.

Tip

Watch this step Resist making every center the same size. A mix of larger front daisies and smaller back ones instantly adds depth to the bunch.

5

Step 5: Add the White Petals

7:48
Step 5: Step 5: Add the White Petals

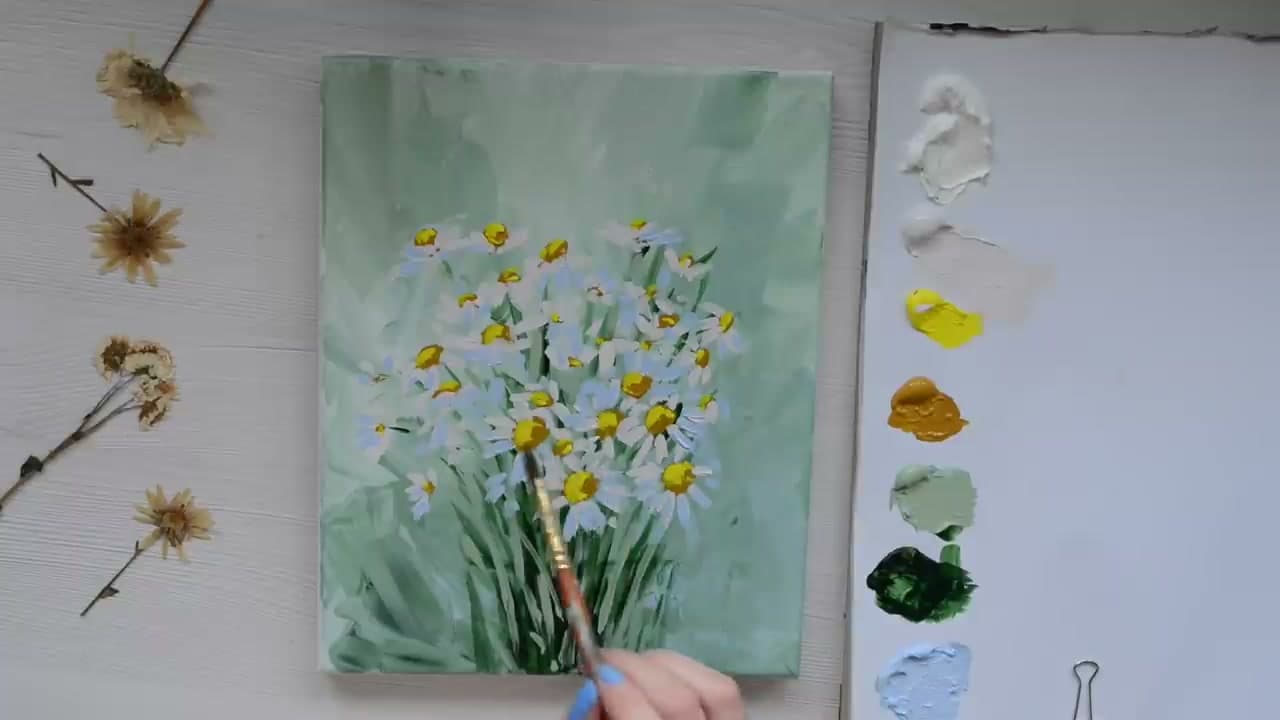
Here is where the flowers appear. Load a round brush with titanium white and flick short strokes outward from each yellow center. Pull each petal from the outer edge in toward the middle so it tapers naturally, then work your way around every dot.

Do not aim for perfect symmetry. Let some petals overlap, some point at odd angles, and a few stay a little shorter. That looseness is exactly what reads as a real daisy. Keep your wrist relaxed and paint each flower quickly rather than carefully placing every stroke.

Tip

Watch this step Use a thicker, less watery white here so the petals sit crisp and bright on top of the muted green rather than sinking in.

6

Step 6: Layer More Daisies for Depth

10:48
Step 6: Step 6: Layer More Daisies for Depth

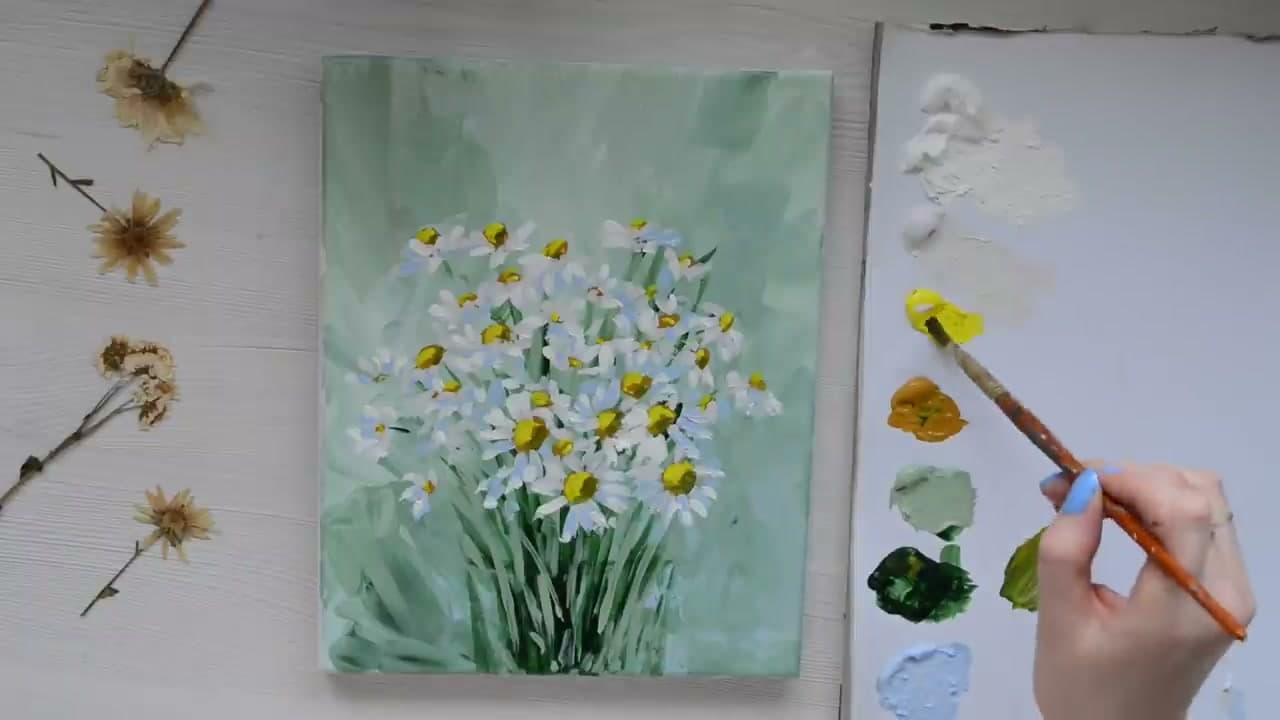
One layer of daisies looks flat, so keep building. Add more white flowers over and between the first ones, and turn some so you see them from the side or the back rather than head-on. Overlap a few so they crowd together like a real bunch.

Drop a few smaller, paler daisies toward the back and let them fade slightly into the green. Those quieter flowers sit behind the bright front ones and give the whole bouquet a sense of depth. Now the bunch feels full and three-dimensional instead of like a flat row.

Tip

Watch this step Mix a touch of green or blue into your white for the back daisies. Slightly grayed petals recede, while pure white ones jump forward.

7

Step 7: Brighten Centers and Finish

12:48
Step 7: Step 7: Brighten Centers and Finish

Time for the details that pull it all together. Warm up each daisy center with a fresh dab of yellow, then add a tiny spot of lighter yellow or white on one side of each so they look like they catch the light. It is a small move that makes every flower feel round.

Tidy any stray stems and clean up the edges of the bouquet. To finish, suggest a simple glass jar at the base with a few pale gray-blue strokes. You do not need to render it fully. A hint of a container is enough to hold the whole bunch together.

Tip

Watch this step Step back from the canvas before you call it done. Distance shows you which daisies need a highlight and which corners feel empty.

Products Used

☐ The Checklist

How to Paint Daisies in Acrylics

Tools
5
Materials
6
Steps
7
Video
18 min

Tools we recommend

Your Guide

Katie Jobling Art

As an Amazon Associate we earn from qualifying purchases. Links on this page may be affiliate links - clicking them and buying doesn't change your price, but helps support ShowMeStepByStep.

Tags

Sunday How-To

New painting tutorials, every Sunday

One short email with the week's best step-by-step guides. Free, no spam, unsubscribe anytime.

Did this work for you?

What's next

Related collections

Curated theme pages that include this tutorial.

Weekly Digest

Liked this painting tutorial?

Pick the categories you want to hear about. Weekly digest of new step-by-step tutorials. No spam, easy unsubscribe.

Send me tutorials about

We only email about new tutorials. Easy unsubscribe anytime.