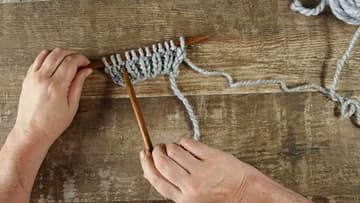
How to Knit Ribbing: 1x1 and 2x2 Rib Stitch
Source: Pattymac Makes • Full tutorial: www.craftingstepbystep.com/knitting/how-to-knit-ribbing
- Difficulty
- Easy
- Hands-on time
- About 20 minutes
- Cost
- About $2 to $5

Tools
- Straight knitting needles sized for your yarn
- Ring stitch markers
- Tape measure
- Scissors
- Yarn needle
Materials
- Worsted weight yarn in a light solid color
Steps
1. Cast On an Even Number of Stitches
Ribbing repeats over two stitches, so an even number lets the row start and end the same way. Pattymac casts on 12 for the swatch, which is enough to see the columns form.
Tip: A long tail or knitted cast on leaves an edge with some give in it. A tight cast on fights the stretch of the rib above it and the cuff will not go over a hand.
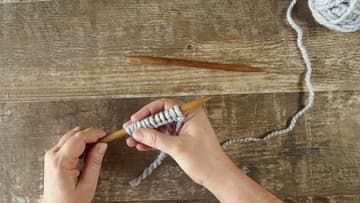
2. Knit the First Stitch With the Yarn at the Back
Check where the working yarn is before you do anything else. For a knit stitch it belongs behind the needles, away from you.
Tip: If the yarn is already behind the work from the cast on, leave it there. You only move it when the stitch type changes.
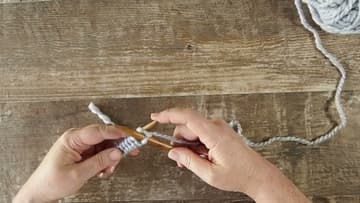
3. Bring the Yarn to the Front Between the Needle Tips
Here is the move this whole page is about. Take the working yarn between the two needle tips and let it sit at the front of the work, toward you.
Tip: Say it out loud for the first few rows. Yarn forward to purl, yarn back to knit. Once your hands know it you stop thinking about it.
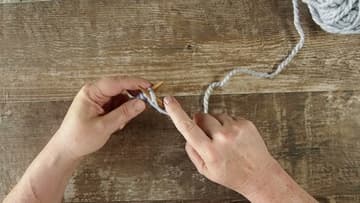
4. Work Knit One, Purl One Across the Row
Carry on alternating for the rest of the row, moving the yarn between the tips at every change. Knit, yarn forward, purl, yarn back, knit.
Tip: Drop a ring stitch marker between each pair of columns on a wide piece. It saves you recounting when the phone rings mid row.
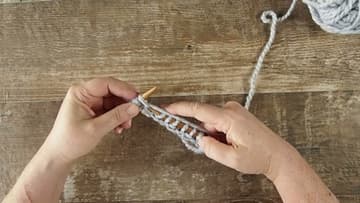
5. Turn the Work and Find the Purl Bumps
Turn the needle around and look at the row facing you. A knit stitch reads as a flat V lying against the fabric.
Tip: What was a knit on the row you just worked shows as a purl bump from this side. Trust the stitch in front of you, not what you did last row.
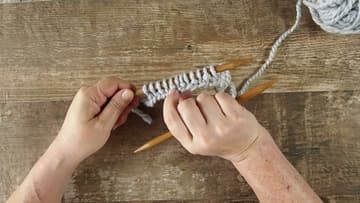
6. Knit the Knit Stitches and Purl the Purl Stitches
Work the row by matching what you see. A flat V gets knitted with the yarn behind.
Tip: Miss one and the column jogs sideways. You will spot it within two rows, and it is a small fix if you catch it early.
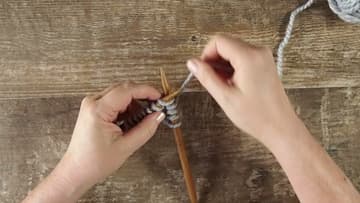
7. Snug Each Stitch So the Rib Columns Line Up
Give the yarn a light tug after each change of stitch. The strand that crossed between the needles wants to sit close against the fabric.
Tip: Tug, do not yank. Overtightening the crossing strand puckers the fabric and takes the stretch out of the rib, which defeats the point of knitting it.
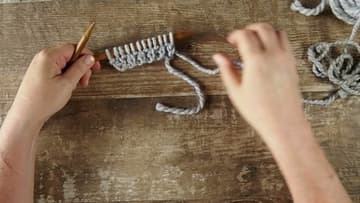
8. Repeat Until the Rib Is as Deep as You Need
Keep repeating that same row. Ribbing has no second row to learn.
Tip: Measure the rib unstretched against a tape. Held open it reads a third wider than it really is, and you end up with a brim that does not grip.