How to Knit Continental Style for Faster, Smoother Knitting

The finished result: How to Knit Continental Style for Faster, Smoother Knitting
  • Difficulty: Easy
  • About 20 minutes
  • 8 steps

You tapped Save

Save this project for later

We'll email you a link, no password.

How to Knit Continental Style for Faster, Smoother Knitting

  • Your saved projects in one list
  • Your ticked steps on any device

Check your inbox for an email from us. Not there? Look in your spam folder.

Print

Steps written out by Crafting Step by Step from Jessica McDonald's video (opens YouTube) (6:39). Published .

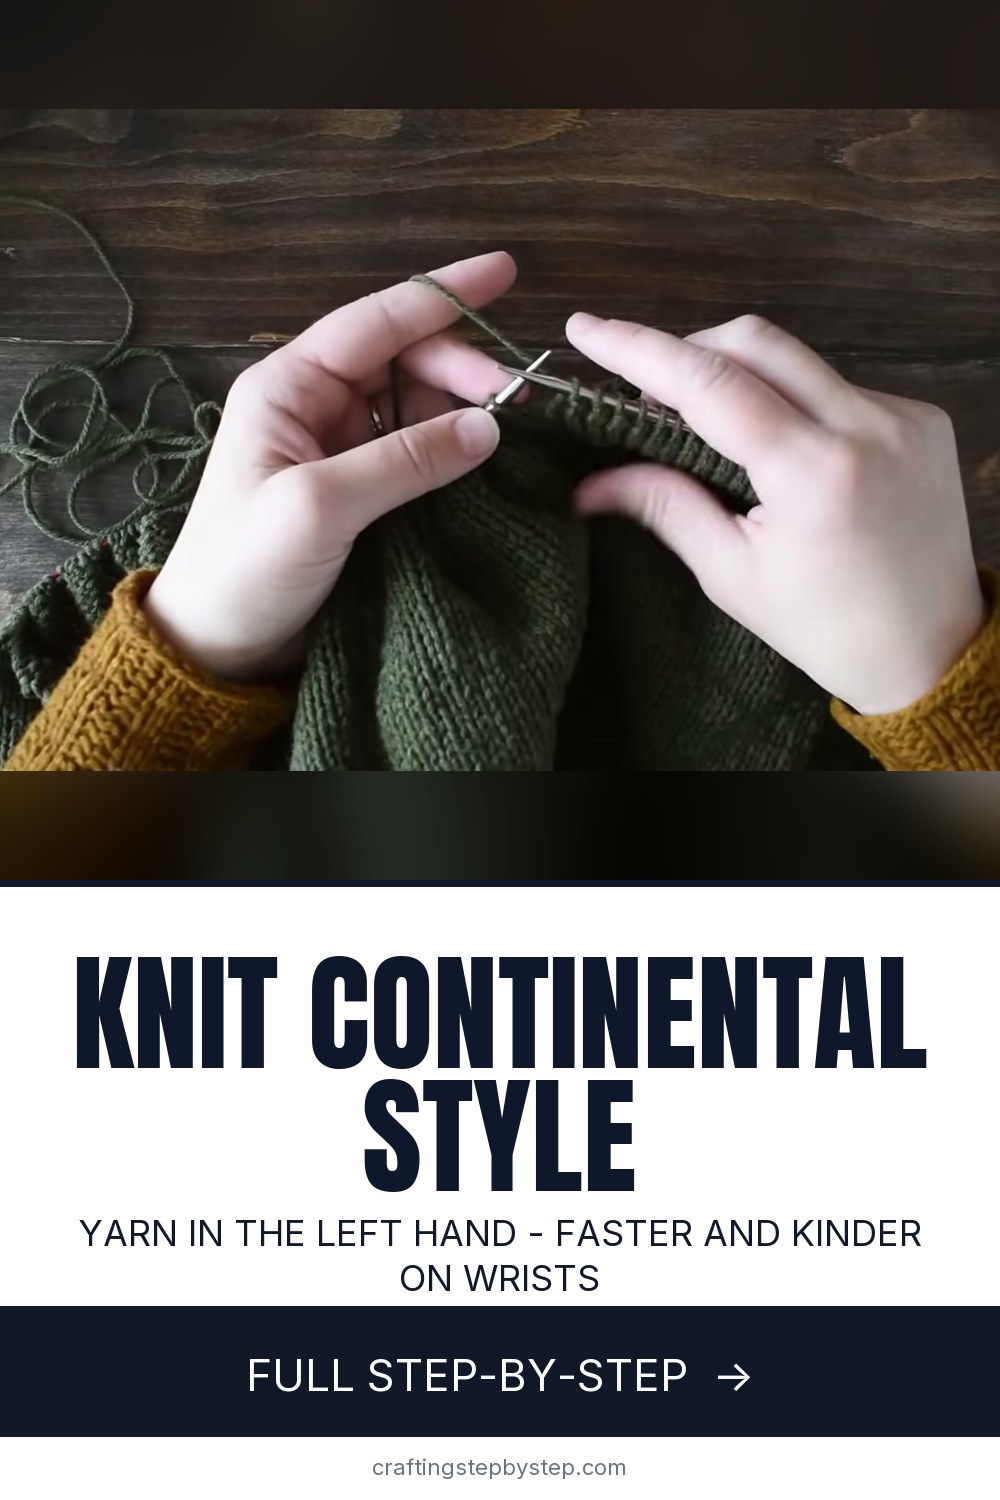
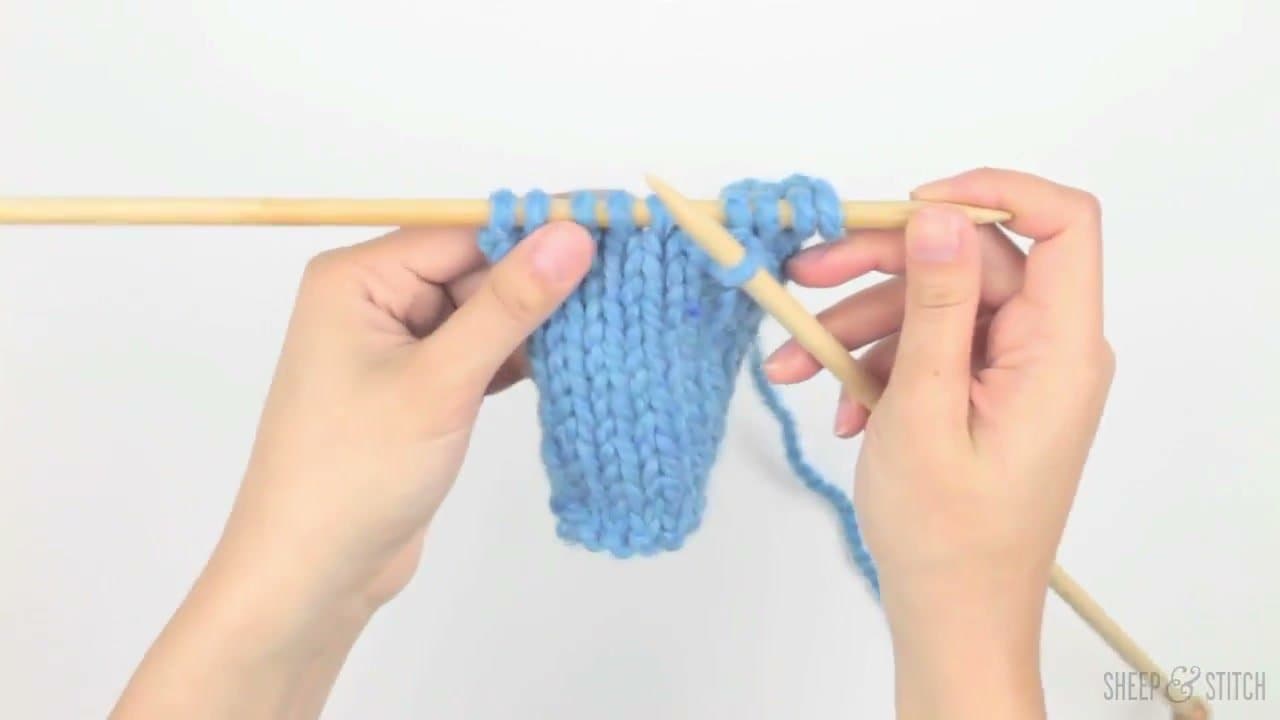
Continental knitting means the working yarn lives in your left hand. You do not wrap it around the needle with your right hand the way English or throwing style does. The right needle goes into the stitch and picks the yarn straight off your left index finger. Less hand travel per stitch, which is why most knitters who switch end up faster and can work long stretches of stockinette without their hands going sore.

Jessica McDonald walks through her own hold here, and she spends most of the video on the part that trips people up. Tension. The yarn wraps once around her pinky, runs across the palm side of her fingers, then sits over her index finger. Friction does the holding. Her hand never closes around the yarn.

New to needles? Start with the absolute beginner walkthrough and casting on before you retrain your hands. Already knitting English style and switching over? The knit and purl page covers the stitches themselves, and knitting in the round pairs well with this one, because an all-knit tube is the best place to drill the motion.

Continental vs English knitting

Both styles make the same stitch. The fabric looks identical once it is off the needles. What changes is how your hands get there.

Continental (picking)English (throwing)
SpeedFaster for most people once learnedSlower, the right hand lets go to wrap
Hand strainSmall wrist roll, easy on the right handMore right wrist and shoulder movement
PurlingThe awkward part at firstEasy, same wrap as a knit
SuitsCrocheters, long stockinette, ribbingFirm tension lovers, purl-heavy patterns

If you crochet, you already tension yarn in your left hand. Continental usually clicks within an evening for you.

Tensioning the yarn in your left hand

The steps show one wrap around the pinky and the strand over a raised index finger. Treat that as a starting point. Some knitters wrap the index finger twice, some skip the pinky and weave through the middle fingers. The test is easy to feel: the yarn should slide when the needle pulls it and stay put when you stop. Too loose and your stitches sag. Too tight and the loops choke the needle.

The continental purl and the Norwegian purl

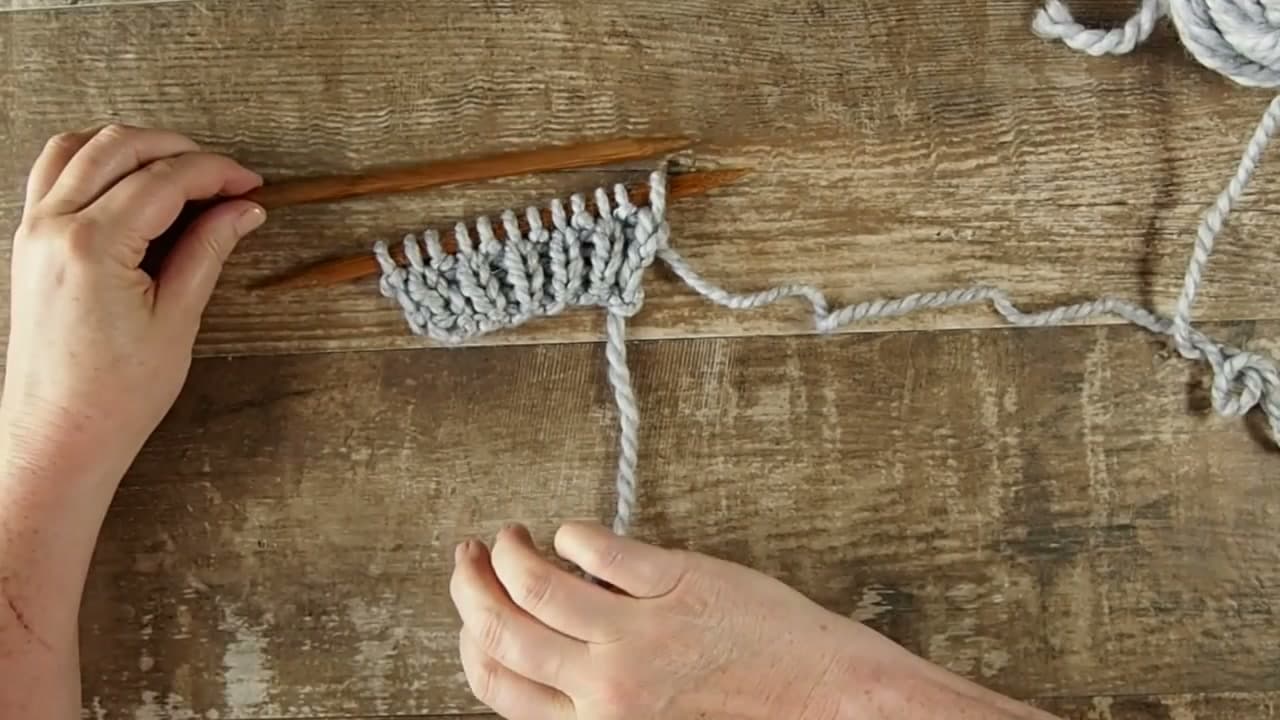
Purling is where continental earns its reputation. With the yarn in front, you tip the right needle into the stitch from right to left, lay the strand over the tip by pushing your index finger down, and scoop the loop back through. It feels clumsy for a week. The Norwegian purl gets around that by keeping the yarn in back and reaching the tip over and under the strand instead. More needle travel, no yarn moving to the front, and a lot of people find it kinder on the hands for ribbing. Our purl stitch guide shows the stitch itself if you need a refresher.

Switching over from English style

Expect to feel like a beginner again for about a week. Knit a plain hat or a dishcloth in continental only, and do not switch back mid-project, because the two styles often knit to slightly different gauge. Swatch again before starting anything fitted.

Common continental knitting mistakes

  • Twisted stitches. You wrapped the yarn the wrong way around the needle. Catch it from over the top, not from underneath.
  • Uneven tension. Usually the index finger drifting down. Keep it raised and near the tips.
  • Loose purls. Purl rows grow longer than knit rows, which shows as rowing out in stockinette. Tighten the index finger on purl rows or try the Norwegian purl.

Your gauge will wander while you learn. That is normal and it settles down. Pick something small to wander on.

Free printable

Print the steps and supply list for this project

One page you can take to the table. Free with a free account, no password.

Get the free printable

What you'll need

Free, for this project

Get this checklist by email

  • All 6 tools and materials, with tick boxes
  • A link to print all 8 steps on paper, to keep by you while you craft

No password. The whole tutorial stays free on this page.

Quick answer

Continental knitting keeps the yarn in your left hand and picks each stitch. An easy project: about 20 minutes. Materials cost about $2 to $5. You need 6 things, including Worsted weight wool yarn, Circular knitting needles and Locking stitch markers. The 8 steps start with run the Yarn Through Your Left Fingers, lay the Yarn Across Your Palm and Over Your Index Finger and lift Your Left Index Finger to Keep the Yarn Taut.

Step-by-step guide

8 steps, about 7 minutes. Tap a picture to jump to that step. Your progress saves automatically.

Tick each step off as you go.

  1. Step 1: Run the Yarn Through Your Left Fingers

    Watch this step · 0:44

    Pick up the working yarn with your left hand and let it lie across your fingers. Do not close your hand around it. The tension comes from friction, the yarn dragging lightly as it slides over skin, not from you holding on to it.

    Gripping is the single most common thing that goes wrong at this stage. It gives you a cramped hand inside ten minutes and stitches that come out tight and uneven. If your knuckles have gone white, let go and start over.

    Tip:

    Every knitter routes the yarn a little differently. If this path feels wrong in your hand, try taking it around your ring finger instead. You are after friction you can feel, not one specific finger.

    Back to all steps

  2. Step 2: Lay the Yarn Across Your Palm and Over Your Index Finger

    Watch this step · 2:04

    Wrap the yarn once around your pinky. Carry it across the palm side of your middle and ring fingers, then up through the gap and over the top of your index finger. That path is the whole continental hold.

    The pinky wrap is your brake. One loop gives a wool yarn enough drag to knit with. On something slippery, a fingering weight linen for instance, take it around the pinky twice and the friction comes back.

    Tip:

    Jessica McDonald keeps her three lower fingers curled around the needle while the yarn runs over them. The needle and the yarn share one hand, which feels crowded for a day and then stops registering.

    Back to all steps

  3. Step 3: Lift Your Left Index Finger to Keep the Yarn Taut

    Watch this step · 2:32

    Raise your index finger up and slightly away from the needle. That opens a short straight run of yarn between the last stitch you made and your fingertip.

    That stretch is the piece the right needle picks. Let the finger drop and the yarn slackens onto the fabric, leaving the needle tip nothing clean to catch. Hold the finger up and the yarn presents itself for every stitch without you moving it.

    Tip:

    The yarn should cross your index finger on an angle, from the middle knuckle up to a point below the first knuckle. Laid flat across the fingertip it slides off.

    Back to all steps

  4. Step 4: Insert the Right Needle Into the First Stitch

    Watch this step · 2:46

    Slide the right needle tip into the first stitch on the left needle, front to back, left to right. Same entry as any knit stitch you have made before. Continental changes nothing about how the needle goes in.

    Your left hand does most of the moving from here on. The right needle largely holds position and lets the left hand bring the work to it. Tip both hands back a little so the needle tips sit where you can see them.

    Tip:

    Keep that raised index finger behind the right needle tip as you enter the stitch. If the yarn is already sitting in front, you will catch it too early and end up with a twisted loop.

    Back to all steps

  5. Step 5: Catch the Yarn With the Right Needle Tip

    Watch this step · 3:06

    Roll your left hand forward. That drops the taut strand across the front of the right needle tip. Move the tip a fraction and hook it.

    Here is the difference people mean when they say continental picks and English throws. Your right hand never lets go of its needle to wrap yarn around anything. The strand comes to the needle and the needle takes it.

    Tip:

    If you keep missing the strand, your index finger is probably sitting too far left. Bring it closer to the needle tips so the yarn hangs right where the point travels.

    Back to all steps

  6. Step 6: Roll Your Left Hand Back to Pull the Loop Through

    Watch this step · 3:26

    Once the yarn is on the tip, roll your left hand back. The rolling motion secures the strand around the needle and drags it through the old stitch as a new loop.

    Watch how small the move is. Forward, back. No wrist swing, no finger flick, nothing leaves the needle. Repeating a roll that short a few thousand times is why this style outruns throwing over a long project.

    Tip:

    Rolling back too hard yanks the new loop tight and you will fight to get a needle into it next round. Roll only until the loop clears the old stitch.

    Back to all steps

  7. Step 7: Slide the New Stitch Onto the Right Needle

    Watch this step · 3:46

    Push the new loop fully onto the right needle and let the old stitch slip off the left. One stitch done.

    Then go again. Insert, roll forward, catch, roll back, slide off. Say it through the first dozen stitches, then stop saying it, because the motion is short enough that naming the parts starts to slow you down.

    Tip:

    Nudge your stitches along the left needle every few inches so the next few always sit near the tip. Reaching for a stitch stranded mid-needle breaks the rhythm.

    Back to all steps

  8. Step 8: Knit Rounds of Stockinette on Circular Needles

    Watch this step · 6:20

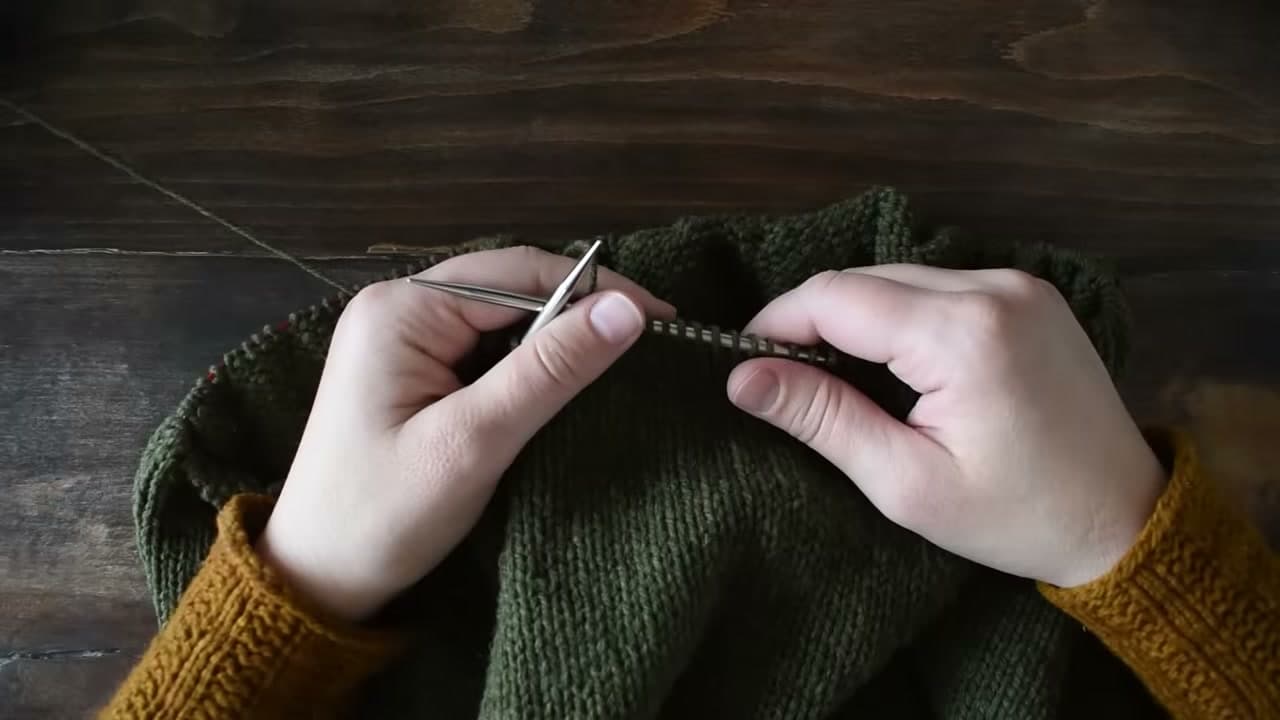
    Give yourself a project where every stitch is a knit stitch. A hat in the round, or a plain sweater body. No purling, no chart to read, nothing to interrupt the motion while your hands learn it.

    Gauge wanders for the first while and then settles. A hat is small enough that the drift costs you nothing, which is exactly why it beats starting on a sweater you care about.

    Tip:

    Drop a locking stitch marker at the start of the round so you can count without stopping. By the end of one hat the hold stops feeling like a technique.

    Back to all steps

How to Decrease in Knitting - K2tog, SSK and Two More

Keep going

How to Decrease in Knitting - K2tog, SSK and Two More

8 steps · about 9 minutes

Keep going with knitting

More on this topic, picked for this project.

You reached the last step

Save this project to come back to it

Your ticked steps, the free printable and your other saved makes, together in My Projects. Free, no password.

You tapped Save

Save this project for later

We'll email you a link, no password.

How to Knit Continental Style for Faster, Smoother Knitting

  • Your saved projects in one list
  • Your ticked steps on any device

Check your inbox for an email from us. Not there? Look in your spam folder.

Free printable

Printable sheet and shopping list for this project

The bonus is hidden until you sign up.

Free with a free account, no password. Every step above stays open to everyone.

Products Used

The Checklist

How to Knit Continental Style for Faster, Smoother Knitting

Tools
4
Materials
2
Steps
8
Video
7 min

Tools we recommend

As an Amazon Associate we earn from qualifying purchases. Links on this page may be affiliate links - clicking them and buying doesn't change your price, but helps support Crafting Step by Step.

Tags

The Crafter's Weekly

New knitting tutorials, every Sunday

One short email with the week's best step-by-step guides. Free, no spam, unsubscribe anytime.

Test your knowledge

Did the lesson stick? Start with this one.

5 questions covering what you just read. No signup, no score saved, and you can stop after this one.

Question 1 of 5

Which hand holds the working yarn in continental knitting?

Quick reference

Key takeaways from How to Knit Continental Style for Faster, Smoother Knitting

5 questions, answers, and one-line explanations. Tap to expand.

  1. 1.Which hand holds the working yarn in continental knitting?

    Answer: The left

    Keeping the yarn left means the right needle picks instead of you wrapping.

  2. 2.Where does the tension come from?

    Answer: Friction as it slides over your skin

    Gripping gives you a cramped hand and uneven stitches, so let it slide.

  3. 3.What does the wrap around the pinky do?

    Answer: It acts as your brake

    One loop gives wool enough drag; slippery yarn may want a second.

  4. 4.Why hold the left index finger up and away?

    Answer: It opens a taut strand to catch

    Let the finger drop and the yarn slackens, leaving the tip nothing to hook.

  5. 5.What is the best first project for learning continental?

    Answer: A hat knit round in stockinette

    All knit stitches and no purling lets the hands learn one motion uninterrupted.

Did this work for you?

What's next

Related collections

Curated theme pages that include this tutorial.

Similar tutorials

Hand-picked next reads based on the one you just finished.

Liked this knitting tutorial?

Pick the crafts you want to hear about. One email every Sunday with new step-by-step tutorials. No spam, easy to unsubscribe.

Get more like this in your inbox

Weekly digest. Pick the categories you want. Unsubscribe anytime.

Send me tutorials about

We only email about new tutorials. Easy unsubscribe anytime.