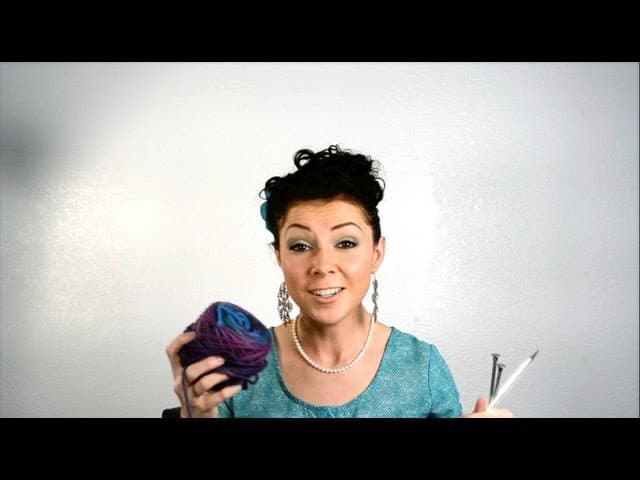
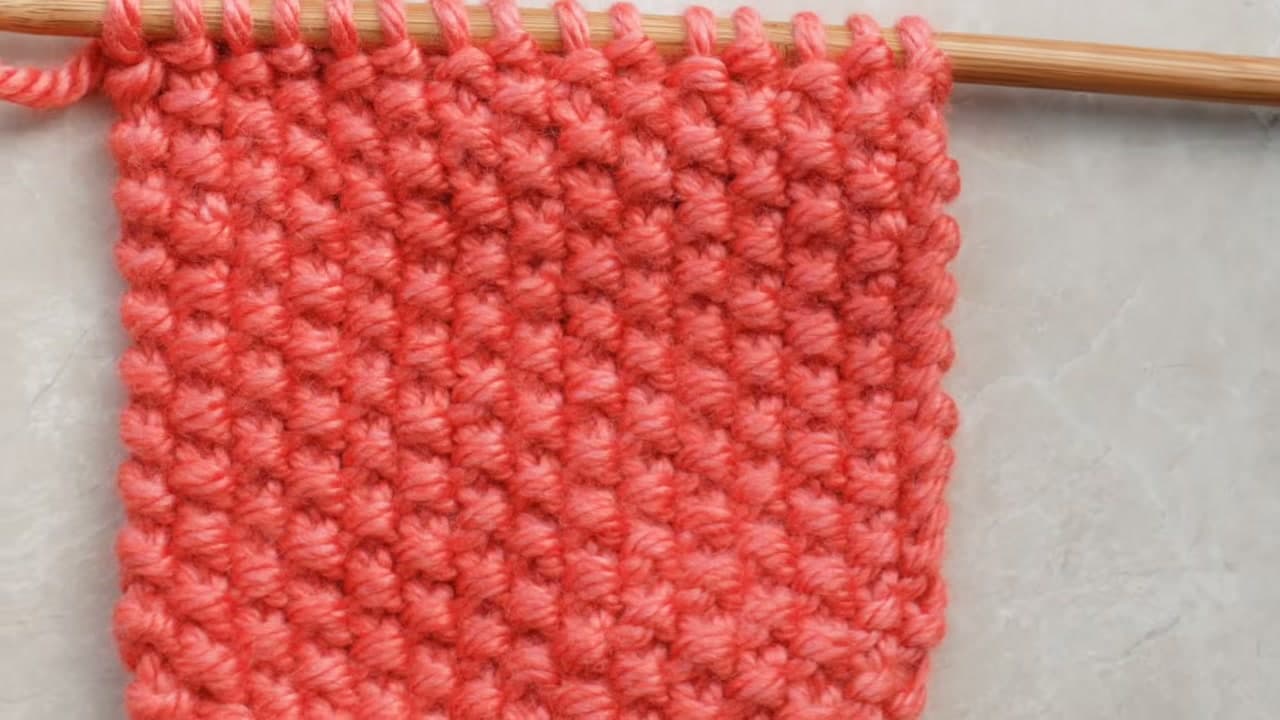
Kitchener stitch is the join you reach for when both edges are still live, still sitting on their needles, and you want the finished piece to read as one continuous piece of knitting. VeryPink Knits filmed this one in slow motion for people who need to watch every pass of the needle, and that is what makes it worth knitting along with.
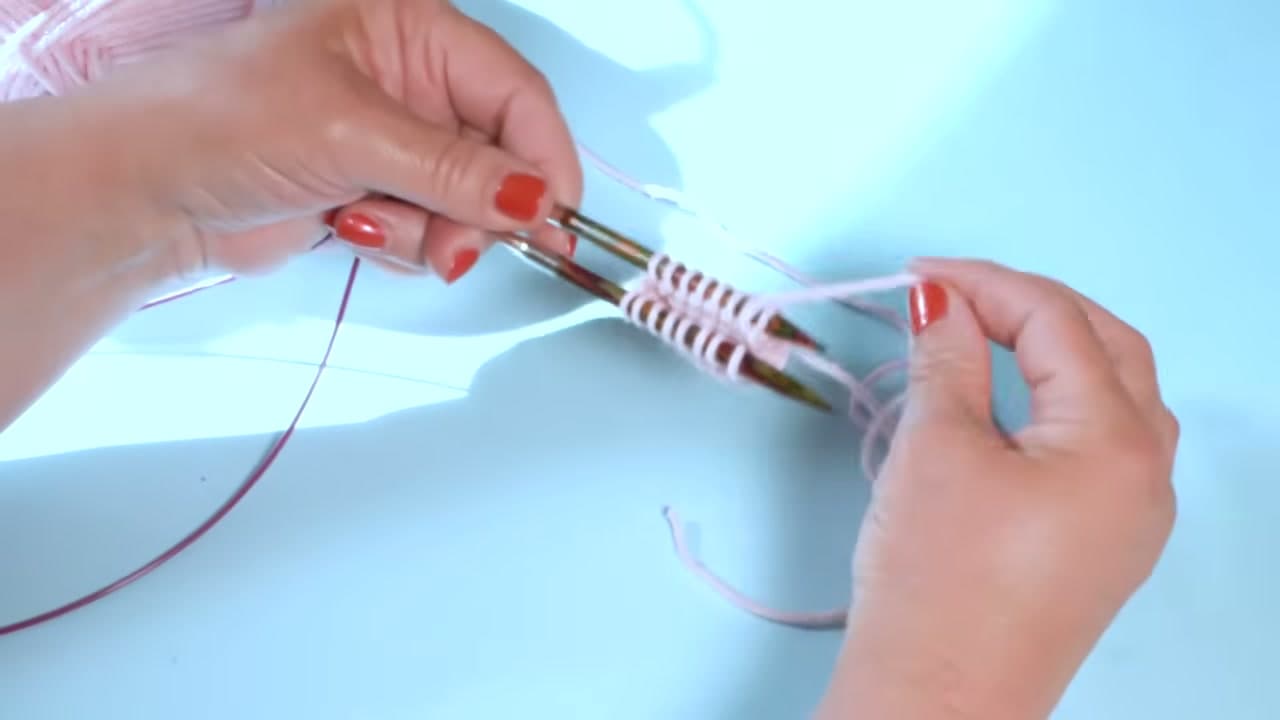
The example is a sock toe. Two sets of stitches face each other on two needles, a tapestry needle threaded with the tail walks back and forth between them, and when it is done there is no ridge on the inside for your toes to find. The join looks like a row of knitting because that is what it is. You are tracing the path the yarn would have taken if you had knit that row on the needles.
Where knitters use it
Sock toes are the big one, and the reason most people go looking for this technique in the first place. Mitten tips close the same way. So does the top of a hat when you would rather not gather the crown, and shoulder seams on a sweater when the pattern tells you to leave the stitches live instead of binding off. A grafted shoulder drapes better than a bound off one because nothing in the join is tighter than the fabric on either side of it. Anywhere a seam sits against skin is worth grafting.
You do not need special tools for any of it. Two knitting needles holding the live stitches, a blunt tapestry needle, and the yarn tail already attached to your work. Double pointed needles are the usual choice because the stitches sit still on them, though the tips of a circular work the same way. The one thing worth having is a tapestry needle with a rounded point, since a sharp one splits the plies instead of sliding between them. Closing the top of a hat? Decide before the last rounds whether you want a gathered crown or a flat grafted one.
Kitchener stitch or mattress stitch?
They solve different problems. Mattress stitch sews two finished edges together side by side, while kitchener grafts two sets of live stitches end to end so the join reads as a knitted row. Stitches already bound off? That is a mattress stitch job. Stitches still on the needles? You are in the right place.
Why a graft puckers
Count before you thread the needle. Both needles need the same number of stitches. One extra on the back needle and the row pulls on the diagonal, and no amount of tugging afterwards will straighten it out.
Tension is the other half of it. Work the row loose, then go back over the loops and snug each one down to the size of the knit stitches on either side. Doing that every four moves is far easier than leaving it all to the end. Keep the tail running under the needles rather than draped over the top, or you will drag a stitch out of shape without noticing. Cut a tail about three times the width of the seam before you begin, because running out of yarn halfway across a graft means unpicking the whole thing.
Gone wrong? Nothing in a graft is knotted, so it comes undone in reverse. Pull the tapestry needle back out of the last stitch you worked, tug the tail free, and put any dropped stitch back on its needle. Losing four stitches of work costs a minute.
Knit off, purl on
The whole technique is four moves on repeat, and saying them out loud is how most knitters get it into their hands: knit off, purl on, then purl off, knit on. Front needle, then back needle, over and over until two stitches are left.
Practice on scrap yarn before you take it anywhere near a sock. Cast on ten stitches, knit a few rows, split them onto two needles and graft the halves together. Ten stitches is enough for the rhythm to stick. Once it does you stop reading the instructions and the toe of a sock takes about five minutes. If purling is still new to you, the purl stitch walkthrough is worth a look first, since half of these moves borrow its shape. When the graft is closed, thread the tail down inside the sock and weave in the end.