How to Knit an I-Cord on Double Pointed Needles

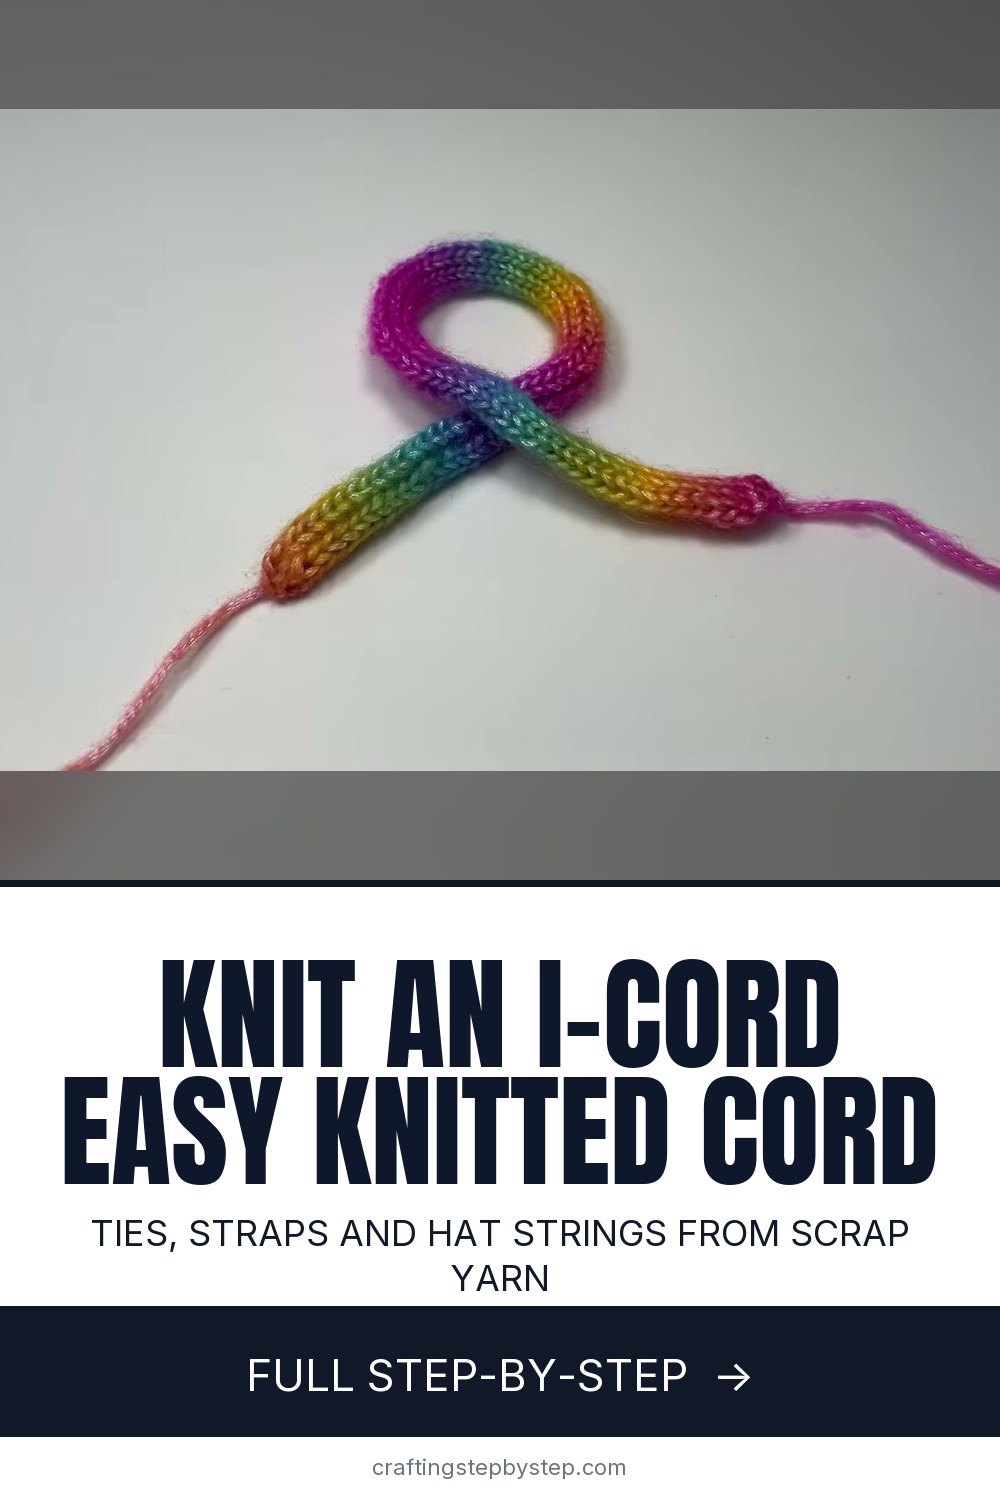
The finished result: How to Knit an I-Cord on Double Pointed Needles
  • Difficulty: Easy
  • About 20 minutes
  • 9 steps

You tapped Save

Save this project for later

We'll email you a link, no password.

How to Knit an I-Cord on Double Pointed Needles

  • Your saved projects in one list
  • Your ticked steps on any device

Check your inbox for an email from us. Not there? Look in your spam folder.

Print

Steps written out by Crafting Step by Step from Snufflebean Yarn's video (opens YouTube) (8:12). Published .

An i-cord is a skinny knitted tube, and it is one of the most useful things you can learn on double pointed needles. It makes drawstrings, hat ties, bag straps, stems on knitted pumpkins and loops for hanging ornaments. The same move also powers the i-cord bind off and the attached i-cord edge. The tutorial from the Snufflebean Yarn channel shows a four stitch cord, start to finish, with no gadgets.

How to knit an i-cord: the one trick

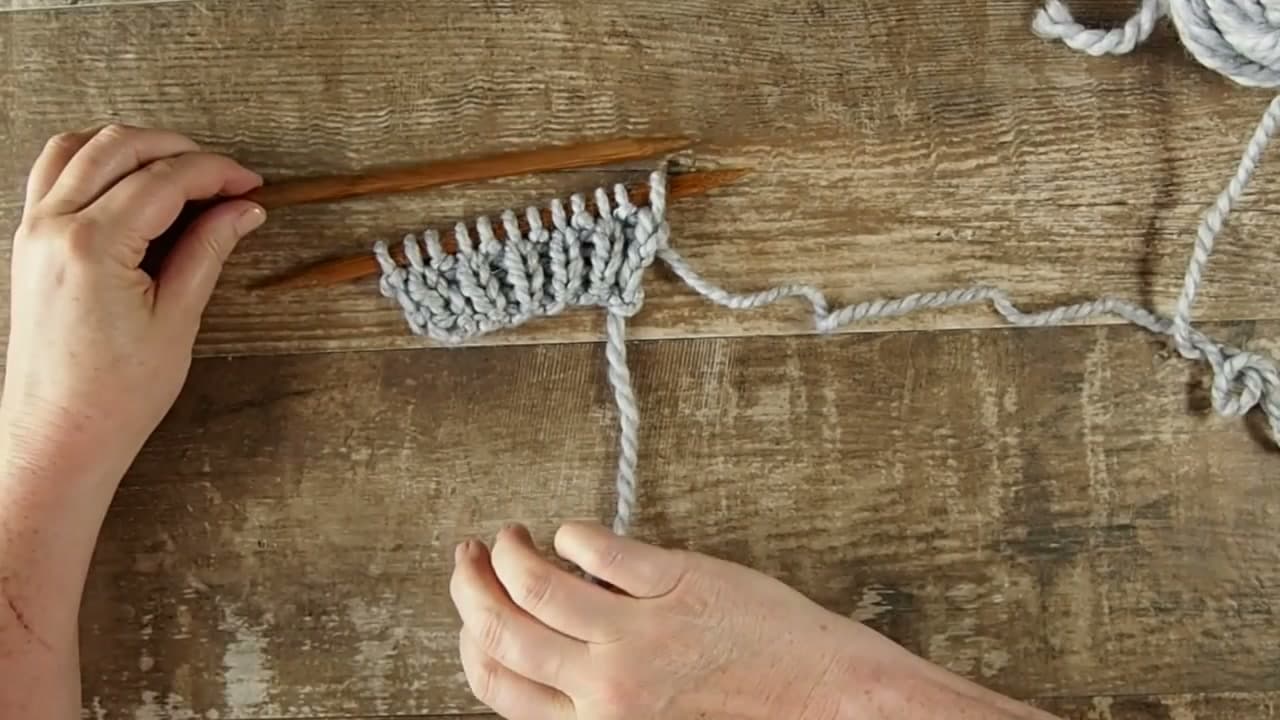
You knit every row and you never turn the work. After each row you slide the stitches back to the other end of the needle, so the working yarn is at the far left. When you knit the first stitch, the yarn is pulled across the back of the stitches and closes them into a tube. That is the whole technique. It is tiny circular knitting done on one needle at a time.

Why you need double pointed needles

Straight needles have a knob on one end, so you cannot slide stitches off that end to start the next row. Two double pointed needles in the size your yarn asks for are ideal. A short circular needle also works, sliding the stitches along the cable, though it is a little fiddly at four stitches.

Choosing how many stitches

StitchesResultGood for
3Very thin cordOrnament loops, fine drawstrings
4Classic round cordHat ties, cowl drawstrings, mitten strings
5 to 6Chunky, flatter cordBag straps, handles, trims

Go past six and the strand across the back gets long and saggy, so the tube stops closing neatly. Seven is the most anyone should try.

Common mistakes

  • Turning the work. If you flip the needle like flat knitting, you get a strip, not a tube. Slide, do not turn.
  • Yarn coming from the wrong side. After sliding, the yarn should hang from the leftmost stitch. If it is on the right, you turned by accident.
  • A loose ladder at the back. Give the first stitch of each row a firm tug. A few rows in, the ladder closes up on its own.
  • Too many stitches. More than six leaves a gap you cannot tighten.

Where the same move shows up

Once a plain cord feels easy, the variations come quickly. An i-cord bind off works the cord along the live stitches of a project for a rounded, firm edge. An attached i-cord edge picks up one stitch from the side of a blanket or scarf on every row, so the cord grows along the border as you knit it.

Ideas for your first i-cords

Knit a long one in a contrast color and thread it through the eyelets of a hat brim, or make two short ones as ties for a baby bonnet. A scrap of leftover worsted is plenty, so this is a good way to use up odds and ends.

Where to go from here

New to the basics? Start with how to cast on and how to bind off. An i-cord is the smallest version of knitting in the round. Add one as a tie or pompom string to a knitted hat, and hide the tails with how to weave in ends.

Free printable

Print the steps and supply list for this project

One page you can take to the table. Free with a free account, no password.

Get the free printable

What you'll need

Free, for this project

Get this checklist by email

  • All 4 tools and materials, with tick boxes
  • A link to print all 9 steps on paper, to keep by you while you craft

No password. The whole tutorial stays free on this page.

Quick answer

Learn how to knit an i-cord on double pointed needles. An easy project: about 20 minutes. You need 4 things, including worsted weight yarn, 2 double pointed knitting needles and tapestry needle. The 9 steps start with cast On Four Stitches for an I-Cord on a Double Pointed Needle, knit the First Row of I-Cord Stitches, slide the I-Cord Stitches to the Other End Without Turning and pull the Yarn Snug Across the Back and Knit the Next I-Cord Row.

Step-by-step guide

9 steps, about 8 minutes. Tap a picture to jump to that step. Your progress saves automatically.

Tick each step off as you go.

  1. Step 1: Cast On Four Stitches for an I-Cord on a Double Pointed Needle

    Watch this step · 2:18

    Cast on four stitches onto one double pointed needle. The video uses the long tail cast on, but any cast on works. You can make an i-cord with anywhere from three to six stitches. Four is the most common size and a good one to learn on. Use the needle size your yarn label recommends.

    Tip:

    Leave a tail of 6 inches or so. You will tuck it into the cord at the end.

    Back to all steps

  2. Step 2: Knit the First Row of I-Cord Stitches

    Watch this step · 2:54

    Hold the needle with the stitches in your left hand and a second double pointed needle in your right. Knit all four stitches as normal. So far this is the same as any row of knitting. The difference comes next, at the end of the row, where you would usually turn the work around.

    Tip:

    Keep these first stitches fairly loose. They are easier to slide in the next step.

    Back to all steps

  3. Step 3: Slide the I-Cord Stitches to the Other End Without Turning

    Watch this step · 3:52

    Do not turn the needle. Slide the four stitches along to the other end of the needle they are on, then move that needle back to your left hand. The stitches now sit at the right hand tip, with the working yarn hanging from the leftmost stitch. That is exactly where you want it, even though it looks wrong the first time.

    Tip:

    If the yarn hangs from the rightmost stitch, you turned by accident. Turn back and slide again.

    Back to all steps

  4. Step 4: Pull the Yarn Snug Across the Back and Knit the Next I-Cord Row

    Watch this step · 4:08

    Bring the working yarn behind the stitches, over your finger as usual, and knit the four stitches again. To knit the first one, the yarn has to stretch across the back of the work. That strand is what closes the knitting into a tube. Give the first stitch a firm tug so the join stays tight.

    Tip:

    The back looks loose and messy for the first few rows. Trust it and keep going.

    Back to all steps

  5. Step 5: Keep Knitting Rows Until the I-Cord Is the Length You Want

    Watch this step · 5:12

    Repeat the same row over and over. Knit four, slide the stitches back to the other end, switch hands, knit four again. After a few rows the loose strands at the back pull in, and the seam closes so neatly you can hardly tell where it is. Turn the cord over to check. The back stitches should match the front.

    Tip:

    Give the cord a gentle pull lengthwise now and then to even out the stitches.

    Back to all steps

  6. Step 6: Bind Off the I-Cord by Lifting Stitches Over Each Other

    Watch this step · 6:05

    When the cord is long enough, slide the stitches back one last time and pick up the yarn. Knit two stitches, then lift the first one over the second and off the needle. Knit the next stitch and lift the one before it over. Repeat until one stitch is left. This is a plain knitted bind off, worked on four stitches.

    Tip:

    Bind off loosely so the end of the cord does not pucker.

    Back to all steps

  7. Step 7: Pull the Yarn Tail Through the Last I-Cord Loop

    Watch this step · 6:42

    Take the needle out of the last stitch. Cut the yarn, leaving a tail of a few inches. Make the last loop a little bigger with your fingers, pass the tail through it and pull firmly to close it off. The end of the cord is now locked and cannot unravel.

    Tip:

    Small, sharp scissors make a clean cut close to the work.

    Back to all steps

  8. Step 8: Thread the Yarn Tail Into the Middle of the I-Cord

    Watch this step · 7:25

    For a tidy finish, thread the tail onto a tapestry needle. Push the needle down through the center of the cord for an inch or so and bring it out the side. Snip the extra yarn. The tail now sits hidden inside the tube. Do the same with the cast on tail at the other end.

    Tip:

    A blunt tapestry needle slides between stitches instead of splitting the yarn.

    Back to all steps

  9. Step 9: Compare a Four Stitch and a Six Stitch I-Cord

    Watch this step · 7:52

    Hold your finished cord next to a wider one and you can see what the stitch count does. A four stitch cord is round and slim. A six stitch cord is fatter and slightly flatter. Pick the size to suit the job. Stick between three and six stitches, because larger cords leave a gap down the back.

    Tip:

    Thicker yarn makes a thicker cord too, without adding stitches.

    Back to all steps

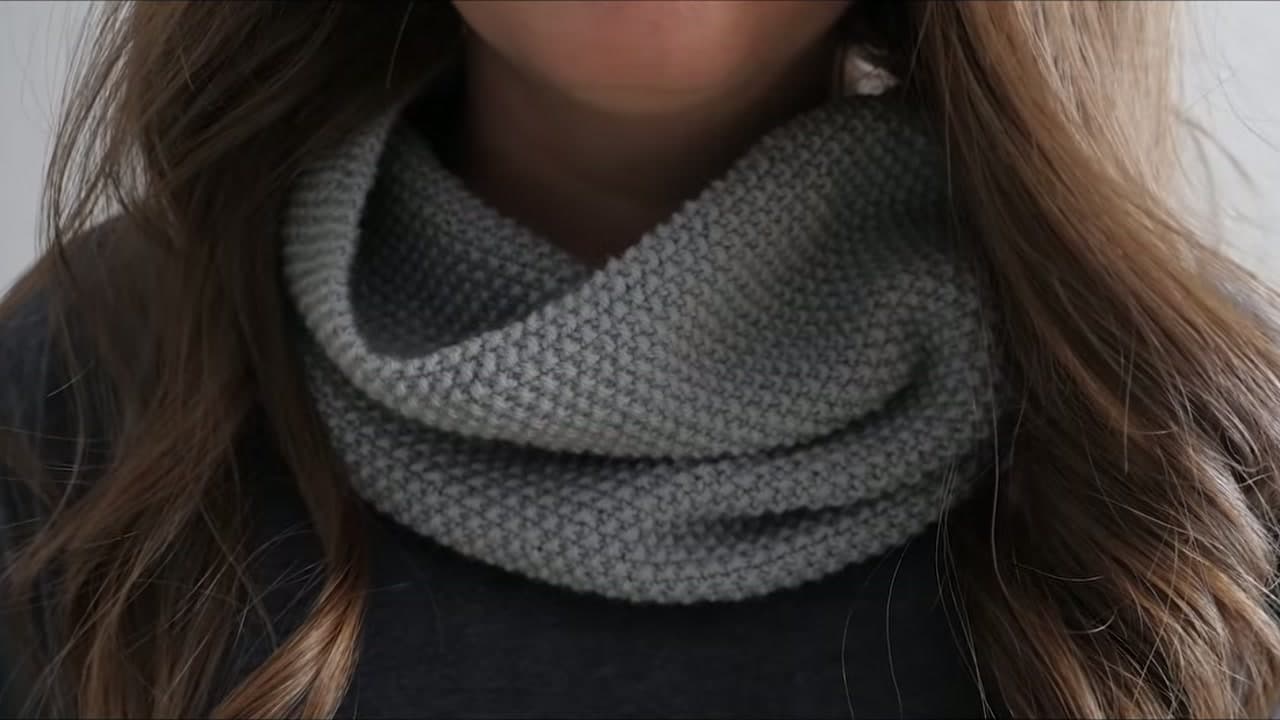
How to Knit a Cowl for Beginners

Keep going

How to Knit a Cowl for Beginners

Keep going with knitting

More on this topic, picked for this i-cord on double pointed needles.

You reached the last step

Save this project to come back to it

Your ticked steps, the free printable and your other saved makes, together in My Projects. Free, no password.

You tapped Save

Save this project for later

We'll email you a link, no password.

How to Knit an I-Cord on Double Pointed Needles

  • Your saved projects in one list
  • Your ticked steps on any device

Check your inbox for an email from us. Not there? Look in your spam folder.

Free printable

Printable sheet and shopping list for this project

The bonus is hidden until you sign up.

Free with a free account, no password. Every step above stays open to everyone.

Products Used

The Checklist

How to Knit an I-Cord on Double Pointed Needles

Tools
3
Materials
1
Steps
9
Video
8 min

Tools we recommend

As an Amazon Associate we earn from qualifying purchases. Links on this page may be affiliate links - clicking them and buying doesn't change your price, but helps support Crafting Step by Step.

Tags

The Crafter's Weekly

New knitting tutorials, every Sunday

One short email with the week's best step-by-step guides. Free, no spam, unsubscribe anytime.

Did this work for you?

What's next

Related collections

Curated theme pages that include this tutorial.

Similar tutorials

Hand-picked next reads based on the one you just finished.

Liked this knitting tutorial?

Pick the crafts you want to hear about. One email every Sunday with new step-by-step tutorials. No spam, easy to unsubscribe.

Get more like this in your inbox

Weekly digest. Pick the categories you want. Unsubscribe anytime.

Send me tutorials about

We only email about new tutorials. Easy unsubscribe anytime.