How to Knit a Cowl for Beginners

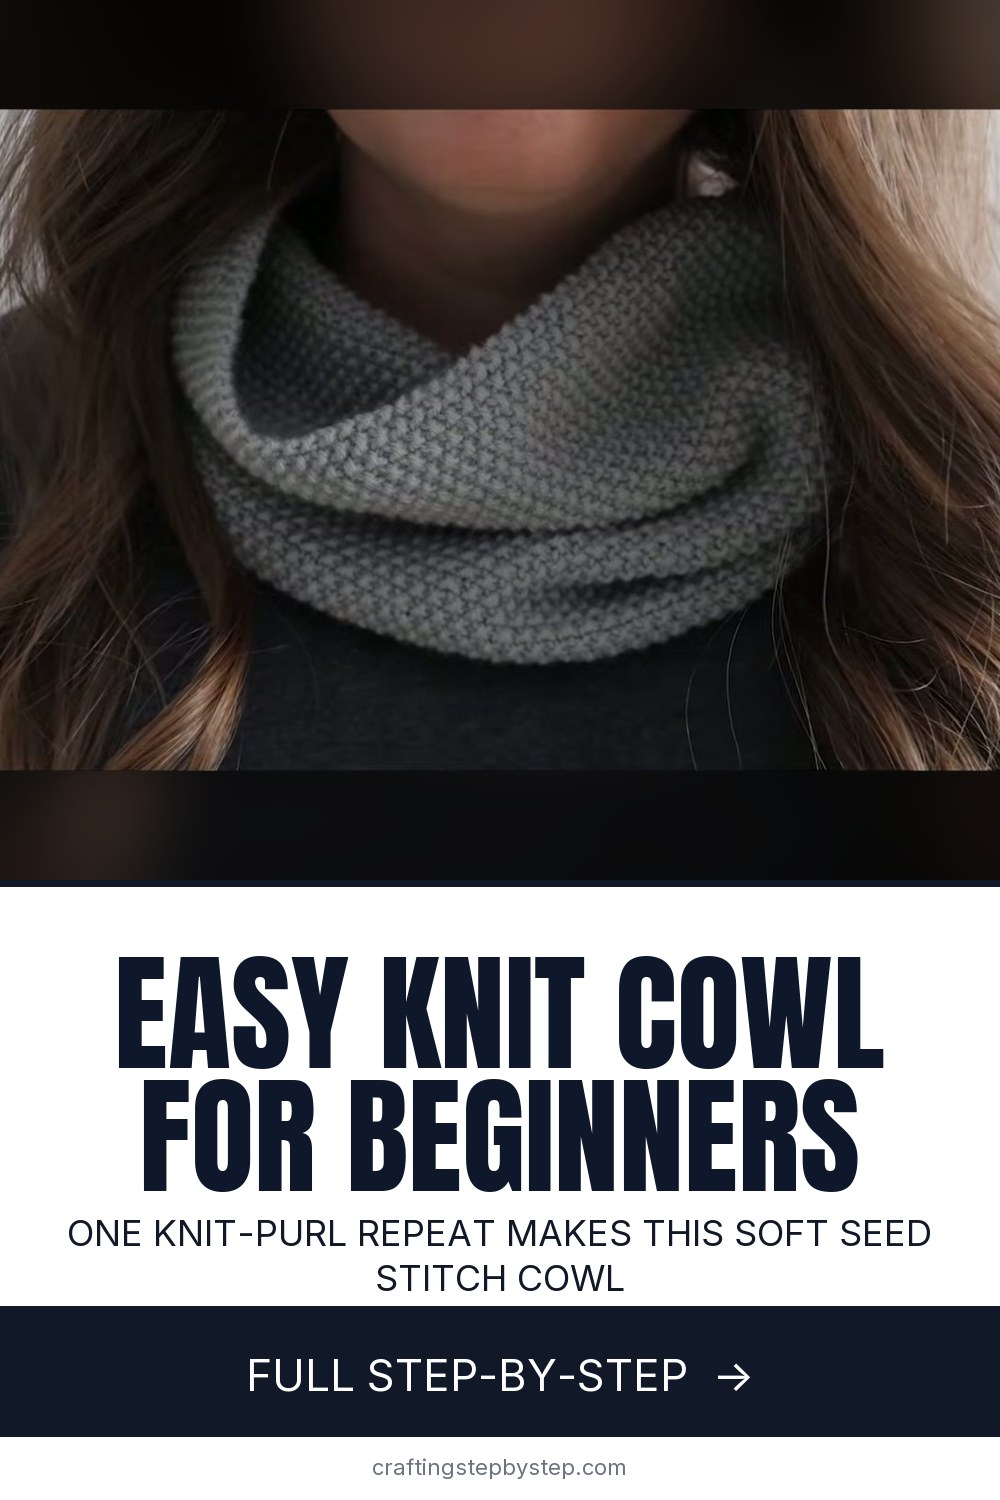
The finished result: How to Knit a Cowl for Beginners
  • Difficulty: Easy
  • 9 steps

You tapped Save

Save this project for later

We'll email you a link, no password.

How to Knit a Cowl for Beginners

  • Your saved projects in one list
  • Your ticked steps on any device

Check your inbox for an email from us. Not there? Look in your spam folder.

Print

Steps written out by Crafting Step by Step from B.Hooked Knitting's video (opens YouTube) (8:45). Published .

A seed stitch cowl is one of the kindest first projects in knitting. You knit one stitch, purl the next, and repeat that for every row. No shaping, no counting rows, no pattern chart. This version comes from the B.Hooked Knitting channel, run by the designer behind bhooked.com. It is a light, soft loop that sits close at the neck and drapes well under a coat.

How to knit a cowl: what you are making

You knit a long flat rectangle about 8 inches wide and 32 inches long, then sew the two short ends together. Seed stitch looks the same on both sides and lies flat, so the edges do not roll. If the knit and purl stitches are new to you, start with how to knit and purl, and see how to knit seed stitch for a closer look at the stitch.

Yarn weight and needle size

The video uses Sugar Bush Itty Bitty, a super fine (fingering) weight blend of merino, nylon and cashmere, on US 7 (4.5 mm) needles. That is a larger needle than fingering yarn usually gets, and that is the point. The looser fabric gives the soft drape you want in a cowl. Plan on two balls.

Have a different yarn at home? Any fingering or sport weight yarn works on the same needles. For a DK or worsted yarn, go up to US 8 or 9 and cast on fewer stitches. Always use an odd number so every row starts and ends with a knit.

Gauge and sizing

Gauge is how many stitches fit in an inch. For a cowl it barely matters. Knit a few rows, measure the width, and adjust the cast on until it is near 8 inches. A 32 inch loop slips over your head and sits once around the neck. For a cowl that wraps twice, keep knitting to 55 or 60 inches and buy a third ball.

How long it takes

Fine yarn and seed stitch make this a slow, relaxing knit. A beginner should plan on 15 to 20 hours, a good fit for evenings in front of the TV over two or three weeks.

Finishing, blocking and care

Weave in the tails along the seam where they hide. See how to mattress stitch if you want a neater, near invisible seam than the simple whip stitch in the video. To block, soak the cowl in cool water with a little wool wash, press out the water in a towel, and lay it flat to dry. Hand wash it the same way after wearing. Merino and cashmere felt in hot water or a dryer, so skip both unless the label says superwash.

Variations

  • Stripes. Change color every 10 or 20 rows, always at the start of a row. How to join yarn shows the method.
  • Chunkier. Bulky yarn on US 10 or 11 needles finishes in a weekend.
  • A gift. Choose a soft neutral like gray or oatmeal, fold it with tissue, and tuck in the care note.

Prefer a hook? Try how to crochet a cowl.

Troubleshooting

  • The cast on edge is tight. Cast on over two needles held together, or go up a needle size for the cast on only.
  • The pattern turned into ribbing. You knit a knit. Read the stitch below each one: knit the purl bumps, purl the smooth Vs.
  • The edges curl. That is a sign of stockinette sneaking in. Check the last few rows for a missed purl.
  • A twisted loop at the seam. Before you sew, lay the rectangle flat and make sure it has no twist. Seed stitch hides a twist better than most, but you will feel it.

Free printable

Print the steps and supply list for this project

One page you can take to the table. Free with a free account, no password.

Get the free printable

What you'll need

Free, for this project

Get this checklist by email

  • All 6 tools and materials, with tick boxes
  • A link to print all 9 steps on paper, to keep by you while you craft

No password. The whole tutorial stays free on this page.

Quick answer

Knit a cowl for beginners with one knit one, purl one repeat. An easy project. You need 6 things, including fingering or sport weight yarn, tapestry needle and scissors. The 9 steps start with cast On 51 Cowl Stitches With a Long Tail Cast On, knit the First Stitch of the Seed Stitch Cowl, purl the Next Stitch to Start the Seed Stitch Pattern and turn the Cowl and Work the Next Seed Stitch Row.

Step-by-step guide

9 steps, about 9 minutes. Tap a picture to jump to that step. Your progress saves automatically.

Tick each step off as you go.

  1. Step 1: Cast On 51 Cowl Stitches With a Long Tail Cast On

    Watch this step · 0:56

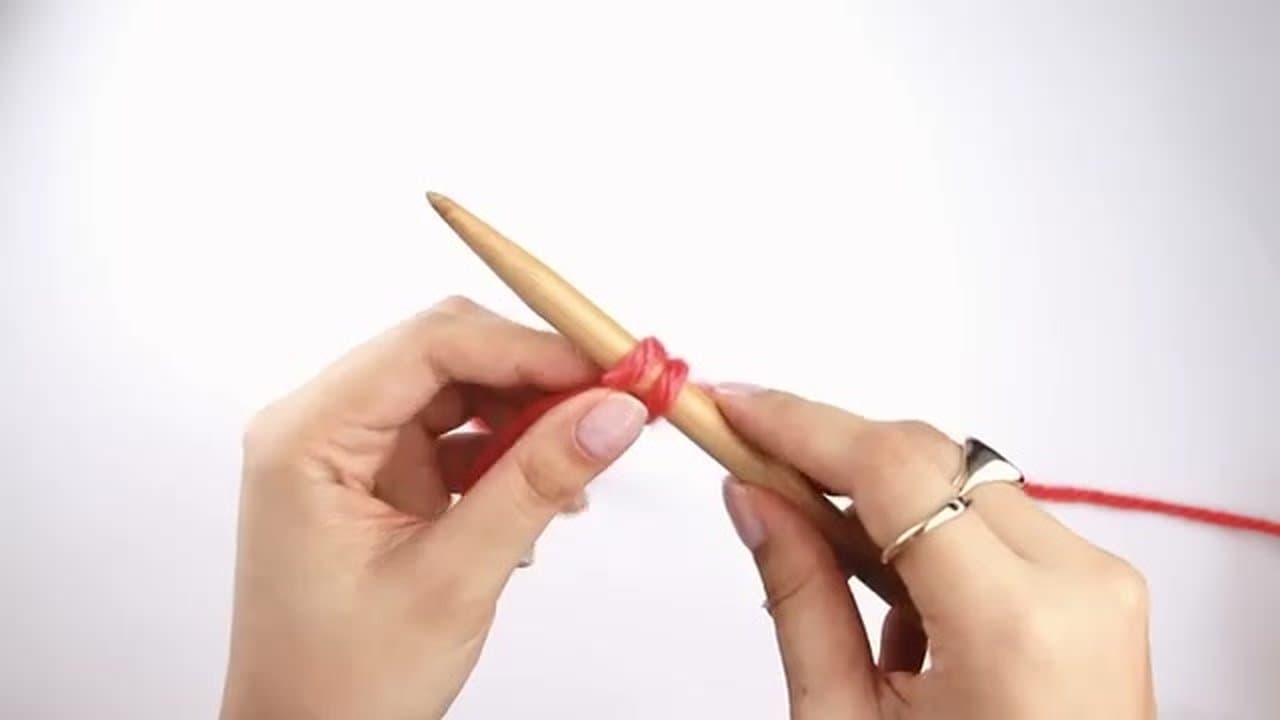
    Pull out a long tail of yarn, about three times the width you want, plus a little extra. Lay the yarn over your needle and hold it in a slingshot shape over your left thumb and finger. Swing the needle down into the thumb loop, up over the finger strand, and let the thumb loop drop. Snug it gently. Repeat until you have 51 stitches on the needle.

    Tip:

    Count in groups of ten and mark each group with a scrap of yarn so you do not lose count.

    Back to all steps

  2. Step 2: Knit the First Stitch of the Seed Stitch Cowl

    Watch this step · 1:40

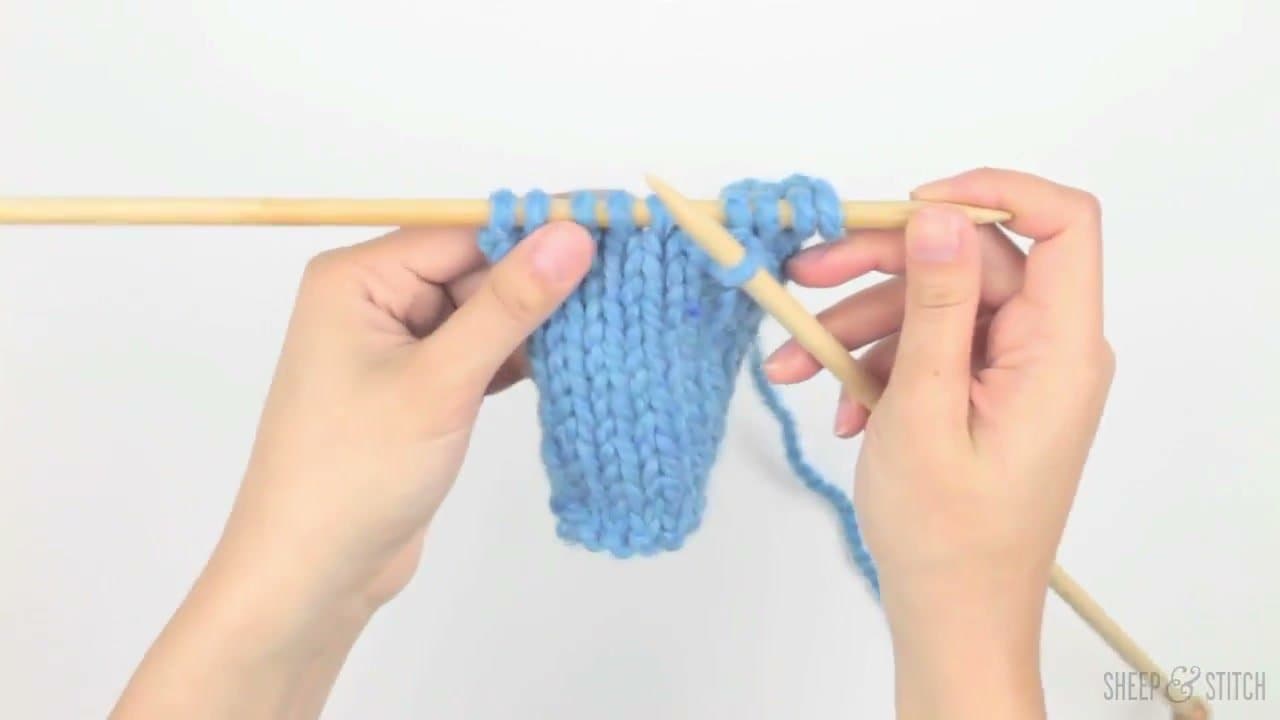
    Turn the needle so the stitches sit in your left hand. Keep the working yarn at the back. Push the right needle into the front of the first stitch, from left to right, so the needles cross. Wrap the yarn around the right needle, pull the new loop through, and slide the old stitch off. That is your first knit stitch.

    Tip:

    Keep your stitches near the tips but not so close that they slide off when you set the work down.

    Back to all steps

  3. Step 3: Purl the Next Stitch to Start the Seed Stitch Pattern

    Watch this step · 2:00

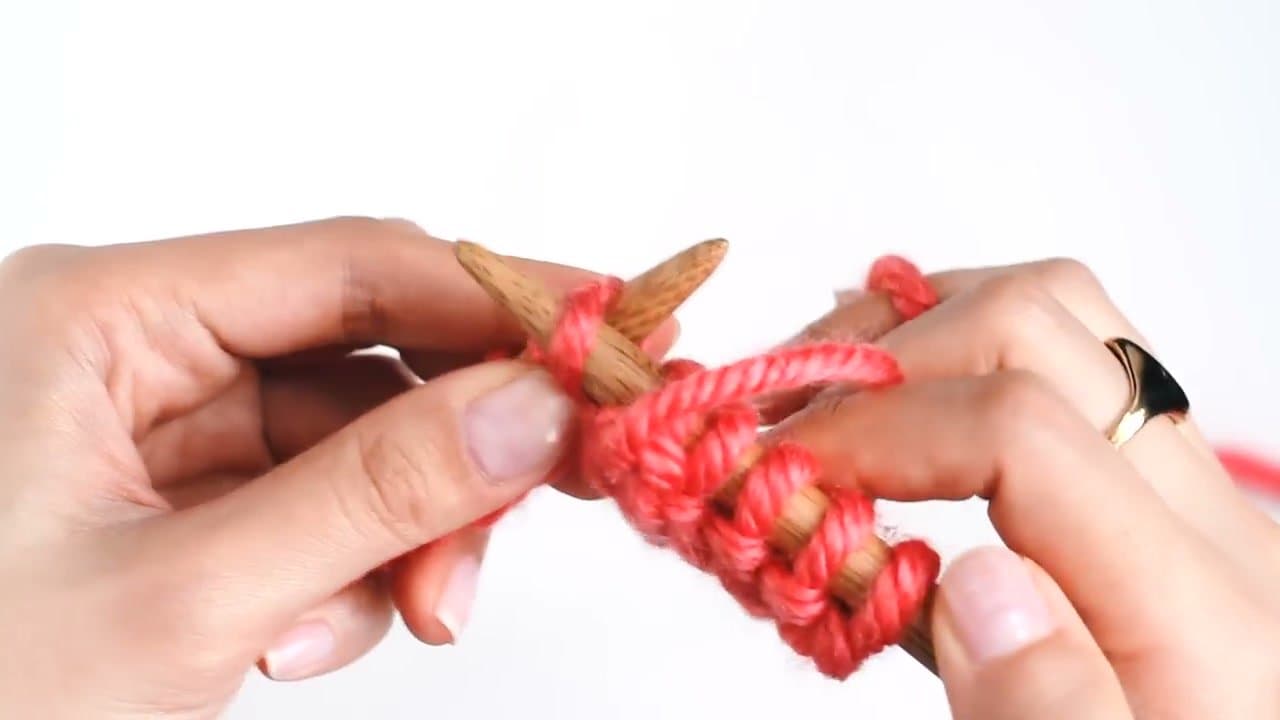
    Bring the yarn forward between the needle tips. Now push the right needle into the next stitch from right to left, in front of the left needle. Wrap the yarn, pull the loop back through and drop the old stitch. Move the yarn to the back again and knit the next one. Knit one, purl one, all the way across. The row should end with a knit.

    Tip:

    If the row ends on a purl, you missed a stitch somewhere. Count your cast on again.

    Back to all steps

  4. Step 4: Turn the Cowl and Work the Next Seed Stitch Row

    Watch this step · 2:36

    At the end of the row, turn the work so the needle tip is back in your left hand. Do exactly the same thing again: knit one, purl one, and end with a knit. Because you have an odd number of stitches, you are always knitting the purls and purling the knits from the row below. That stagger is what makes the little seed bumps.

    Tip:

    Say "knit, purl" quietly as you go. It keeps your rhythm on long rows.

    Back to all steps

  5. Step 5: Read Your Seed Stitches to Find Your Place in the Cowl

    Watch this step · 2:58

    Look at the stitches sitting on the needle. A purl stitch has a little horizontal bump right under the needle. A knit stitch looks like a small V. In seed stitch you always do the opposite of what you see: knit the bumps and purl the Vs. Once you can read this, you can put the cowl down mid row and pick it up again without a mistake.

    Tip:

    Check the first two stitches before you start each row. It catches errors early.

    Back to all steps

  6. Step 6: Join the Second Ball of Yarn at the Start of a Cowl Row

    Watch this step · 4:18

    Keep going until the first ball runs low, and change yarn at the start of a row. Leave a tail of the old yarn for weaving in. Fold the new yarn about six inches from its end. Put your needle into the first stitch, catch the folded loop of new yarn and pull it through. Work a few more stitches with the new yarn, then tie the two tails loosely.

    Tip:

    Joining at the edge keeps the tails out of the middle, where they could show.

    Back to all steps

  7. Step 7: Bind Off the Cowl in Seed Stitch Pattern

    Watch this step · 6:22

    Stop when you have a few yards left, more than you think. The cowl will be about 32 inches long and a bit over 8 inches wide. Knit one, purl one, then lift the first loop over the second and off the needle. Knit the next stitch and pass the first loop over. Purl the next and pass over. Keep following the seed pattern as you go.

    Tip:

    Pull the first loop out a little for slack, and hold the second with your finger.

    Back to all steps

  8. Step 8: Fasten Off the Last Loop of the Cowl Bind Off

    Watch this step · 6:42

    When one loop is left on the right needle, slide the needle out and pull that loop up tall. Cut the yarn, leaving a long tail. Then pull the tail through the loop and tug it snug. This locks the bound off edge so it cannot unravel. Keep the long tail. You will use it to sew the cowl together in the next step.

    Tip:

    Leave a tail at least as long as your arm so you have plenty for the seam.

    Back to all steps

  9. Step 9: Seam the Short Ends to Close the Knit Cowl

    Watch this step · 7:12

    Both sides of seed stitch look alike, so it does not matter which side faces out. Bring the two short ends together without twisting the rectangle. Thread the tail onto a yarn needle. Sew the edges together, going back and forth through both layers, until the loop is closed. Weave the tails into the seam and trim.

    Tip:

    A blunt bent tip tapestry needle slides between stitches without splitting the yarn.

    Back to all steps

How to Knit Brioche Stitch

Keep going

How to Knit Brioche Stitch

Keep going with knitting

More on this topic, picked for this cowl for beginners.

You reached the last step

Save this project to come back to it

Your ticked steps, the free printable and your other saved makes, together in My Projects. Free, no password.

You tapped Save

Save this project for later

We'll email you a link, no password.

How to Knit a Cowl for Beginners

  • Your saved projects in one list
  • Your ticked steps on any device

Check your inbox for an email from us. Not there? Look in your spam folder.

Free printable

Printable sheet for this project

The bonus is hidden until you sign up.

Free with a free account, no password. Every step above stays open to everyone.

Products Used

The Checklist

How to Knit a Cowl for Beginners

Tools
4
Materials
2
Steps
9
Video
9 min

Tools we recommend

As an Amazon Associate we earn from qualifying purchases. Links on this page may be affiliate links - clicking them and buying doesn't change your price, but helps support Crafting Step by Step.

Tags

The Crafter's Weekly

New knitting tutorials, every Sunday

One short email with the week's best step-by-step guides. Free, no spam, unsubscribe anytime.

Did this work for you?

What's next

Related collections

Curated theme pages that include this tutorial.

Similar tutorials

Hand-picked next reads based on the one you just finished.

Liked this knitting tutorial?

Pick the crafts you want to hear about. One email every Sunday with new step-by-step tutorials. No spam, easy to unsubscribe.

Get more like this in your inbox

Weekly digest. Pick the categories you want. Unsubscribe anytime.

Send me tutorials about

We only email about new tutorials. Easy unsubscribe anytime.