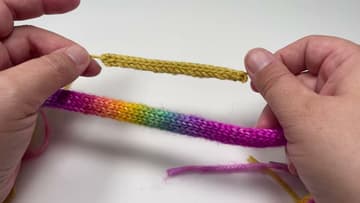
How to Knit an I-Cord on Double Pointed Needles
Source: Snufflebean Yarn • Full tutorial: www.craftingstepbystep.com/knitting/how-to-knit-an-i-cord
- Difficulty
- Easy
- Hands-on time
- About 20 minutes

Tools
- 2 double pointed knitting needles
- tapestry needle
- scissors
Materials
- worsted weight yarn
Steps
1. Cast On Four Stitches for an I-Cord on a Double Pointed Needle
Cast on four stitches onto one double pointed needle. The video uses the long tail cast on, but any cast on works.
Tip: Leave a tail of 6 inches or so. You will tuck it into the cord at the end.
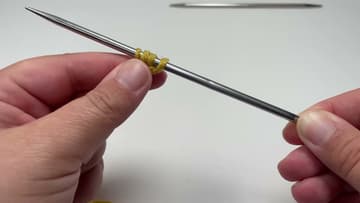
2. Knit the First Row of I-Cord Stitches
Hold the needle with the stitches in your left hand and a second double pointed needle in your right. Knit all four stitches as normal.
Tip: Keep these first stitches fairly loose. They are easier to slide in the next step.
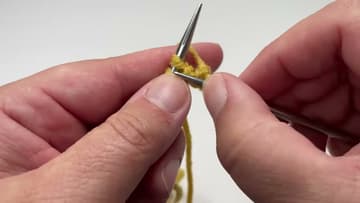
3. Slide the I-Cord Stitches to the Other End Without Turning
Do not turn the needle. Slide the four stitches along to the other end of the needle they are on, then move that needle back to your left hand.
Tip: If the yarn hangs from the rightmost stitch, you turned by accident. Turn back and slide again.
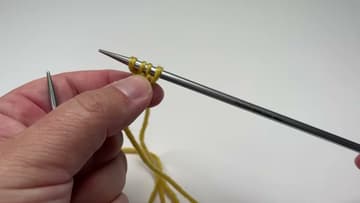
4. Pull the Yarn Snug Across the Back and Knit the Next I-Cord Row
Bring the working yarn behind the stitches, over your finger as usual, and knit the four stitches again. To knit the first one, the yarn has to stretch across the back of the work.
Tip: The back looks loose and messy for the first few rows. Trust it and keep going.
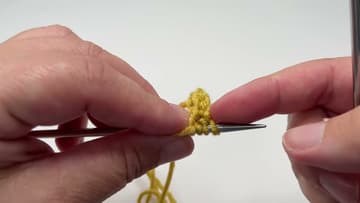
5. Keep Knitting Rows Until the I-Cord Is the Length You Want
Repeat the same row over and over. Knit four, slide the stitches back to the other end, switch hands, knit four again.
Tip: Give the cord a gentle pull lengthwise now and then to even out the stitches.
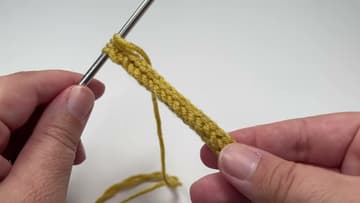
6. Bind Off the I-Cord by Lifting Stitches Over Each Other
When the cord is long enough, slide the stitches back one last time and pick up the yarn. Knit two stitches, then lift the first one over the second and off the needle.
Tip: Bind off loosely so the end of the cord does not pucker.
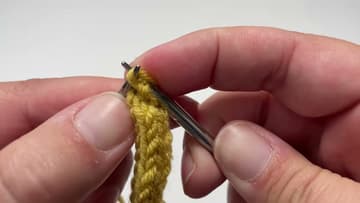
7. Pull the Yarn Tail Through the Last I-Cord Loop
Take the needle out of the last stitch. Cut the yarn, leaving a tail of a few inches.
Tip: Small, sharp scissors make a clean cut close to the work.
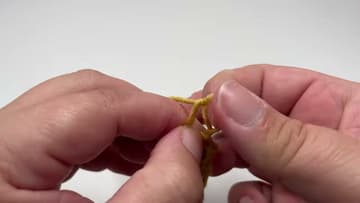
8. Thread the Yarn Tail Into the Middle of the I-Cord
For a tidy finish, thread the tail onto a tapestry needle. Push the needle down through the center of the cord for an inch or so and bring it out the side.
Tip: A blunt tapestry needle slides between stitches instead of splitting the yarn.
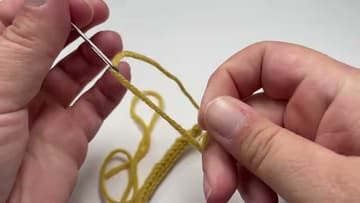
9. Compare a Four Stitch and a Six Stitch I-Cord
Hold your finished cord next to a wider one and you can see what the stitch count does. A four stitch cord is round and slim.
Tip: Thicker yarn makes a thicker cord too, without adding stitches.